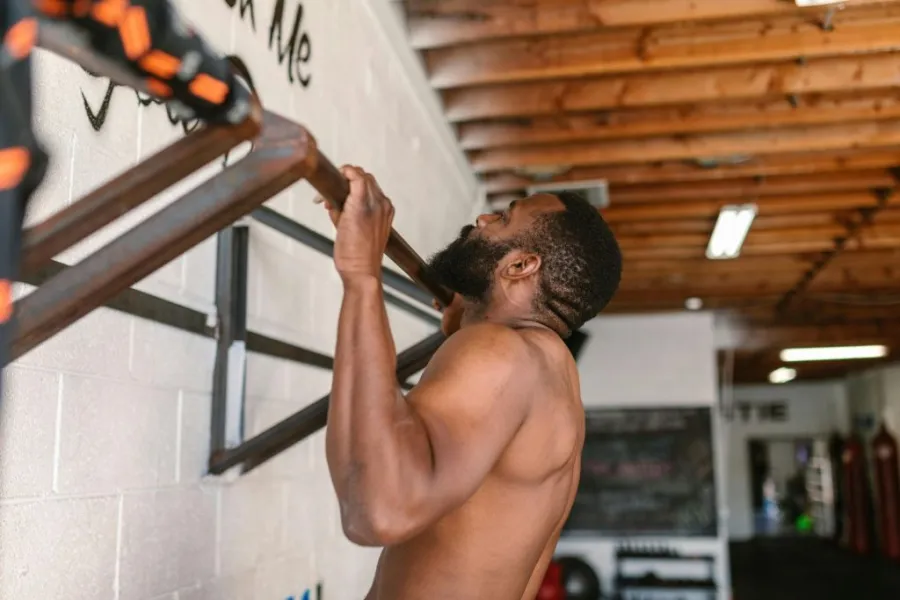
Smetti di guardare la porta e fai qualcosa di utile. Imparare a installare una sbarra per trazioni è un ottimo modo per allenarsi. Puoi farlo anche se vivi in un appartamento o in un ampio garage. Una sbarra per trazioni può davvero aiutarti a rafforzare la schiena e la presa. Quindi, una buona sbarra per trazioni è tutto ciò che ti serve per iniziare ad allenarti.
Raggiungere quel livello e quella sicurezza non deve essere difficile. Con il piano appropriato e alcuni affidabili strumenti di livello professionale, puoi trasformare qualsiasi stanza in una zona di allenamento ad alte prestazioni in meno di un'ora.
Attrezzi essenziali e preparazione per la sbarra per trazioni
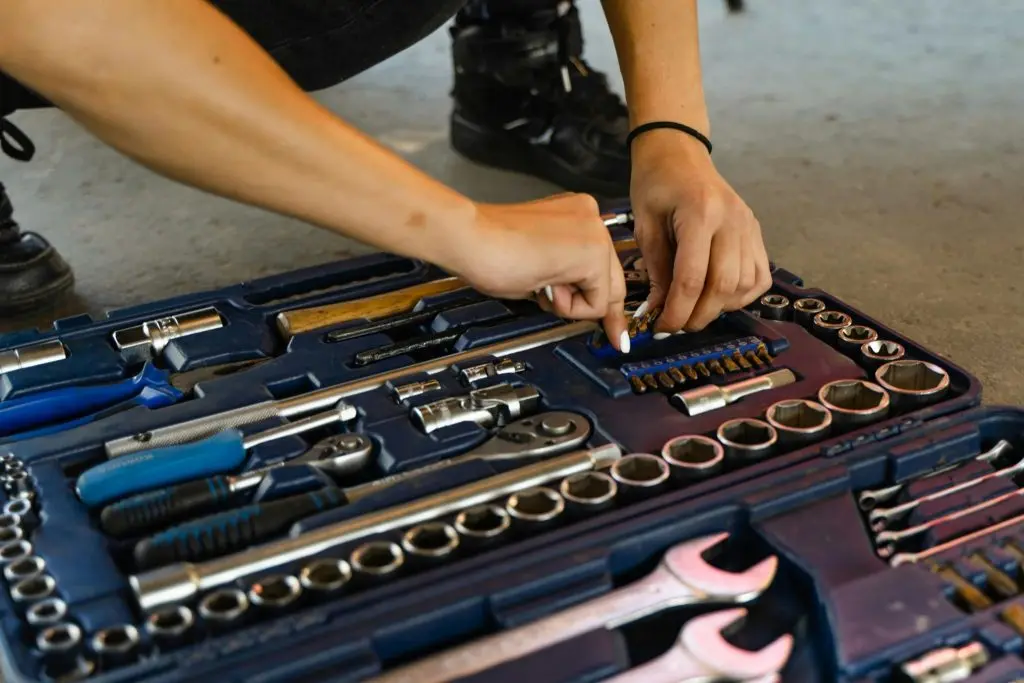
Prima di iniziare a dondolare, assicurati di avere delle basi solide. Non vorrai certo ritrovarti in un video disastroso solo perché non ti sei preparato a dovere. Controllare le superfici ora richiederà solo un minuto, ma salverà i tuoi muri e il tuo orgoglio in futuro.
Valutazione della superficie
Innanzitutto, determina con cosa stai lavorando. Se desideri un montaggio permanente, avrai bisogno di un montante in legno o di un muro di mattoni. Questo è un ottimo momento per considerare Idee per rinnovare il garage con un budget limitato per ottimizzare i tuoi spazi.
Non affidarti mai esclusivamente al cartongesso per sostenere il tuo peso. Usa un rilevatore di montanti per trovare il centro esatto delle travi. Un buon collegamento è l'unico modo per mantenere la tua palestra domestica sicura e stabile durante gli esercizi più pesanti.
Altezza e altezza libera
Non montare il bilanciere così in alto da rischiare di sbattere il cranio contro il soffitto. Per avere spazio sufficiente per il mento, sono necessari circa 15 centimetri di spazio libero. Misura due volte per evitare crampi durante lo sforzo massimo.
Quando sei in posizione di sospensione completa, i piedi devono essere sollevati da terra. Se sei alto, un supporto a soffitto potrebbe essere più adatto. L'altezza corretta consente una gamma completa di movimenti, essenziale per lo sviluppo muscolare.
Il kit di attrezzi fai-da-te
Un buon progetto è veloce quanto gli strumenti che hai a disposizione. A seconda della configurazione, avrai bisogno di un arsenale specifico per assicurarti che la barra rimanga stabile. Ecco la checklist definitiva per ogni tipo di installazione:
- Per le porte: A Set di 48 punte e cricchetto è perfetto per serrare i bulloni interni.
- Per pareti/soffitti: Un trapano elettrico con punte di alta qualità per legno o muratura.
- misura: Un metro a nastro da 25 piedi e una livella a bolla per evitare di inclinare la barra.
- Robusto: A Set di 65 bussole a impatto per avvitare bulloni di grandi dimensioni.
- Equipaggiamento di sicurezza: Guanti da lavoro e occhiali di sicurezza per proteggersi da eventuali schegge di gesso o legno che potrebbero cadere.
Come installare una sbarra per trazioni su un telaio della porta
Lo stipite della porta è una soluzione rapida e tradizionale per fare trazioni a casa. È l'ideale per chi vuole fare qualche ripetizione tra una riunione e l'altra. Assicurati solo che lo stipite della porta sia adatto allo scopo.
- Ispeziona le finiture: Assicurati che la modanatura della porta sia fissata saldamente al muro con dei chiodi e che abbia uno spessore di almeno mezzo pollice.
- Misura della larghezza: Assicurati che la barra sia compatibile con la larghezza della tua porta; la maggior parte delle barre standard si adatta ad aperture da 24 a 36 pollici.
- Posizionamento: Posiziona la barra principale sulla parte anteriore del telaio e la barra di supporto posteriore sopra il rivestimento posteriore.
- Tensionamento: Per i modelli telescopici, ruotare la barra centrale per espandere le estremità fino a quando non premono saldamente contro il legno.
- Serraggio finale: Utilizzare una piccola chiave inglese o una Kit di attrezzi a cricchetto da 90 pezzi per fissare le staffe di sicurezza fornite con il kit.
- Il test del tiro alla fune: Inizia appendendoti con circa il 20% del tuo peso, poi aumenta gradualmente fino a raggiungere il peso completo per verificare che non scivoli.
Queste barre sono ideali perché non occupano spazio permanente. Se la tua porta è troppo stretta o traballante, potresti considerare una torre di alimentazione multifunzionale come opzione da posizionare sul pavimento.
Come installare una barra per trazioni senza viti
Stai pensando di affittare casa? Puoi comunque imparare come installare una sbarra per trazioni senza viti. Queste sbarre sfruttano l'attrito e sofisticati principi della fisica per rimanere in posizione verticale senza lasciare il minimo graffio sulle pareti.
- Pulisci la superficie: Pulisci lo stipite della porta con un panno umido per rimuovere la polvere. L'attrito funziona meglio su superfici pulite e asciutte.
- Regola i cuscinetti: La maggior parte delle barre senza viti ha dei piedini in gomma di grandi dimensioni. Assicurati che siano centrati e aderenti alla parete o al telaio.
- Applicare pressione: Ruota la barra secondo le istruzioni del produttore. Deve essere abbastanza stretta da non muoversi quando viene spinta, ma non così stretta da rompere il telaio della porta.
- Verifica della leva finanziaria: Per i modelli da appendere alla porta, assicurarsi che la barra di plastica appoggiata alla parete poggi sui montanti e non solo sulla parete in cartongesso cava.
- Provare e serrare nuovamente: Dopo le prime tre ripetizioni, controlla nuovamente la tensione. Le barre di frizione a volte possono assestarsi e allentarsi leggermente dopo il primo utilizzo.
Quando usi queste sbarre, ricorda che non possono sostenere lo stesso peso di quelle fisse. Sono ottime per fare trazioni, ma non dovresti fare quel tipo di trazioni in cui oscilli con il corpo molto velocemente. La sbarra deve rimanere ferma e non cadere con te.
Come installare una sbarra per trazioni a parete
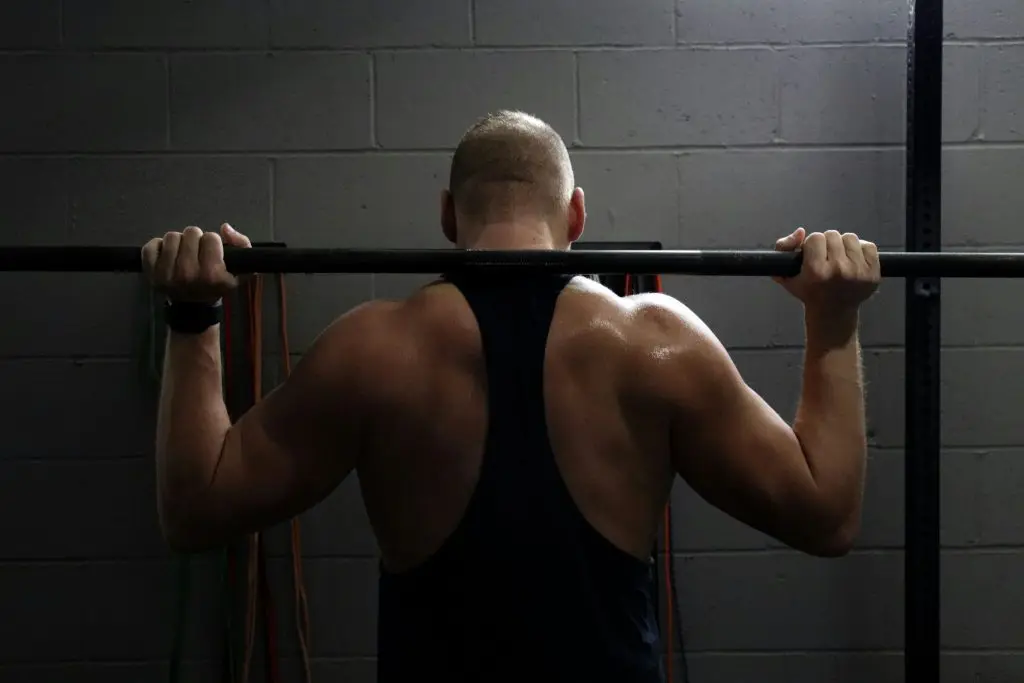
Se vuoi allenarti come un professionista, avrai bisogno di un ancoraggio permanente. Ecco come installare una sbarra per trazioni a parete per una maggiore durata. Una sbarra fissata al muro consente di utilizzare prese più grandi e di sollevare più peso.
- Trova i borchie: Utilizza un rilevatore di montanti per individuare due montanti verticali paralleli. Solitamente, questi sono distanziati di 16 o 24 pollici.
- Marcature del modello: Fissate le staffe di montaggio della barra alla parete all'altezza desiderata. Utilizzate una livella per assicurarvi che siano perfettamente orizzontali.
- Praticare dei fori pilota: Utilizzate una punta da trapano leggermente più piccola del diametro dei bulloni. Questo eviterà che il legno si spacchi e faciliterà l'avvitamento dei bulloni.
- Staffe di montaggio: Allineare le staffe e avvitare a mano i bulloni. Utilizzare un set di azionamento da 3/4 di pollice per ottenere la massima leva quando si utilizzano componenti strutturali per impieghi gravosi.
- Stringilo bene: Utilizzare una chiave a percussione o una Set metrico da 34 pezzi Stringere i bulloni fino a quando la staffa non aderisce perfettamente alla parete.
- Assemblea finale: Fissare la barra orizzontale per le trazioni alle staffe e bloccarla con i dadi e i bulloni in dotazione.
Questo sistema è in grado di gestire qualsiasi carico. È ideale per aggiungere giubbotti zavorrati o elastici di resistenza alla tua routine di allenamento. Non devi preoccuparti che la barra si rompa. È perfetto per gli allenamenti con i pesi.
Come installare una sbarra per trazioni al soffitto
Quando installate mensole o finestre sulle pareti, pensate allo spazio sopra di esse. I professionisti scelgono di fissare gli oggetti al soffitto, perché offre molta libertà di movimento. Questo metodo di montaggio è inoltre molto robusto e duraturo nella maggior parte delle case.
- Identificare le travi: Utilizza il rilevatore di montanti sul soffitto per individuare le travi portanti più spesse (travetti).
- Controllo di autorizzazione: Assicurati che ci sia spazio sufficiente affinché la tua testa non urti il soffitto. Avrai bisogno di almeno 10 centimetri di dislivello.
- Foratura: Praticate i fori pilota esattamente al centro delle travi. La precisione è fondamentale in questa fase; se non centrate il foro, il bullone potrebbe spanare il legno.
- Installazione dei bulloni: Utilizzare set di chiavi a bussola profonde per spingere i bulloni a testa esagonale attraverso le staffe e nella trave.
- Considerazioni metriche: Se il tuo bar utilizza le dimensioni europee, Set metrico profondo da 26 pezzi garantirà un montaggio perfetto senza danneggiare le teste dei bulloni.
- Prova del peso: Appendetevi lentamente alla sbarra. Ascoltate se ci sono scricchiolii. Se il suono è solido, siete pronti per l'allenamento.
Controlli di sicurezza e manutenzione a lungo termine
L'installazione del tuo bar è solo l'inizio. Per evitare che diventi un pericolo, devi mantenerlo regolarmente. Buono consigli per la manutenzione delle attrezzature da palestra Si applicano a qualsiasi cosa, dal bancone alla panca. Quindi, eccole qui:
- Stringere mensilmente: Utilizzare Set di 33 pezzi per impatto per serrare nuovamente i bulloni dopo il primo mese di utilizzo.
- Ispezionare le superfici: Verificate la presenza di crepe nel telaio della porta o di segni di stress nel cartongesso intorno alle staffe a muro.
- Pulisci l'impugnatura: Asciuga il sudore per prevenire la formazione di ruggine e mantenere una superficie sicura e antiscivolo per le mani.
- Controllo bulloni: Per coloro che hanno bulloni più grandi, avere un Set di 23 bussole a impatto La disponibilità immediata rende la manutenzione rapida.
L'allenamento è già abbastanza impegnativo di per sé, senza dover pensare anche al corretto funzionamento dell'attrezzatura. Se la controlli mensilmente, potrai concentrarti sugli esercizi e non rischierai di finire al pronto soccorso.
DOMANDE FREQUENTI
Posso installare una sbarra per trazioni su una porta a pannello cavo?
Assolutamente no. Le porte con anima cava non hanno una struttura robusta in grado di sostenere il peso. Se provi a installare una sbarra per trazioni, la superficie sottile probabilmente si danneggerà. Per sicurezza, opta per telai in legno o supporti a parete. Sono molto più adatti a sostenere una sbarra per trazioni.
Cosa devo fare se i montanti del mio muro sono in metallo anziché in legno?
I montanti metallici standard negli appartamenti moderni non sono progettati per carichi pesanti. Dovrai prima montare una tavola di legno di supporto su diversi montanti. Usa un Kit di attrezzi a cricchetto da 90 pezzi per fissare saldamente la tavola prima di attaccare la barra al legno.
Come posso evitare che una sbarra per trazioni danneggi la carta da parati del mio appartamento in affitto?
Le barre a pressione sono note per la loro tendenza a graffiare la parete. Per proteggere il deposito cauzionale, posiziona un piccolo pezzo di sughero sottile o un panno in microfibra spesso tra i cuscinetti della barra e la parete. Questo distribuisce la pressione e impedisce alla gomma di "fondersi" con la carta da parati o la vernice.
È sicuro appendere una sbarra per trazioni a una trave del pavimento del seminterrato?
Sì, questa è spesso l'opzione più robusta in una casa. Poiché le travi sono in legno strutturale spesso, forniscono un supporto eccellente. Usa un set di chiavi a bussola profonde per avvitare bulloni a testa esagonale al centro della trave per una finitura di qualità da palestra.
Conclusione
Imparare a installare una sbarra per trazioni è il primo passo per diventare più forti. Che tu abbia scelto una sbarra da porta che non necessita di viti o un robusto supporto a parete, ora sei pronto per progredire. Un buon allenamento inizia con una buona preparazione.
Utilizzando i prodotti e seguendo questi passaggi, potrai eliminare le scuse e creare un ambiente di allenamento ideale. Ora prendi il bilanciere. Fai in modo che ogni ripetizione conti!