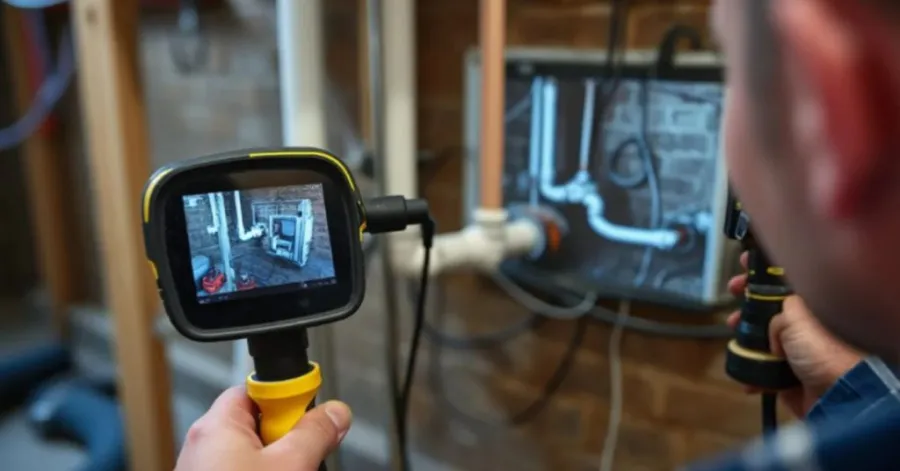
It is crucial to know the exact water pipe camera location to conduct proper underground inspections and repairs. State-of-the-art pipe inspection cameras with locating technology are used to locate blockages, leaks, and damaged sections of pipes without digging. Whether you are checking residential plumbing or commercial pipelines, knowing how to find the position of cameras in water pipes can save you time, reduce labor expenses, and improve inspection accuracy. This guide describes the functionality of pipe camera locating systems, the technologies needed, and the procedures involved in locating the camera underground, as well as the required equipment, locating pitfalls, and best practices to ensure the camera is in a reliable and accurate position for finding the pipe during each inspection.
Table of Contents
How to Determine Water Pipe Camera Position During an Inspection
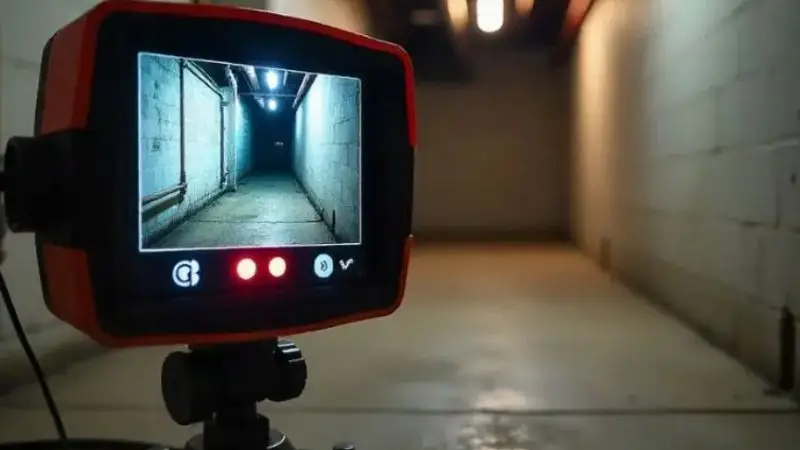
Contemporary pipe inspection is far more than a glimpse of the interior of a pipeline. The precise position of the camera will determine the damaged areas, blockages, and repair areas without digging needlessly.
Learning to locate water pipe cameras enables the technicians to accomplish the inspection process more effectively and save on labor and repair expenses. The right locating technology and equipment will enable you to accurately place your camera into the pipe and make the right repair decision.
Recommended For Your Project
How a Built-In Sonde Transmitter Tracks the Camera Position
The most crucial element is a built-in sonde transmitter that allows locating cameras. Installed behind the camera head, the sonde continuously emits a radio frequency signal as the camera moves through the pipeline. This signal penetrates soil, concrete, and other underground materials, and an operator can find the camera on the surface. This technology is the basis of professional inspection systems since it offers steady tracking of the inspection. The sonde is a component of a complete water pipe inspection camera positioning guide, helping determine the precise location of the camera without excavation. It also provides the optimal position of the water pipe camera to inspect the pipe, making it easier to find leaks, cracks, and pipe joints with certainty.
How a Pipe Locator Finds the Camera Underground
A pipe locator receiver is a device used to detect the signal emitted by the sonde. When the operator is inspecting, he or she gradually sweeps over the ground till the receiver detects the strongest signal, which indicates the camera itself and its exact position under the surface. Most receivers also approximate the depth of the camera, which provides inspectors with valuable information prior to excavation. It is an instructional process of finding a pipeline inspection camera in the ground in a precise and efficient manner. A dependable sewer camera position locator enhances the accuracy of inspection by minimizing guesswork and allowing technicians to be certain of the exact location of the inspection camera, even when pipes are very deep in the ground.
How to Read Camera Depth and Surface Position Accurately
Locating the camera on the surface is just one part of the process. Professional locator receivers use the signal sent out by the camera to determine the approximate depth of the camera as well. This enables inspectors to be aware of the camera’s position as well as its distance to the ground. Once the location has been verified, the position may be marked before repair work starts. These measurements enhance planning and reduce needless excavation. A combination of surface location, depth reads, and cable distance makes one of the most efficient techniques of draining camera placement that is available today. The process provides precise positioning of the pipe cameras and helps ensure that all repair work begins at the right point.
Equipment You Need for Accurate Pipe Camera Positioning
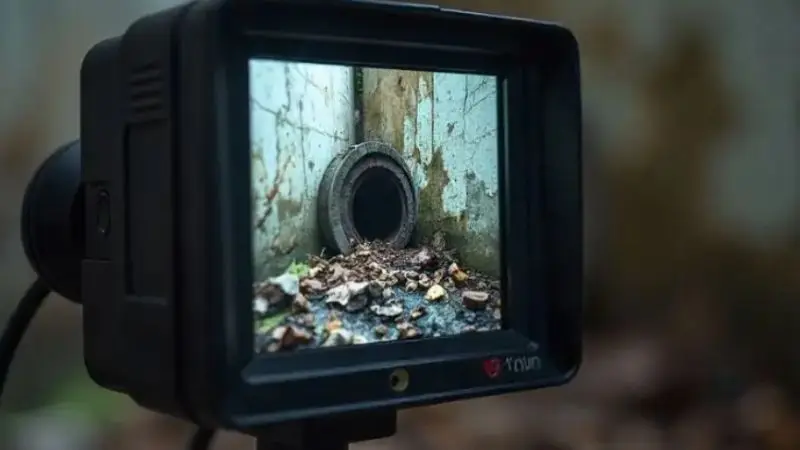
The inspection camera is not the only tool that can be relied upon to achieve accuracy in locating. Each piece of equipment contributes to determining the position of the camera, monitoring the progress of inspection, and preparing the location to be repaired.
The combination of the right tools forms a complete locating system to enhance efficiency in the inspection area. When inspecting residential water lines or large underground utilities, the right equipment will help ensure accurate positioning of a pipe camera throughout the inspection process.
Choose a Pipe Inspection Camera with a Built-In Sonde
Successful underground locating is based on a professional pipe inspection camera with an inbuilt sonde. The camera records understandable video within the pipeline, and the built-in transmitter continuously transmits a locating signal which can be detected on the surface. This enables operators to keep track of the camera’s movement without disrupting the inspection. The locating capability of the camera is a significant move towards any water pipe inspection camera positioning guide, as it provides visual inspection with a high degree of accuracy of tracking underground. It also simplifies deciding where to place the water pipe camera to enhance accuracy and minimize unnecessary digging during maintenance and repair work.
Use a Sewer Camera Position Locator to Find the Camera
A locator receiver operates in conjunction with the inspection camera in order to sense the frequency transmitted by the sonde. As the receiver traverses the ground, it finds the strongest signal and shows the camera’s position and approximate depth. This enables the technicians to check the location of the inspection prior to commencing repairs. An effective sewer camera position locator is necessary to locate blocked pipes, broken joints, and underground utilities with certainty. It also makes it easier to find a pipe inspection camera underground, enables inspections to be more efficient, and aids in proper positioning of pipe cameras in a variety of plumbing and drainage applications.
Track Camera Distance with a Measuring Wheel
A measuring wheel is used so that the inspectors can check the distance covered by the inspection camera in the pipeline. It does not find the camera per se, but gives valuable distance information to supplement locator readings. By comparing cable distance and the camera’s position, one can check the accuracy of the inspections, and technicians are aware of the exact location of the defects. Many professionals use this equipment in their drain camera mounting strategies since it improves documentation of inspections and minimizes the chances of finding faults. Accurate distance measurements come in handy when checking long pipelines with a series of bends or branch connections.
Mark the Camera Position with Ground Marking Tools
After verifying the camera position, the next step is to mark it on the surface. Utility paint, chalk, marker flags, and temporary ground markers provide clear reference points for repair crews. Making the right mark avoids confusion and helps excavation start at the right point. This last process helps determine the optimum water pipe camera position to inspect by converting electronic locating information into visible field markings. In combination with a locator receiver, measuring wheel, and inspection camera, ground marking tools complete an efficient locating process that provides accurate camera positioning of the pipe and minimizes unwarranted digging and waste of time in the project.
How to Determine Water Pipe Camera Position Step by Step
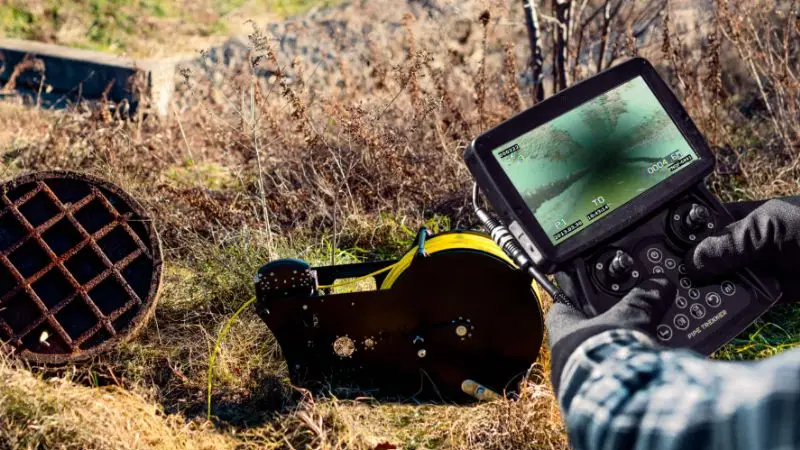
With the right equipment and the right order, finding a pipe inspection camera is not a difficult task. Each step allows you to make the work more accurate and minimizes the possibility of excavation in the wrong place.
Regardless of whether you are checking a water supply line, drain, or sewer line, by doing so, you will know how to position the camera on the water pipe and, at the same time, position the camera on the pipe accurately during the entire inspection.
Step 1: Insert the Camera into the Pipe
Begin by pushing the pipe inspection camera into the pipe via a cleanout, access point, or inspection opening. Gently push the camera, watching the live video feed to keep track of the inside of the pipe. Go slowly enough to allow the camera to go through bends and joints without getting stuck. Keeping the camera moving smoothly also simplifies tracking its location in the future. A good beginning will guarantee efficient inspection and will be the basis of a good water pipe inspection camera placement guide for identifying underground pipelines.
Step 2: Turn On the Built-In Sonde Transmitter
Once the camera is in the pipeline, ensure that the built-in sonde transmitter is turned on. The sonde transmits a radio signal constantly, which passes through the ground and can be received by a matching locator receiver. In the absence of this signal on the surface, it becomes hard to locate the camera. The transmitter is automatically triggered by most professional inspection systems, and some systems have to be operated manually. An active sonde is also necessary to properly locate the camera on the pipe since it enables the technicians to know where the camera is during the inspection without disrupting the workflow.
Step 3: Scan Above the Pipe with the Locator
When the camera is on the move inside the pipe, start scanning the ground over the pipeline with the locator receiver. You may slide the receiver along the anticipated route of pipe and note the variations in signal strength. Waiting it out at this step helps avoid false readings and improves finding accuracy. These selective scans are the most useful drain camera positioning techniques, as they can enable the receiver to determine the location of the camera promptly and precisely without needing to repeat the search process.
Step 4: Locate the Strongest Camera Signal
Keep scanning until you find the signal with the highest strength. In most cases, this point is directly above the inspection camera. To ensure the outcome, relocate the receiver forward, backward, and sideways until the signal is strongest at the same site. This test will remove the interference of the surrounding underground utilities. It is also the usual way of finding a pipe inspection camera underground and aids inspectors in determining the most suitable position of a water pipe camera to be used to inspect the pipe prior to the commencement of excavation.
Step 5: Check the Camera’s Underground Depth
Once the camera is found on the surface, the receiver’s depth feature can be used to determine the approximate depth of the camera below the ground. This measure is automatically computed by most modern locator receivers as soon as they receive the sonde signal. This information on the location of the surface and depth of the underground area can enable the repair teams to dig in the right place and not cut off the adjacent utility lines. Depth is a significant aspect of proper pipe camera positioning as it gives the data that is required to plan the repair effectively and minimize needless excavation.
Step 6: Mark the Camera’s Exact Position
The last thing is to indicate the location of the camera on the ground that has been confirmed. Clear reference points can be created before repair work begins by using utility paint, chalk, or marking flags. In case several problem areas are identified during the inspection, mark them in different places so that they can be identified later. The water pipe inspection camera positioning guide includes proper surface marking, which converts electronic locator readings into visible reference points that excavation crews can easily follow, saving time and avoiding unnecessary excavations.
How to Choose a Pipe Inspection Camera for Easy Position Tracking
Not all pipe inspection cameras have the same locating features. By selecting a system with the right mix of technology, inspections can be done faster, locating accuracy can be improved, and underground repairs become easier.
When buying a camera, compare features that help with proper positioning on the pipes and reliable inspections. A properly equipped system will ensure improved performance and make it much easier to locate underground pipelines.
Choose a Camera with a Built-In 512 Hz Sonde
One of the most significant characteristics used to find a pipe inspection camera is a built-in sonde with 512 Hz frequency. This transmitter transmits a radio signal that can be received by compatible locator receivers located above the ground. It can be used with most professional locating systems since 512 Hz is the industry standard. When you want to calculate the position of a camera used to view the water pipe, it is necessary to choose a camera with a built-in sonde. It can offer steady tracking during the inspection and help inspectors find damaged areas without digging unnecessarily.
Look for a High-Definition Camera Head
The high-definition camera head is designed to take clear, close-up shots of the inside of the pipe, making it easier to spot cracks, blockages, corrosion, and other flaws. Clearly visible video also assists the inspectors in identifying the pipe fittings, bends, and junctions, making it easy to compare the location of the camera with that of the locator. Optimal image quality helps with positioning the water pipe camera for inspection, increases trust in visual inspection and camera location underground, and leads to more precise repair planning.
Select a Camera with a Flexible Push Rod
The inspection camera is mounted on a flexible push rod, which enables the camera to move freely through long pipelines as well as bend and curve without loss of control. Good rods do not twist and tend to move steadily, making inspection easier and reducing the chance of the camera getting stuck. Smooth camera movement also enhances locator accuracy, as the sonde stays in place while it emits its signal. This capability supports credible drain camera positioning methodologies and helps operators examine complex pipeline systems more effectively.
Choose the Right Cable Length for Your Inspection
Pipe inspection cameras come in various cable lengths to fit various uses. Residential plumbing can be done using short cables, and longer cables can be used in commercial buildings and municipal pipelines. When you choose the correct length of the cable, you can inspect the whole pipeline without having to move your equipment as often. The longer inspection distances also simplify locating a pipe inspection camera underground, since the process can proceed without interruption and camera positioning can be accurately maintained across long runs of pipes.
Use a Camera with Self-Leveling Technology
Even when the camera is rotated within the pipe, self-leveling technology automatically keeps the image upright. A steady picture will ensure the defects are easier to detect, the direction of the pipes, and the inspection video. The feature minimizes confusion during extended inspections and enables technicians to compare what they observe on the screen with where the camera is located beneath the ground. It can be considered an excellent addition to any water pipe inspection camera positioning guide, as it enhances accuracy in the inspection and efficiency in general.
Pick a Camera That Records Video and Images
A camera with an in-built DVR recorder and image capture enables inspectors to store videos and snapshots taken during the inspection. The files can be used to record the conditions of the pipes, to write reports, and share findings with the customers or the maintenance team. Captured video also leaves an unchanging record for use in subsequent inspection and repair arrangements. Video documentation in conjunction with locator data allows proper positioning of the pipe camera, thereby assisting technicians in checking the results of the inspection and locating the exact position of repair whenever required.
Wrap-Up
Proper use of a pipe inspection camera is the secret to quicker diagnostics, corrective repairs, and lower excavation expenses. The accuracy of any inspection can be enhanced by ensuring that you use the appropriate equipment, adhere to the proper inspection procedure, and comprehend the typical locating difficulties. Underground tracking is a lot more reliable with a quality camera that has an inbuilt sonde and a compatible locator receiver. For professional plumbers or contractors, these techniques will help you correctly position your camera on the pipe and perform inspections without fear. Proper locating technology also enhances productivity and long-term maintenance planning.
FAQ
Position of water pipe camera; how do you calculate it?
A built-in sonde transmitter and a compatible locator receiver can be used to determine the position of the camera. The receiver picks up the signal and establishes the location of the surface of the camera and the approximate depth.
What is a sewer camera position locator?
A sewer camera position locator is a receiver that picks up the signal of a sonde transmitter on a pipe camera. It helps determine the camera’s location underground with precision before repairs or digging.
In what way is the positioning of pipe cameras?
Under normal conditions, the camera can be located within a few inches by professional locating systems. Precision is related to the quality of equipment, the condition of the soil, the strength of the signal, and proper operating methods.
Do you know where to find a pipe inspection camera without a sonde?
No. A standard locator will not pick up the position of the camera without a sonde transmitter. A camera should come with an in-built or external sonde to track the location underground.
What is the optimal position of a water pipe camera to inspect?
The optimal water pipe camera viewpoint to inspect is above the spot of inspection and with a locator signal that is very strong and depth-checked so that repairs are done accurately and as little as possible digging is done.