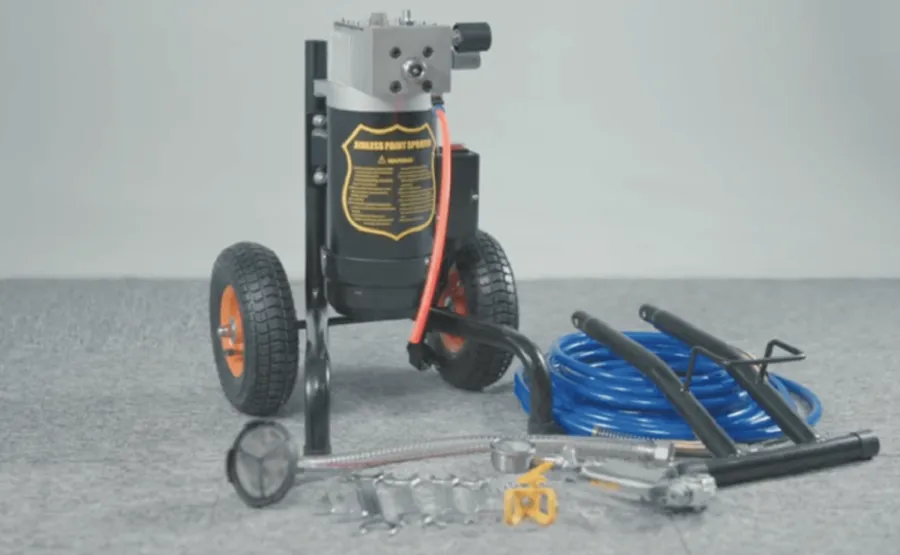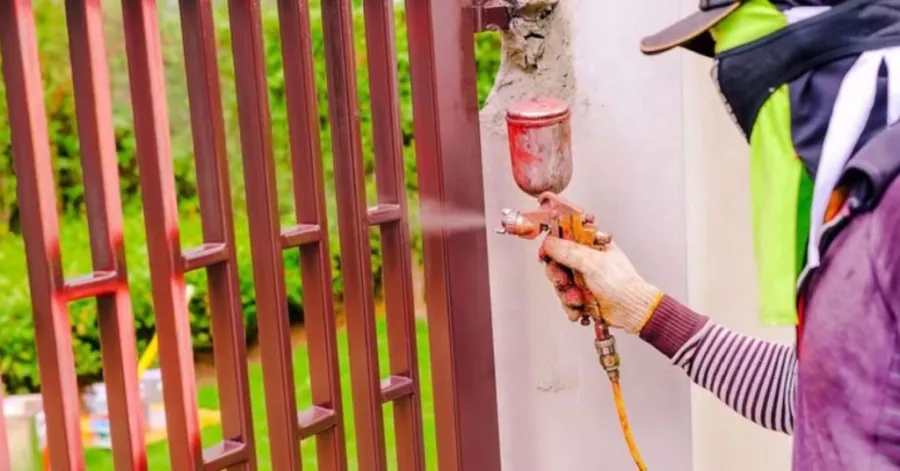
Before applying spray paint to a wood fence, make sure the surface is properly prepared and that you have the right spray paint for wood fences, along with the necessary tools and spray tips. Only when you do this will you be able to get the best potential results. Using this method will allow you to finish painting your wooden fence in less time, achieve an even covering, and give it a more professional look. A lot of homeowners are concerned about many things, like protecting their yards, choosing the right spray paint for their wooden fences, and avoiding messes.
In this article, we’ll show you how to select the right spray paint for wood fence and prepare the surface for optimal results. You’ll also discover valuable painting ideas, spray techniques, and ways to achieve a clean, professional-looking finish while protecting your yard from overspray.
Tools and Materials Needed for Spray Painting a Wood Fence
@dwscustoms vevor paint sprayer #paintgun #paintsprayer #housepaint #dwscustoms
♬ original sound – King Scoot
How to spray paint a wood fence? Before you start painting, you need to get the necessary tools and materials. This makes the procedure even smoother and helps you achieve a fantastic finish on your wood fence.
Best Types of Spray Paint for Wood Surfaces
You need the best way to spray paint a wood fence that’s sticky and long-lasting. Experiment with an outdoor wood spray paint. The paints are weather- and sun-resistant. If you’re using a paint sprayer or an airless sprayer, check the paint label to ensure it’s compatible with your equipment. Some people will also use an airless sprayer for staining when they want a natural effect rather than a solid color.
Tip: Always shake the spray paint can or mix the paint well before you start. This helps you get even color.
Essential Protective Gear and Safety Equipment
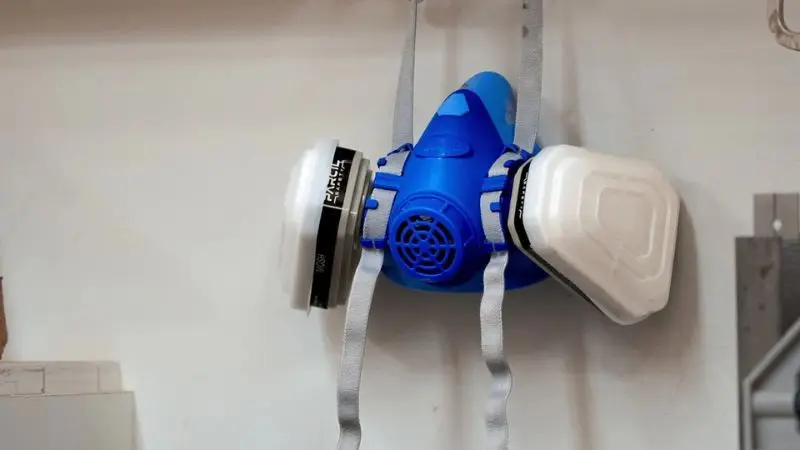
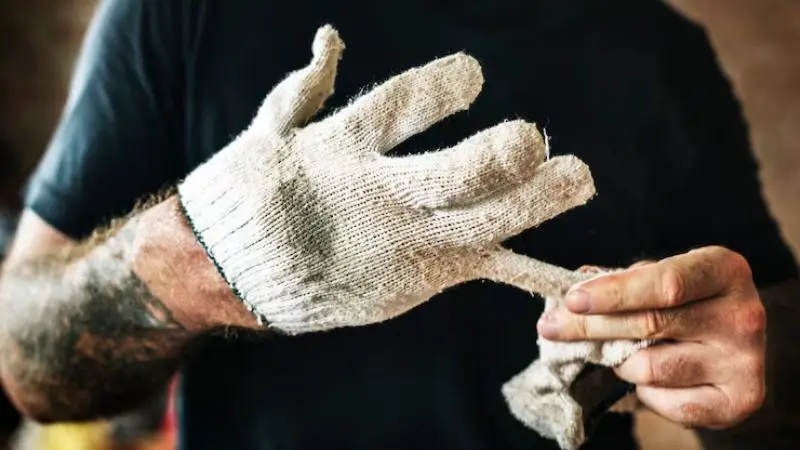
Safety comes first when using a paint or airless sprayer. You should wear:
- A mask or respirator to avoid breathing in paint mist
- Safety goggles to protect your eyes
- Gloves to keep your hands clean
- Old clothes or a painter’s suit
These items keep you safe and make cleanup easier.
Preparation Tools (Sandpaper, Cleaner, Drop Cloths, Tape)
Can you spray paint a wood fence? Spray paint works well on a wooden fence, but you need to prep the surface first. You want to get all the resources you need to make the job go off without a hitch. Sandpaper will smooth uneven surfaces and help the paint adhere better. Give the fence a good cleaning to remove any dirt, dust, mildew, or loose debris that could mess up the finish. Put drop cloths around the work area to protect grass, plants, and walkways from overspray. Cover hinges, locks and other hardware you don’t want painted with painter’s tape. Getting it ready ahead of time can save you time and will result in a neater, more professional-looking product.
How to Prepare a Wood Fence for Spray Painting
Cleaning the Fence Surface Properly
How much spray paint for a wood fence? Begin with a clean surface. Paint won’t stick to dirt, dust, and mildew. Sweep away loose debris with a strong brush or broom. For tough areas, use a garden hose or pressure washer on a low setting. If you notice mold or mildew, combine dish soap and water and clean the spot. Rinse well and allow the fence to dry. You want the wood to be dry to the touch before moving on.
Tip: Thoroughly cleaning your fence helps the paint last longer and look smoother.
Sanding and Repairing Damaged Wood
Then check your spray painting old wooden fence for rough spots, splinters, or old, flaking paint. These places will be sanded down with medium-grit sandpaper. Sanding will make the new paint adhere better. If you spot any cracks or holes, patch them up using external wood filler. Let the filler dry and sand to a smooth finish. Look for loose boards or nails that are sticking out. Nail back in. Tighten loose boards. This will prepare your fence for paint and safety.
- Sand rough spots and peeling paint
- Fill cracks and holes with wood filler
- Fix loose boards and nails
Masking and Protecting Surrounding Areas
You don’t want paint on your grass, flowers or house. Lay down drop cloths or plastic sheets on the ground next to the fence. Cover metal hinges, locks, or other hardware you don’t want painted with painter’s tape. If your fence is next to a wall or shed, tape plastic sheeting to the wall or shed. Take your time with this one. A good mask will mean less cleanup later. Your wood fence is now clean, smooth, and protected. Now you’re ready to start spray painting!
Step-by-Step Guide: How to Spray Paint for Wood Fence

Step 1 – Choosing the Right Weather Conditions
How to spray paint a wood fence? When spraying a fence, select a dry, mild day. It is ideal for the air temperature to be between 50 and 80 degrees. Painting should not be done on days with strong winds, as the wind can blow spray paint onto nearby wood fences, plants, or other surfaces. The paint will dry more quickly if the humidity is kept low. If there is a chance of rain, you should wait until a better day. For your paint sprayer to perform at its peak and your project to go off without a hitch, favorable weather conditions are essential.
Step 2 – Applying Primer for Better Adhesion
Primer helps spray paint stick to the surface of a wood fence. To fill your paint sprayer up. Hold sprayer 10-12 inches from wood fence. Your arm must make smooth, even strokes. Apply a thin, even coat over the whole fence. Let the primer dry sufficiently before you begin painting. This is the best way to spray paint a wood fence to help your color last longer and look brighter.
Step 3 – Spraying the First Coat Evenly
Now you can paint your wood fence with spray paint. Fill your sprayer with the paint. Begin at the top of the fence and move down. Keep the paint sprayer moving at a constant pace. Overlap each pass a little so you don’t miss any locations. Don’t put a lot of spray in one spot. This prevents drips and runs.
Step 4 – Applying Additional Coats for Durability
Allow the first coat to dry. Check the instructions on your spray paint vs brush for wood fence for drying times. Then spray a second coat with your paint sprayer. It enhances the color and protects your wood fence from the elements. For added durability, add a third coat. Let each coat dry before spraying on the next.
Step 5 – Drying and Finishing Touches
Once you have finished painting, let your fence dry thoroughly. How much spray paint for a wood fence? Don’t touch or lean anything on it until it’s dry to the touch.” Take down painter’s tape and dropcloths. Look for any missed places or thin regions. Touch up any spots quickly using your paint sprayer. Step back and appreciate your handiwork. You’re ready to paint your fence like an expert!
Remember: Taking your time with each step gives you a smooth, even finish that lasts.
Best Spray Paint Techniques for a Professional Finish
Maintaining Proper Spray Distance
You want a nice-looking wood fence with your paint sprayer. How to spray paint a wood fence? Hold the sprayer 10 to 12 inches from the surface. Get too close, and the paint starts to build up, causing drips. If you back up too far, the spray is feeble and spotty. As you walk around the fence, try to keep your arm steady and your distance constant. This helps you get all the boards equally covered.
Tip: Practice your spray techniques on a piece of cardboard before painting your fence. You can see how the spray pattern changes with distance.
Using Consistent Motion for Even Coating
You will want to move the spray gun at a uniform speed. Can you spray paint a wood fence? Begin at one end of the fence and walk directly across. Don’t wave your arm about or stop halfway through. If you pause, the paint will pile up and run. Overlap each pass by about a third so you don’t miss any areas. This will make your painting look professional.
Here’s a quick checklist for smooth motion:
- Move your paint sprayer in straight lines.
- Overlap each spray pattern.
- Keep your speed steady.
Avoiding Drips, Runs, and Overspray
Drips and runs will spoil your finish. If you see them, pause and immediately smooth them out with a clean brush. Don’t spray too much paint in one place. Overspray occurs when paint gets outside the target area. Cover surrounding surfaces with drop cloths and tape down painter’s tape. Watch your spray pattern, and slow down if you detect too much paint stacking up.
You can master these spray paint vs brush for wood fence techniques with a little practice. Your wood fence will look fresh and neat, and your painting job will last longer.
How to Maintain a Painted Wood Fence
Regular Cleaning and Inspection Tips
You want that fresh look of your spray painting old wooden fence all year long. Start by cleaning it every couple of months. With a garden hose, clean off dirt and dust. Use a delicate brush and mild soap for stubborn areas. Avoid harsh chemicals, as they will damage the paint. Walk along your fence and check for chipped paint, mold, or signs of wear. “Early problem detection keeps your fence in good shape.
Touch-Up Painting for Damaged Areas
Sometimes you will see little chips or scrapes. You don’t have to paint the entire fence. Use the best way to spray paint a wood fence and touch up paint on these areas. First, clean the area. Let the damaged area with dry paint dry, then touch up with a small brush or spray paint. Match the color as closely as feasible. This quick fix can help keep your fence looking tidy and protect it from moisture.
When to Repaint Your Fence
How often do you have to repaint your fence, you may ask? Most fences need to be repainted every 3-5 years. If you’re seeing fading, peeling, or lots of chips, it’s time for a fresh coat. Painting a fence before the damage spreads will save you money and work. Choose a dry day and do the same as you did previously. Regular maintenance makes painting easier and helps to keep your fence robust.
Conclusion
You should now have a good idea of how to spray paint for wood fence professionally. To obtain the best results, the necessary procedures must be performed, such as maintaining a steady spray, starting with proper preparation, and using the right tools. Most importantly, be sure to complete a yearly inspection of your fence and make any needed repairs to areas that need attention. When you see significant fading or chipping, repaint. A modest amount of upkeep will ensure your fence continues to look lovely for many years to come. This will help you to make sure it lasts.
FAQ
Can I spray-paint a wooden fence without using primer?
You can skip primer, but your paint may not stick as well or last as long. Primer helps the color pop and protects the wood. For best results, always use primer.
How long does spray paint take to dry on a wood fence?
Most spray paints dry to the touch in about 1 hour. You should wait at least 24 hours before touching or hanging anything on the fence. Check the paint can for exact drying times.
What should I do if I get overspray on plants or nearby surfaces?
Act fast! Use a damp cloth to wipe paint off plants or surfaces. If the paint dries, gently scrape it off. Drop cloths and painter’s tape help prevent overspray.
Can I use spray paint on an old, weathered fence?
Yes, you can. Clean and sand the fence first. Fill cracks and fix loose boards. Prep work makes old fences look new again with spray paint.
How often should I repaint my wood fence?
You should repaint every 3 to 5 years. If you see fading, peeling, or lots of chips, grab your paint sprayer and freshen up your fence.