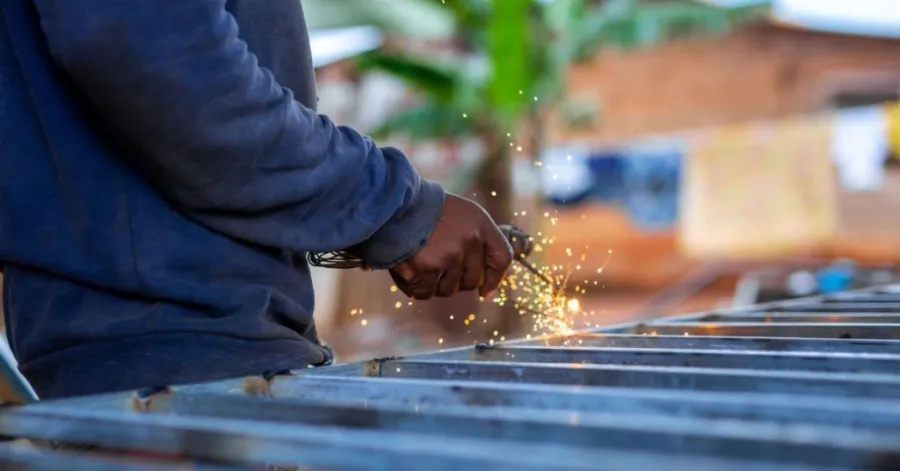
You can learn how to weld aluminum with a MIG welder by following easy steps and practicing with the right tools. It’s crucial to clean the aluminum well and set up your welder specifically for aluminum. There are many pitfalls you need to be aware of while MIG welding aluminum. But why is aluminum hard to MIG weld? You’ll get to know it in the following read. You must use the right aluminum wire and shielding gas every time you weld. Practice until you gain confidence in your skill, and you’ll become a pro in welding aluminum. So keep reading!
How to Weld Aluminum with a MIG Welder – Tools and Equipment
Choosing the Right MIG Welder
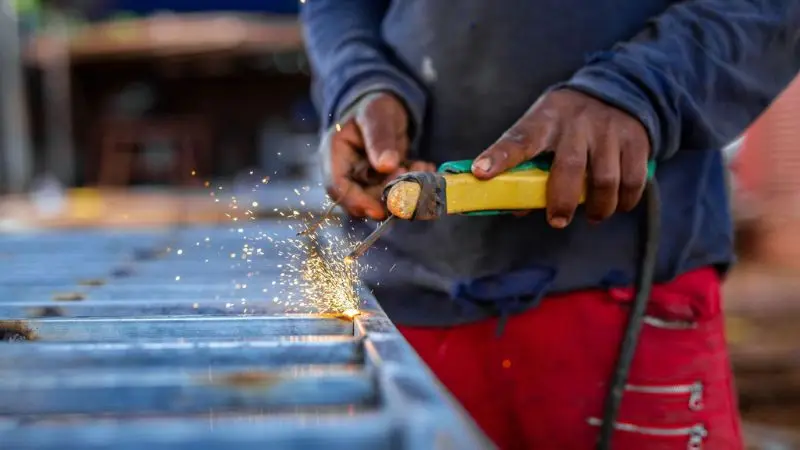
You need special tools to learn how to weld aluminum with a MIG welder. Not all MIG welders can weld aluminum. Pick a MIG welder with enough power. Make sure it can use a spool gun. Spool guns help move soft aluminum wire. Some welders also use push-pull guns. These guns give you better control. Always read the welder’s manual to check if it works for aluminum. If you want to weld thick aluminum, get a welder with more amperage.
Aluminum Wire Types (ER4043 vs ER5356)
You need the right aluminum wire to work on how to weld aluminum with a MIG welder. ER4043 and ER5356 are two of the most popular wires. ER4043 is good for most aluminum jobs. Performs smooth welds. ER5356 is stronger than ER4043. For projects requiring greater strength, use it. When you weld, both wires are used to fill the space. Choose the wire with the same color as your aluminum. Never use the wrong wiring for any project.
| Wire Type | Best Use | Strength | Notes |
| ER4043 | General aluminum-welding | Medium | Easy to use |
| ER5356 | High-strength aluminum | High | For stronger welds |
Shielding Gas Requirements (100% Argon Explained)
Aluminum is welded with pure shielding gas. 100% argon is the best gas to use. Argon keeps the weld safe from air. It also keeps the aluminum clean. MIG welding aluminum with argon gas only is the right option instead of using mixed gases. Set your MIG welder to use only pure argon. This will help you make strong and clean welds.
Tip: Always check your gas flow before you start welding.
Essential Safety Gear for Aluminum Welding
Safety gear protects you from sparks and smoke. These safety steps are crucial while practising how to weld aluminum with a MIG welder:
- Wear PPE: a helmet, gloves, and a jacket.
- Use personal protective equipment for eyes and ears
- Keep your workspace clean for safety
Preps on How to Weld Aluminum with a MIG Welder
Cleaning the Aluminum Surface Properly
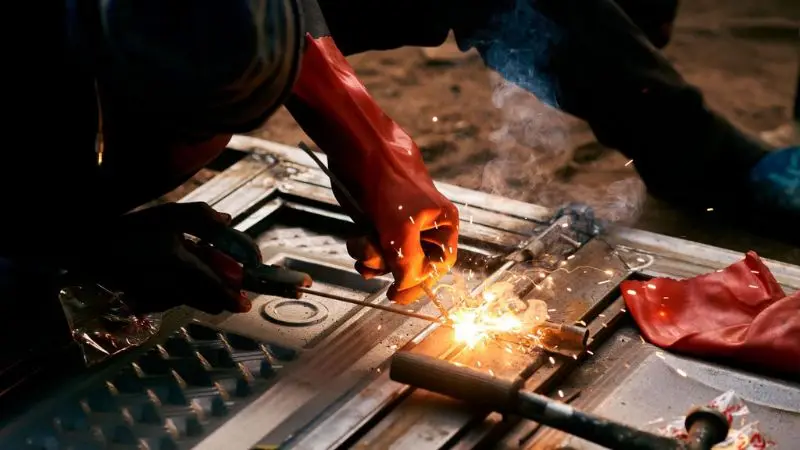
You have to clean aluminum before you start MIG welding. Oil, grease, and dirt can foul up your weld. Use an aluminum-only wire brush. Scrub the metal until it is shiny and bright. You can also use a special cleaner for aluminum. Make sure you dry the metal after cleaning it. This is the preparation for getting started with how to weld aluminum with a MIG welder.
Tip: Always use a new brush for aluminum. Old brushes might leave steel bits behind.
Removing Oxides and Contaminants
Why is aluminum hard to MIG weld? The answer is that aluminum gets a hard oxide layer on top. It is coated with a tough layer of oxide. It must be removed prior to MIG welding. Only use a stainless steel wire brush or grinding wheel for aluminum. Brush in one direction. Avoid using a brush that has come in contact with other metals. Other materials, such as paint or rust, can also damage your weld. Use sandpaper or a chemical cleaner to get rid of them.
Clamping and Positioning the Workpiece
Clamp the aluminum tight before you start welding. Clamps keep the metal from moving and aluminum from bending. This makes welding much easier. Put the pieces so you can reach every spot. A good setup means you do not have to move the metal. Check that the pieces are lined up right before you start.
Knowing how to weld aluminum with a MIG welder takes careful work.
How to Weld Aluminum with a MIG Welder – Setting Up the Welder
Adjusting Voltage and Wire Feed Speed
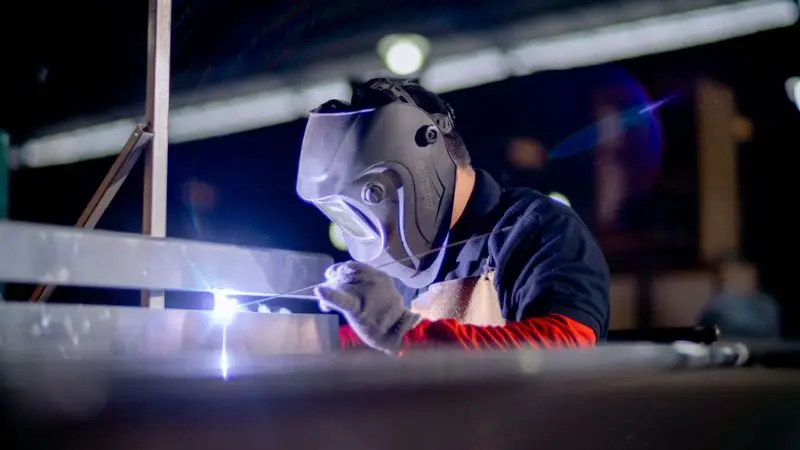
You must set the voltage and wire feed speed on your MIG welder before getting started with how to weld aluminum with a MIG welder. High voltage makes the melting of aluminum faster. The wire feed speed must be adjusted to ensure smooth wire feed. If the speed is set too slow, the wire will burn back. If it is set too high, the wire will stack up. For every thickness of aluminum, make sure to check your settings. Experiment a little to get a consistent arc and smooth weld. The majority of welders use the spray transfer mode for aluminum welding. This mode provides you with cleaner welds and less spatter.
Tip: Write down your best settings for each aluminum project. This helps you remember what works.
Using Spool Guns vs Push-Pull Guns
Can you weld aluminum without a spool gun MIG? The answer is yes, but for large aluminum jobs. Aluminum can be welded using either a spool gun or a push-pull gun. Spool guns hold the filler wire near the weld. This prevents jamming and bending of the wire. Push-pull guns pull wire from the feeder and push the wire to the weld. There are two guns that can be used to feed soft aluminum wire. Select the gun that is suitable for use with your MIG welder and project.
| Gun Type | Best Use | Pros | Cons |
| Spool Gun | Small aluminum jobs | Easy to set up | Limited wire length |
| Push-Pull Gun | Large aluminum jobs | Smooth wire feed | More expensive |
Selecting the Correct Gas Flow Rate
You must set the right gas flow rate for MIG welding aluminum. There should be MIG welding aluminum with argon gas only. Adjust to 20-30 cubic feet per hour. Too low a rate will lead to the possibility of air reaching the weld, causing issues. If you set it too high, you waste gas and may disturb the arc. Always check your settings before you start how to weld aluminum with a MIG welder. Clean and strong welds are achieved by good gas flow.
Note: Use spray transfer mode with the correct gas flow for the best aluminum welds.
Polarity Settings for Aluminum MIG Welding
To learn how to weld aluminum with a MIG welder, the polarity must be set on the MIG welder. Use a direct current electrode positive (DCEP) for GMAW. This setting provides deep penetration and good welds. Always refer to the manual of the welder to ensure that appropriate settings are being used. Your weld will be weak if the polarity is not correct. Change the polarity of your MIG welder to DCEP each time you weld aluminum. Proper polarity settings should be used for optimum operations with GMAW and filler wire.
Tip: Test your settings on scrap aluminum before you start your real welding project.
Check the VEVOR MIG welder to understand the operation the easy way.
Step-by-Step Guide: How to Weld Aluminum with a MIG Welder
Step 1 – Preparing Your Workspace
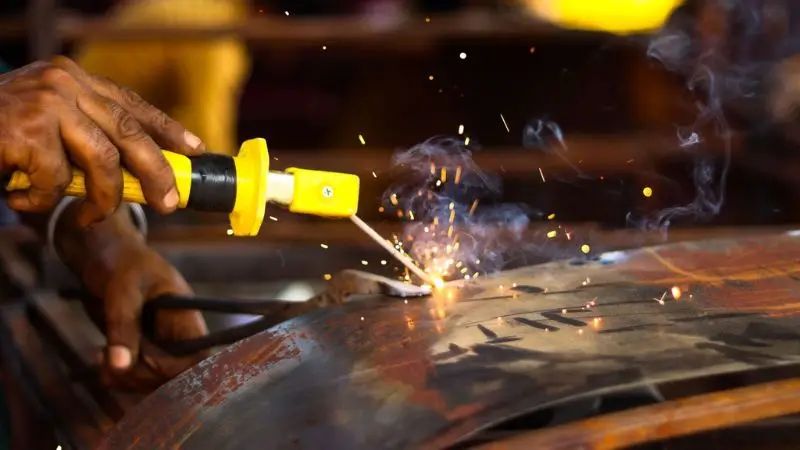
Before starting how to weld aluminum with a MIG welder, make your workspace safe and clean. Remove anything that can catch fire. Mount the MIG equipment on a solid table. The illumination is important for the visibility of the aluminum. Have tools handy and have filler wire on hand.
Step 2 – Setting Up Equipment Correctly
Set up your MIG welder for aluminum. Check the voltage and wire feed speed. Weld aluminum using the proper filler rod. Attach the spool gun or push-pull gun. Install the gas hose and adjust the flow rate. Make sure you use 100% argon for shielding. Make sure all equipment is double-checked before the welding operation.
Tip: Test your settings on scrap aluminum before you start the process of how to weld aluminum with a MIG welder.
Step 3 – Tack Welding the Aluminum Pieces
Line up the aluminum pieces. Secure them to prevent any motions. Do the corners first by tack-welding. This holds the joints in place. Tack welding makes the aluminum-welding process easier. Pieces can be modified if necessary. Limit the time you use your MIG welder. Please avoid overheating the aluminum.
Step 4 – Performing the Weld Pass
Now, start the main weld. Hold the MIG gun at a slight angle. Smoothly move the gun over the joint. Hold the filler wire firmly. Keep an eye on the weld pool throughout. Use the push technique when working with aluminum with MIG welding. This will keep the weld clean. Add filler as needed to fill the joints.
Note: If you see too much spatter, adjust your MIG settings.
Step 5 – Cooling and Inspecting the Weld
Allow the aluminum to cool down gradually. Do not use water to cool the weld. Inspect the weld for cracks and holes. The quality of a weld should be smooth and shiny. If there are issues, the area can be ground and rewelded.
This step-by-step guide shows you how to weld aluminum with a MIG welder. Mig welding aluminum becomes easier as you follow each step and check your work.
How to Weld Aluminum with a MIG Welder – Common Mistakes
Overheating the Metal
When used with a MIG welder, aluminum heats up quickly. The problem, how to weld thin aluminum with a MIG welder, also arises here. Too much heat will cause the metal to warp or even melt through. Burn through holes or a drooping weld bead can occur. Always check your voltage and wire feed settings before you start welding. Use short weld passes to avoid high temperatures. Allow aluminum to cool between welds.
Tip: If you see the aluminum turning dull or sagging, stop welding and let it cool. That’s how to weld aluminum with a MIG welder safely.
Using the Wrong Wire or Gas
You must use the right wire and gas if you want to learn how to weld aluminum with a MIG welder correctly. If you pick the wrong filler, the weld can crack or break. Always choose ER4043 or ER5356 wire for aluminum welding. You must follow the rule of MIG welding aluminum with argon gas only. Mixed gases do not protect the weld well.
Poor Surface Preparation
Dirt, oil, and oxides on aluminum can ruin your weld. You need to clean the metal before you start how to weld aluminum with a MIG welder. Use a stainless steel brush just for aluminum. Remove all grease and dust.
- Clean with a dedicated brush.
- Remove all oil and dirt.
- Check for oxides before welding.
Incorrect Travel Speed and Technique
The technique for how to weld aluminum with a MIG welder matters a lot. If you move the MIG gun too fast, the weld will not fill the joint. If you move too slow, you may overheat the aluminum. Keep a steady hand and use a push technique. Watch the weld pool and adjust your speed as needed.
Note: A good weld looks smooth and even. If you see holes or bumps, adjust your speed.
By following this guide on how to MIG weld aluminum for beginners step-by-step, you will see stronger welds and cleaner results as you practice and learn.
In Summary
This guide on how to MIG weld aluminum for beginners step-by-step highlights the following: Clean aluminum before you weld. Set up a MIG welder for aluminum, and practice welding aluminum often.
You can learn how to weld aluminum with a MIG welder if you follow each step. Use the right wire and gas every time. Check your weld after each pass. Remember, you get better at MIG welding aluminum by practicing.
FAQs
Can you use a regular MIG welder for aluminum?
You can use a regular MIG welder for aluminum if it supports spool guns or push-pull guns. Check your welder’s manual, which may also tell how to weld thin aluminum with a MIG welder.
How to weld aluminum with a MIG welder with the best wire?
Use ER4043 or ER5356 wire for MIG welding aluminum. ER4043 works for most jobs. ER5356 gives you stronger welds. Match the wire to your aluminum project.
Why does aluminum need 100% argon for MIG welding?
Argon protects the weld from air. Mixed gases do not shield aluminum well. MIG welding aluminum with argon gas only is a must. Pure argon gives clean and strong welds.
How do you prevent burn-through when MIG welding aluminum?
You can prevent burn-through by adjusting the MIG voltage and wire feed speed. Use short weld passes. Let the aluminum cool between welds.
Do you need to clean aluminum before MIG welding?
Clean aluminum before MIG welding. Remove oil, dirt, and oxides. Use a stainless steel brush. Clean surfaces help you make strong welds and improve your MIG welding results.