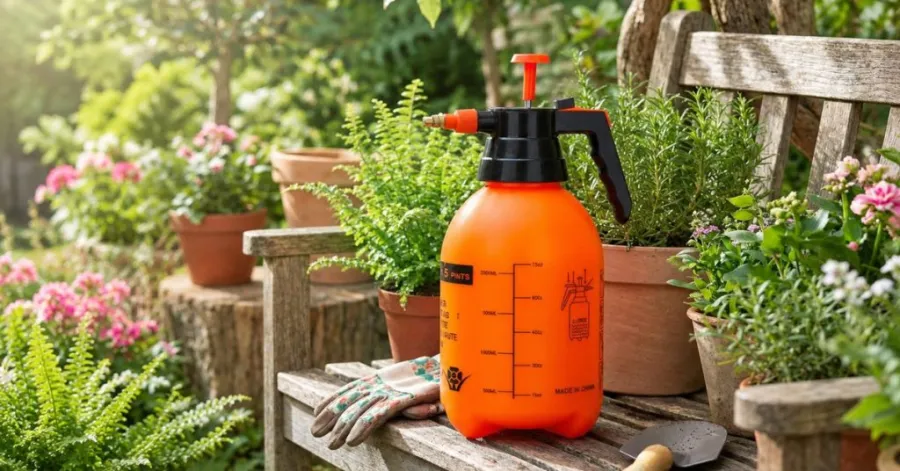
A pump sprayer is a basic, versatile tool that applies liquids equally onto plants, gardens, lawns, and residential surfaces. This one comes with a tank, pump handle, wand, and adjustable nozzle so you can water, control weeds, treat pets, and clean quickly and efficiently. It can be hard to use at first, but after you know what you are doing, it is incredibly easy.
In this post, we’ll show you how to use a pump sprayer in 5 easy steps. You will learn how to make the liquid, load the tank, pressurize the sprayer, and use it safely. By the end, you’ll be ready to utilize your pump sprayer with confidence.
How to Use a Pump Sprayer Step by Step
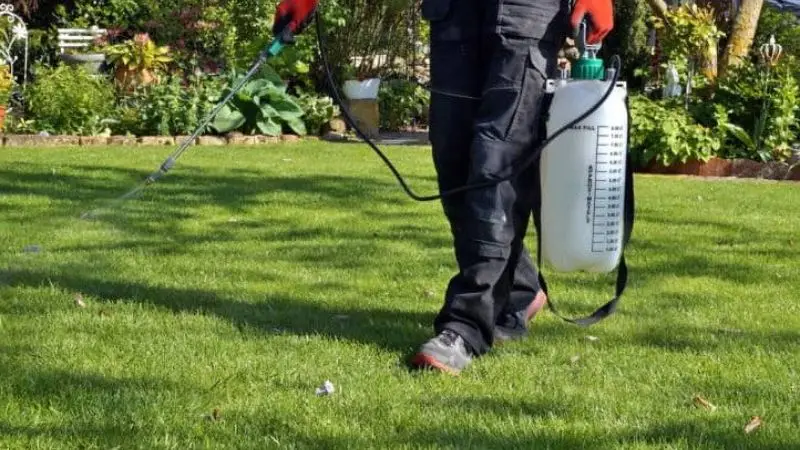
How does a pump sprayer work? Pump sprayers are easy to operate and involve just a few stages, from preparing the solution to cleaning the equipment afterward. Follow the procedures in order and take your time, especially if this is your first time using the sprayer. The job becomes much easier once you know the method.
Recommended For Your Project
1. Read the Sprayer and Product Instructions
How to pump a sprayer on the model. So this is a good place to start. Read the sprayer instructions before doing anything else. The handbook shows the max fill line, explains how the pump handle works, and highlights critical parts like the pressure relief valve. Some models need slow, steady pumping; some may work differently.
Also, check the product label. It tells you the correct mixing ratio, how to apply it, which safety equipment to use, and situations to avoid. Next steps: Follow the sprayer and product directions.
2. Prepare the Liquid
Start with a clean tank and measure the product carefully. Use a measuring cup or another suitable measuring tool rather than guessing the amount. Add the product and water according to the mixing instructions on the label, and use a funnel if the tank opening is narrow.
Leave enough empty space at the top of the tank for air pressure to build. Do not fill beyond the maximum fill line. If the product label specifies a particular mixing order, follow it exactly. Once everything is added, secure the cap and gently swirl the tank to combine the solution.
3. Secure the Tank and Check for Leaks
How to fill a pump sprayer? Start with a clean tank and measure the product accurately. Don’t guess the quantity; measure it with a measuring cup or another appropriate measuring device. Add the product and water according to the package instructions, using a funnel if the tank opening is small.
Leave space at the top of the tank for the air pressure to build up. Do not fill beyond the maximum fill line. Strictly follow any mixing sequence given on the product label. When all the ingredients are added, replace the cap and gently swirl the tank to mix the solution.
4. Pressurize the Sprayer
The first step in how to pressurize a pump sprayer is to ensure the tank is secure and the pump is attached correctly. Follow the guidelines on the pump handle and work it in stages. Stop pumping when the proper pressure is reached. Don’t pump too much.
When you spray, the liquid coming out of the tank will gradually reduce the pressure. If the spray stops, pull over somewhere safe and pump the lever again to put the pressure back up.
5. Adjust the Nozzle
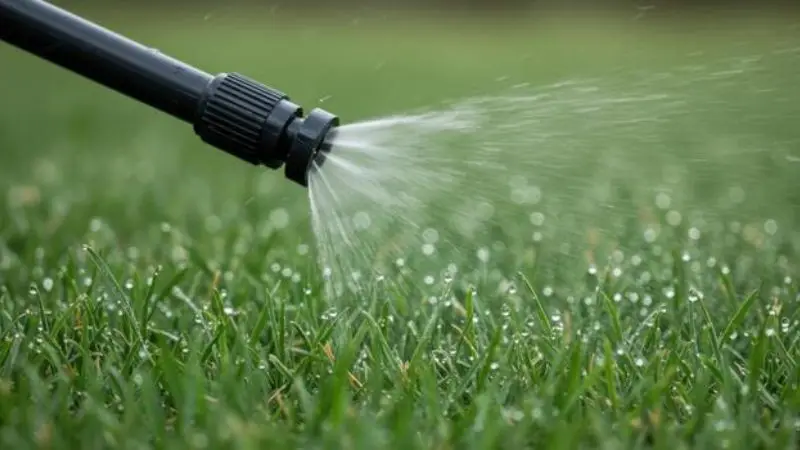
How to adjust a pump sprayer nozzle depends on the nozzle design attached to your sprayer. Adjust the nozzle as the manufacturer recommends to achieve the spray pattern needed for the project. A wider pattern covers a bigger area; a tighter pattern is beneficial for more targeted spraying.
Test the spray pattern on a small, inconspicuous area before spraying the main area. This is a time for you to make modifications before you put too much solution on.
6. Start Spraying
How to spray with a pump sprayer begins with keeping the wand at a constant distance from the surface. Press the trigger and sweep the wand evenly over the area you want to treat. Don’t stay in one area too long; keep your mobility controlled.
Work in manageable sections so you can see where you have already sprayed. Use the rate recommended on the product label, and do not spray beyond the area to be treated.
7. Maintain Even Coverage
How to get an even spray with a pump sprayer is all about maintaining a consistent distance from the wand and a steady pace. Go slowly and deliberately across the surface, rather than quickly and jerkily.
As you work, watch the spray pattern. If the spray weakens or becomes uneven, check the nozzle and tank pressure before proceeding. Maintaining the same pressure and wand movement will help to provide a more even coverage.
8. Finish the Job Safely
When finished spraying, handle any solution left in the tank according to the product label. Do not dispose of any leftover chemical solution down the drain, pond, stream, or other water source unless the product’s label permits it.
Before you open the tank, release any leftover pressure as directed for your sprayer. After you remove the pressure, rinse and clean the sprayer to prevent the residue from drying in the tank, hose, or nozzle.
How to Use a Pump Sprayer Safely
Safety begins before you pressurize the tank. How to use a pump sprayer safely, wear appropriate protective equipment, check the sprayer for problems, and choose safe weather and spraying conditions
Wear the Recommended Protective Equipment
Always wear the safety equipment shown on the product label when mixing or spraying. Chemical-resistant gloves, safety goggles, long sleeves, long pants, and closed-toe shoes protect your skin and eyes. Follow any additional protection instructions on the label.
Check the Sprayer Before Use
Check the tank, pump, hose, wand, nozzle, seals, and connectors for cracks, leaks, or damage. Make sure the cap is tightly on, and the nozzle is clean. First, spray the sprayer with water only. This will help you find any leaks or pressure problems before you use the treatment solution.
Avoid Spraying in Unsafe Conditions
Do not spray in windy, rainy, or too hot weather. Wind may carry spray where it is not wanted, and rain may reduce the material’s effectiveness. Keep children and pets out of the area. Apply around ponds, streams, sewers, or other sensitive areas as recommended on product packaging.
How to Clean a Pump Sprayer After Use
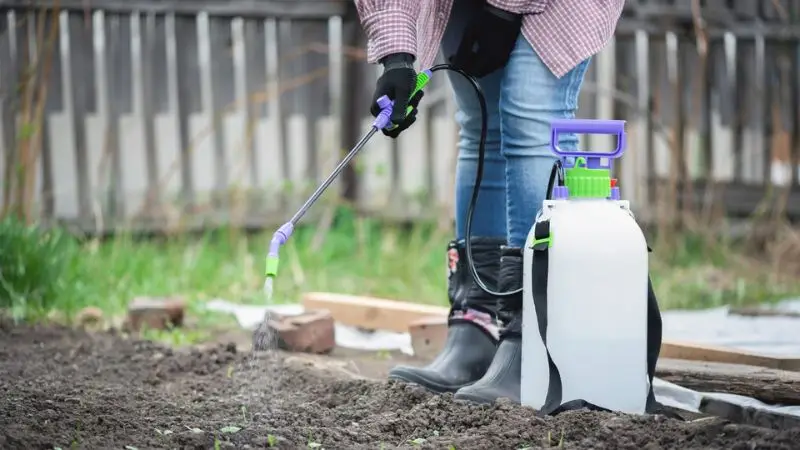
Cleaning your sprayer after a job takes minutes. If you don’t, you can end up with clogged nozzles, broken seals, and chemical residue in your next batch. Empty the tank. If the label allows, spray the remaining solution on the treated area. Do not discharge into a drain or street.
Add fresh water to the tank. How to pump a sprayer during rinsing is simple: Swirl the water to flush the hose and wand. Pump the handle a few times and spray the rinse water through the nozzle. Repeat rinse 2-3 times. For oily items, add a little dish soap, then rinse with water again.
Wipe the tank, handle, and hose with a damp towel. Air-dry all sections of the sprayer before storing. Keep away from moisture. Store upside down without cap.
How to Clean a Clogged Pump Sprayer Nozzle
A plugged nozzle stops or sprays unevenly. Clear any blockage before storing the sprayer. Initially release tank pressure. Aim the nozzle away from your face and squeeze the trigger until nothing comes out.
Remove the nozzle tip from the wand. Soak in warm soapy water for several minutes to loosen hardened chemical residue. Now clean the aperture with a soft brush or toothpick. Avoid metal objects, as they might scratch the tiny orifice and change the spray pattern.
How to adjust a pump sprayer nozzle? Clean, undamaged apertures are the first step. Wipe the tip clean and hold it up to the light. You should see a round hole. If the spray is weak, flush the filter screen beneath the nozzle. Reassemble and test with plain water. A clean nozzle sprays a mist evenly.
Common Pump Sprayer Problems and How to Fix Them
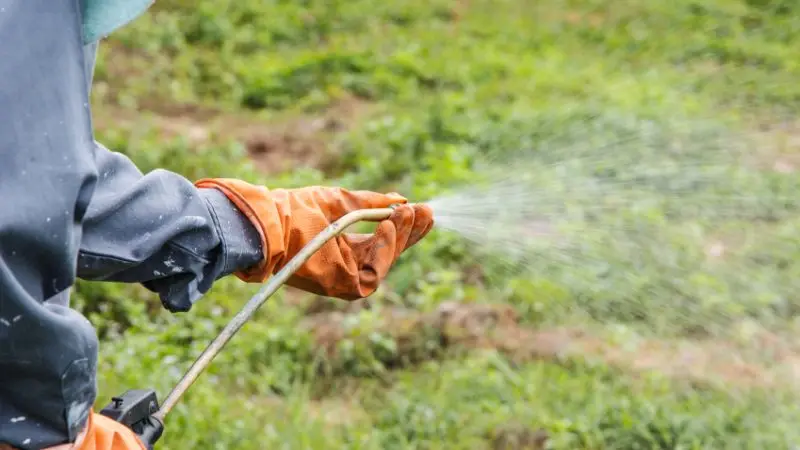
How to use a pump sprayer ? Even a well-maintained sprayer can have problems down the road. Most difficulties are due to low pressure, obstructed components, leaks, or damaged seals. A brief inspection will usually reveal the following frequent issues, which can be addressed.
Pump Sprayer Is Not Building Pressure
How to pressurize a pump sprayer properly starts with checking the cap, pump seal, and pressure relief valve. A loose cap or broken seal can allow air to escape and prevent the tank from building up pressure.
Pump Sprayer Is Leaking
Check the cap, hose connections, pump assembly, and nozzle for drips. Before you use the sprayer again, check all fittings for tightness, and fix any cracked hoses, damaged gaskets, or worn O-rings.
Spray Is Weak or Stops Quickly
How to pump a sprayer with the right expertise, you can maintain pressure while working with a sprayer. If the spray is still feeble after pumping, check for a clogged nozzle, loose link, or damaged seal.
Nozzle Is Clogged
A clogged nozzle could stop the flow and alter the spray pattern. If inspecting, remove the tip and rinse it under water to remove any debris or crust.
Spray Pattern Is Uneven
How to get an even spray with a pump sprayer? make sure the nozzle is clean and the pressure is constant. Check that the nozzle is not clogged. Shoot with the wand at a similar distance.
Pump Handle Is Hard to Move
The pump handle is stiff. This can suggest that the seal is dry or broken. If the seal needs to be fixed, inspect the pump assembly and apply the manufacturer-recommended oil.
Sprayer Loses Pressure Quickly
If the pressure drops quickly after you have filled up the sprayer, check the cap, seals, hose, and connections for air leaks. If the sprayer is not used again, repair any worn or broken parts.
Wand or Hose Has Poor Flow
If muck builds up inside the hose or wand, the flow may be interrupted. Rinse the pieces carefully and inspect for any bends, obstructions, or visible damage.
Conclusion:
As long as you follow the appropriate directions, learning how to use a pump sprayer is easy. Prepare the solution correctly, fill the tank properly, build up pressure, adjust the nozzle, and spray evenly. If you are new to spraying, practice how to spray with a pump sprayer with plain water before applying your treatment solution. Always read the product label, use appropriate personal protective equipment, and clean the sprayer after each use. With some practice and proper maintenance, you will become more confident in performing standard spraying operations and keeping your equipment clean and ready for the next job.
FAQs
Which pump sprayers are easiest to pump daily?
For regular garden work, the GARDENA 5 L, GLORIA Prima 5, and GLORIA Prima 5 Comfort are practical choices. Their ergonomic handles, stable bases, and shoulder straps reduce the effort required for pumping. Understanding how does a pump sprayer work can also help you choose a model that suits your daily tasks.
Which nozzle types are best for French garden tasks?
Adjustable cone nozzles suit general plants and shrubs, while fine-mist nozzles work for delicate foliage. GARDENA’s continuously adjustable nozzle offers flexibility; GLORIA Prima 5 uses an adjustable hollow-cone nozzle.
What spray patterns are best for liquid fertilizer?
For liquid fertilizer, choose an adjustable spray that produces an even, moderate spray rather than a concentrated jet. GARDENA 5 L models offer continuously adjustable spraying for garden and vegetable beds.
Which refill and mixing features save time?
The GARDENA Pressure Sprayer Plus 5 L saves time with a second measuring opening, integrated filter, level indicator, and easier filling. It can measure, fill, mix, and empty without theg the pumping required.
Which pump sprayers are easiest to clean and maintain?
Models with simple tanks, removable or accessible fine-mist nozzles, and replacement parts are easiest to maintain. GARDENA 5 L and GLORIA Prima 5 are practical options with straightforward designs and available replacement components. Regular maintenance also helps ensure you know how to adjust a pump sprayer nozzle for consistent spraying.