
Are you sick of looking at the nasty, flaking filth around your bathtub? Do you worry that every shower you take is gradually destroying the floors beneath your bathroom? Learning how to seal a bathtub is the ultimate DIY solution to these typical problems. A strong seal can save thousands of dollars in hidden water damage.
A reliable cordless caulking gun will get the work done without causing hand pain. It makes the procedure go much more smoothly and assures you receive a professional-looking finish on the first try. Let’s look at how you may master this vital home care activity and finally get some peace of mind.
What is sealing?
Sealing is the process of putting a flexible, waterproof material, typically silicone or acrylic, on the joints of your bathtub. It serves as a major barrier against moisture.
Because houses shift and move somewhat, this material must be extremely elastic. If the joint was filled with a stiff material such as grout or wood filler, it would crack within a few weeks.
A good seal keeps water inside the tub and out of the wall cavities. It’s an invisible layer of protection that keeps your bathroom structurally sound and mould-free for years.
When should you reseal a bathtub?
You don’t want to discover that your tub seal isn’t working until there is a serious flood in the kitchen below. Look closely for tiny gaps, cracks, or places where the bead is coming loose.
Water has probably gotten beneath the sealant if you detect black mould or dark patches that won’t go away. This is an obvious indication that moisture is trapped and the bond has broken.
As part of routine maintenance, you should generally look at how to seal a bathtub every few years.
Tools and materials you’ll need
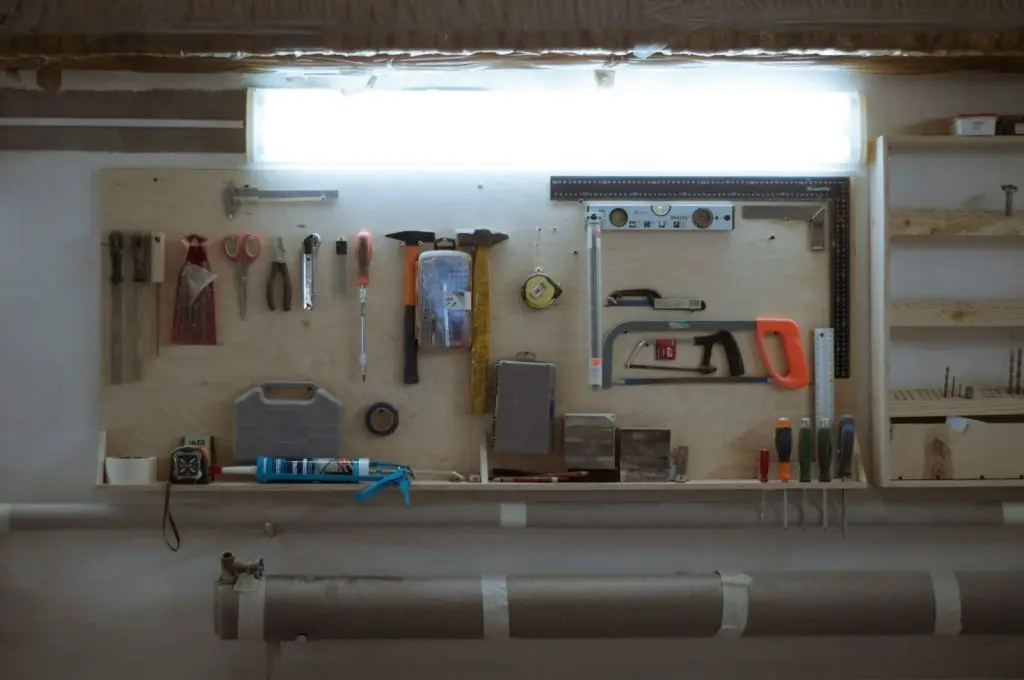
For this, a large workshop is not necessary, but having the correct tools is crucial. A sticky mid-project mess can be avoided by having everything ready before you begin. Let’s get those tools and materials for you:
- Sealant: A 100% kitchen and bathroom silicone tube.
- The Gun: A dependable handgun or one that runs on batteries.
- Removal Tools: A sharp putty knife or a caulk removal tool.
- Cleaning supplies: Include a fresh microfiber cloth and rubbing alcohol.
- Straight Lines: For those very straight lines, use painter’s tape.
Preparing the bathtub before sealing
90% of the work in home remodelling is preparation. New material will undoubtedly fail in a matter of weeks if it is applied to an unclean, greasy, or moist surface. Here, surgical hygiene is required:
Remove old caulk
Remove all of the old things from the joint first. Slice through the old bead with your removal tool and remove it. If it’s persistent, a hairdryer’s heat can help soften it up.
Clean and dry the surface
Use rubbing alcohol to thoroughly clean the area once the old caulk has been removed. This eliminates mineral deposits, soap scum, and oils that hinder the adhesion of the new sealant. Before continuing, let it dry completely for at least an hour.
How to seal a bathtub step by step
- Load your tube into the frame first. The tip should be trimmed at a 45-degree angle if you’re learning how to seal a bathtub with caulk.
- The hole’s dimensions should coincide with the gap’s breadth. Along the joint where the tub and wall meet, apply a consistent, even bead.
- To prevent lumps, move the gun at a steady pace. The bead will be thin if you move too quickly, and the pile will be disorganised if you move too slowly.
- Wet your finger with a solution of water and dish soap once the bead has fallen. In a single, continuous motion, gently smooth the bead.
The clean, polished concave appearance that sheds water flawlessly is produced by this tooling procedure.
Tips for a smooth and waterproof seal
Keep these expert suggestions in mind to get a seal that truly lasts and a factory-finish appearance:
- Apply Painter’s Tape: Apply painter’s tape to the tub and wall sides of the joint to create the straightest lines possible. While the caulk is still wet, apply it, smooth it, and remove the tape. This results in a sharp edge.
- Keep an Eye on the Grout Lines: Be careful to push the substance into the grout lines when sealing a bathtub against tiles. These tiny vertical openings are frequently where leaks occur. Press the silicone firmly into those tiny indentations using your finger.
- Safeguard the Fixtures: Pay attention to the nearby fixtures. Understanding how to seal a bathtub sprout and how to seal a bathtub drain guarantees the protection of the entire wet area. Water dripping into the wall is stopped by a tiny bead around the faucet’s base.
Common mistakes to avoid when sealing a bathtub
Even the most capable men can make a mess if they rush. Avoiding these traps will save you from having to do the work twice. Let’s discuss some of them below:
Applying uneven pressure
If you squeeze the trigger in spurts, your line will resemble a rollercoaster. A pneumatic-powered tool or a battery-powered one can help keep the pressure absolutely steady, regardless of your hand strength.
Skipping surface prep
Applying new caulk over existing caulk is a formula for catastrophe. It never bonds properly and leaks nearly immediately. To achieve the greatest results, always scrape down to the original surface.
Using the wrong caulk type
Exterior window caulk is not the same thing as bathroom silicone. Always use a product designated as “Kitchen and Bath.” These formulae contain fungicides, which keep the sealant from turning black with mold.
Not controlling the caulking gun properly
Hold the tool at a 45-degree angle with the joint. Pushing the gun forward rather than bringing it toward you frequently results in a jagged, untidy bead. Pulling the cannon allows the nozzle to smooth the material as it is laid down.
How long does bathtub caulk take to dry?
Patience is the most challenging aspect of any DIY project. Most silicone sealants dry to the touch within 30 minutes, although they remain soft inside. Wait at least 24 hours before taking a shower.
If the material has not fully dried, water pressure and steam might wash the seal away or cause it to bubble. Check the back of your tube for particular cure times, since some “fast-set” formulae might be ready in just a few hours.
The importance of high-quality tools

A lot of homeowners try to save $5 by purchasing the cheapest plastic gun in the store. This frequently backfires because the frame flexes and the bead comes out unevenly.
A sturdy metal gun offers substantially more leverage. Better firearms also have larger thrust ratios.
This means you won’t have to squeeze as hard to pull the material out, preventing your hand from shaking. A steady hand is the difference between professional work and a sloppy DIY project.
FAQs
How often should you reseal a bathtub?
Typically, you should consider resealing every three to five years. However, if you notice mould, peeling, or cracks earlier, it is time to get to work. Bathrooms with high usage and frequent use may require maintenance every two years.
Can you seal a bathtub without removing old caulk?
No, you shouldn’t. The new sealant will not adhere to the old material adequately. It generates a layered effect, trapping moisture and mold between the two layers until the seal fails
What type of caulk is best for bathtubs?
100% silicone is the gold standard in bathrooms. It is extremely flexible, completely waterproof, and has antibacterial characteristics. It will not shrink with time, as inferior latex-based caulks frequently do.
Do you need a caulking gun to seal a bathtub?
While squeeze tubes are available, a sturdy caulking gun provides far superior control. It promotes more uniform flow, which is essential for achieving a professional-looking, leak-proof finish.
Conclusion
So, now is the peeling gunk finally gone? You’ve transformed a possible mold horror into a hygienic, watertight haven by following these measures. Acquiring the basic knowledge of how to seal a bathtub will keep your house dry and safe. By building a strong, adaptable barrier that will endure for many years, you have allayed the fear of rotting flooring.
You may obtain a finish that looks like it was done by a professional by taking the time to remove the old material and using a high-quality tool. Enjoy your clean, fresh bathroom after letting it cure!




