Do you want to know how you can easily learn to make a wire stripping tool? You can make a homemade one from wood, a bench vise, and a sharp blade. Wear gloves and eye protection prior to starting. Soon enough, you will make your own wire stripper tool that will be useful in any job.
List of Materials Needed to Make a Wire Stripping Tool
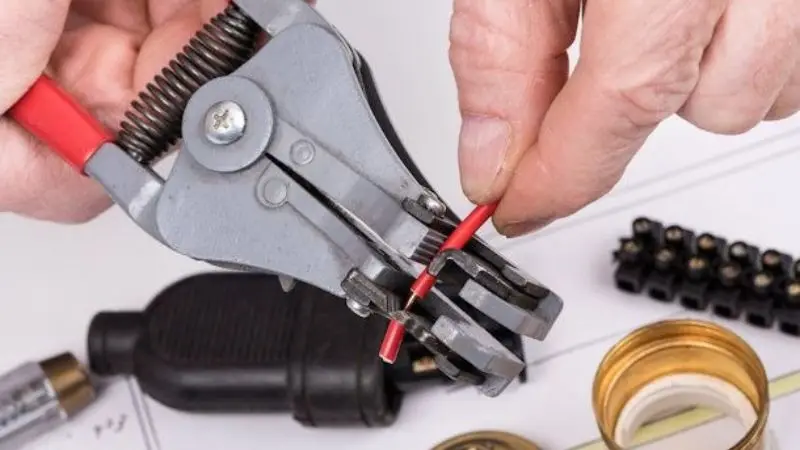
Tools and Supplies Necessary
How to build a wire stripper from scrap materials? Special equipment is not required for creating the wire stripper. All necessary equipment is on hand. See the list below:
- Wooden block (handle of the tool)
- Blade (utility knife or old razor blade)
- Bench vise or clamp (to hold the tool in place)
- Nails or screws (to attach the blade)
- Screwdriver or drill
Equipment You Need for Safety Reasons
It is always recommended to consider safety while using any sharp tools. Therefore, it would be necessary to take care of your hands and eyes before you start working. Get the following things:
- Work gloves
- Goggles
The Right Blade or Cutting Edge to Choose
Selecting the proper blade will help you to improve the effectiveness of your wire-stripping tool. You should choose blades that are sharp yet thin. Consider this short guide:
- Stility knife will allow you to strip wires of all sizes very easily. Additionally, you can easily get them in your kitchen.
- A razor blade will work best with thin wires. It can be easily applied.
- A box cutter can be used easily on medium wires.
How to Make a Wire Stripping Tool at Home
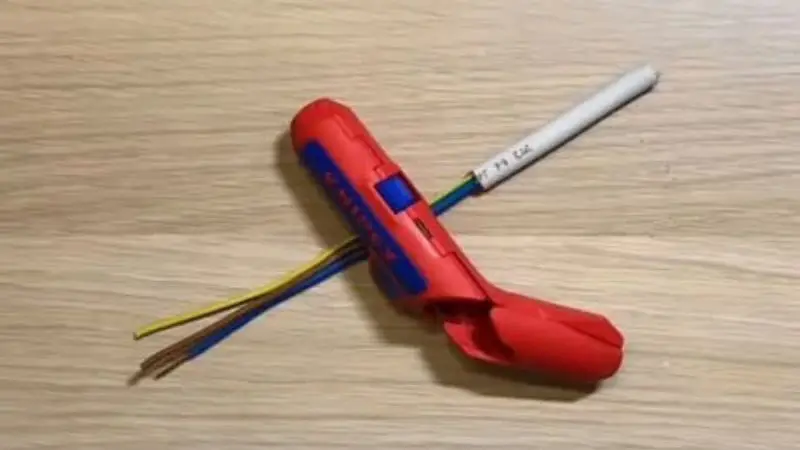
Step 1: Collecting the Required Materials
As the first step, you should prepare all materials needed to complete this project. Get your block of wood, blade, screws or nails, drill or screwdriver, and clamp or bench vise. Additionally, you should wear gloves and safety glasses. Having learned how to make a wire stripping tool, I will find that collecting all the materials will significantly facilitate this process.
Step 2: Preparing the Handle
Take out your wooden block and determine if it is compatible with your hand size. If the wooden block appears too big, use some sandpaper to refine its edges.
Step 3: Mounting the Blade
Here, the blade should be attached to the wood. Use screws or nails to attach the blade to one end of the wood. The part where the wire will be cut by the blade should be slightly exposed. The blade should not shift when attaching it to ensure the homemade tool works effectively.
Step 4: Forming the Slot that Guides the Wire Under the Blade
This slot should be made using the drilling machine and should be next to the blade. This is what guides the wire to be stripped under the blade. This step is very crucial for making a homemade wire-stripping tool.
Step 5: Using the Homemade Tool to Strip Scrap Wire
Use this tool by inserting the wire in the slot made and passing it under the homemade wire-stripping tool. The blade should strip off the insulation but keep the inner wires intact.
How to Use Your DIY Wire Stripping Tool
Positioning the Wire Correctly
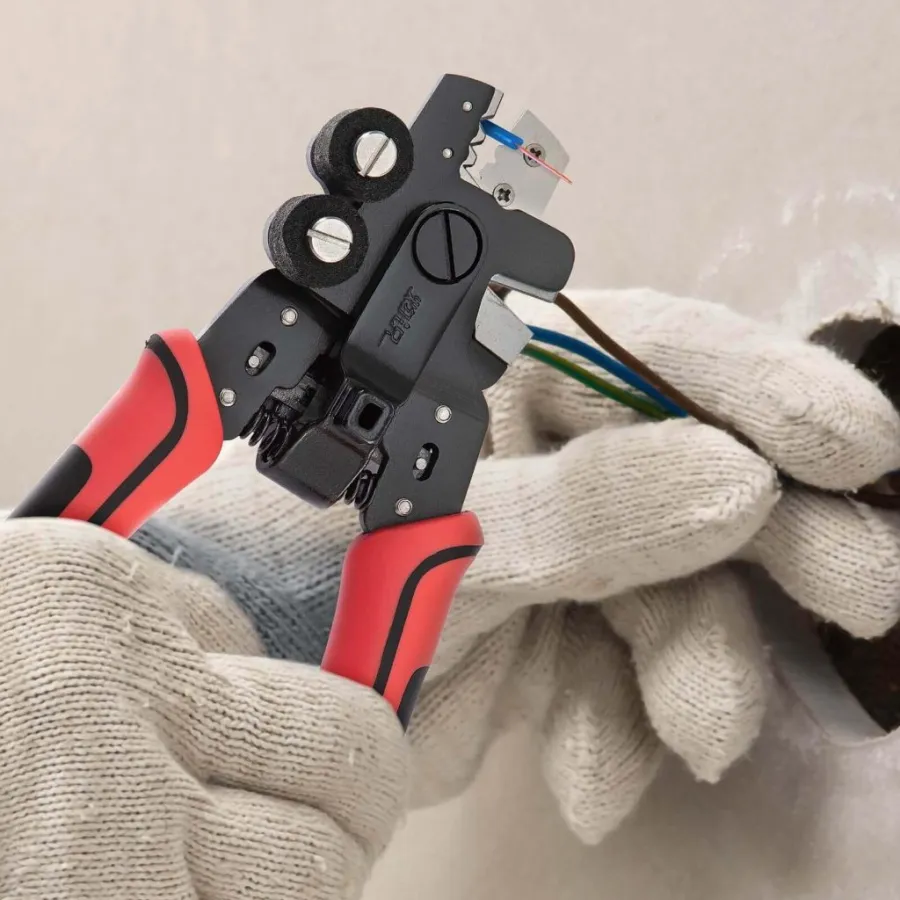
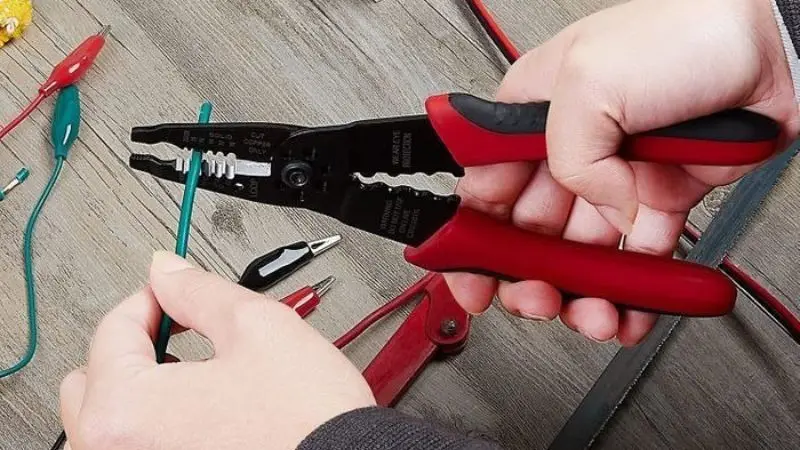
If you are using a homemade copper wire stripper tool, insert the wire into the guide slot. Hold the wire firmly using one hand. Ensure that the wire is straight against the blade. Otherwise, you might cut too deep or too shallow, damaging your wire. Do not place your fingers near the blade. The vice on the workbench may help you in holding the tool more firmly.
Stripping Wire Without Damaging the Core
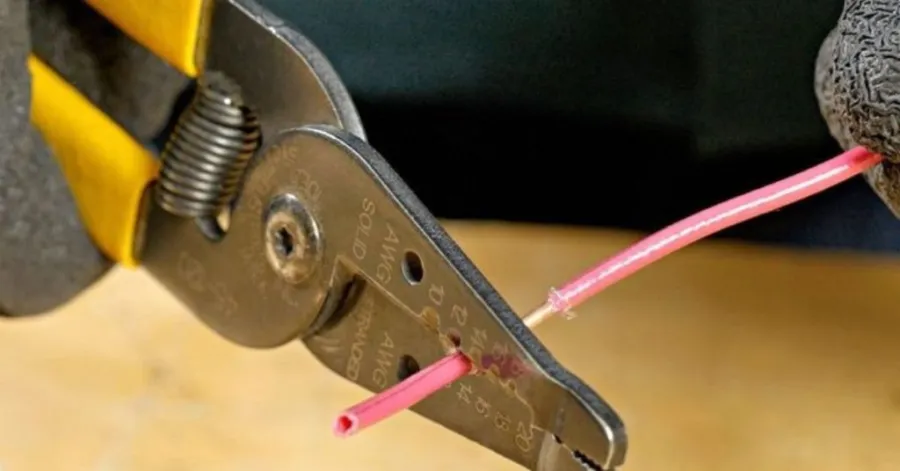
Once your wire stripper is ready, move the wire slowly through the slot. Allow the blade to cut through the insulation, but do not press it too hard in order to avoid damaging the copper core. It is essential to perform copper wire stripping smoothly. If you notice nicks or scratches on the copper core, adjust the blade position.
Safety Tips When Making and Using a Wire Stripping Tool
Wear Protective Gloves and Glasses
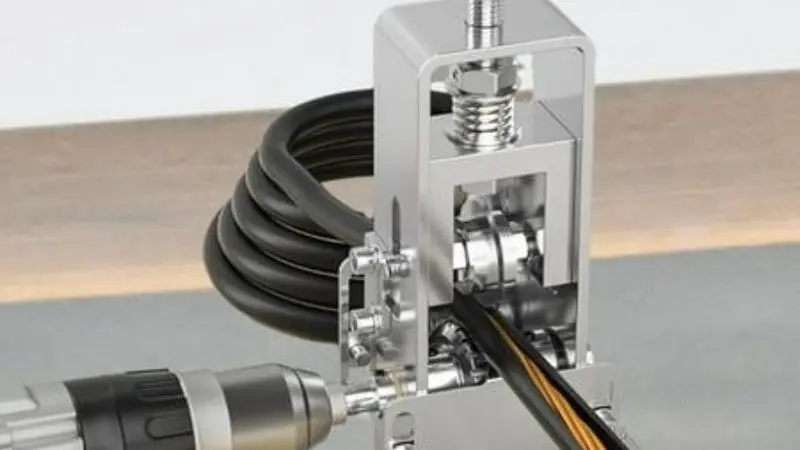
At all times, you should ensure that your hands and eyes remain protected. Ensure that you wear protective gloves when building your tool and before working on your project. Protective gloves protect your fingers from sharp blades and splinters. Safety glasses or goggles prevent wood or wire fragments from getting into your eyes when stripping wires.
Keep Blades Sharp and Secure
Sharp blades operate more efficiently and effectively than blunt blades. Blunt blades tend to slip and cause injury. You should make it a practice to inspect your blade prior to using it. In case your blade is blunt, replace it with a new one. Ensure that your blade is tight on the handle.
Work in a Clean and Well-Lit Area
A clean workspace ensures that there are no unnecessary hazards. Ensure that your work environment is clean before you begin working. Sufficient light enables you to concentrate on your work and use your wire stripper effectively. If you work with an improvised wire stripper for electrical wire in a poorly lit environment, chances are high that you will hurt yourself.
Common Mistakes to Avoid
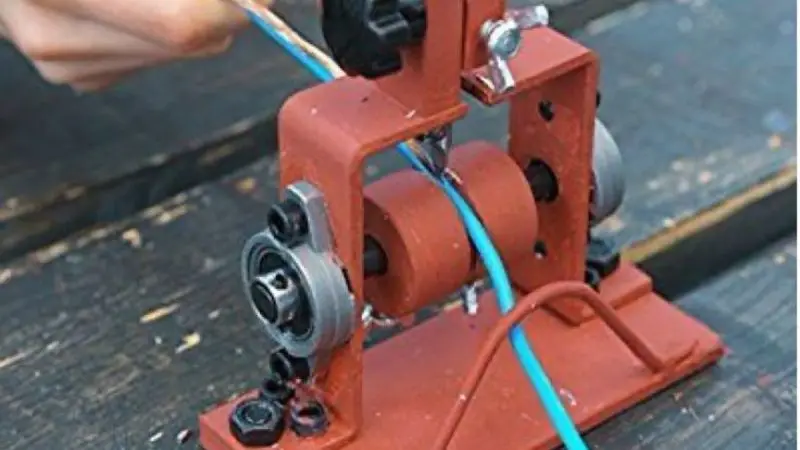
Cutting Too Deep into the Wire
It seems like pressing harder would help strip off the insulation faster. It is not the case. If you cut deep into the wire, then you risk damaging the copper wire inside. Such an issue might cause the wire to break or other faults in your project. Let the blade work its way through, pulling the wire slowly and checking the cut. The scratches or nicks on the copper mean you should reduce pressure during cutting and use a low-cost DIY wire-stripping tool.
Using the Wrong Blade Size
Blades differ in their thickness and performance. The blades that are too thick do not cut properly. At the same time, blades that are too thin might bend or even break. Select the blade based on the wire’s thickness.
Skipping Safety Checks
Your eagerness to start working might be high. However, you should never forget about performing safety checks. First, inspect your gloves and glasses. Then make sure the blade is tight and sharp. Otherwise, it might slip, causing injuries. Inspect your workplace and remove everything unnecessary.
Conclusion
Making your own wire stripper is not only going to save you some money but will also provide you with a useful tool to use for your personal projects. Enjoy the experience of learning how to make something useful. Have fun and share your results! Be careful and continue improving the design!
FAQ
Can I use any kind of wood for the handle?
Yes, you can. Use any wood that feels nice in your hands and is not cracked or splintery.
What should I do when the blade starts to go blunt?
Replace the blade immediately. It will be easier to strip wires with a sharper blade and more safely.
Is this tool safe for children to use?
Only under adult supervision. Remember that the tool’s blade is very sharp.