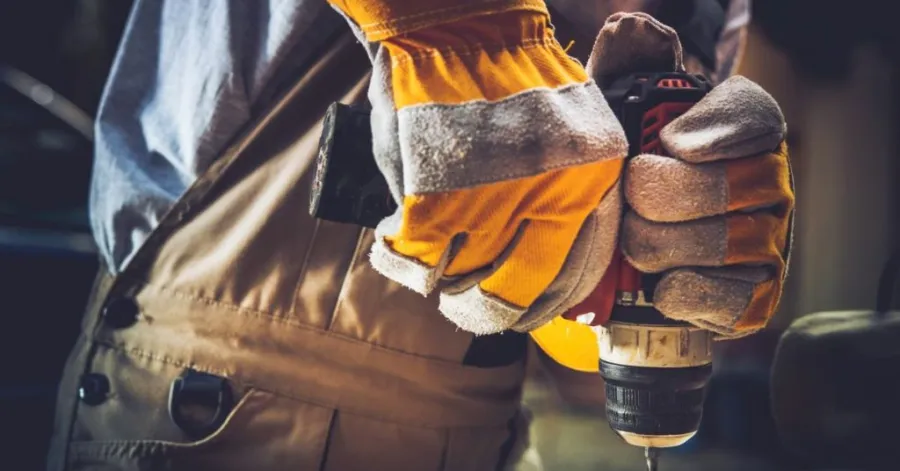
Want to know how to change a drill bit? If you follow the right directions, both are straightforward to handle, whether it is a keyless (modern) drill or a keyed (old) drill. Don’t worry if you are new to drilling; this is an easy and fast technique once you get the hang of it. With a keyed drill, you’ll need your drill, a replacement drill bit, and a chuck key. Knowing how to change drill bits properly helps ensure greater safety, better performance, and greater accuracy while drilling.
In this article, we’ll take you through the step-by-step procedure of replacing a drill bit so you’ll be able to confidently replace bits and finish your projects without confusion or error.
Tools You Need Before Changing a Drill Bit
@truckintoby This thing is a beast!! #metalfabrication #magneticdrill #vevor #tools #shoplife #trucker #heavyequipmentmechanic #drilling #VEVOR #FallDealsForYou #TikTokShopBlackFriday #TikTokShopCyberMonday #TiktokShopHolidayHaul #VevorHomelmprovementFestival #treshwave @Vevor_US
♬ original sound – TruckinToby
How to remove a stuck drill bit? Before you start, make sure you have everything you need. Staying organized will save you time. Otherwise, it helps you work safely and efficiently, without unnecessary interruptions. A little preliminary work goes a long way toward making the process of replacing a drill bit easier and more successful.
Safety Gear Checklist
How to change a drill bit on a cordless drill? When utilizing any power instrument, safety must always come first. A few minutes spent on proper preparation can make your work safer and more comfortable, helping prevent injuries. Wear safety glasses to protect your eyes from dust, wood chips, and metal pieces. Wear work gloves to protect your hands from abrasive materials and sharp drill bits. Closed-toe shoes will safeguard your feet from falling tools or heavy items. A dust mask is particularly important when drilling into wood or drywall, as it helps prevent small dust particles from hurting your lungs while you’re working.
Basic Tools Required for Drill Bit Replacement
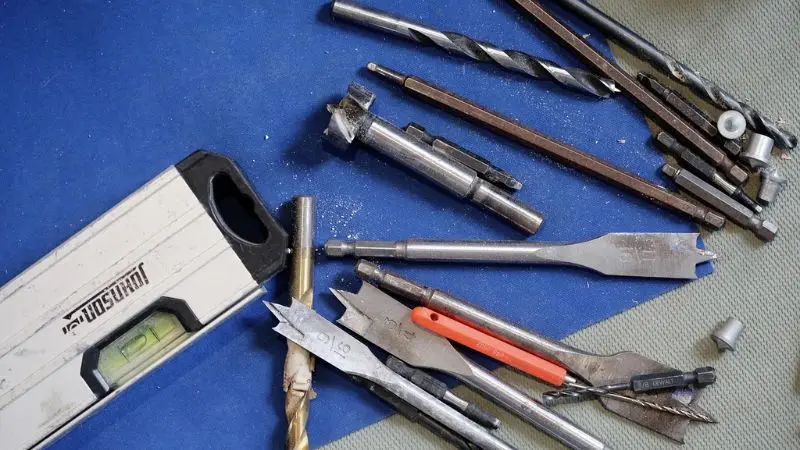
How to change a drill bit on a power drill? You don’t need a whole toolbox to change a drill bit, but it’s nice to have the right tools handy to make the job go faster, neater, and with less stress. Before you get started, make sure you have your drill, a replacement drill bit that fits your drill, a chuck key if your drill requires one, and a clean towel at the ready. Having everything at reach makes it easier to work without interruptions. Equally as important is choosing the correct drill bit for the material you are working with. Use wood bits for wood, masonry bits for concrete, and metal bits for steel. Using the correct drill bit will boost your drilling performance, produce cleaner results, and help prolong the life of your drill and drill bits.
Step-by-Step Guide on How to Change a Drill Bit
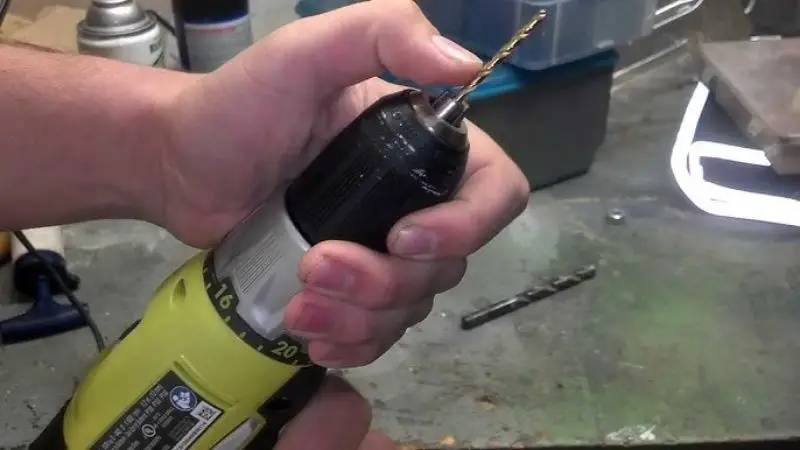
Knowing the right methods of how to change a drill bit on a cordless drill quickly and easily. If you use the right technique, you can securely remove and replace drill bits without damaging your drill or the bits. Taking your time and using the tool properly will also increase drilling performance and lengthen the life of your equipment. Now you’ll discover exactly how to change a drill bit, correctly, safely, and confidently, every time you work on a project.
Step 1 – Turn Off and Unplug the Drill
Always turn the drill off completely when changing a drill bit. If you’re using a cordless drill, remove the battery. If you are using a corded drill, unplug it from the power outlet. How to change a drill bit without a key? This is the most important safety step when learning how to change a drill bit. Never attempt to remove, loosen, or install a drill bit with the drill connected to a power source. An activation error may cause catastrophic harm to the equipment or cause injury. The power goes out for a few seconds for safety and to manage the procedure.
Step 2 – Loosen the Chuck Properly
Next, loosen the chuck to remove the old drill bit safely. How to change a drill bit with a chuck key: Hold the drill firmly and turn the chuck sleeve counterclockwise until the jaws open around the bit. If your drill has a keyed chuck, insert the chuck key into the chuck hole and turn it slowly to open the jaws. As the chuck loosens, the grip around the drill bit will loosen, making it easy to remove. Don’t hurry this process and don’t force the chuck. Excessive pressure on it can damage the chuck mechanism and make it harder to change drill bits later.
Step 3 – Remove the Old Drill Bit Safely
When the chuck has become free enough, gently remove the old drill bit, gripping the drill tightly. If you think the bit is stuck, gently jiggle it and remove it. Be careful not to use too much power, as you can break the chuck or hurt your hands. When you slow down, the drill is secure, and the operation is smooth and safe. How to Efficiently and Safely Replace a Drill Bit: Learning how to change a drill bit on a power drill comprises a few crucial things. One of those is removing the old bit properly.
Step 4 – Insert the New Drill Bit Correctly
Then select the proper replacement bit for your application and material. How to remove a stuck drill bit? Insert the new drill bit into the chuck so that it is level and straight. Push it as far as you are comfortable. It gets a decent grip when you tighten it up. When changing a drill bit, make sure it is properly aligned. It is important because it impacts the safety and precision of the cutting.
Step 5 – Tighten the Chuck Securely
Finally, secure the chuck by turning it clockwise or using the chuck key, depending on your drill. The replacement part should be held securely in place and not move. Pull it a little, so you know it’s tight. If you tighten it and then lock it again and again, it should stay locked.
How to Change a Drill Bit in a Keyless Chuck
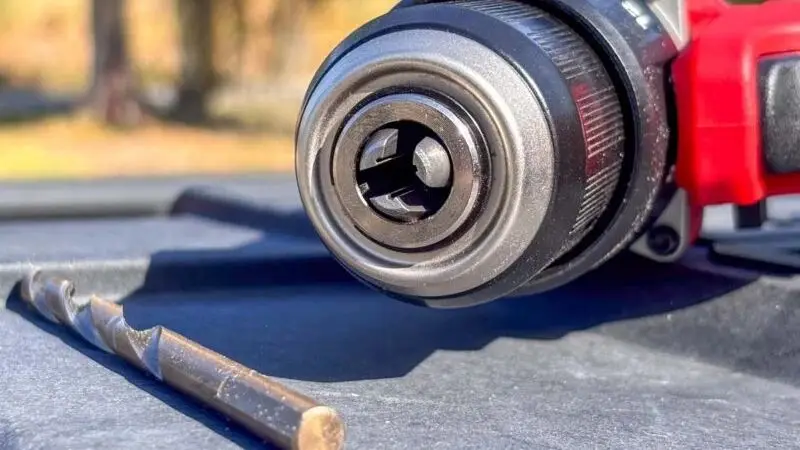
Changing a drill bit in a keyless chuck is easy and simple if you know how. Most modern drills are fitted with a keyless chuck, so you don’t need any more gear to take the drill bit out or tighten it. Knowing how to change a drill bit in a keyless chuck makes your drilling jobs easier and helps you save time.
Quick Twist Method Explained
Switching bits is easy when the chuck can be locked. The drill and bit are single-handed. How to remove a stuck drill bit? Turn the chuck the other way and open its jaws. As the jaws are open, slowly withdraw the old drill bit. Then, place the new drill bit in the middle of the chuck. Tighten it up, but make sure the bit is straight and in the appropriate location. Rotate the chuck clockwise to engage the bit’s jaws fully. Now give the chuck another thorough twist to make sure the bit is latched tight. If the chuck is difficult to turn, wear work gloves or use two hands to acquire a better grip.
Common Mistakes to Avoid
How to change a drill bit without a key? There are many small mistakes beginners make when learning to change a drill bit. Avoiding these mistakes will keep your drill safe and enhance your drilling outcomes.
- Make sure the drill bit is not loose; try lifting it gently.
- Don’t try to force a stuck chunk out – loosen the chuck a little more and try again.
- Don’t use the improper type of drill bit for your material or project.
- Be sure to unplug the drill or remove the battery before swapping out the bit.
Follow these steps attentively, and you’ll be able to learn how to change a drill bit in a keyless chuck fast and confidently accomplish your jobs.
How to Change a Drill Bit in a Keyed Chuck
If you’re using older or heavy-duty drills, learning how to change a drill bit on a cordless drill is crucial. Unlike keyless chucks, these drills require a separate chuck key to securely tighten and loosen the drill bit. The procedure is a little more complicated at first, but if you know the right steps, it’s pretty damn simple.
Using the Chuck Key Correctly
How to change a drill bit on a power drill? If your drill has a keyed chuck, you’ll need the chuck key to open and close the jaws. Most drills have the chuck key attached to the power cable or mounted on the side of the drill body. To protect yourself, ensure the drill is disconnected or the battery is removed before you start. Look for the little holes around the chuck. Insert the tip of the chuck key into one of these holes so that the teeth of the key will mesh with the chuck gears appropriately. Turn the key anticlockwise. You turn the key, and you will watch the jaws begin to open.
Continue turning until the jaws are loose enough to release the old drill bit. Pull the bit out gently with your fingertips. If the bit is tight or stuck, just open the chuck and wiggle it. Don’t pull too hard, or you can break the chuck or the bit.
Ensuring Proper Tightening
Remove the old bit, then select the correct replacement bit for your project. Push the new drill bit into the center of the chuck until it stops without pain. Keep the bit straight and centered with one hand.
Simply insert the chuck key into one of the holes and turn it clockwise to tighten the jaws on the bit. Tighten until it resists. Tighten it up by moving the chuck key to each hole and tightening again. The grip will be better. The bit is also set and will not wobble during drilling.” Pull the drill bit gently to test the tightness. If the bit moves, tighten the chuck. Knowing how to change a drill bit with a chuck key is a proper adjustment that increases drilling precision and reduces errors.
Safety Tips When Changing a Drill Bit
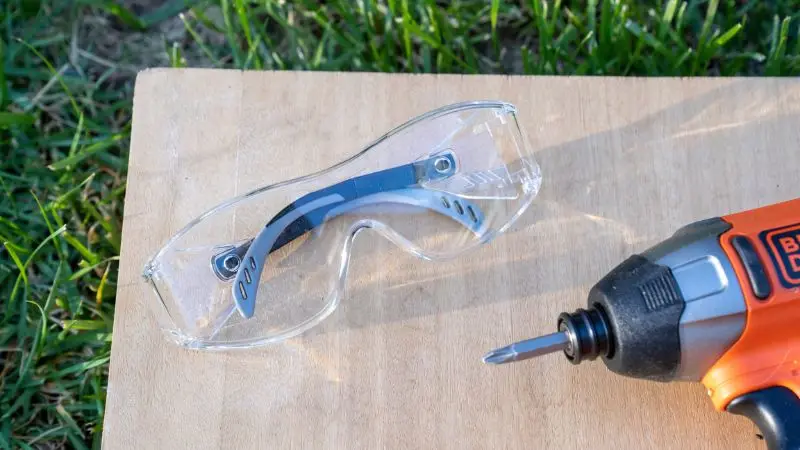
Changing a drill bit is easy, but always remember to put safety first. How to change a drill bit without a key? You want to save your hands. You want to take care of your eyes. You wish to protect your workplace. Here are some basic tips to keep you safe every time you modify a bit:
- Before you approach the chuck or bit, be sure the drill is unplugged or the battery is removed.
- Safety glasses should be used to protect your eyes from dust and tiny particles.
- Keep your fingertips off the trigger while using the drill.
- Place the drill on a flat, sturdy surface so it won’t roll or fall.
- Check the bit for cracks or damage before putting it in the drill.
- Make your workspace untidy and dirty.
Preventing Accidental Start-Up
How to change a drill bit with a chuck key? You don’t want the drill to start accidentally while you are changing the bit. That can lead to injury. Here’s how to avoid that from happening:
- Turn the drill off and pull the plug. If you are using a cordless drill, take out the battery.
- Don’t pick up the drill by the trigger, but by the handle.
- Keep your hands away from the bit region until you are sure the drill is safe.
- If your model has a trigger lock, store the drill with it on.
Conclusion:
Properly changing a drill bit makes the job safer, easier, and more effective. This will hold the drill bit in place while you drill, with or without a key. Always remove the battery or stop the drill before starting. Always check that the bit is tight before drilling. If the bit is loose or difficult to remove, try wiggling it gently, rather than forcing it out. Knowing how to change a drill bit properly can lead to better outcomes and fewer mishaps. If you drill a lot, you will be able to replace drill bits swiftly and confidently for any project.
FAQ
How do I know if my drill uses a keyless or keyed chuck?
Look at the chunk. If you can twist it by hand, it’s keyless. If you need a separate tool (chuck key), it’s a keyed chuck.
What should I do if the drill bit gets stuck?
Try loosening the chuck more. Wiggle the bit gently. If it still won’t budge, use a clean cloth for extra grip.
Can I use any drill bit with my drill?
You can use most standard bits. Just make sure the shank fits your chuck. Always pick the right bit for your project.