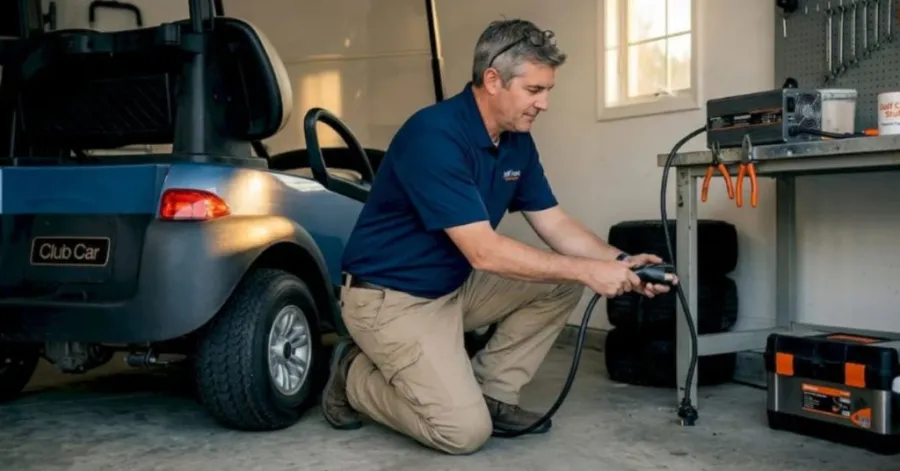
The faulty golf cart charger may leave your batteries unable to charge and diminish the overall performance of your golf cart. Learning how to diagnose charger malfunctions in advance can save you the expense of replacing chargers. Many charging issues are caused by damaged cords, shorted fuses, defective internal components, or a bad battery. This manual outlines the process of repairing golf cart battery chargers in easy steps, suitable for novices and professionals alike. Whether you want to know how to fix a golf cart battery charger or just need a good troubleshooting guide, this blog covers the most common problems and how to fix them.
Understand How a Golf Cart Battery Charger Works
When making any type of golf cart battery charger repair, one should first comprehend how the charger works. A golf cart charger is created to charge the right amount of power to the batteries and not to overcharge them. You can easily diagnose faults when you know the basic working process.
Learning how each component functions can also simplify the process of repairing a golf cart battery charger. Understanding the system well will assist you in detecting problems as soon as possible and will save you the unnecessary replacement expenses.
Main Components of a Golf Cart Battery Charger
A golf cart battery charger has a number of key components that collaborate in a safe and efficient manner to charge the batteries. The transformer changes electrical power into the correct amount of voltage to charge it. The control board controls the charging cycle and regulates when the batteries are charged to the full extent. A cooling fan helps to avoid overheating; it controls internal temperatures during operation. Cables, connectors, fuses, and charging plugs are also other important elements. Failure of any of these parts can cause the charger to cease functioning properly. Knowing these parts is the initial step in any DIY golf cart battery charger repair step-by-step procedure, since it will assist you in locating faulty parts more precisely.
Common Signs of Charger Failure
It is possible to identify early warning signs in order to avoid total charger malfunction. One common symptom is when the charger does not turn on after being connected to the golf cart. During charging, some users might experience uncharacteristic buzzing, overheating, burning odors, or flickering error indicators. Charger problems may also be indicated by slow charging or batteries that do not reach full capacity. These are the symptoms that are commonly talked about in a golf cart battery charger troubleshooting guide, as they indicate there is an underlying electrical problem or component problem. Being aware of these red flags, it is simpler to detect typical golf cart battery charger issues and solutions before they escalate into more serious and costly to address.
Why Battery Condition Affects Charger Performance
Your golf cart batteries’ condition is a significant factor in the charger’s performance. Damaged, weak, or sulfated batteries may not allow the charger to initiate or complete a charging cycle. In most instances, owners tend to think that the charger is faulty, yet the issue is with the batteries themselves. The charging efficiency can also be compromised by dirty battery terminals, loose connections, and low water levels. It is prudent to check the battery pack before searching for a golf cart battery charger repair near me. Keeping the batteries healthy will not only enhance the performance of the charger but will also increase the life of the charger and the overall electrical system of the golf cart.
Diagnose and Fix Common Golf Cart Battery Charger Problems
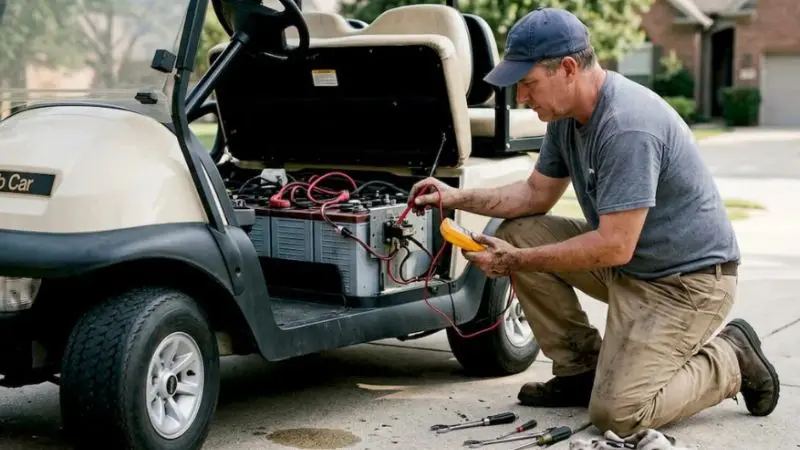
A large number of charging problems can be detected based on the behavior of the charger when it is in operation. Knowing the symptoms will help you determine whether the problem is the charger, the batteries, or the electrical connections. The correct diagnosis saves time and makes the repair of golf cart battery chargers more effective.
Another crucial component of a golf cart battery charger troubleshooting guide is following a systematic approach. By determining the precise problem, you will be able to select the appropriate repair technique and not change the parts that do not need replacement.
Why Is the Golf Cart Battery Charger Not Turning On?
One of the most frequent issues with golf carts that their owners experience is a charger that fails to switch on. Begin by ensuring that the power outlet has power flowing through it. Check the power cord to ensure that there is no apparent damage, cuts, or loose connections. The charger can also fail to start due to a blown fuse, a broken charging plug, or a broken control board. In other situations, very discharged batteries might not supply the charger with sufficient voltage to work. These are the basic checks to undertake when learning how to repair a golf cart battery charger. This is a straightforward step in repairing a DIY golf cart battery charger, as it enables one to detect problems quickly.
Why Is the Charger Running but Not Charging the Batteries?
The charger sometimes generates power and seems to be functioning as usual, but the batteries are not charged. This may happen due ta o loosely connected battery, damaged cables, or corroded terminals. Bad rectifiers and control boards can also prevent the delivery of charging current to the batteries. Moreover, sulfated or weak batteries may not allow it to be charged properly. Your troubleshooting should include checking battery voltage and cleaning all connections. This is one of the most frequent and most reported golf cart battery charger problems and solutions, as it can be caused by either a charger malfunction or a battery malfunction.
Why Does the Charger Stop Before the Batteries Are Fully Charged?
In case the charger goes off before the batteries have been completely charged, there are a number of reasons that can be attributed to this. The charging cycle may be interrupted by low battery voltage, malfunctioning sensors, or issues with the charger control system. The charger can also stop prematurely due to dirty or loose battery terminals. There are instances where the charger wrongly identifies that the batteries are already charged. Testing the charger components and checking the battery condition can be used to determine the root cause. Before searching for a golf cart battery charger repair near me, the following basic checks can resolve the issue and help restore normal charging.
Video link:
@dwscustoms vevor agm battery 12 volt 200ah best deal #vevor #agm #200ah #solar #batteries #dwscustoms @Vevor_US
♬ original sound - King Scoot
What Causes Unusual Noises, Burning Smells, or Overheating?
Burning smells, strange sounds, or excessive heat are warning signals that should not be disregarded. The buzzing sounds can signify issues with transformers, whereas a burning smell can suggest some broken wires or overheating internal parts. The accumulation of dust in the charger can limit air movement and lead to overheating when in use. Failure of a cooling fan may also cause overheating and a decrease in the efficiency of chargers. In case of any of these symptoms, unplug the charger and examine it thoroughly. By being addressed at an early stage, these problems can be prevented prior to causing severe damage and minimizing future repair of the golf cart battery charger.
Step-by-Step Guide to Repair a Golf Cart Battery Charger
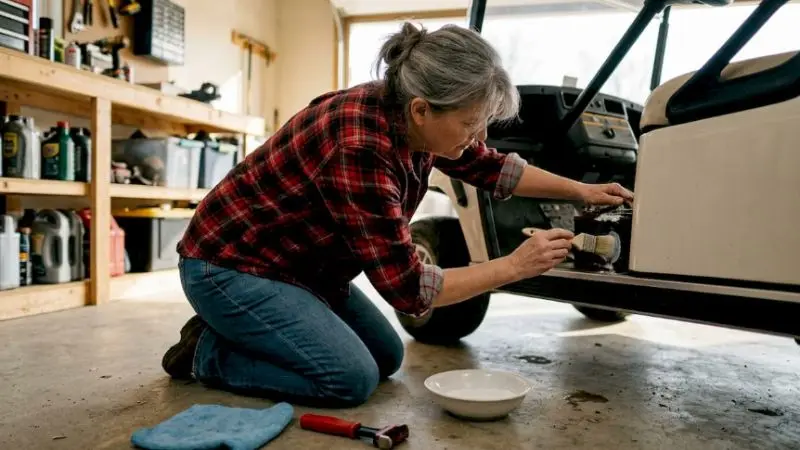
When you have a clear procedure, repairing a faulty charger is far easier. Rather than replacing the entire unit immediately, you can first check on each part one at a time and see the exact problem. Most of the charger problems are small and can be resolved using simple tools and proper inspection.
Successful repair of a golf cart battery charger requires a well-organized process. Regardless of whether you are an amateur or a seasoned golf cart owner, you will be able to take a step-by-step approach to assembling a DIY golf cart battery charger repair and save on unnecessary costs.
Inspect the Power Cord, Charging Plug, and Electrical Connections
Firstly, inspect the power cord by pulling it to see whether it is cut, cracked, or worn. Bad cords may short the power and cause the charger to fail. Then, check the charging plug for bent, burned, or corroded terminals. Charging problems can also be caused by loose or dirty connections between the charger and batteries. Make sure all connectors are secure and free from corrosion. Proper charging performance can be frequently restored by cleaning battery terminals. This is the initial step to follow in learning how to fix a golf cart battery charger, as most of the problems that arise during the charging process are a result of damaged cords or electrical connections.
Test the Fuse, Circuit Breaker, and Charger Wiring
Charger failure is usually caused by faulty fuses and damaged wiring. Begin by finding the fuse within the charger and examining it to determine whether there is any damage or a broken filament. Test the fuse by using a multimeter. In case the fuse is faulty, change it to an equal rating fuse. Also, inspect circuit breakers and reset them if necessary. Look closely at internal wiring to check for loose wires, corroded, or burnt insulations. A good golf cart battery charger troubleshooting manual will usually suggest the inspection of these electrical parts since they cause most of the typical golf cart battery charger troubles and remedies.
Check the Transformer and Other Internal Charger Components
One of the most critical components of a golf cart battery charger is the transformer, since it transforms the incoming power to the appropriate charging voltage. When the charger does not operate correctly, check the transformer to see whether it is warm, discolored,d or smells of burning. Check using a multimeter that the transformer is producing the correct output voltage. During inspection of the charger, also check the control board, cooling fan, and rectifier, and look at them to see whether they are damaged or not. Poor internal parts may have a serious negative impact on the charging performance. Close examination of these components will enable one to know whether one can repair or seek professional attention.
Replace Damaged Golf Cart Charger Parts Safely
Always disconnect the charger from the power outlet as well as the golf cart batteries before changing any component. The most important thing during the repair should be safety. To make sure that the system functions correctly, use parts that are identical to the original ones. With care, take out the damaged parts and put in new parts as per the instructions of the manufacturer. Once the repair is done, check every connection, test the charger, and use it normally. In case you are unsure about the treatment of electrical parts, you can always find a golf cart battery charger repair near me and play it on the side. The right installation prolongs the lives of chargers and avoids charging problems in the future.
Important Safety Precautions for Golf Cart Battery Charger Repair
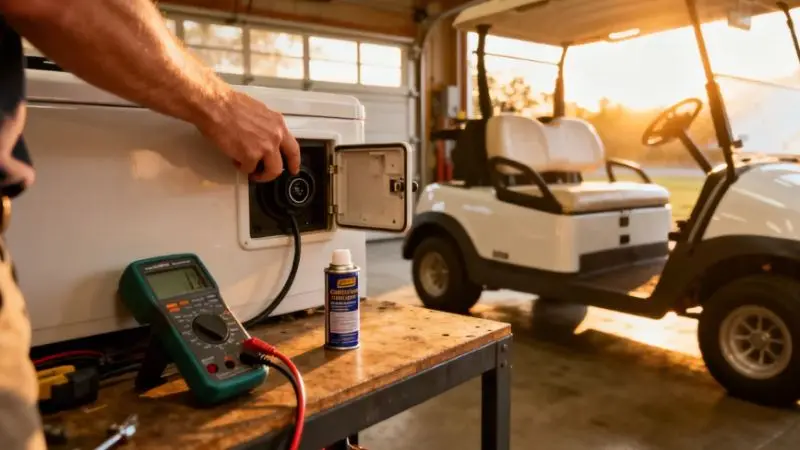
The first thing when handling electrical equipment is safety. Golf cart battery chargers have electrical parts that may give shocks, burns, or damage when used improperly. Taking the right precautions before commencing repairs can help protect you and your charger from unnecessary risks.
No matter whether it is the simple maintenance or the step-by-step process of changing a battery charger in a golf cart, it is important to use safe repair practices. The knowledge of these precautions can also simplify the process of repairing golf cart battery chargers and make it more effective.
Disconnect the Charger from Power Before Starting Repairs
Always remove the charger before inspecting or repairing; ensure that the charger is unplugged at the electrical outlet, and also disconnected from the golf cart batteries. When a charger is being worked on, it may cause electric shock or internal damage due to being connected to power. Disconnection of the charger should be followed by a few minutes to allow dissipation of any stored electrical energy. This easy precaution measure eliminates the chances of accidents and safeguards delicate electronic components. In the case of learning how to repair a golf cart battery charger, the initial step should always be to disconnect all the power sources and then open or test the charger.
Use the Right Testing Tools and Wear Proper Safety Gear
Charger repair is safer and more accurate with the right tools. A digital multimeter is necessary to test voltage, continuity, and electrical connections. Insulated screwdrivers and replacement parts of the correct rating also contribute to preventing accidental damage during the repairs. Moreover, put on protective gloves and safety glasses so as to minimize the chances of being injured when working with electrical parts. A good golf cart battery charger troubleshooting guide may involve experimenting with live circuits, and therefore,e it is of utmost importance to have the correct equipment. The appropriate tools not only enhance safety but also assist in more effective diagnosis of issues.
Avoid Common Mistakes When Repairing a Golf Cart Battery Charger
A lot of charger issues are aggravated due to mistakes in repair that can be avoided. These are some of the mistakes that are made, such as making a replacement without first determining the real cause of the issue. The other error is that of installing the wrong replacement parts that are not compatible with the original specifications. Omission of connection checks or disregard of battery damage indicators may also result in recurring failures. Among the most used golf cart battery charger troubles and resolutions, improper repair is the most common cause of repeated troubles. In case the repair appears to be too complicated, it might be the most secure and reasonable course of action to find a golf cart battery charger repair near me.
Wrap Up
When your golf cart is properly maintained and repaired, it can greatly increase the life of your golf cart battery charger. Most issues can be solved without necessarily changing the whole unit since you know what to look for in the chargers, how to spot warning signs, and how to conduct safe repairs. Breakdowns can also be avoided in the future by inspecting cords, connections, fuses, and batteries regularly. Although most problems can be resolved with a step-by-step process of a DIY golf cart battery charger repair, there are other complicated electrical problems that may need a professional. These repair tips will assist in maintaining your charger and also guarantee the golf cart’s performance.
FAQ
What do I do to determine whether my golf cart battery charger is faulty?
In case the charger fails to start, runs too hot, turns off prematurely, or does not completely charge batteries, it might be defective and needs to be troubleshooted or repaired.
Is it possible to fix a golf cart battery charger?
Yes, it is possible to repair the majority of small issues, including blown fuses, broken cords, and loose connections, through careful DIY repair.
Why does my golf cart charger not charge long enough?
Premature shutdown can be due to bad batteries, broken sensors, loose connections, or issues with the internal control board of the charger.
What should be the frequency of my golf cart battery charger inspection?
Check the charger after every couple of months to check on cords that are damaged, dirty connections, signs of overheating, and other problems that can impair the performance of the charger.
Under what circumstances would I want to use the professional charger repair services?
Use professional assistance in case the charger is seriously damaged inside, fails repeatedly, smells of electrical burning, or cannot be fixed by simple troubleshooting.