
Want to paint the walls of your house by yourself? We are here to help you out. You can easily achieve a smooth, flawless paint finish by properly preparing the surface before painting. Prepping lets you sand out bumps and uneven spots on the wall. It is very easy to sand walls or ceilings with the right drywall pole sander. Avoid over-sanding the wall. Always use safety gear when sanding.
Essential Tools and Materials Needed
Drywall Pole Sander and Sandpaper Grits
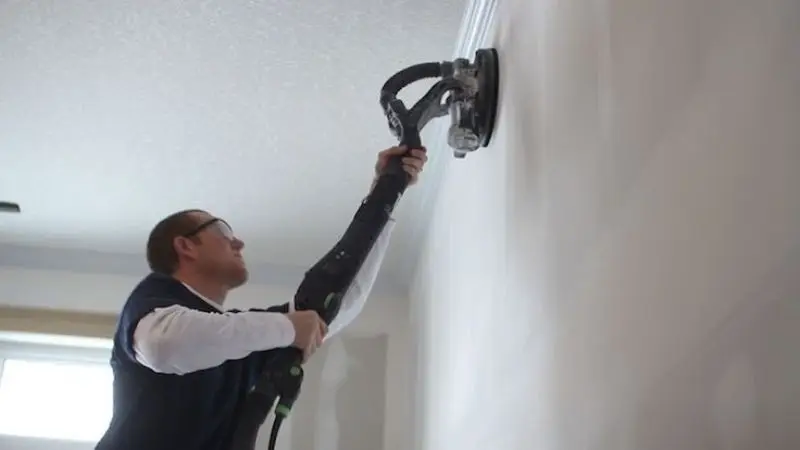
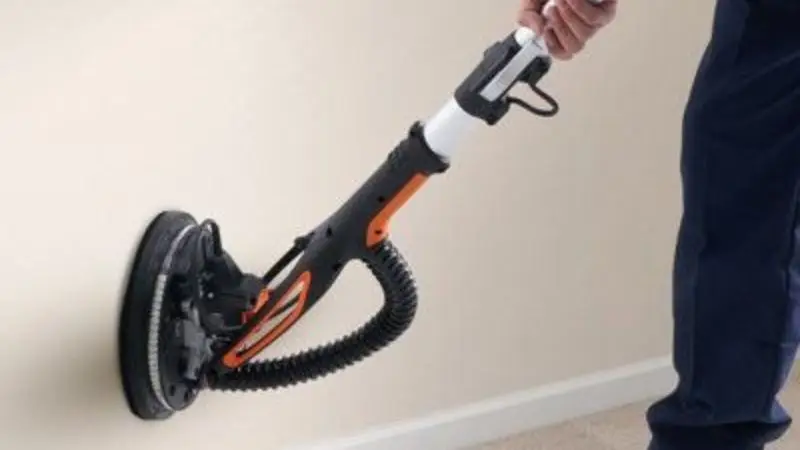
If you want to sand large walls and ceilings without a ladder, a drywall pole sander is all you need. You can easily reach the high spots. It is also very easy to use. Just attach the sandpaper to the head of the pole, and you are all ready to sand the unreachable spots. You also need to choose the appropriate sandpaper grits for each sanding stage. You need to start with a medium grit, like 12,0 for rough drywall patches. Switch to a finer grit, such as 22,0 for finishing touches. You can simply avoid the deep scratches if you choose the right sandpaper grit. If the sandpaper is not working, it’s a sign of need to replace.
Additional Tools
You need more than just a drywall pole sander for a smooth finish. Gather safety goggles to protect your eyes from dust. Use a dust mask to avoid inhaling fine particles while sanding. Keep a flashlight handy to spot uneven areas of drywall. You may want a vacuum or broom for cleaning up after sanding. A putty knife helps you fix small drywall imperfections before you start sanding. You also need a clean cloth for wiping down the wall after sanding.
Preparing Your Workspace
You prepare your workspace before you begin sanding drywall. Move furniture out of the room if possible. Cover floors and nearby surfaces with drop cloths. Tape plastic sheets over doors and vents to keep sanding dust contained. Make sure you have good lighting so you can see every drywall flaw. Keep your tools organized and within reach. You create a safe and efficient environment for sanding. This step saves you time and keeps your drywall project clean.
Step-by-Step Guide on Using a Drywall Pole Sander
Step 1 – Attaching the Sandpaper
Start by choosing the right sandpaper for your drywall pole sander. Pick a medium grit for rough drywall and a fine grit for finishing. Place the sandpaper on the sander head. Secure it tightly so it does not slip during sanding. Check that the edges of the sandpaper line up with the sander. This step helps you get even sanding on your walls.
Step 2 – Adjusting the Pole Height
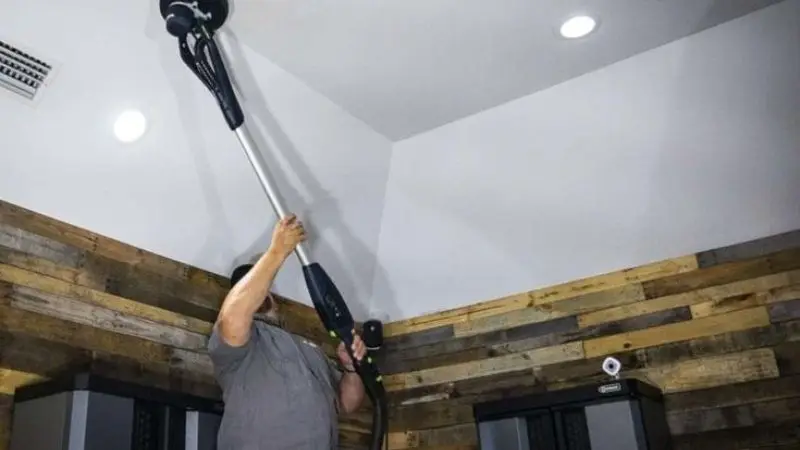
Adjust the pole of your drywall pole sander to match the height of your walls. Make the pole longer for high ceilings. Shorten it for lower walls or tight spaces. Hold the sander with both hands for better control. A good height helps you reach all parts of the drywall without straining your arms. This adjustment leads to efficient sanding and smooth results.
Step 3 – Sanding Technique
Start the sanding with the minimum pressure possible. Always move the drywall pole sander from the top of the wall towards the bottom. Avoid increasing the pressure; the sander will do the job. Keep in mind to sand the area under proper lighting. It will increase the chances of the best results. As you can see, the uneven surfaces are easy to handle.
Step 4 – Inspecting the Wall
After some sanding, dont forget to check the results. You can use a flashlight for bumps on the wall. You can also feel the missed spots by moving your hand on the wall. If you notice any imperfections, you can mark them and sand again. Inspection plays importantrole in flawless walls.
Step 5 – Cleaning Up Dust and Residue
Drywall sanding creates a lot of dust. You need the best pole sander for drywall finishing. Use a vacuum or broom to clean the floor and surfaces. Wipe the walls with a clean cloth to remove fine dust. Check corners and edges for leftover dust. Good cleanup keeps your workspace safe and prepares the drywall for the next step. Clean walls help paint stick better and look smoother.
Tips and Tricks for a Flawless Finish
Choosing the Right Sandpaper Grit
You need to choose the right sandpaper for every drywall project. Start with medium grit for the first round of sanding. This grit removes bumps and rough spots from the walls. Switch to fine grit for the final sanding. Fine grit helps you get a smooth finish. Always test a small area before sanding the entire wall. This step helps you avoid scratches. You should choose the right sandpaper based on the condition of your walls. Always choose the adjustable telescopic drywall pole sander.
Maintaining the Pole Sander
You keep your drywall pole sander in good shape by cleaning it after each use. Remove dust from the head and pole. Check the clamps and screws to make sure they stay tight. Replace worn sandpaper before you start sanding again. Store your sander in a dry place. Good maintenance helps you get even sanding on all walls. You also avoid tool problems during your project.
Avoiding Common Mistakes
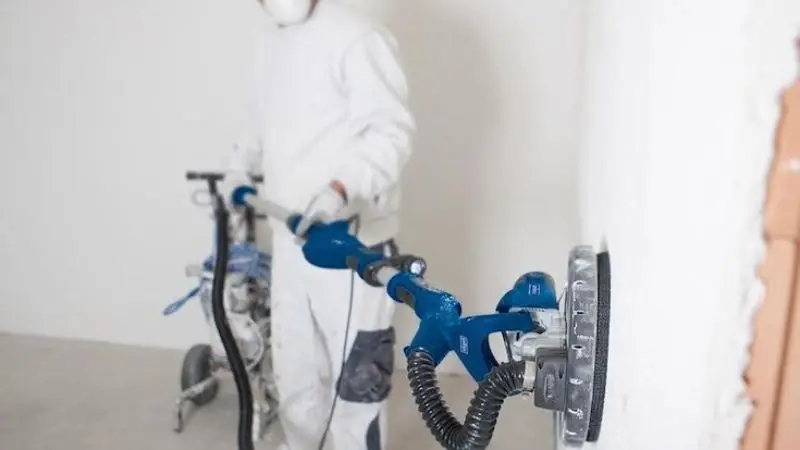
Use the proper gear before the sanding. The dust feels very irritating to your eyes and lungs. So always wear goggles and a face mask. Also, you must know the basics of sanding. Never apply the too much pressure on walls. It will leave you with uneven surface.
Finishing Touches After Sanding
Priming and Painting Smooth Walls
How to use a drywall pole sander? You have finished sanding your drywall. Now, you need to prepare your walls for painting. Start by wiping down every surface with a clean cloth to remove any remaining dust. Dust can stop primer and paint from sticking well. Use a vacuum to clean corners and edges. Good cleanup helps you get a smooth finish.
Apply a high-quality primer to your walls. Primer seals the drywall and covers any small sanding marks. Use a roller for large areas and a brush for edges. Let the primer dry completely. Check the walls for any missed spots. If you use a primer, it will smooth out the final results and also cover the flaws.
Repairing Minor Imperfections
Sometimes you find small flaws after sanding. You can fix these spots before you prime or paint with a drywall pole sander with sanding pads. Use a putty knife to fill tiny holes or cracks in the drywall. Let the patch dry. Lightly sand the area with your sander. Wipe away dust with a cloth.
Conclusion
Now you master the sanding. You and your partner can paint your walls easily with the simple steps. But keep in mind to follow all the steps. Get yourself a drywall pole sander, and that’s it. Let’s start proper wall finishing. Just follow the tips and tricks above.
FAQ
How do you achieve dust-free sanding with a drywall pole sander?
You use dust-free sanding by attaching a vacuum to your pole sander. Many dust-free sanders have special ports for this. You keep your workspace dust-free by cleaning often.
What makes a drywall pole sander dust-free?
A drywall pole sander becomes dust-free when connected to a vacuum or when using dust-free sanding pads. You choose dust-free solutions that trap dust as you work.
Can you use dust-free sanding for ceilings?
You use dust-free sanding for ceilings by adjusting the height of your pole sander. You attach dust-free pads and connect a vacuum. You keep the air in your room.
What are the best dust-free solutions for drywall sanding?
You can find dust-free solutions by choosing sanders with built-in dust collection. You use dust-free sanding pads and strong vacuums.
Why is dust-free sanding important for painting?
You need dust-free sanding because dust-free walls help paint stick better. You avoid bumps and rough spots with dust-free surfaces.


