Want to enjoy cold drinks during outdoor parties? You need an outdoor cooler. But the problem is te outdoor coolers are very expensive. But in this guide, we will teach you how to make a diy patio cooler with just a few basic tools. Yes, you can make a cooler by yourself. You need to make an outer frame and buy an ice chest from any reputable brand. And that’s all. Let’s dive into a complete guide explaining each step.
DIY Patio Cooler Ideas & Design Inspiration
You are at right track if you want to make your patio ready to host outdoor get-togethers. Your friends will be amazed by this classic idea. Here are some ideas you can follow to get a perfect patio cooler:
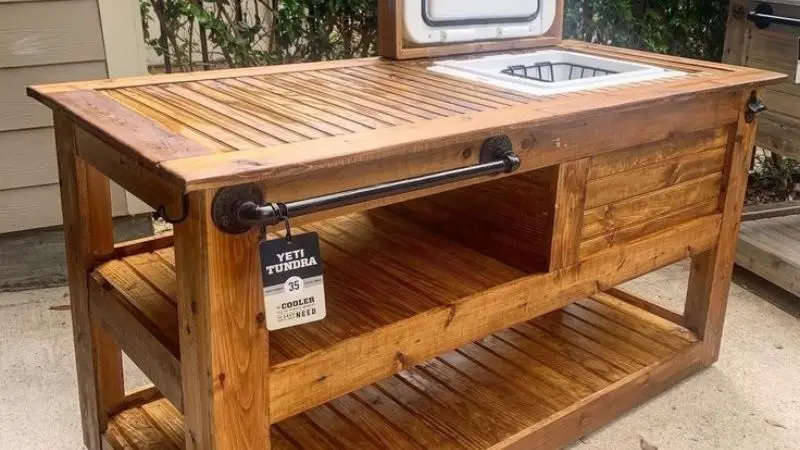
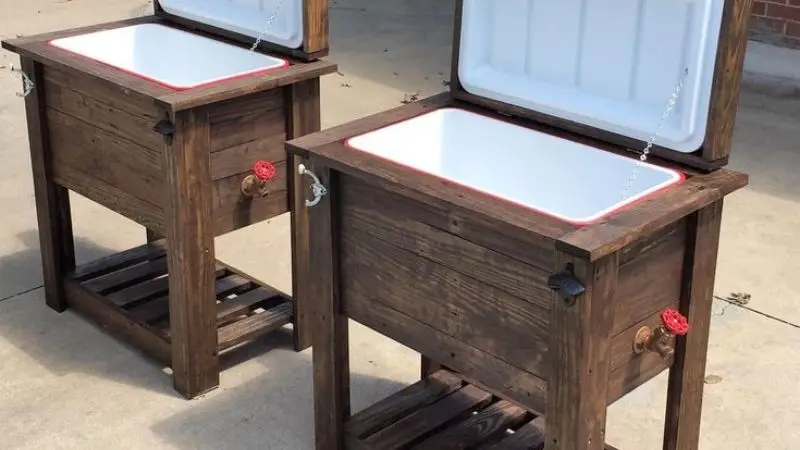
Rustic Wooden Patio Cooler
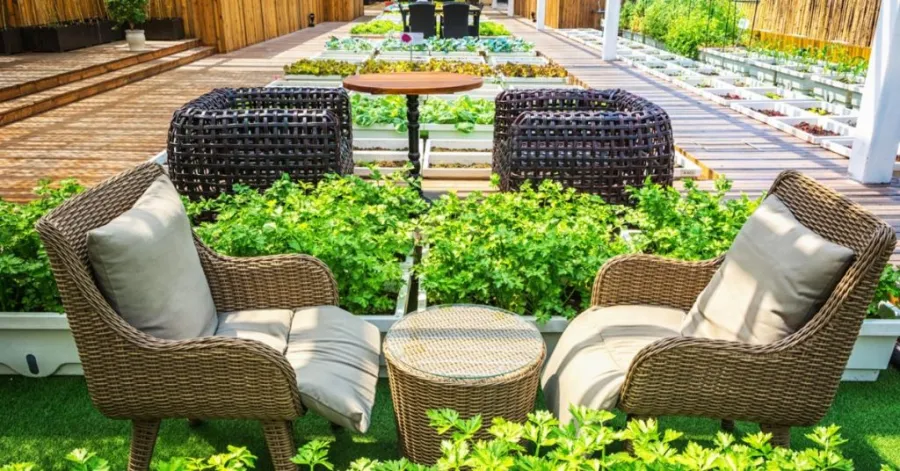
If you want your cooler to look natural in your garden, you can choose rustic wood. It makes your cooler more classic. You can paint it if you want. But the rustic wood looks ore good without paint. You can also match your patio furniture with a cooler for a more even setting. It is the best option to make a rustic wooden patio cooler.
Patio Cooler with Drain and Plug
Wondering how to power up your chiller? You need to attach a plug to the cooler structure. It is an important step as outdoor spaces usually lack an electricity supply. We all know the ice buildup in coolers. You will also need to add a drain system. It will help you to clean the melted ice easily. For this purpose, drain kits are available in markets. You just need to purchase and install it.
Rolling DIY Patio Cooler Cart
Do you move your cooler around the patio? Try adding wheels to your patio cooler. You can roll it to the grill, the pool, or wherever you need cold drinks. A rolling cooler gives you flexibility and makes entertaining easier. You can even add a shelf for extra storage.
Patio Cooler Table with Lid & Storage Shelf
You need a cooler and a table for your patio. Build a patio cooler table with a lid and storage shelf. The lid keeps drinks cold and doubles as a serving surface. The shelf holds cups, snacks, or towels. This design saves space and adds function to your patio.
Tools and Materials Needed for a DIY Patio Cooler
Before you start building your patio cooler, gather the right tools and materials. Having everything ready makes the project run faster and more smoothly. Let’s break down what you’ll need.
Essential Tools
You don’t need fancy equipment for this project. Most of these tools might already be in your garage or toolbox.
- Saw (circular saw or mitre saw) — It is essential for cutting the structural material in the shape and size you want.
- Drill with drill bits — After cutting wood, the next step is to attach all parts to give your cooler a structure. So you will need a drill to make holes and join parts.
- Measuring tape — Measurements are important for any DIY, so you will definitely need a measuring tape.
- Pencil — Never start cutting randomly. You always need some marking colors, so a pencil is needed.
- Screwdriver — For fixing the lid and attaching the final parts.
- Clamps — to hold pieces steady while you work. It is simply optional. You can skip this if you are pro.
- Sander or sandpaper — It is needed for sanding. It will give a smooth finish and make the surface ready for paint.
Materials List
Here’s what you’ll need to build a sturdy and stylish patio cooler:
- Wooden parts: They are the main material shaping the outer structure. So you need in excess.
- Cooler insert: You can only build the outer structure. You will need an internal ice chest that will hold the drinks and keep them cold. You can buy it online ir from a nearby market. Both plastic and metal would be good.
- Hinges: They will help you attach the lid and make it movable.
- Screws: For securing the frame’s parts together.
- Wood glue: It is also optional. You can use it for extra secure connections.
- Drain Kit: You can install it to make the cleaning cooler easier.
- Caster Wheels: It will make your cooler flexible and movable.
- Paint: Its truly optional. You can use it for personalizing the cooler.
How to Build a DIY Patio Cooler (Step-by-Step Instructions)
Ready to start your diy patio cooler? Follow these steps, and you’ll have a cooler that keeps drinks cold and looks great on your patio. Here is a step y step guide helping you to get the results you want:
Step 1: Measure and Cut the Wood
It’s time to start. You need a measuring tape and a pencil to make accurate markings for the required lengths and widths. This is one of the simplest yet most important steps. It will help you to get the required structure. Make sure you are making measurements correctly. For this, you will need to double-check the markings on the patio cooler wooden ice chest.
Step 2: Build the Frame
After making the right measurements, the next step is to cut at the right markings. Then, assemble all the parts with the drill and screws. 70 percent of your task will be done after this step. For proper cuttings, you can use clamps if you have. It will help you keep the parts firm. After this step, you will have a strong base.
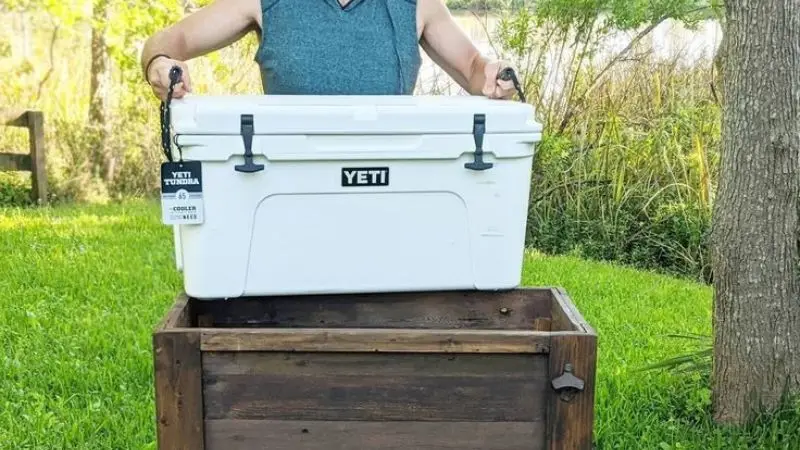
Step 3: Install the Cooler Insert
Next, place the cooler insert inside the frame. If you have made the right markings and cuttings, it will fit snugly. But if it doesn’t fit properly, you have to make cuts again. After it fits in it you have to properly secure it with screws. Now, your cooler is ready to hold ice or drinks. Don’t forget to attach the lid. You can also add the handles for easy handling.
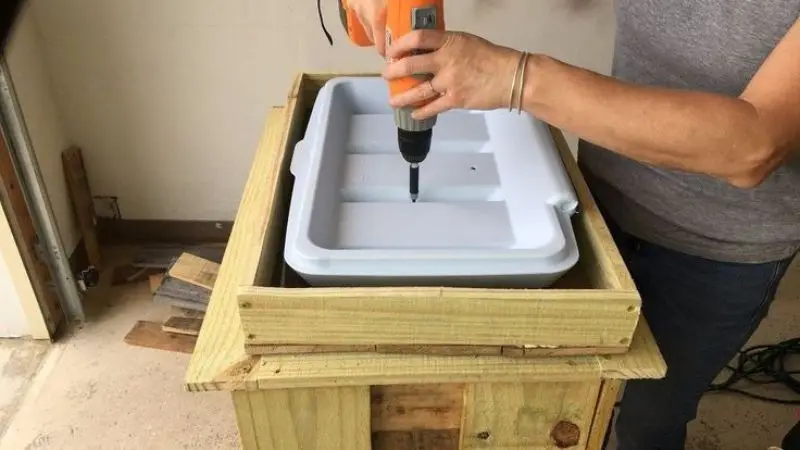
Step 4: Add Drainage System
Install a drain kit for easy cleanup. Drill a hole in the cooler insert. Add the plug and test the drainage. This makes your diy patio cooler more practical for parties.
Step 5: Sand, Stain, and Seal
Sand all surfaces for a smooth finish. Apply stain or paint to match your patio style. Seal the wood to protect your diy outdoor beverage cooler from the weather. Let everything dry before final assembly.
DIY Patio Cooler Dimensions & Plans
Standard Patio Cooler Dimensions
You want your patio cooler to fit your space and hold enough drinks for your guests. Most patio cooler designs use a standard size that works well for most backyards. A common patio cooler measures about 32 inches long, 18 inches wide, and 34 inches tall. This size gives you plenty of room for ice and drinks without taking up too much space on your patio.
Free DIY Patio Cooler Plans
You do not need to spend money on fancy blueprints. Many free plans are available online for building a patio cooler. These plans show you step-by-step instructions, material lists, and helpful diagrams. You can pick a simple design or try something with extra features like a shelf or wheels.
Conclusion
You just learned how to build your own patio cooler. With these easy steps, you can get the basic structure. You can add your personal style by painting or adding some more decorations. The steps are simple and fun. Try adding paint, stain, wheels, or a bottle opener for extra style. Why wait when you can lift the game with some simple steps?
FAQ
How long does it take to build a DIY patio cooler?
You can finish your patio cooler in one weekend. If you have all your materials ready, you might even finish in a single day.
Can I use any cooler insert for this project?
You can use most standard plastic or metal coolers. Just make sure the insert fits inside your wooden frame before you start building.
What if I don’t have power tools?
You can still build your cooler. Ask your local hardware store to cut the wood for you. Use a screwdriver and hand tools for assembly.