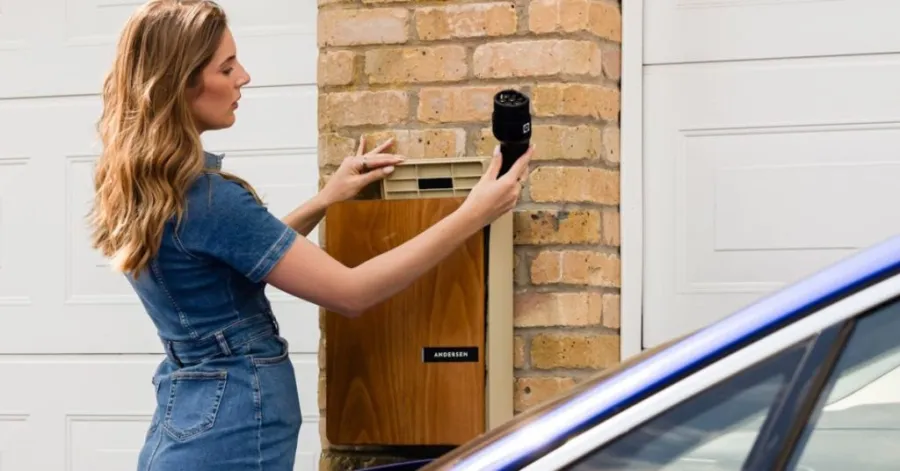
Whatever level of the diy you are at, you can make a charging station box. This simple service enables you to manage your wires neatly. This also ensures your devices are able to be charged safely. This can be further customized to suit your needs and taste. Ready to install your charging station! Grab your gadgets and get pumped for a cable-free charging stand. It can be customized to accommodate your preferences and the equipment you want to charge. This article covers how to create a DIY charging station box, from selecting the right box to managing cables. Ways and safety steps that make its work easier will also be discovered. It also describes essential safety practices, such as maintaining good ventilation and controlling electrical loads to minimize risk. You have put together a nice, tidy, clutter-free charging station to make your life easy and less messy.
Materials Needed for a DIY Charging Station Box

To get started on your DIY project, you will need to collect all the materials and tools. This makes it easier and prevents you from having to run to the shop at the last minute. Once you have them, you can confidently follow this tutorial.
Essential Tools and Supplies
This project doesn’t require special tools. These are readily available. It provides a list of tools and supplies. So they make an easy DIY charging station box at home without any confusion or delay. This makes it easier for users to gather tools and materials before starting so they can complete their project without interruption. This will make the process quicker and more fun. Be sure to gather your supplies. Ensure that you have sufficient materials for your charging station.
Here’s what you will need:
- Scissors or a knife
- Screwdriver (if it requires screwing)
- Ruler or measuring tape
- A marker or a pen for marking points
- Drill (to drill holes in wood or plastic)
- Sandpaper (to smooth)
- Power strip or USB charging hub
Put all the tools and materials on a table. This makes it easier to check off items.
Best Types of Boxes to Use (Wood, Plastic, Cardboard)
When you build your own charging station, you need to choose a box. You can choose one to match your taste and needs. There are pros to each. You can paint or stain a wooden box to achieve a traditional or rustic look. The wooden box is great if you have a durable charging station. A plastic box can provide a modern look. It’s perfect for a contemporary style, and cardboard makes a great, simple,e and cheap project. This DIY charging station box with a power strip offers creativity and simplicity for anyone, regardless of skill level. This characteristic helps users to be innovative and build a charging station to their liking.
Cable Management Accessories to Consider
Cable management accessories make your charging station tidy. These little accessories help. Plugging in will be simpler, and your area will be cleaner. The DIY charging station box and these accessories help users keep wires in place. Users will be able to locate the right charger without rummaging or easily untangling cables. These accessories are helpful. It will be easier to connect and keep your area clean. You will have the materials and equipment to quickly and easily build your charging station.
These items can help you tame your cords:
- Cable clips
- Velcro straps
- Zip ties
- Cord sleeves
Step-by-Step Guide to Building a DIY Charging Station Box
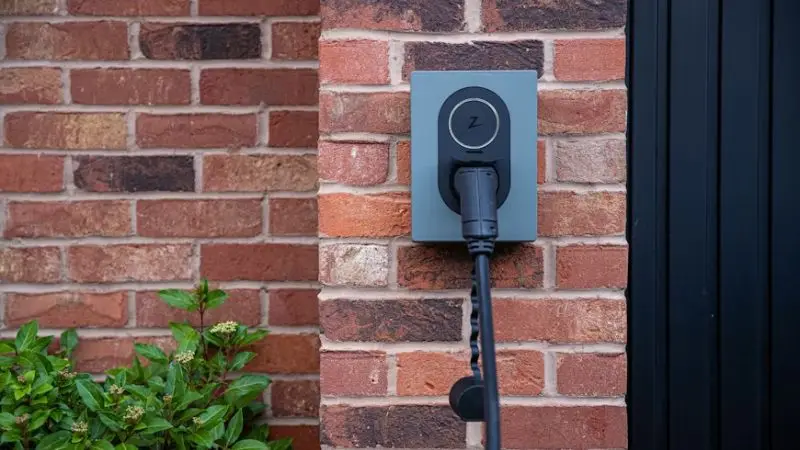
Ready to dive in? This tutorial will guide you in making diy charging station. You don’t have to be a carpenter. All you need to do is follow this step-by-step guide to have a nice place for your electronics. It’s all about planning the holes and slots before you make any errors. It involves cutting and preparing the box and safely mounting a power strip.
Choose the Right Box Size and Design
The first step when making a DIY charging station is to choose the right box. Start by examining your devices and determining how many you will need to charge simultaneously. Find a box big enough to fit them all with some room to spare. You could use a wooden or plastic box, or even a shoe box. Make sure you consider where to store your diy charging station box. If you want to keep it out of sight, get a box that will sit on a bookshelf or in a drawer. You can select a diy charging station box with a power strip. This also helps users properly pack their charging station, depending on where they want to place it. It makes the charging station more convenient and less noticeable.
Plan Cable Holes and Device Slots
When building a charging station, one common mistake is jumping straight into cutting holes without a proper plan. This can lead to uneven spacing, tangled cables, or devices that do not fit properly. This feature helps users avoid these problems by encouraging them to sketch or mark their layout first. Mark where each device will sit and decide where the cables will go in and out. Make sure you leave enough room for each charging cord. Planning tips will show you how to build a DIY charging station box and help you avoid mistakes later. You must use sticky notes to label each spot before you cut. This makes it easy to move things around if you change your mind.
Cut and Prepare the Box
Once users have chosen their box and planned where cables and devices will go, the next step is to make those plans real. Follow these steps to make an easy diy charging station box at home. You should use a utility knife or drill to cut holes for the cables. Sand the edges so they are smooth. If you use a wooden box, you might need a drill for neat holes. For cardboard or plastic, a sharp knife works well. Wipe away any dust before you move on. This feature helps users by ensuring proper cable placement. By cutting holes in the right places, users can route charging cables neatly into the box.
Install a Power Strip Safely
A power strip is the heart of any charging station because it supplies electricity to all the devices. To prepare a DIY charging station box with a power strip, you must place a power strip or USB hub inside the box. Make sure it fits flat and does not wobble. Then plug it into a nearby wall outlet and keep the power strip away from the edges to avoid the cords getting pinched. A stable power strip reduces the chances of cords getting pulled out or damaged. It also helps avoid overheating, which can happen if the strip is placed incorrectly or covered. By positioning the power strip properly, users protect their cables and extend their lifespan.
Organize and Secure Charging Cables
When multiple devices are charged in one place, cables can quickly become confusing. Wires may twist together, fall out of place, or become difficult to identify. This feature helps users solve that problem by guiding them to organize each cable in a structured way. Thread each charging cable through its hole. You must use cable clips or Velcro straps to keep cords tidy. You can also use zip ties to bundle extra length. This guide ensures that your DIY charging station keeps your devices charged. This makes everyday charging much more convenient and stress-free. It is especially useful in homes or offices with multiple people or devices.
Test Your Charging Station
This feature is all about making sure everything works properly before you start using it every day. It gives users a way to check whether their charging setup is safe, efficient, and doing what it’s supposed to. You must plug in your devices and check if everything works. And then you should make sure each device charges and the cables stay in place. If something feels loose, you must adjust your setup as well. Now you have an easy DIY charging station box at home that fits your needs! You just finished the tutorial! Enjoy your organized space and share your diy charging station plans with friends.
Creative DIY Charging Station Box Ideas for Every Style & Need
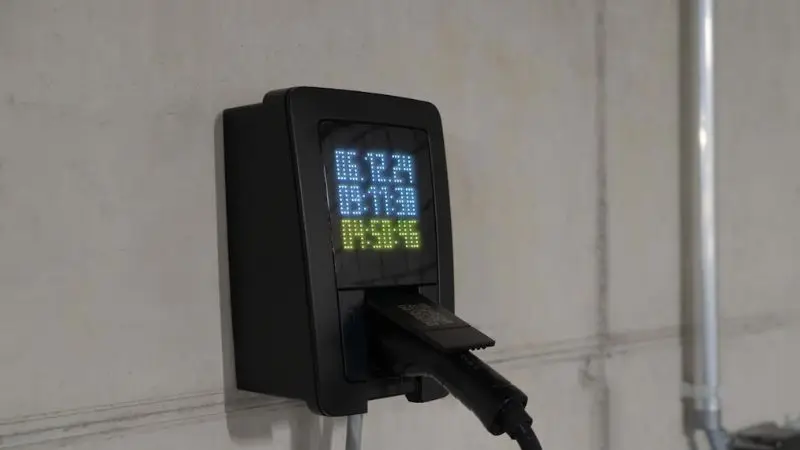
Looking for some fun charging station ideas? There are endless possibilities for a diy charging station box. Here are four ideas to inspire you. All of them will help you keep your phone charging station organized. Here you’ll find some stylish, functional DIY charging station box ideas.
Rustic Wooden Charging Station
Do you like a classic look? Try making a rustic wooden diy charging station. You should grab a small wooden box or crate and drill holes for your cords. Then sand the edges for a smooth finish. You can stain or paint the wood to match your room. The DIY charging station box for multiple devices features a natural, wood-based design that looks warm, classic, and slightly vintage. One of the biggest benefits of a rustic wooden design is how it blends easily with different types of home décor. This project works well if you want a sturdy diy battery charging station. It also makes a great gift! You also add small hooks inside the box to hang extra cables.
Minimalist Shoe Box Charging Station
Looking for something easy to learn how to make a DIY charging station box? Make a charging station with a shoebox. Make holes in the back for cables, and then put a power strip in the box. Pull the charging cords through the holes. This DIY USB charging station keeps your phone charging station neat. You can add stickers or washi tape to the box. This Box epitomizes simplicity, efficiency, and cost-effectiveness. It’s about designing a simple shoebox-style structure that provides a neat, tidy charging area for devices without adding clutter or complexity. It’s great for those new to charging or those who enjoy simplicity.
Drawer-Based Hidden Charging Station
The best thing about this feature is that it conceals cables. A drawer-based DIY battery charging station will conceal your charging chaos. You need to secure the drawer near a power outlet and make holes in the back. You should put the DIY charging station box, including the power strip, inside the drawer. You now have a phone charger station! This type of battery charging station design keeps the area clean. The cables are hidden in the drawer. All the user sees is the surface, so it looks neat.
Travel-Friendly Portable Charging Box
Going on the go? Create a travel diy usb charging box. This tips users by providing a charging travel station. You will need a small plastic container with a lid and holes for the cables. Include a micro power strip or USB hub. This phone charging station DIY box is easy to carry. It’s great for travel or for on-the-go use. You can use the ideas or combine them. There are all different ways to arrange your devices. A charging box keeps things all together. Read a tutorial or create your own ideas for your next DIY project!
Essential Safety Tips for Your DIY Charging Station Box
Your DIY charging station box should be stylish and functional. And you want it to be safe. Here are a few tips for making your charging station safe. It talks about the importance of ventilation, like holes in the box, and keeping it in a well-ventilated area. It also mentions inspecting cables for damage and not overloading power strips.
Prevent Overheating and Fire Hazards
Overheating can cause big problems. Don’t cover your power strip or USB hub with cloth or paper. These can hold in heat, so always inspect your cables before plugging them in. If they are damaged, replace them immediately. Don’t pile on devices to charge. Make sure devices do not touch each other, as you know you have the diy charging station box for multiple devices. This allows heat to dissipate, preventing the DIY charging station from overheating. That’s where this feature comes in, allowing better air circulation in the charging box. It also benefits users by reducing the risk of overheating. Make sure to unplug your charging station when not in use. This can help avoid battery issues and reduce the risk of fire.
Proper Ventilation Techniques
Any diy charging station needs to be well-ventilated. You can add more holes to your box to allow air to escape. You can keep your box outside of a cabinet. If you use a plastic or wooden box, make sure the holes are rounded, so you don’t damage cords. You can even insert a small fan for additional cooling. Here are plans for building an easy DIY charging station box at home. Charging multiple devices (phones, tablets, power banks, etc.) simultaneously will generate heat. When this heat is trapped in a box, it can raise the temperature inside. This slows the charging process, negatively impacts batteries, and, in extreme cases, may even be dangerous. By allowing air to circulate, ventilation prevents heat from accumulating.
Managing Electrical Load Safely
You should not overload your power strip, and check how many devices you want to charge at once. Most diy charging station boxes with a power strip have a limit. You should read the label to find out. If you need to charge many devices, use a USB hub with built-in protection. This keeps your diy charging station safe from short circuits. So, you must always use chargers that match your device’s needs. Do not mix high-power and low-power chargers in the same strip. It helps users avoid overloading a single power source when charging multiple devices simultaneously. A well-designed charging station makes users more aware of how many devices they are connecting and how much power they are using.
Following these safety tips will help you enjoy your diy charging station for a long time.
DIY Charging Station Key Benefits
This feature highlights the main advantages users gain from this smart, practical setup. It explains why having a DIY charging station makes everyday life easier, more organized, and safer. With a DIY charging station box, all devices and cables stay neatly arranged, keeping the space clean and tidy.
Here are 3 main key takeaways for users to help:
- Easy and Customizable DIY Solution: A DIY charging station box is simple to build, whether you’re a beginner or an expert. You can customize it with different materials, such as wood, plastic, or cardboard, to match your style, space, and number of devices.
- Better Organization and Convenience: It helps keep all your devices and cables in one place, reducing clutter and streamlining charging. With proper cable management, you can avoid tangled wires and easily access your chargers.
- Safety is Essential for Long-Term Use: Proper ventilation, avoiding power overload, and regularly checking cables are key to safe use. Following these safety practices helps prevent overheating, protects your devices, and ensures a reliable charging setup.
Wrap Up
A DIY Charging Station Box is an easy way to keep your devices neat and your area clutter-free. Rather than having a mess of cords and chargers, this simple project can help you tidy up your space. This project is suitable for all skill levels, and you can build an attractive and functional charging station with just a few tools. How to make a diy charging station box? Creating a diy charging station box is simple. All your devices will have a home. It will be safer and neater to charge. You can decorate it to match your room. Here’s how to make your diy charging station. Your batteries will be fully charged. So try this diy now! Post your charging station or share your ideas in the comments. Your tips may inspire others!
FAQ
How can I prevent my charging station from overheating?
Ensure there are plenty of air holes in your box. Don’t put anything on top of your power strip. Don’t stack devices on top of one another. Turn it off when it isn’t in use.
Do I have to use a specific box?
You can use a wooden box, a plastic box, or even a shoe box. Make sure it’s sturdy enough to support your devices and can accommodate cables.
How do I stop cables from getting tangled?
Cable clips, Velcro straps, and zip ties can help. This makes your cables organized and easy to retrieve. You can charge faster and without tangles.
Can I leave my devices to charge overnight?
It’s safest to switch off the charging station at night. This will protect your devices and prevent potential fires. Safety first!