
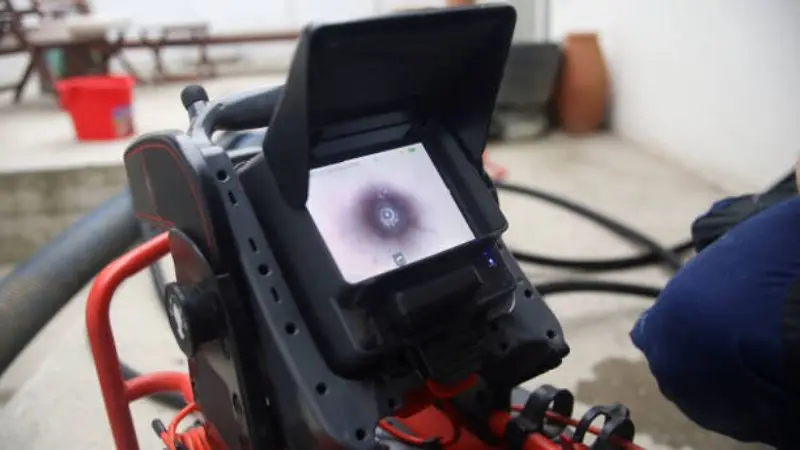
You can see the inside of your chimney with a chimney inspection camera. This helps you to spot any problems early on and keeps your home safe. Regular chimney inspections prevent dangerous accumulation and fires. This tool does not require any special skills. Each step can be followed with confidence, while focusing on safety.
Why Chimney Inspections Matter
Chimneys often develop hazards like creosote buildup, blockages, and hidden cracks, so regular inspections detect issues early and reduce safety risks and repair costs.
Common Chimney Hazards
There are dangers that you cannot see. After fires, soot and creosote will stick to the wall. These substances can easily burn. Birds and animals can nest in flues. Nests prevent smoke and gases from leaving your home. Cracks in a chimney can let heat escape and start a fire. Leaks of water can damage bricks and mortar. You could suffer from smoke damage, carbon dioxide poisoning, or a fireplace fire if you don’t fix these problems.
Tip: If smoke is coming from your chimney or you are smelling something odd, it’s time to get an inspection.
Benefits of Routine Inspection
Your family and your home are safe with regular chimney inspections. You can find problems early and fix them before they become bigger. Early detection of blockages, leaks, or cracks is possible. You can also save money on your energy bills and improve the efficiency of your heating system. This will also prevent major damage to your walls and roof. Insurance companies may require proof of chimney inspection to cover their policies. You can see the inside of your chimney with a camera for inspection. It is not necessary to guess whether your chimney is in good condition. You can feel safer when you use the fireplace if you check your chimney regularly.
Benefits of using a routine inspection camera
- Stopping chimney fires
- Early detection of damage is important
- Air cleaner
- Repairs can be cheaper
Each inspection will make your home more comfortable and safer. Wait until there is a problem before you act. Include chimney inspections in your home maintenance plan.
Choosing a Chimney Inspection Camera
These are the things you must consider before choosing an inspection tool for your home. It will make your selection process easier.
Key Features to Consider
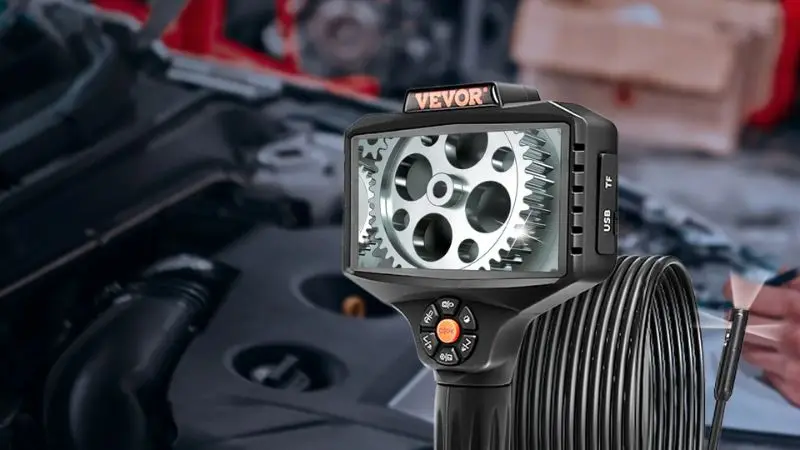
Consider what you require when choosing a camera for chimney inspection. Check that the camera takes clear images. You can see tiny details inside with high-resolution images. If the cable is long and flexible, it’s a good sign. You can reach further into the chimney using a chimney inspection camera with flexible cable. Some cameras come with lights on the end. They help you to see in the dark. It is best to use a waterproof camera because chimneys may be damp. A camera with a display is a good idea. You can watch the inspection in real time.
Choose a camera for your chimney that allows you to save pictures or videos. It is easy to save records with a chimney inspection camera with recording.
Types of Chimney Cameras
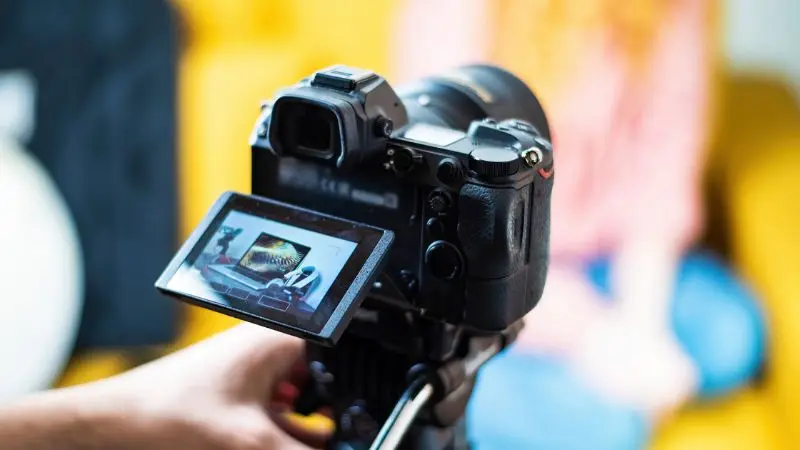
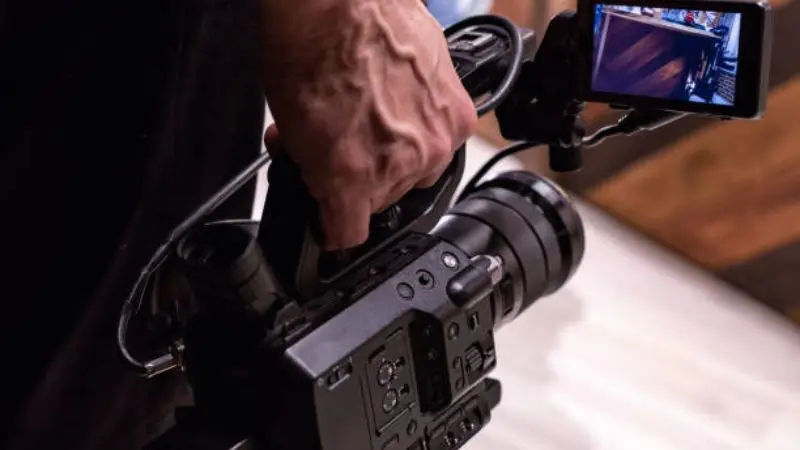
There are many different types of chimney cameras. Some chimney cameras connect to your smartphone or tablet. A wireless chimney inspection camera can be easily moved around. Some cameras come with a built-in screen. Some cameras use a flexible cable, while others use a long rod.
A chimney inspection camera for flue inspection can be used for a quick look or a thorough check. Some cameras work better on small chimneys. Some cameras are better for smaller chimneys, while others work well with larger ones. Check the size of your camera before purchasing.
| Type | Best For | Special Feature |
| Wired chimney camera | Deep inspections | Stable connection |
| Wireless chimney cameras | Easy movement | Connects to devices |
| Built-in screen camera | Quick viewing | No extra device needed |
Cost and Value
A chimney inspection camera may cost as little as $50, or it could even be more than $500. Prices vary based on quality and features. Simple chimney cameras are great for checking the chimney. You will have to pay more if you want additional features. Consider how often you plan to use the camera. A better camera will be worth the money if you intend to inspect your chimney often. Early detection of problems can help you save money. You can save money by avoiding expensive repairs. Before buying, compare the price and features.
A good chimney camera will help keep your home secure.
Preparing for Chimney Inspection
Simple preparation steps help ensure your chimney inspection is effective and safe. Below are the points that we will discuss on what to do before the inspection to avoid delays and missed issues.
Safety Precautions
Safety should always come first when performing any type of chimney maintenance. Wear safety goggles and gloves to protect your eyes and hands. If you want to get up the chimney, use a ladder. Make sure that the area surrounding the fireplace is free of obstructions. Do not inspect the chimney immediately after a fire. Wait until the fire has cooled down. Ask someone for help if you are unsure of your balance or height. Safety is important to avoid accidents, and it keeps you stress-free during your inspection.
Pick a day that is dry and clear for your inspection. Weather conditions such as rain or wind can make your job dangerous.
Pre-Inspection Checklist
Checklists help you inspect every aspect of your chimney. Plan your inspections at least once per year. It is best to schedule your inspection before heating season or right after a major storm. This routine is part of the annual chimney inspection, and it keeps your home in top shape.
This is a checklist to help you maintain your chimney inspection process:
- Check for any damage or missing pieces on the chimney cap.
- Check the crown for any cracks or signs of wear.
- Check the damper and see if it is opening and closing properly.
- Check the flashing for any rust or gaps.
- Check the walls inside for creosote or soot build-up.
- Look for any chips or holes in the brickwork and mortar.
This list can be printed and used every time you perform chimney maintenance.
Charging and Testing the Camera
Charge your camera for chimney inspection completely before you start. If you charge your camera, it will work throughout the inspection. Test the camera by turning it on. Check that the lights are working and that the screen displays a clear picture. Move the cable of the camera to see if you can bend and stretch it as necessary. Test the camera to identify problems and keep your maintenance schedule on track.
Check your camera every time you inspect it. This saves you time and allows you to focus on safety.
Chimney Inspection Steps
Here is the step-by-step process how to use chimney inspection camera safely to get better inspection results.
Setting Up the Camera
Before you begin the inspection, you must set up your camera. Your safety equipment and tools should be placed nearby. Ensure that the chimney camera has been fully charged and that the cable is not tangled. Check the image on the screen by turning the camera on. Test the lights on your chimney camera to make sure they are working. Some chimney cameras can be connected to a tablet or phone. Open the app to check the connection. Adjust the brightness of your camera’s built-in display so that you can see the inside of the chimney.
Wipe your chimney inspection camera lens with a soft, clean cloth. You will have a clearer view if you use a lens that is clean.
Decide which level of chimney inspection you require. The majority of homeowners begin with a basic level 1 chimney inspection. This basic inspection looks for creosote and soot. If you want a deeper look, you can do a level 2 inspection. The camera is used to record video and scan the entire chimney. It is not common to need a level 3 inspection. You only need it if there are serious damages.
Inserting and Navigating the Chimney
Place the camera on the top or bottom of your chimney to begin the inspection. Start from the chimney or the roof. Insert the camera slowly into the flue of the chimney while holding it steady. Avoid scratching walls by moving the camera with care. As you move the camera up and down, keep an eye on the screen. If the cable of your chimney camera is flexible, you can bend it so that it follows the shape and size of the chimney.
You can use the light on the camera to detect dark areas. If you see anything out of the ordinary, pause. Take photos or record video if your chimney camera allows it. You can then remember what you saw during the inspection. Slowly move the camera to inspect the entire chimney. Check the corners, joints, and damper area. Do not force the camera into a chimney blockage if you see one. Check from another angle.
Stop and gently remove the camera if you encounter resistance. Forcefully removing the camera could damage the chimney as well as the equipment.
What to Look For
You need to be on the lookout for any signs of trouble when inspecting your chimney. You can use your chimney inspection camera for detecting soot or creosote. They appear as black or brown layers along the chimney wall. Look for cracks in the bricks and mortar. Check for missing or loose pieces. Use the chimney camera for nests, leaves, or other obstructions. Rust or water stains can indicate leaks. White stains could indicate efflorescence,e which indicates moisture problems.
Here is a checklist to help you with your inspection.
- Buildup of creosote and soot
- Bricks or mortar, cracks,s or gaps
- Rust on metal components
- Water stains and white marks
- Animal nests and debris
- If you find a damaged damper or flue lining, please contact us immediately.
Every year, you should perform a level 1 chimney inspection. It will keep your chimney safe to use. Do a level 2 check if you have changed your heating system, or a fire has occurred. The chimney camera is used to perform a complete video scan. You will also need a level 2 inspection if you are buying a new house or after a storm. You should only do a level three inspection if there is serious damage or if it’s recommended by a professional.
Stop using your fireplace if you discover large cracks or heavy buildup during your inspection. For help, call a certified professional chimney sweep.
A chimney camera can help you detect problems earlier. Keep your home safe by avoiding costly repairs. Follow the steps and use your chimney camera carefully to get the best results.
Understanding Inspection Results
Learn how to interpret inspection camera findings and identify common chimney issues. Clear interpretation ensures proper repairs and long-term chimney safety.
Identifying Issues
Look at the results when you’re done. You can use the videos and photos from your camera. Check the photos for any problems. Creosote and soot appear dark and sticky. Lines or gaps can be seen in the bricks and mortar. Rust on metal components means that water has entered the chimney. Nests or debris may block the flue. Smoke can be blocked by these things.
You can find minor problems earlier by taking a close look. List what you observe. Note any damage or accumulation. White stains could indicate water damage. The damper can be checked by looking inside. You can use what you see when deciding if the chimney requires cleaning or repair.
While you are checking, take photos and notes. You can see the changes that have occurred over time.
When to Call a Professional
You may find that you need to consult an expert if the problem persists. Stop using your fireplace if you notice large cracks, creosote, or blocked areas. A professional chimney cleaner can inspect and repair everything. If you notice loose bricks or broken liners in your chimney, or if there are signs of a fire, then you need to call for help. Professionals can repair everything.
After a storm, or when you replace your heating system, call a professional. Ask an expert to examine anything that seems strange or makes you feel uncertain. Professionals use special equipment and know what to do. It keeps your home and chimney safe.
Keep in mind that regular checks and expert assistance can help you keep your family and home safe.
| When to Call a Professional | Why It Matters |
| Large cracks or damage | Needs expert repairs |
| Heavy buildup or blockage | Prevents fire hazards |
| After major storms | Checks for hidden issues |
| Unsure about results | Gets a clear assessment |
Chimney Inspection Camera Care and Maintenance
Maintaining your chimney camera inspection gets better visuals and smooth performance. Proper cleaning and safe storage help to extend the camera’s lifespan.
Cleaning the Camera
Keep your camera for chimneys clean. You will get better pictures and safer inspections. Wipe the lens clean with a soft towel after use. Remove soot, dust, and other particles from the cable. Use a mild cleaner if you notice sticky spots. Avoid using strong chemicals as they may damage the camera. Cleaning your camera will stop blurry images. Make cleaning the chimney camera part of your routine if you use it often.
Before storing it, cleaning your chimney camera is a good idea. It will make your next inspection much easier and prevent dirt from accumulating.
Storing Equipment
Storing the chimney camera correctly keeps it safe. Place the camera in an area that is cool and dry. Use the case provided with your equipment. The cable should be coiled loosely to prevent it from breaking or bending. Avoid placing the camera near heavy objects that may crush it. Your chimney camera will be ready to use the next time you need it with proper storage. Your equipment will last longer, and you’ll save money on repairs.
- Place the chimney camera into its case.
- All your chimney tools should be kept together.
- The storage area should be dry.
Troubleshooting
Your chimney camera may not always work correctly. Check the cable and clean the lens of the inspection camera if the screen is fuzzy. Charge the camera or replace the batteries if the lights don’t come on. Restart both the camera and your device to try again if you cannot connect. Most problems can be solved by cleaning and maintaining your device. Ask the manufacturer if you are still having problems. Troubleshooting helps keep your chimney camera in good condition and allows for easier inspections.
| Problem | Solution |
| Blurry images | Clean lens, check cable |
| No lights | Charge or replace the battery |
| Connection issues | Restart devices |
Note: Always test your chimney camera before you inspect. In this way, you will save time by detecting problems earlier.
Conclusion
A chimney inspection camera can help keep your home secure. By regularly inspecting your chimney, you can detect problems earlier. It protects you and your home from harm. If you notice any damage, call a professional. Professionals are trained to repair problems and maintain your chimney. Check your chimney every year. You should always trust professionals to fix anything you’re not sure of. Checking your chimney regularly and staying safe can prevent big problems.
FAQ
How often should you inspect your chimney with a camera?
At least once per year, you should inspect your fireplace. Inspect your chimney before the heating season begins. You should inspect your furnace again if you see smoke or after a storm.
Can you use a chimney inspection camera for other home tasks?
You can use the camera in tight or small spaces. Check behind walls, air ducts, or pipes. You can use the camera to find problems in difficult-to-reach areas.
What should you do if your camera gets stuck in the chimney?
Stop moving the inspection camera and gently pull it back. Do not force it. Call a professional if you can’t remove it.
Do you need special training to use a chimney inspection camera?
You do not need special training. The instructions that come with most cameras are easy and simple. Follow safety guidelines and carefully read the manual. Practice helps you get better results.


