| Difficulty Level | Estimated Cost | Duration |
|---|---|---|
| 7 out of 10 | $200 – $300 | 1-2 weeks |
It is sometimes pretty hard to find freshly crafted cider, and when you’re craving some for the moment, one way to enjoy the fresh taste is to make your own hard cider at home. Making hard cider at home is not easy, but it can be an amusing and rewarding experience if you know how to do it properly. To make hard cider on your own, all you need is a mini keg, the right ingredients, a few pieces of equipment, and our step-by-step guidance that will walk you through the entire process of making the hard cider without needing any elaborate equipment.
Making hard cider at home includes a few simple steps, such as collecting the right ingredients, sanitizing the equipment, mixing all ingredients then transferring it to VEVOR mini keg where it will be sealed and fermented perfectly. Mini kegs are smaller-sized kegs that are used for storing and dispensing beverages. These keg types are portable and convenient for smaller parties or gatherings.
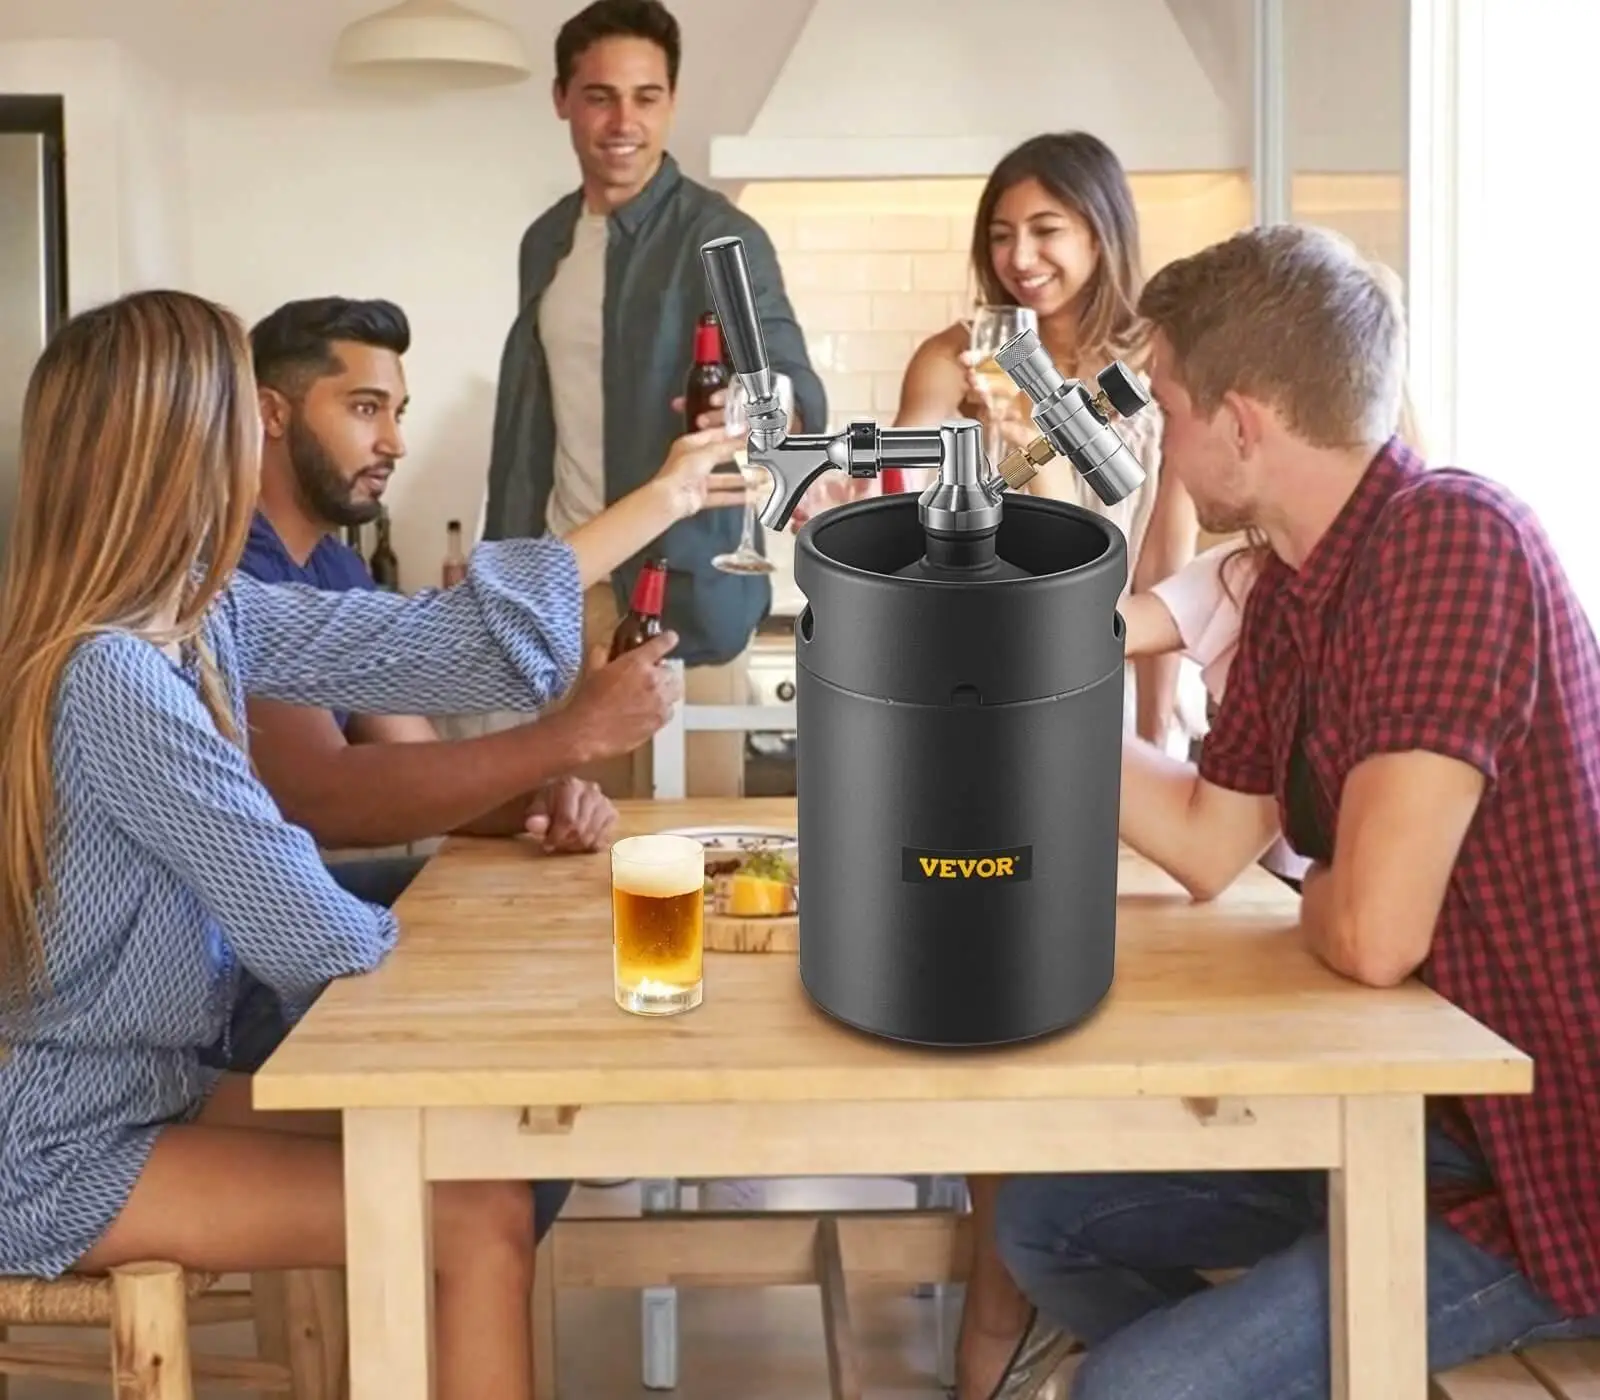
Understanding the VEVOR Mini Keg and Its Features
The VEVOR stainless steel mini keg comes with a beer growler tap system and a CO2 regular faucet with a dual-pressure display. This mini keg model has three color varieties; these are- red, black, and silver. You can also find these mini kegs with various capacities, ranging from 2L to 8L. Some of the main characteristics of the VEVOR mini keg are-
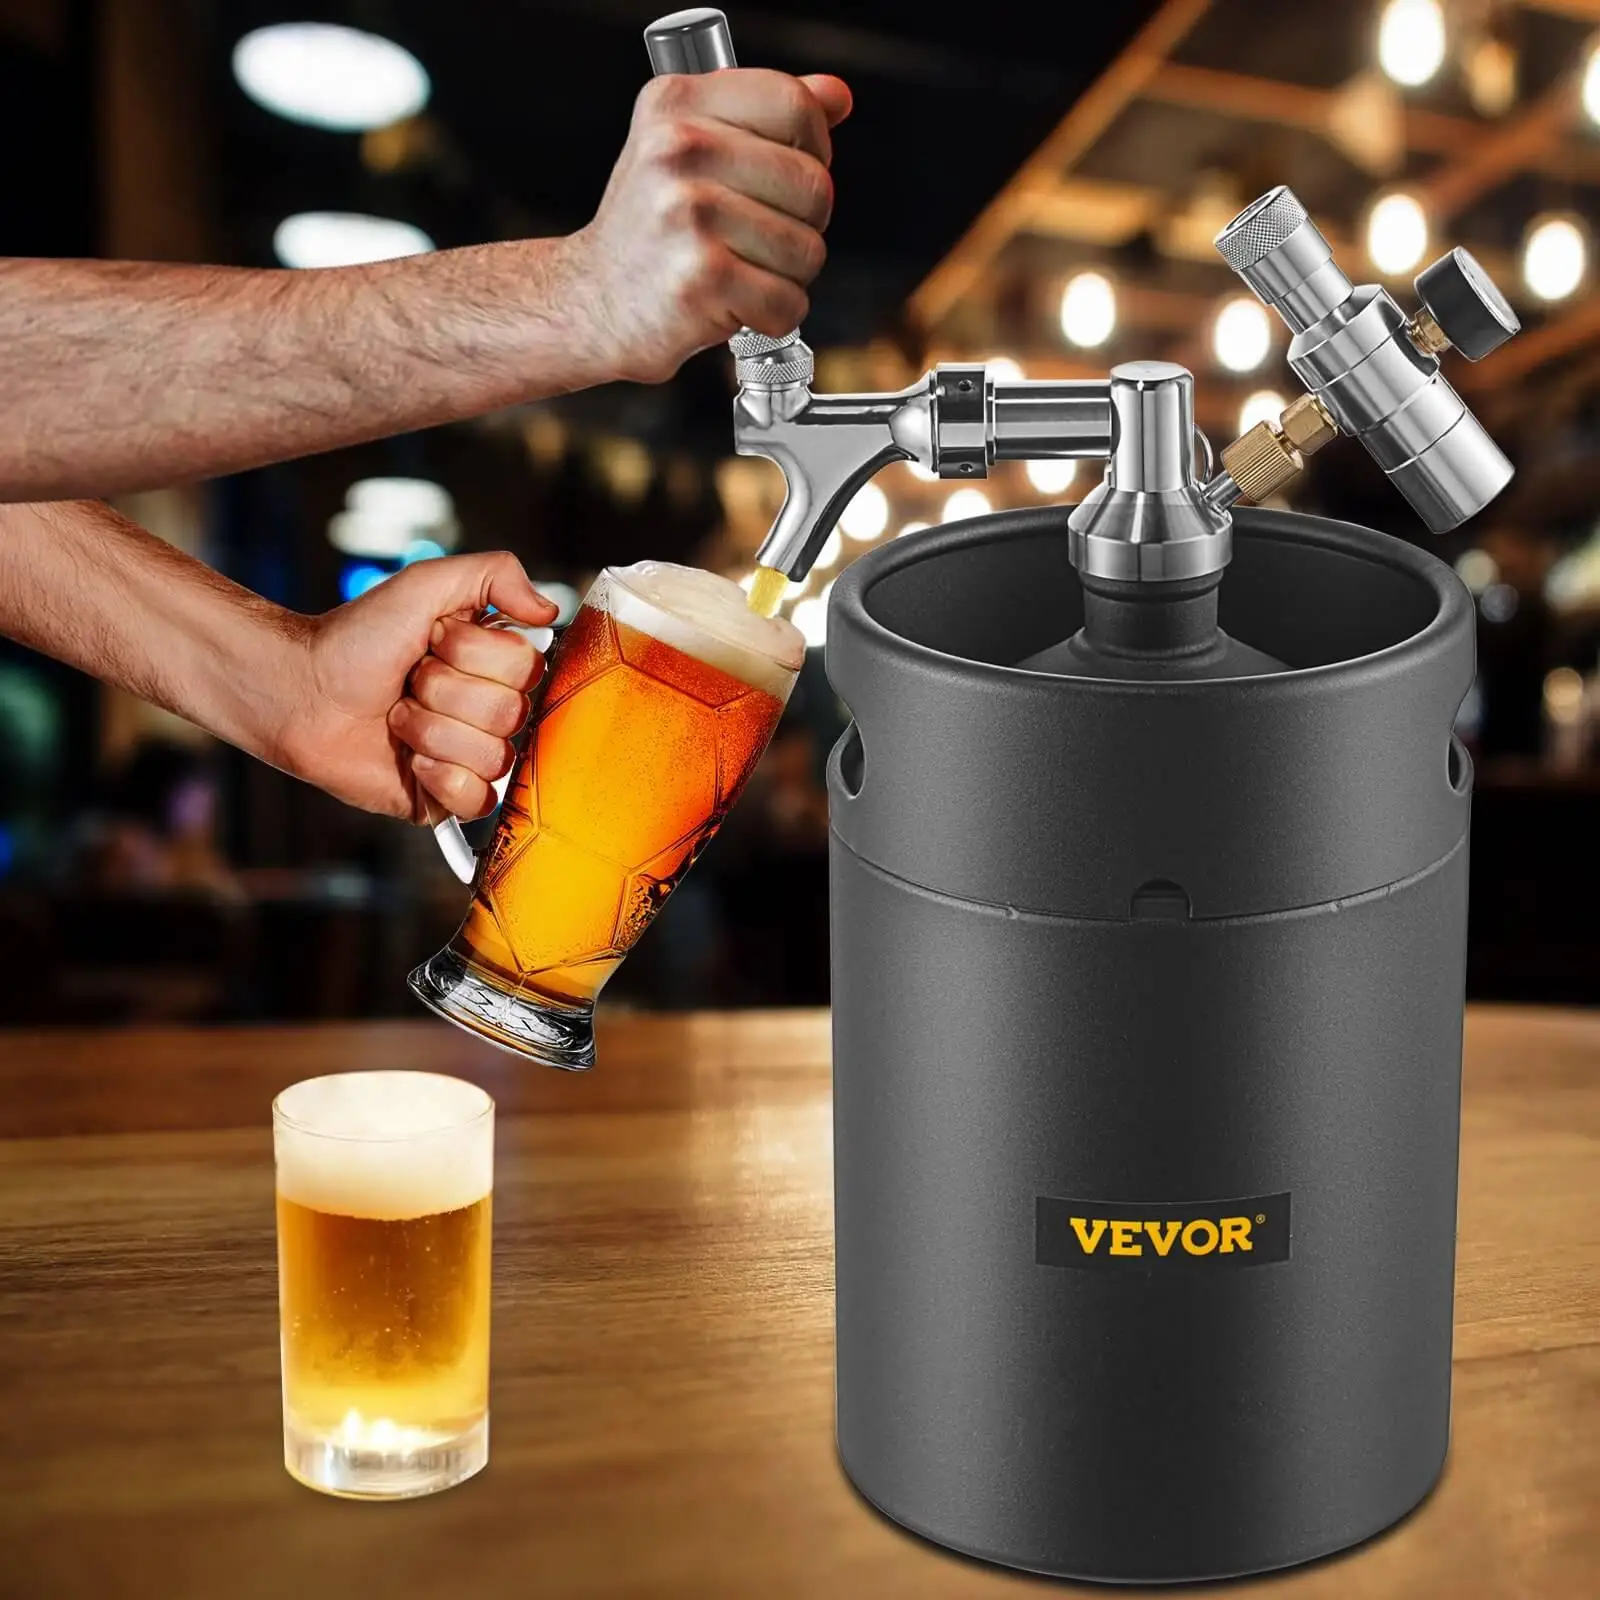
1. Capacity for Fresh Beer (169 Oz): The size of the beer growler tap system is 175×265 mm, which can efficiently hold approximately 169 Oz or 5L fresh beers. This lightweight mini keg comes with hollow grooves on each side, which makes it easy to carry anywhere.
2. Dual Pressure Display: This mini keg model comes with a dual display pressure regulator, which makes it easy to monitor the pressure of the beer growler. If the growler is not pressurized enough, you can rotate the adjustment knob in order to control the pressure inside the keg. The pressure monitoring display and adjustable knob make this mini keg really convenient to use.
3. Premium Stainless Steel and Accessories: The dispenser of this mini keg is made of 304 stainless steel, which is also food-graded. It comes with multiple accessories, for example, the non-slip cap, long beer tube, dispenser tap and knob, silicone rings, and black powder coating makes it very handy to use. Its amazing structure keeps the drinks clean, fresh, and hygienic. So, it is safe to store your drinks in this mini keg.

4. Carry It Anywhere: The dispensing tap faucet is detachable, which means you can remove it and replace it with a threaded cap. This way, you can turn the pressurized beer growler into a drinks storage can. This is one of the best features of this mini keg because it makes this mini keg portable, and you can easily carry it at your house parties, outside, or on your camping trip.
How to Make Hard Cider with the Mini Keg?
Making hard cider on your own is a fun process, it allows you to enjoy freshly crafted cider at your home. Having a mini keg makes the process even more exciting and easier. Here is our step-by-step guide toward making hard cider at home-
Step 1: Gathering the Ingredients and Equipment
The first and foremost thing toward making hard cider on your own is to collect each and every ingredient and equipment needed for it. If you cannot find any core ingredient, look for another equivalent ingredient that you can use instead of that one.
Below are the necessary ingredient and equipment you might need:
Ingredients:
• Apple Juice: Find fresh apple juice without any artificial preservatives or additives. Artificial preservatives hinder the natural fermentation process. So, it is important to find fresh apple juice.

• Cider: If you cannot find fresh apple juice, you can use cider instead of that. But make sure that the cider you are going to use is natural, unfiltered, and authentically flavored. Avoid using cider that is artificially sweetened.
• Yeast: You will need yeast for fermenting the cider. Generally, Brewer’s yeast, white labs wlp720 yeast, and champagne yeast are used for fermenting cider. You can choose any of them. These three types of yeast convert sugar into alcohol efficiently while keeping the original flavors and aromas.
Equipment:
• Mini Keg
• CO2 cartridge
• Fermentation Container
• Mixing Spoon
• Sanitizing Solution
Step 2: Preparing the Hard Cider Mixture
First, before mixing the ingredients, clean and sanitize all the equipment carefully. It is crucial to create a hygienic environment for the hard cider fermentation process. Cleaning and sanitizing the equipment properly will prevent the mixture from contamination and unwanted odor and taste. Don’t forget to use food-grade sanitizer and rinse all the equipment after cleaning.

After that, it is finally time to prepare the hard cider mixture. For that, follow these steps:
1. Choose a container with a wide opening, as it will be easier to mix and add the ingredients. Don’t use reactive material containers; these might affect the actual taste of the hard cider.
2. Pour the apple juice or cider you have chosen into the sanitized container.
3. Check whether the container has enough space for fermentation so it won’t overflow once it starts.
Step 3: Choosing the Right Yeast
Choosing the right yeast is crucial. As mentioned before, you can use Brewer’s yeast, white Labs wlp720 yeast, or champagne yeast, as it is up to you. All of these yeast are widely used for the fermentation process of hard cider. You can easily find this yeast in any mart near you. But we strongly recommend you use the white labs wlp720 yeast as it fastens the fermentation of the cider. After choosing which yeast you will use, sprinkle the desired amount into the cider mixture.
Step 4: Mixing and Fermenting the Hard Cider
The next step is to mix every ingredient and then initialize the fermentation of your desired hard cider.
1. Add the necessary amount of yeast to the mixture. Avoid adding too much yeast. It might ruin the actual taste of the cider.

2. Stir the mixture accurately using your clean and sanitized mixing spoon. Make sure that the yeast you have mixed is evenly distributed after stirring.
3. Once you have mixed the hard cider mixture properly, the yeast will start consuming sugar from the apple juice or the cider, and the fermentation process will start.
Step 5: Fermentation and Aging
1. After the initialization of fermentation, the mixture will start to convert into alcohol and CO2 (carbon dioxide).
2. The next step is to transfer the cider from the container vessel to your VEVOR mini keg. Carefully pour the cider so you don’t spill any. Also, don’t forget to leave some space to make room for fermentation and carbonation.

3. Seal the mini keg tightly using its airlock so that the cider won’t get access to excess oxygen. If you don’t seal the mini keg tightly, the cider mixture will get contaminated and hinder the fermentation.
4. If you don’t know how to use the VEVOR mini keg, try reading the user’s manual. Follow the manual to properly seal the keg so that outside air won’t be able to enter the closed fermented environment.
5. Keep the mini keg at room temperature. Now let the cider age and get fermented correctly.
Step 6: Completion of Fermentation
1. After sealing the mini keg, make sure to monitor the fermentation properly. Ensure that the temperature is suitable for the process.
2. As time goes by, the yeast you have used will consume all the sugar in the cider by producing alcohol and CO2.

3. Observe the bubbles in the blow-off tube and the airlock.
4. Typically, the fermentation of hard cider takes around one to two weeks. But keep it in your mind that the duration might vary as it depends heavily on the temperature and the type of yeast you have used.
Step 7: Preparing the Cider for Consumption
As the fermentation is complete by now, it’s time to prepare the cider for consumption. Refrigerate the VEVOR mini keg for two to three days to let the cider chill and allow its flavor to meld. After that, transfer the cider into the serving keg.
1. If you prefer sparkling hard cider, you can also carbonate it in your VEVOR mini keg. Assemble the mini keg and attach it’s the gas cartridge to the regulator. Seal it again securely.
2. Once the gas cartridge is attached to your mini keg, slowly start to release the gas into the VEVOR mini keg. This process will carbonate the hard cider.

3. You can keep the hard cider at room temperature or refrigerate it according to your cooling preferences.
4. You can also adjust the sweetness of the cider by using sugar or simple syrup.
There you have it. Your desired fresh hard cider is ready, all chilled and carbonated! You can now consume it and share it with your family and friends!
FAQ About Making Quick and Easy Hard Cider
Here are some frequently asked questions about hard cider and mini kegs that might help you in your hard cider making process-
1. Is it okay to use store-bought cider or apple juice for making hard cider?
Yes, you can use store-bought cider or apple juice but ensure that those are natural, preservatives, and additives free.
2. Is it safe to use the VEVOR mini keg for making hard cider?
Absolutely yes! There’s no doubt about the safety measures of the VEVOR mini keg. You can easily use this mini keg by following the provided user manual. This mini keg is completely safe and portable to use.
3. Is it important to sanitize the equipment before preparing for hard cider?
Yes, it is very important to maintain sanitation and create a hygienic environment for the fermentation process so that the cider mixture doesn’t get contaminated.
4. How long the fermentation process might take?
It might take around 1-2 weeks. But it greatly depends on the amount of ingredients you have used, the temperature and humidity, and the mini keg you use for fermentation.
5. Is it possible to carbonate the hard cider in the mini keg?
Yes, absolutely! Using the regulator, you can carbonate the hard cider in the VEVOR mini keg by attaching it to the gas cartridge.
Conclusion
VEVOR focuses on delivering reliable, good quality, and durable products that will meet all of its customer’s needs and demands. Their main target is to provide high-quality products that will meet their consumers’ diverse needs. So, if you are thinking of buying a new mini keg for making hard cider on your own, you can, without a doubt, buy the VEVOR mini keg.
This product is not only easy to use, but it is also durable and capable of fulfilling your desire to make any home-brewing drinks. You can use them for serving carbonated beverages, homemade sodas, or hard cider. Follow our step-by-step instructions to make your own hard cider!


