
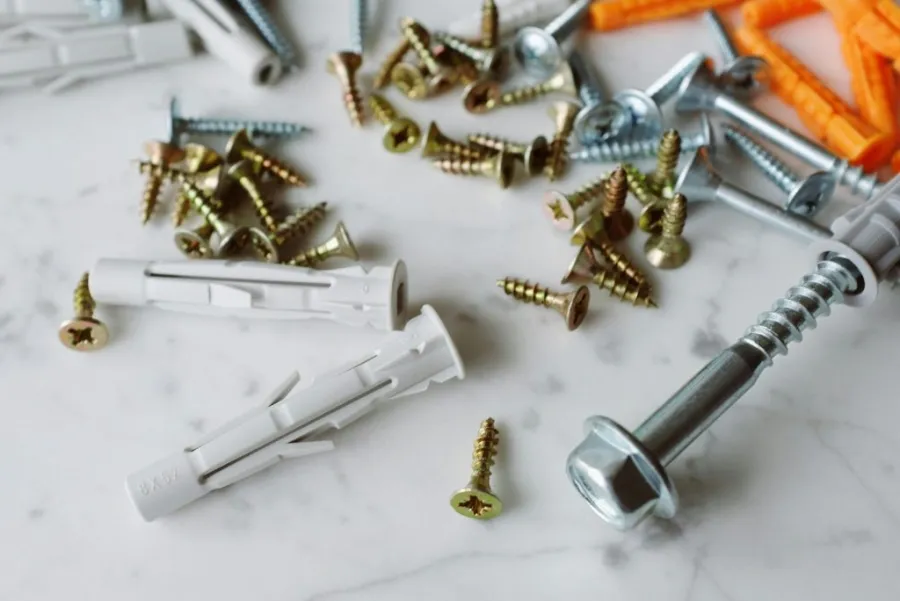
Have you ever worked on a DIY project only to discover that the solid base that you had created is shaky, as if it has got some missing teeth? There is no worse feeling than seeing your carefully mounted shelf or other heavy machinery topple over because just one little part fails.
In this guide, we will explore what anchor bolts are and how to recognize various anchor bolt types, how to select an appropriate one, and the process of installation to keep everything where it should be. In order to be sure that all the bolts will stay securely locked into place, you will need to use a 90-piece ratchet tool kit to install them.
What are anchor bolts?
In essence, these are robust fastening systems used to attach structural and non-structural components to concrete or masonry materials. While a screw works by digging into the wood fibers, these bolts work by expanding or chemically binding themselves to the material.
These bolts are the hidden backbone of any building project, from the stadium seats to the shelves in your garage. The physics of how these bolts function allows us to comprehend why we cannot use regular bolts.
When you use anchor bolts for concrete, you are creating a mechanical bond. As the bolt is tightened, it expands against the walls of the hole, creating massive friction. This friction is what allows a relatively small piece of steel to hold up thousands of pounds.
Without these fasteners, we wouldn’t have secure handrails, stable light poles, or safe home foundations. They bridge the gap between “resting on a surface” and “becoming part of the surface.”
4 common anchor bolt types
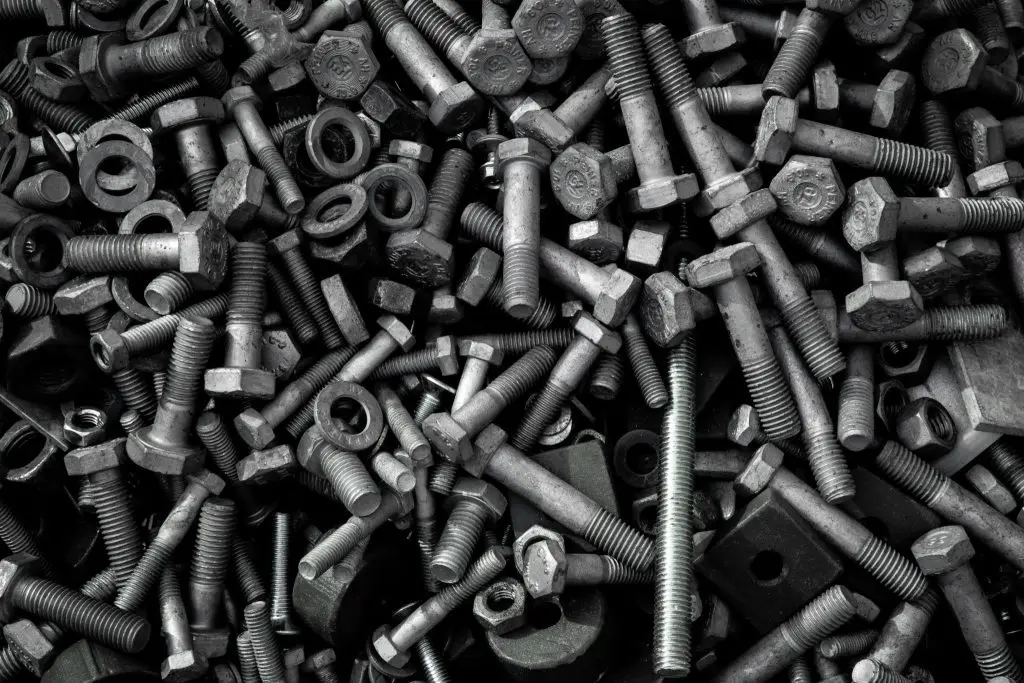
Not all fasteners are created equal. Depending on your base material and the weight of your object, you’ll need to select from specific anchor bolt types to ensure safety and stability. Choosing the wrong one can lead to material failure or a weakened structure.
Wedge Anchors
These are considered to be the gold standard for solid concrete installation. The more you turn the nut, the more a mechanical wedge located at the bottom part expands inside the hole, pushing up against the sides. They offer exceptional hold and must never be used in bricks or blocks.
The wedge anchor is described as “permanent.” When you expand it inside the hole and secure it in place, it becomes extremely difficult to pull out without destroying the concrete.
Sleeve Anchors
These are the versatile cousins of the wedge anchor. They feature a sleeve that expands along the entire length of the bolt. This distributes the pressure more evenly, which is helpful if the concrete is older or less dense.
Because they distribute pressure, they are often preferred for anchor bolts for brick or concrete block. They provide a more forgiving grip than the aggressive “bite” of a wedge anchor.
L-Bolts (J-Bolts)
They will mostly be found inside wet concrete while building the foundation. The “L” shaped anchor will hook under the aggregate or rebar; thus, it will be very hard to remove the anchor after the concrete has cured.
These are vital in mounting sill plates on new foundations. They act as纽带:
Drop-In Anchors
These are great for installations above ground or where you require a neat surface finish. You “drop” a female-threaded anchor into a hole, then use a setting tool to make it expand, after which you can bolt your fixture to it.
In case you need to dismount the fixture while maintaining a neat floor, these will work perfectly for you, since you will just unscrew the bolt from the anchor.
How to install anchor bolts for concrete
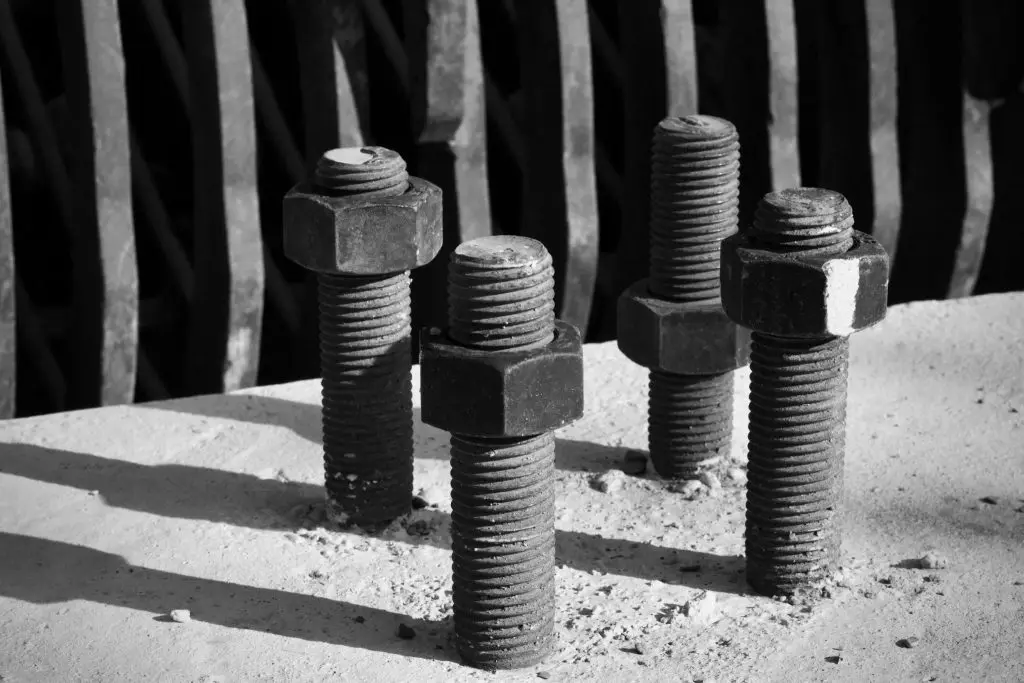
If you want a bond that won’t budge, your installation technique matters more than the bolt itself. Here is the pro-approved method for setting anchor bolts for concrete so they never fail.
Step 1: Marking your drill point
Accuracy is critical when working with masonry materials. Utilize your template fixture to make precise measurements regarding the holes that should be drilled. In the case of a massive undertaking, such as installing an auto lift in a garage, take extra care when making these measurements before drilling.
If even a quarter of an inch is “off,” your bolt will not align properly with the holes in your machinery. Utilize a center punch to create a point of origin for your drill bit.
Step 2: Drilling the perfect hole
You have to use a hammer drill for this task. If you are not certain what power tool you should select, here’s our handy guide to choosing between a rotary hammer and a hammer drill.
Make sure your drill bit is exactly the diameter required by your bolt. Over-sized hole is the number one reason for anchor failure. Hold your drill in a perfectly vertical position.
Step 3: The “blow-brush-blow” cleaning trick
It is usually skipped by the majority of do-it-yourself homeowners, although it is the most critical stage of the procedure. Dust works as a lubricant, so the bolts can slide. Employ the help of the 48-piece ratchet tool kit when blowing dust out with air.
Blow out dust from inside the drilled hole, use a wire brush to clean its walls of dust, and blow it once again. Make sure the metal of your anchor makes contact with the concrete, rather than powder.
Step 4: Setting the anchor
Tap the bolt into the hole with a hammer. Leave the nut on the threads while you do this to protect them from damage. If you are drilling through very hard tile first, learning how to effectively use a diamond core drill bit can help.
The anchor should go in with a bit of resistance. If it falls in loosely, the hole is too big. Drive it in until the washer is flush against the surface of your fixture.
Step 5: Tightening for strength
Use a 34-piece metric impact set to tighten the nut to the recommended torque.
As you turn the nut, the bolt is pulled upward, forcing the expansion clip to flare out. This is where the magic happens. You’ll feel the resistance increase as the bolt “bites” into the concrete.
Specialized solutions for wood and brick
Sometimes your base material isn’t solid concrete. When dealing with softer or hollow materials, your approach to bolts needs to change to prevent damaging the structure.
How to use anchor bolts for wood
Fastening metals to wood will require a different bite. In such scenarios, lag bolts and through bolts with large washers are used. On heavy timber work, such as a DIY pipe handrail, having a 65-piece socket set comes in handy.
When using anchor bolts for wood, it is important to take note that wood tends to expand and contract with weather changes. Wide washers are useful in distributing the load, preventing the bolt from pulling out.
How to use anchor bolts for brick
Bricks are brittle and often hollow. Using anchor bolts for brick usually requires sleeve anchors or adhesive systems. Never use a wedge anchor here, as the expansion force can literally snap a brick in half.
For brick, try to aim for the mortar joints if the load is light, or use an adhesive anchor if the load is heavy. Bricks are much less dense than concrete, so a gentle touch is required during installation.
Chemical vs. mechanical anchors
Mechanical fasteners depend on friction and expansion forces. These fasteners have the advantage of being quickly installed and loadable. But there is stress put on the concrete that can cause problems in edge areas.
The chemical fasteners consist of a two-part epoxy resin. This mixture bonds the fastener into place in the drilled hole. The chemical alternative works well in areas of close edge distances.
For heavy industrial applications, you might need a 3/4-inch drive 29-piece set to handle the massive bolts. These provide a waterproof seal and distribute the load more evenly across the material.
Maintenance and safety tips
Even the best anchor bolts need an occasional check-up. Over time, vibrations and temperature changes can cause a slight loss in tension. Safety should always be your top priority when dealing with heavy loads.
- Annual Check: Use a 33-piece impact set to verify tightness.
- Rust Inspection: Look for red rust, which signals a loss of structural integrity. If you see deep pitting, replace the bolt immediately.
- Avoid Overloading: Check the manufacturer’s weight rating for shear strength. Never exceed the limit, especially for overhead mounts.
- Keep Tools Ready: Store a 23-piece set for quick adjustments.
- Deep Reach: Use a 1-2 drive 26-piece set for bolts with excess thread.
- Tight Spaces: A 19-piece extension bar set helps you reach bolts behind heavy equipment.
- Deep Access: Use a 19-piece deep length set or a 9-piece deep socket set for recessed anchors.
Maintaining your fasteners is just as important as the initial installation. A bolt that has loosened just a few millimeters can create a leverage point that might eventually crack the concrete around it. Regular inspections prevent minor issues from becoming dangerous failures.
FAQs
What happens if I drill the hole too deeply?
For most anchor bolts, a deeper hole isn’t a problem as long as you can still reach the nut. However, for drop-in anchors, the depth must be exact, or the setting tool won’t be able to expand the anchor properly.
Can I reuse anchor bolts?
Generally, no. Mechanical anchors deform the metal to create a grip. Once they are removed, that “bite” is gone. Always use fresh hardware for a new installation to ensure your safety and structural integrity.
Which anchor bolts for concrete are best for outdoor use?
Always go for hot-dipped galvanized or stainless steel. Standard zinc-plated bolts will rust quickly when exposed to moisture, which can eventually lead to “concrete cancer” and structural cracking.
Do I need a torque wrench?
While many pros use an impact driver for speed, a torque wrench is the only way to be 100% sure you’ve met the engineer’s specs. If the project is structural, like a deck ledger board, use a torque wrench.
How do I remove an old anchor bolt?
If you can’t pull it out, the best method is to cut it flush with a grinder. If you must remove it entirely, you may have to drill around it, which usually damages the surrounding concrete significantly.
Conclusion
The knowledge of how anchor bolts work is an essential aspect of your project, because this will help make your construction rock-solid without the need for concern about loose teeth, as outlined above. You have to pick the right fastener and use the correct procedures for cleaning and screwing to ensure that your construction remains in place.
The importance of using the correct equipment for your construction cannot be underestimated, as highlighted in our introduction. With the information provided above on the types and procedure, you can now anchor anything with ease!




