
Ready to tackle your first plumbing project? You can use crimping tools for PEX pipe to make leak-free, long-lasting connections. These tools help you join PEX pipes with confidence. PEX systems keep things simple and reliable. > Don’t worry—you can master these tools with a bit of practice!
What Is PEX?
PEX Pipe Basics
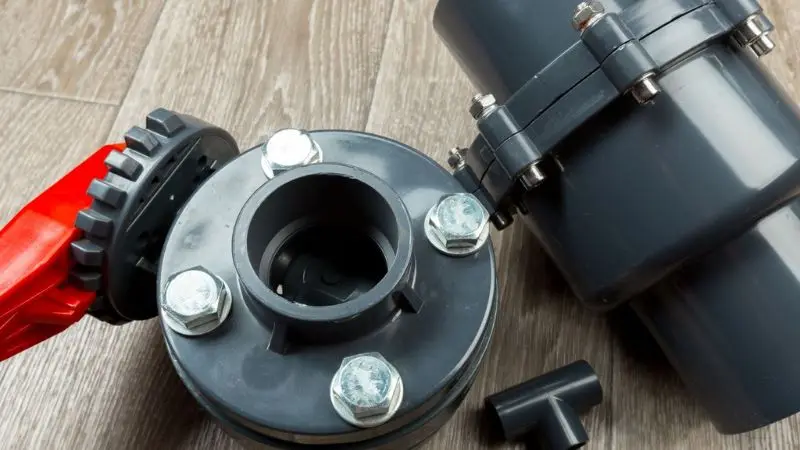
You might wonder what PEX is and why so many people use it for plumbing. Pex stands for cross-linked polyethylene. This type of plastic pipe has become very popular for home water lines. You can buy PEX in long rolls or straight sticks. It comes in different colors, like red for hot water and blue for cold water. You cut PEX easily with a special tool. The pipe feels flexible, so you can bend it around corners without needing many fittings.
Benefits of PEX
Pex offers many advantages for your plumbing projects. Here are some reasons you might choose PEX:
- Easy to install. You do not need to solder or glue anything.
- Flexible. You can curve PEX around obstacles, which saves time.
- Fewer leaks. The connections stay tight when you use the correct crimping tools for PEX pipes.
- Cost-effective. Pex usually costs less than copper or steel pipes.
- Quiet. Water flows through PEX with less noise.
| Feature | PEX Pipe | Copper Pipe |
| Flexibility | High | Low |
| Cost | Lower | Higher |
| Rust/Corrode | No | Yes |
If you want a simple, reliable, and affordable way to run water lines, PEX is an excellent choice. Many DIYers love working with PEX because it makes plumbing less stressful.
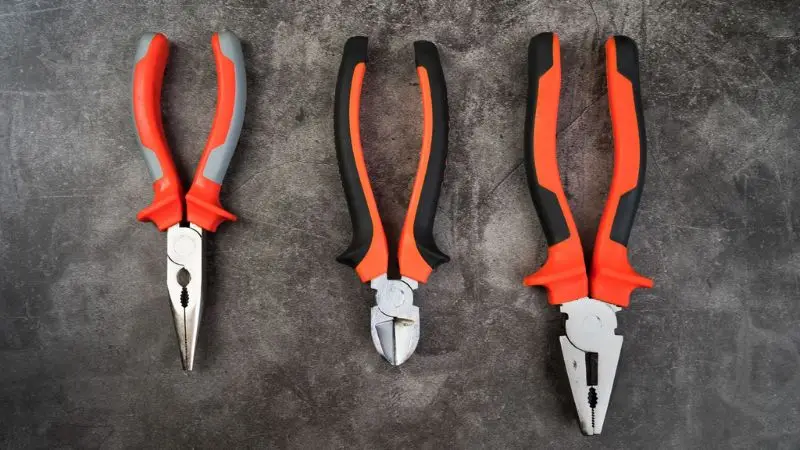
Crimping Tools for PEX Pipe
When you start working with PEX, you need the proper crimping tools. These tools help you make strong, leak-free connections. There are two main types of plumbing crimp tool for PEX: crimp ring tools and cinch clamp tools. Each one works a little differently, but both get the job done. Let’s break down what you need to know before you pick up your first crimping tool for PEX pipes.
Crimp Ring Tools
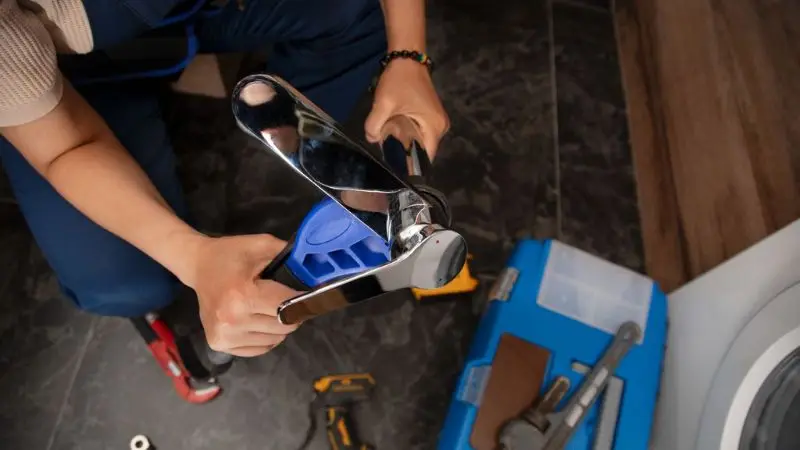
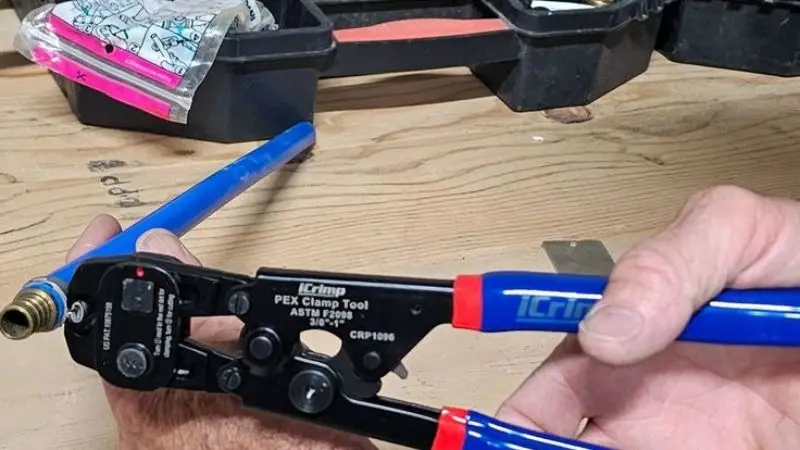
What is the best crimping tool for PEX pipe installation? Crimp ring tools are the classic choice for PEX. You use these with crimp rings, which are small copper bands. First, you slide a crimp ring over the end of the PEX pipe. Then, you push the fitting into the pipe. Next, place the plumbing crimping tool over the crimp ring and squeeze the handles. The tool presses the crimp ring tight around the pipe and fitting. This creates a strong seal.
You will need a Go/No-Go gauge with this tool. The gauge checks if you crimped the ring tight enough. If the crimp ring fits in the “Go” slot but not the “No-Go” slot, you did it right. If not, you may need to cut off the fitting and try again. A tubing cutter is also an essential tool. It helps you make clean, straight cuts on the PEX pipe. Square cuts help the crimp rings seal better.
Cinch Clamp Tools
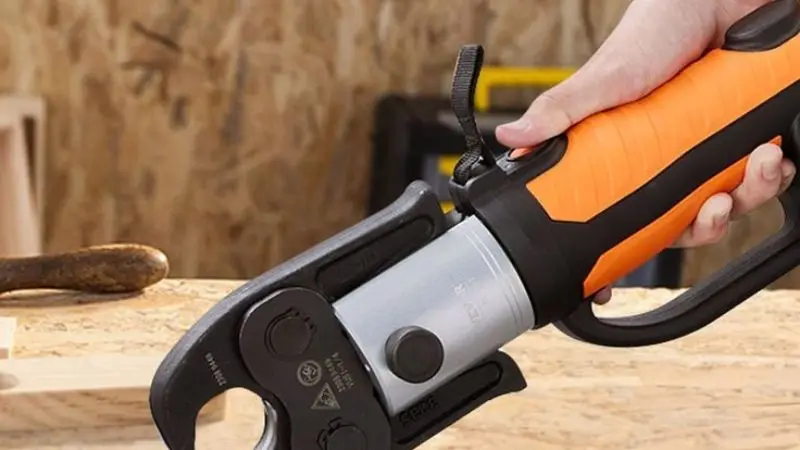
Cinch clamp tools work with stainless steel clamps instead of crimp rings. You slide the clamp over the PEX pipe, insert the fitting, and then use the plumbing crimp tool to squeeze the clamp’s tab. The clamp tightens around the pipe and fitting. This method is simple and does not need a Go/No-Go gauge. The tool will not release until the clamp is tight enough.
Many people like cinch clamp tools because you can use one tool for all clamp sizes. You do not need to switch jaws or buy extra parts. The process is quick and easy, which makes it great for beginners.
Tool Comparison
How to choose the right crimping tool for PEX pipe? Choosing between crimp ring tools and cinch clamp tools depends on your needs. Here are some things to think about:
| Feature | Crimp Ring Tools | Cinch Clamp Tools |
| Uses crimp rings | Yes | No |
| Needs gauge | Yes | No |
| Tool size | Larger | Smaller |
| Works in tight spots | Sometimes | Often |
| Fitting removal | Harder | Easier |
When you pick a crimping tool for PEX pipes, look for these things:
- Ease of use: Some PEX pipe crimping tools feature long handles for better grip. Others have a ratcheting action to make squeezing easier.
- Durability: You want a plumbing crimp tool that lasts. Steel tools hold up well over time.
- Compatibility: Make sure your tool matches the size of your PEX and crimp rings or clamps.
You will use crimp rings a lot if you choose the crimp ring method. Always keep extra crimp rings on hand. If you go with cinch clamps, stock up on those instead. Both types of crimping tools for PEX pipe can help you finish your project with fewer leaks and less stress.
How to Use a Crimping Tool for PEX Pipe
Learning how to use a crimping tool for PEX pipe fittings can make your plumbing projects much easier. You do not need to be a pro to get strong, leak-free connections. Just follow these steps, and you will feel confident every time you work with PEX.
Preparing the Pipe
Start by measuring the length of PEX you need. Use a marker to make a small line where you want to cut. Grab your tubing cutter, not a saw or scissors. Place the cutter around the pipe and spin it slowly. Squeeze the handles until the blade slices through. You want a clean, square cut. If the end looks jagged or slanted, cut it again.
Next, slide the crimp ring or clamp over the end of the PEX. Push the fitting into the pipe until it stops. You should not see any of the fitting’s barbs. Leave a small gap—about 1/8 inch—between the end of the crimp ring and the fitting. This space lets the ring squeeze the pipe evenly.
Making the Crimp Connection
Now you are ready to use your PEX crimp tool. Open the jaws of the plumbing crimp tool and place them around the crimp ring. Make sure the tool sits right in the middle of the ring, not too close to the edge. Squeeze the handles together until they stop moving. You will feel the tool press the ring tight around the pipe and fitting.
If you use a cinch clamp, grab your cinch clamp plumbing crimp tool. Place the jaws over the clamp’s tab and squeeze until the tool releases. The clamp will tighten and lock in place. You do not need to guess if it is tight enough—the tool does the work for you.
Checking with the Go/No-Go Gauge
After you crimp the ring, check your work. Grab your Go/No-Go gauge. Slide the “Go” side over the crimped ring. It should fit easily. Try the “No-Go” side next. It should not fit over the ring. If your crimp passes this test, you have a solid connection.
If the ring fails the test, cut off the fitting and start again. Do not skip this step. Checking your work with the gauge helps you avoid leaks and keeps your plumbing safe. You can now repeat these steps for each connection. With a bit of practice, you will get faster and more confident using your PEX crimp tool. Remember, careful cuts, proper spacing, and checking your work are the keys to a job well done.
Crimping PEX: Tips and Mistakes
Common Errors
When you start crimping PEX, you might run into a few common mistakes. Knowing what you should do helps you avoid problems later. Here are some errors you might see:
- Crooked cuts: If you cut the pipe at an angle, the fitting may not seal properly. Always use a tubing cutter for a straight cut.
- Wrong ring or clamp placement: If you put the crimp ring too close or too far from the fitting, you can get leaks.
- Not checking the gauge: Skipping the Go/No-Go gauge could mean you miss a bad crimp.
- Damaged pipe ends: If you crush or scratch the pipe, the connection will not hold.
Best Practices
You want leak-free connections every time. Here’s what you should do for the best results:
- Measure twice and cut once. Double-check your pipe length before cutting.
- Always make a clean, square cut. This helps the fitting seal tightly.
- Slide the ring or clamp into the right spot—about 1/8 inch from the end.
- Use the Go/No-Go gauge after every crimping of a PEX connection.
- Practice on scrap pieces before starting your real project.
| Mistake | What You Should Do |
| Crooked cut | Use a tubing cutter |
| Skipped gauge | Always check crimps |
| Wrong placement | Measure the gap |
Troubleshooting Plumbing Crimp Tool Issues
Identifying Leaks
You finished your project, but now you see a drip. Don’t worry—leaks can happen, even if you use a plumbing crimp tool the right way. Start by drying the area around your connection. Turn on the water and watch closely. If you see water beads or a slow drip, you leak. Sometimes, you might hear a hissing sound or notice water pooling under the pipe. Use a paper towel to dab around the fitting. If it gets wet, you found the problem spot.
Fixing Bad Connections
You found a leak—now what? First, grab your plumbing crimp tool and a new fitting or ring. Cut out the bad section of pipe using your tubing cutter. Make sure your new cut is straight and clean. Slide on a new crimp ring or clamp, insert the fitting, and use your plumbing crimp tool to make a fresh connection. Always check your work with the Go/No-Go gauge when using crimp rings.
Here are some common problems and quick solutions:
| Problem | Solution |
| Loose crimp ring | Cut and redo the connection |
| Damaged pipe end | Trim and retry |
| Wrong ring size | Use the correct size |
Conclusion
You can master PEX crimping tools with a bit of practice. Remember these steps:
- Cut the pipe square.
- Place the ring or clamp correctly.
- Always check with the gauge.
Start your PEX project today! Each connection you make builds your skills and brings you closer to leak-free plumbing.
FAQ
Can I reuse a crimp ring or clamp if I make a mistake?
No, you should always use a new crimp ring or clamp. Reusing old ones can cause leaks and weak connections.
What size crimp tool do I need for PEX pipe?
You need a crimp tool that matches your pipe size. Most home projects use 1/2-inch or 3/4-inch PEX. Check your pipe before buying.
Do I need special training to use a PEX crimp tool?
You don’t need special training. You can learn by practicing on scrap pipe and following simple steps.


