
Ready to dive into some fun and affordable home decor ideas? You can try so many easy diy home projects with just basic supplies and a little inspiration. Most beginners love simple crafts like painting old frames, decorating storage bins, or making tissue paper flowers.
Over half of homeowners choose diy to save money and add their own style. You do not need fancy skills. Just a bit of decorating inspiration, the right tools and right ideas for some easy diy projects for your home.
Accent Wall
Want a quick way to change the look of any room? Try painting an accent wall. This is one of the most easy diy home projects you can do. You only need a few supplies, and you do not need much experience. An accent wall adds color, depth, and personality to your space. You can pick a bold color or a soft shade. You can even use painter’s tape to make fun shapes or stripes. Many people love this diy home decor idea because it gives a big impact without a full room makeover.
Materials
Here is what you need for this easy diy home decor project:
- Paint (choose your favorite color)
- Paint roller and tray
- Paintbrush (for edges and corners)
- Painter’s tape
- Drop cloth or old sheet
- Sandpaper
- Damp cloth
- Ladder (if needed)
You can find these supplies at most hardware stores. Look for sales or discounts to keep costs low.
Steps
- Pick Your Wall and Color: Choose a wall that stands out. Pick a color that matches your style and other decor.
- Prep the Wall: Move furniture away. Clean the wall with a damp cloth. Fill any holes and sand rough spots.
- Set Up: Lay down a drop cloth. Use painter’s tape to cover edges, trim, and outlets.
- Start Painting: Use a roller for big areas. Use a brush for corners and edges. Paint from the top down. Keep a wet edge to avoid streaks.
- Let It Dry: Wait for the first coat to dry. Add a second coat if needed.
- Remove Tape and Clean Up: Take off the tape before the paint dries fully. Put furniture back and enjoy your new accent wall!
Painting an accent wall is a smart way to try diy. You get a fresh look, save money, and build confidence for more easy diy home projects.
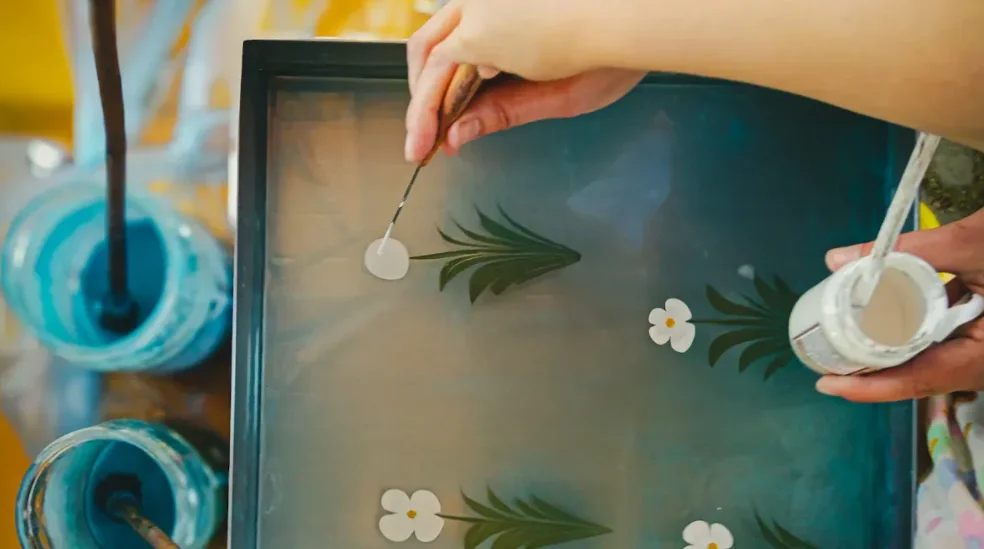
Wall Art
You can add a lot of personality to your home with custom wall art. This diy home decor idea lets you show off your style and tell your story. You can also use this as a simple DIY projects for kids idea. You get to pick the size, colors, and even add your own words or quotes. Wall art can make a room feel special and unique. Many people love how easy diy wall art projects turn plain walls into something meaningful. You can use canvas, printable designs, or even digital art. Some people like to change their wall art to match their mood or the season. Interactive and digital wall art can also help you set the right vibe in your space. You do not need to be an artist—just have fun and make it yours!
Materials
Here are some popular materials and methods for wall art:
- Canvas (organic cotton is a great choice)
- Acrylic or watercolor paints
- Printable designs or digital prints
- Recycled metal or wood for sculptures
- Frames (wood, metal, or recycled materials)
- Brushes, sponges, or stencils
- Adhesive strips or hooks for hanging
- 3D elements like fabric, paper, or natural items
Steps
- Pick Your Art Style: Decide if you want to paint, print, or create a 3D piece. Think about what fits your room and mood.
- Gather Materials: Collect everything you need before you start. This makes the process smoother.
- Create Your Design: Sketch your idea on paper or use a computer. You can use stencils or freehand your design.
- Make Your Art: Paint, print, or build your piece. Keep it simple. Many easy diy home projects use basic shapes or patterns.
- Let It Dry: If you use paint or glue, let your art dry fully.
- Hang Your Art: Use adhesive strips or hooks. Try different layouts until you find what looks best.
Macramé Hanging
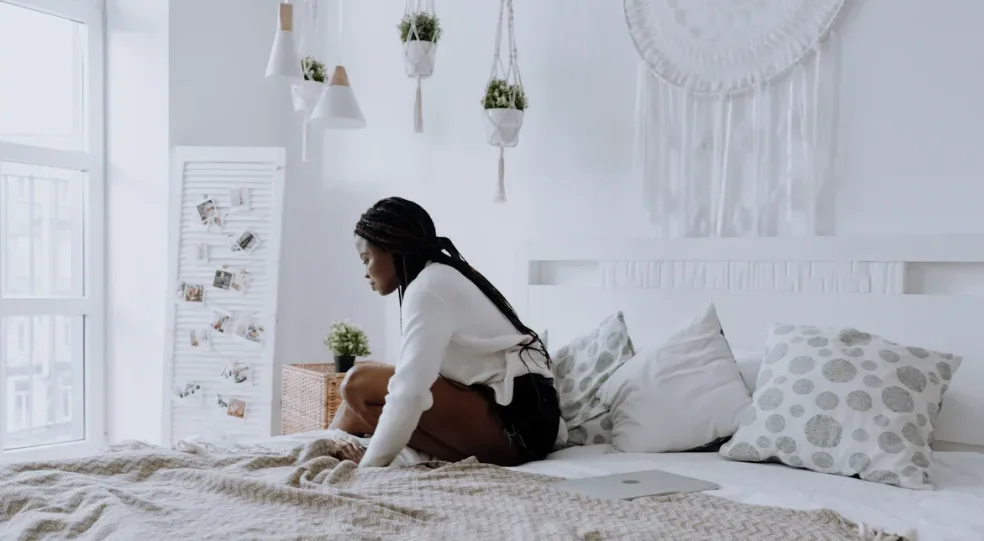
Macramé wall hangings bring a cozy, handmade touch to your home. You can make one with just a few knots and some simple supplies. This is one of those diy decor ideas that looks impressive but feels easy once you start. You do not need fancy skills. If you can tie your shoes, you can learn the basic knots. Macramé became popular in the 1970s, and now it is back as a favorite for easy diy home projects. You can hang your finished piece above your bed, in the hallway, or even in your living room. It adds texture and warmth to any space.
Tip: Start with a small wall hanging. You will finish faster and build confidence for bigger diy decor projects.
Materials
You do not need much to get started. Here are some great options for your first macramé wall hanging:
| Material | Properties | How It Helps Your Decor |
| Cotton Cord | Soft, many colors, easy to knot | Lets you try different patterns |
| Jute Twine | Rustic, strong, natural look | Adds a boho vibe to your space |
| Hemp Cord | Textured, sturdy, natural | Gives extra strength and style |
| Nylon Cord | Bright colors, durable | Makes your project last longer |
| Macramé Cord | Thick, holds shape well | Perfect for bold wall hangings |
You will also need a wooden dowel or stick to hang your work. Scissors and a tape measure help you cut cords to the right length.
- Lightweight cords make it easy to hang your art without damaging the wall.
- These materials last a long time and keep your decor looking fresh.
Steps
- Cut Your Cord: Measure and cut cords to the same length. Most beginners start with six to eight cords, each about three feet long.
- Attach to Dowel: Fold each cord in half. Use a Lark’s Head Knot to attach them to your dowel or stick.
- Learn Basic Knots: Try the Square Knot and Double Square Knot. These are the building blocks for most macramé designs. Many people say learning these knots feels like making friendship bracelets.
- Create Your Pattern: Mix knots to make rows or shapes. Do not pull too tight. Keep your knots even for a neat look.
- Finish and Hang: Trim the ends for a tidy finish. Hang your piece on the wall and enjoy your new diy decor!
- Many beginners find step-by-step guides easy to follow. You can watch videos or look at pictures for extra help.
- People often say they feel proud after finishing their first macramé project. You will see your skills grow with each try.
Note: Practice makes perfect. If you make a mistake, just untie the knot and try again!
Floating Shelves
Floating shelves are a smart way to add storage and style to your home. You can use them to show off your favorite decor or keep things tidy. Many people love this project because it looks modern and clean. You do not see any brackets, so the shelves seem to float on the wall.
This makes your space feel bigger and less cluttered. Building floating shelves is one of those easy diy home projects that you can finish in just a few hours. You do not need fancy tools or lots of experience. If you want a quick update, floating shelves are a great choice.
Tip: Try floating shelves in your living room, kitchen, or bedroom. They work almost anywhere!
Materials
You do not need much to get started. Most supplies are easy to find at your local hardware store.
| Material | Price Range | Notes |
| Wood planks | $5–$10 per foot | Pine is affordable and easy to cut |
| Metal brackets | $5–$20 each | Choose strong ones for heavy items |
| Wall anchors | $3–$6 per pack | Use if you cannot find wall studs |
| Screws | $6 per box | Make sure they fit your brackets |
| Drill | — | Needed for making holes |
| Level | — | Keeps your shelves straight |
| Tape measure | — | For measuring shelf length and height |
Many users say you can find Douglas Fir or pine planks at a lumber yard for a good price. Metal brackets hide behind thick boards, so your shelves look neat. If you want to hold books or heavy decor, make sure to screw brackets into wall studs.
Steps
- Plan Your Shelves: Decide how many shelves you want and where to put them. Measure the space and mark the wall.
- Find Wall Studs: Use a stud finder to locate studs. Mark these spots. Shelves hold more weight when attached to studs.
- Mark and Drill: Hold your bracket against the wall. Use a pencil to mark where the screws go. Drill pilot holes at these marks.
- Attach Brackets: Screw the brackets into the wall. If you cannot find a stud, use heavy-duty wall anchors.
- Prepare the Wood: Cut your wood planks to the right length. Sand the edges for a smooth finish. You can paint or stain the wood to match your decor.
- Mount the Shelves: Place the wood on the brackets. Make sure everything is level. Secure the shelf to the bracket with screws if needed.
- Style Your Shelves: Add plants, books, or other decor. Change things up whenever you want!
Many people finish this project in under three hours. Shelves can hold up to 25 pounds each if you install them well. You get a cozy, organized space that shows off your style.
Indoor Plants
Indoor plants give your house a vibrant, fresh vibe. They can be used to add brightness to any space and draw attention to your décor. Adding plants makes a space healthier because many people spend most of their time indoors.
According to studies, having plants around can improve your mood and reduce stress. According to some studies, having plants around even helps students work more quickly and feel less stressed. Plant arrangement in do-it-yourself planters also gives you a creative outlet. With this project, you can showcase your personal style while taking advantage of nature’s benefits inside your house.
Materials
You do not need fancy supplies to start your indoor plant project. Here are some ideas:
- Small indoor plants (like spider plant, Boston fern, or rubber tree)
- Potting soil
- Pebbles or small rocks for drainage
- Activated charcoal (optional, helps with odor)
- Repurposed containers (glass jars, old mugs, plastic bottles, or skincare tubs)
- Scissors or utility knife
- Paint, rope, or yarn for decorating containers
- Watering can or spray bottle
You can save money by using recycled containers. For example, you can turn toothpaste boxes into plant cozies or use protein powder tubs as colorful planters. This approach cuts costs and helps the environment.
| Container Idea | How to Decorate | Where to Use |
| Glass jar | Paint or wrap with rope | Kitchen or desk |
| Plastic bottle | Cut and paint | Windowsill |
| Old mug | Add stickers or beads | Coffee table |
Steps
- Make sure your container is clean. To get rid of any dirt, use boiling water or a bleach solution.
- For drainage, place a layer of pebbles or tiny rocks at the bottom.
- If you have activated charcoal, sprinkle it on.
- Potting soil should be added to the container, leaving room for the plant.
- Put your plant in the ground. Ensure that the roots are slightly above the soil’s surface.
- To keep the plant in place, add more soil around it and gently press.
- Use paint, yarn, or stickers to adorn the exterior of your container.
- Put your plant in an area with adequate light and water it.
FAQ
How can I decide which simple do-it-yourself home projects to begin with?
Select a project that you are enthusiastic about. Begin with something simple, like creating a pillow or painting a frame. As you progress, your confidence will grow. Ask a friend to accompany you if you are unsure. Larger projects can always be attempted later.
What happens if my first simple do-it-yourself project goes wrong?
Everyone makes mistakes. Most mistakes can be fixed with a little perseverance. Re-do a knot or paint over smudges. You learn something new from every project. Keep in mind that your home’s design should showcase your individuality rather than flawlessness.
If I rent my house, can I still do simple do-it-yourself projects?
You certainly can! Consider using upcycled decor, detachable hooks, or peel-and-stick wallpaper. You can customize your area with these ideas without causing any harm. You can take your creations with you when you relocate. Typically, landlords value this strategy.
Conclusion
You have so many ways to bring new life to your space. Try one or more of these home decor ideas and let your creativity shine. Each project gives you fresh inspiration and helps you build a real connection with your home. You get to enjoy decorating, save money, and make your space feel truly yours. Share your results or tips in the comments. Anyone can succeed with a little inspiration and the right ideas!
Now that you have ideas for some easy DIY home projects, it’s time to shop! Whether you need torque screwdrivers, heavy duty shelf brackets or raised garden beds, VEVOR has it all


