
Are you wondering how to clean jewelry? With an ultrasonic cleaner, you can make it easy to restore sparkle and remove dirt that traditional cleaning methods often miss.
But not every item is suitable for this method, so it’s important to understand which jewelry is safe for ultrasonic cleaning, how to choose the right cleaning solution, and follow essential safety steps to protect your pieces.
Next, let’s look at some important considerations before cleaning jewelry safely, so you can get beautiful results without risking damage.
Considerations Before Cleaning Jewelry Safely
Jewelry You Can Clean
You want your jewelry to look shiny. However, not all jewelry can be cleaned in an ultrasonic cleaner. You should know the dos and don’ts of an ultrasonic cleaner. Here is a short list to help you pick:
- Solid gold jewelry
- Platinum jewelry
- Silver jewelry (without soft stones)
- Diamond jewelry (without cracks or loose settings)
- Hard gemstones like rubies, sapphires, and amethysts
Jewelry with strong metals and hard stones is usually safe. You can use an ultrasonic cleaner for gold jewelry on these pieces. This tool uses sound waves to remove dirt.
Jewelry to Avoid
Some jewelry should not go in an ultrasonic cleaner for jewelry. These pieces can get ruined or break during cleaning. Here are some types you should not clean this way:
- Soft gemstones like opal, pearl, turquoise, and emerald
- Jewelry with glued-in stones
- Antique or fragile jewelry
- Costume jewelry with unknown materials
- Jewelry with cracks, chips, or loose settings
Cleaning Solution
What to Use
You want your jewelry to look bright and clean. Selecting the right cleaning solution is crucial. Most ultrasonic cleaners work best with water and a small amount of mild dish soap. This mix helps take off dirt and oil from your jewelry. There are also special cleaning solutions made for ultrasonic cleaners. These are safe for most metals and hard stones. Here’s a quick list of the ultrasonic jewelry cleaner instructions:
- Warm water (not hot)
- A few drops of mild dish soap
- Commercial cleaning solution made for jewelry
What to Avoid
Some cleaning products can hurt your jewelry or the machine. Never use bleach, ammonia (unless the label says it is safe), or strong chemicals. Also, avoid using household cleaners, toothpaste, or any other rough materials. These can scratch your jewelry or leave a film. Here’s a table to help you remember what not to put in an ultrasonic jewelry cleaner:
| Do Not Use | Why Not? |
| Bleach | Damages metals and stones |
| Strong ammonia | Can harm jewelry |
| Abrasive cleaners | Cause scratches |
| Acetone | Breaks down glue |
| Toothpaste | Leaves residue |
Steps to Clean Jewelry with an Ultrasonic Cleaner
Step 1: Prepare to Clean Your Jewelry with an Ultrasonic Cleaner
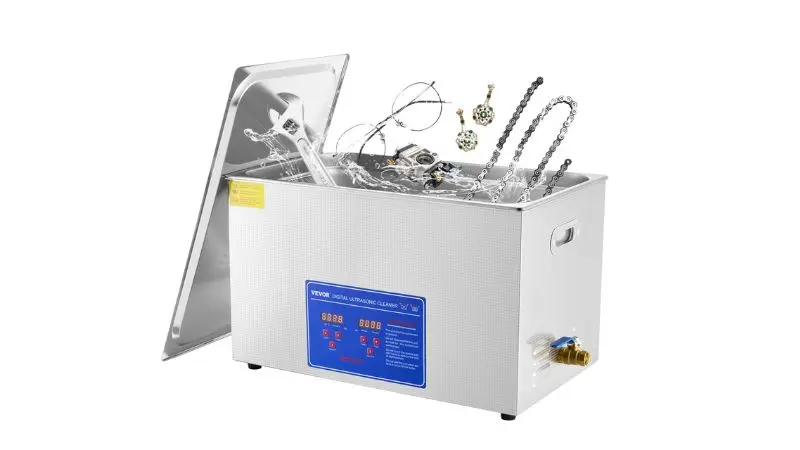
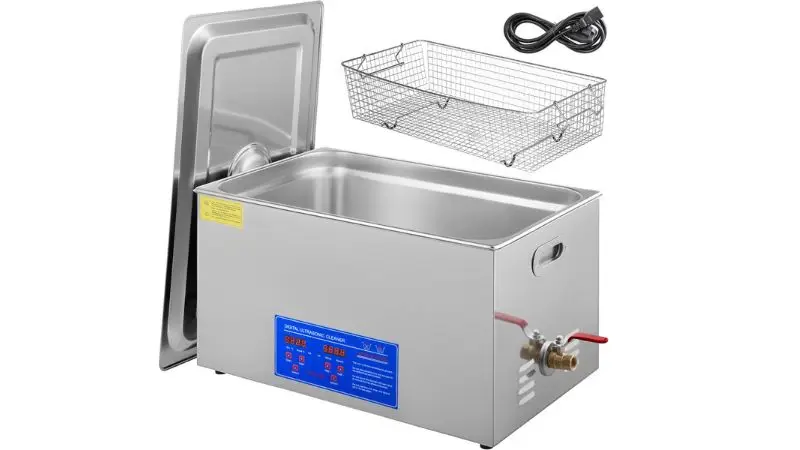
Before you begin, gather all the necessary materials. You will need your jewelry, an ultrasonic cleaner for jewelry, a soft towel, a basket, and the correct cleaning solution. Check your jewelry for loose stones or cracks.
If you see any damage, do not use the ultrasonic cleaner for jewelry. Set up your workspace on a flat surface. Make sure you have good lighting. Read the manual for your ultrasonic jewelry cleaner guide. Every machine is a little different.
Step 2: Fill the Ultrasonic Cleaner
Remove the tank from your ultrasonic cleaner for jewelry if it is removable. Fill it with warm water. Add a few drops of mild dish soap or a cleaning solution made for jewelry. Never use bleach or strong chemicals. Look for the fill line inside the tank. Do not go over this line. Too much liquid can cause spills or damage the machine.
- Pour water slowly to avoid splashing.
- Add the cleaning solution after the water has been added.
- Mix gently with a plastic spoon if needed.
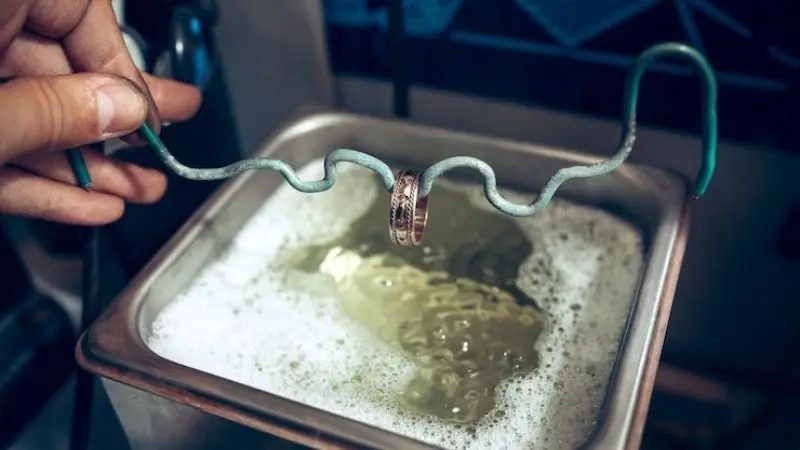
Step 3: Place Jewelry in the Basket
Put your jewelry in the basket that comes with your ultrasonic cleaner for jewelry. Do not place jewelry directly on the bottom of the tank. The basket keeps your jewelry safe from scratches and allows sound waves to pass through each piece. Spread out your jewelry so the pieces do not touch.
- Use the basket every time you clean jewelry.
- Do not overload the basket.
- Keep chains untangled.
Step 4: Set Cleaning Cycle
Close the lid of your ultrasonic jewelry cleaner. Plug in the machine. Set the timer for the cleaning cycle. Most jewelry only needs 3 to 5 minutes. If your jewelry is very dirty, you can run a second short cycle. Do not leave jewelry in the ultrasonic cleaner for jewelry for too long. Too much cleaning can loosen stones or damage settings.
- Start with the shortest cleaning cycle.
- Watch the cleaning process through the lid.
- Stop the machine if you see anything unusual.
Step 5: Rinse and Dry
When the cleaning cycle ends, open the lid carefully. Lift out the basket with your jewelry. Rinse each piece under cool running water. This step removes any leftover cleaning solution. Use a soft towel to pat your jewelry dry. Do not rub hard. Let your jewelry air dry on a clean towel for a few minutes.
- Rinse right away after cleaning.
- Dry each piece gently.
- Ensure all water is completely removed before wearing or storing your jewelry.
Step 6: Inspect After Cleaning
Look at your jewelry closely after cleaning. Check for loose stones, cracks, or any color changes. Hold each piece up to the light. If you notice any issues, discontinue use of the jewelry and have it inspected by a jeweler. If your jewelry looks clean and safe, you can wear it or put it away.
- Inspect clasps and settings.
- Look for any missed spots.
- Repeat the cleaning process if needed, but only if your jewelry is safe.

Safety Tips & Maintenance
Avoid Common Mistakes
You want your jewelry to look nice. However, it is essential to avoid common mistakes when cleaning. Some people hurry and skip steps. This can cause problems. Watch out for these things:
- Don’t use the cleaner for every piece. Strong cleaning agents can damage some jewelry.
- Never put harsh chemicals or bleach in your cleaning solution. These can damage your jewelry.
- Do not put too much jewelry in the basket. If you do, the cleaning will not work well.
- Always check for loose stones or cracks before cleaning. If you skip this, you might lose a stone.
- Do not leave jewelry in the cleaning solution too long. Too much time can weaken settings or dull stones.
Maintain Your Ultrasonic Cleaner
Taking care of your ultrasonic cleaner helps it last longer. After each cleaning, pour out the old cleaning solution. Wipe the tank with a soft cloth to remove dirt or any leftover solution. Clean the tank every few uses with warm water and mild soap. Here is a simple table to help you remember when to do each step:
| Task | How Often |
| Change the cleaning solution | After every use |
| Wipe tank | After every use |
| Deep clean the tank | Every five uses |
| Check for damage | Monthly |
If your ultrasonic cleaner produces unusual sounds or fails to clean effectively, discontinue use. Ask a professional for help. You want your cleaner to work right so your jewelry stays nice.
Alternatives to Cleaning Jewelry with an Ultrasonic Cleaner
Other Cleaning Methods
You have more options for cleaning jewelry if you do not want to use an ultrasonic cleaner. Here are some easy ways you can try at home:
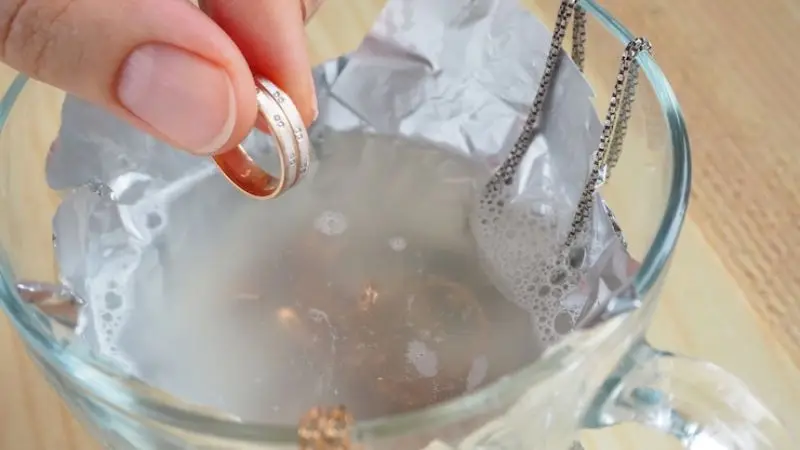
- Soap and Water: Mix a few drops of mild dish soap with warm water. Soak your jewelry for a few minutes. Use a soft toothbrush to scrub away dirt. Rinse and dry with a soft cloth.
- Jewelry Cleaning Wipes: You can purchase specially designed wipes for cleaning jewelry.
- Baking Soda Paste: Mix baking soda with water to create a paste. Rub it gently on your jewelry.
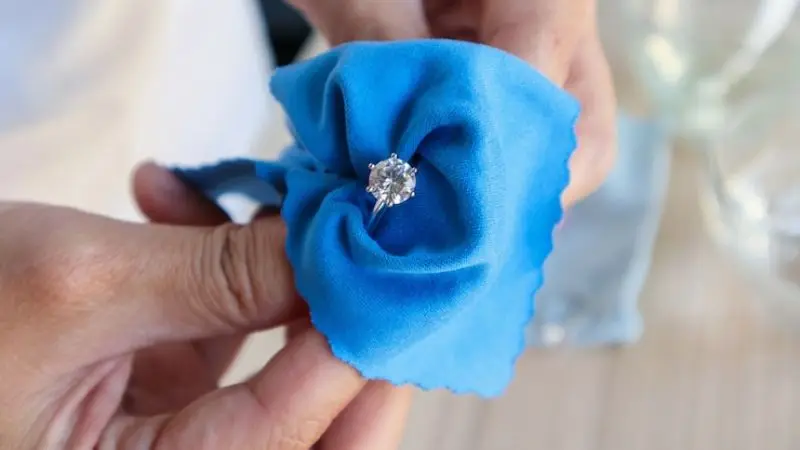
- Polishing of Jewelry: Use a jewelry polishing cloth for a quick shine. These cloths remove fingerprints and light tarnish.
You should avoid using toothpaste or harsh cleaners. These can scratch or damage your jewelry. Use gentle cleaning methods for delicate pieces.
When to See a Jeweler
Sometimes, home cleaning is not enough. You may notice your jewelry looks dull or has stubborn dirt. If you see loose stones, cracks, or broken clasps, you should visit a jeweler. Professional cleaning can help restore shine and fix problems. Here is a quick table to help you decide:
| Situation | What to Do |
| Loose stones | See a jeweler |
| Deep scratches | See a jeweler |
| Heavy tarnish | Professional cleaning |
| Antique or fragile jewelry | Ask a jeweler |
Conclusion
You now know how to use an ultrasonic cleaner for your jewelry. Always check if your jewelry is safe for this type of cleaning. Pick the right cleaning solution and follow each step with care. If you feel unsure or your jewelry seems delicate, consider asking a jeweler for assistance. You can keep your jewelry looking bright and beautiful with the proper cleaning routine. Your favorite pieces will stay safe and shine for years.
FAQ
1. Can I clean all types of jewelry in an ultrasonic cleaner?
No, you can’t clean every piece. Avoid cleaning pearls, opals, and jewelry with glued stones. Always check your jewelry first. If you feel unsure, consider watching a video or seeking advice from a jeweler.
2. How often should I clean my jewelry with an ultrasonic cleaner?
You can clean your jewelry every few weeks. If you wear it daily, clean it more often. For special pieces, clean them only when they look dirty or dull.
3. Do I need to watch a video before using an ultrasonic cleaner?
Watching a video helps you see each step. You can learn how to set up your machine and avoid mistakes. If you feel nervous, a video makes the process easier.
4. What should I do if my jewelry looks cloudy after cleaning?
Try rinsing your jewelry again with clean water. Dry it with a soft cloth. If it still looks cloudy, take it to a jeweler for help.


