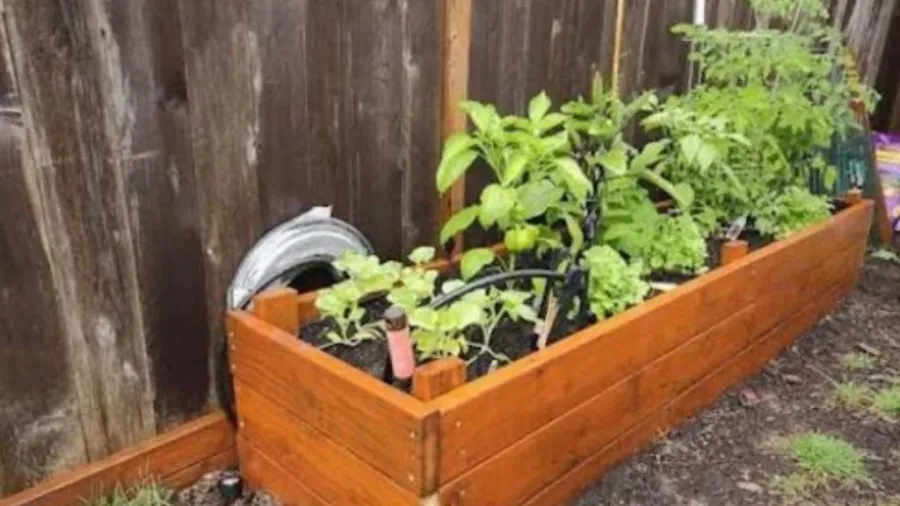
Alt text: Raised garden bed with vegetables beside a wooden fence
Rain collects on compacted, hard soil; no matter how hard you dig, the dirt won’t crumble, and your lower back hurts before you plant the first seed. Most backyard growers plant directly into that wall. A vyvýšená záhradná posteľ fixes all three at once, and building one is easier than it may seem. Novice and seasoned gardeners both prefer raised beds for their garden because they provide loose soil, consistent drainage, and a level surface. This article explains how to build a garden bed and walks you through the materials, size, and simple construction.
Odporúčané pre váš projekt
Why a Raised Bed Beats Planting in the Ground
Better soil, drainage, and less bending
Open ground will never give you the control an elevated bed does. The whole point of meticulous garden bed preparation is to fill it with the exact soil your plants need, rather than battling the clay or sand your yard came with. Instead of sitting on the roots, where rot and disease begin, water drains down through that loose mixture.
You can plant, weed, and pick without bending over because the soil sits higher. The first reason people learning to build a garden bed choose a raised garden bed is the combination of improved soil, drainage, and comfort. Building a raised garden bed in a bare corner of your vonkajší priestor rýchlo sa vypláca
Fewer weeds and pests to fight
Weeds are drawn to open ground from all sides, but they have much less space to grow in an elevated garden bed. To keep weed seeds buried and out of the way, start with fresh, clean soil. Raised walls also slow slugs, snails, and other crawling insects that can reach ground-level plants in seconds. This advantage helps keep weeds at bay throughout the growing season, and learning how to build a garden bed correctly saves effort. A raised garden bed begins to seem like the obvious way to garden once you realize how much simpler it is.
What Materials Are Best for Building Durable Raised Planter Boxes?
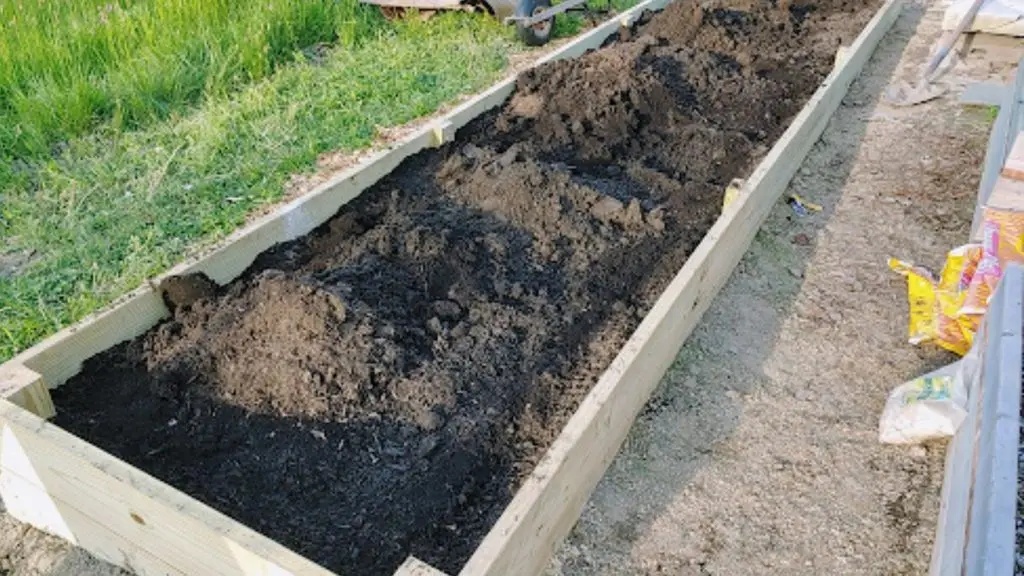
material for a raised bed is the first important decision when building a garden bed because it determines how long the bed will withstand sunlight, rain, and wet soil. Most garden bed construction projects can be completed with one of three materials: plastic or composite, rot-resistant wood, or galvanized steel. Before you choose a garden bed design, see how the first two stack up, since they’re meant to last.
Galvanized steel raised bed for the longest life
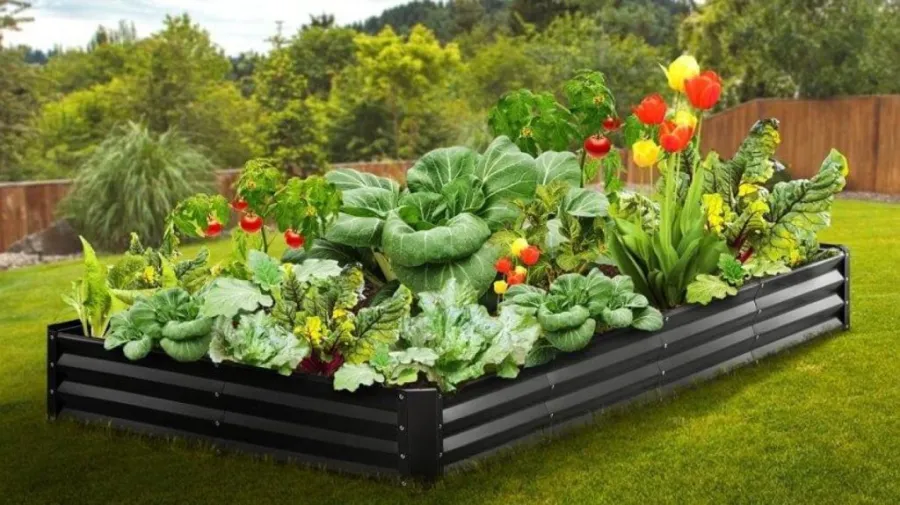
Dobrý galvanized bed for veggies lasts for 20 to 30 years with little maintenance, much longer than most wood, because a zinc coating protects the steel from rust. Because the panels are corrugated, they stay strong and stiff without substantial framing.
This stiffness also resolves a common concern: what are the best raised planter boxes that resist warping and splitting? Because metal panels don’t split, twist, or crack as boards can, steel beds like this 8 x 4 x 2 ft galvanized box win in this situation. Garden bed construction is nearly infallible because it can withstand heat, snow, and torrential rain without complaining.
Nothing harsh touches your food because VEVOR’s pozinkované kvetináče don’t use chemical sealers. When you want a garden bed that outlasts you, steel is the obvious choice for a low-fuss raised garden bed that lasts for decades.
Wood raised bed that lasts without harsh chemicals
Do you prefer the natural appearance? Which raised planter boxes offer long-term wood durability without toxic chemicals is a legitimate question. You can avoid pressure-treated lumber and chemical sealers near your vegetables by using cedar or redwood, both of which contain natural oils that help prevent rot.
You can get that warm grain and keep roots off wet ground with a wooden planter box with legs. Look for thick boards and tight corner joints when designing the garden bed; thin panels and basic butt joints warp and loosen first.
Although wood won’t last as long as steel, it can still create a stylish raised garden bed that ages into a lovely gray patina many gardeners adore, giving your garden bed arrangement a genuine personality.
How Do I Choose the Right Size for a Raised Planter Box?
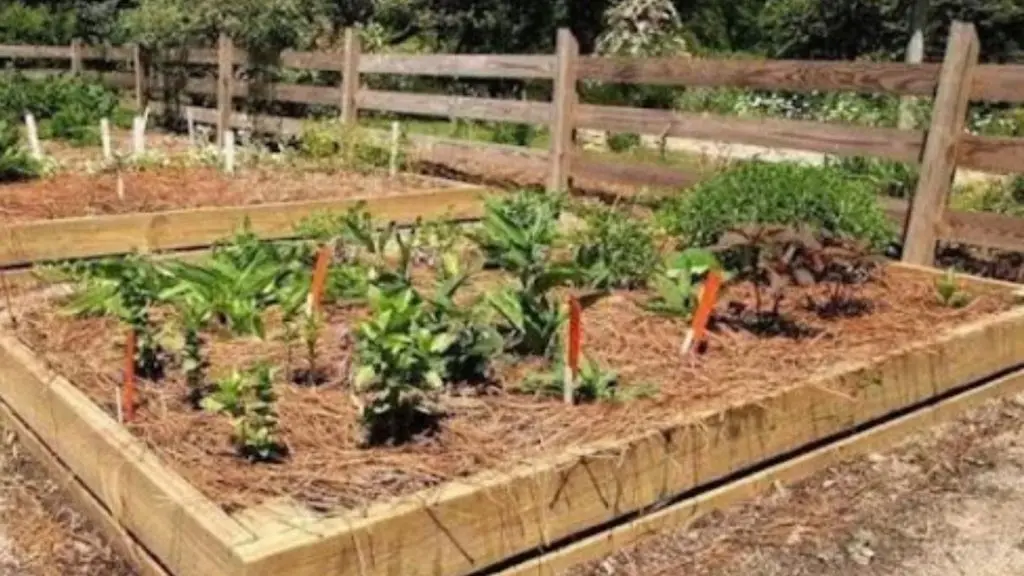
When learning how to build a garden bed for the first time, many people make the mistake of making it too shallow for roots or too wide to reach across. You can avoid rebuilding later by matching the footprint to your space and the depth to your crops. The rest of your do-it-yourself garden bed construction will fall into place if you consider the size in advance.
Width, length, and reach
The bed should not be wider than four feet. This lets you reach the center from both sides without stepping on the ground and compacting it. Run it for as long as there is room; the length is adjustable. A small 4 x 2-foot raised bed is more than enough for a first attempt or a small patio. Longer raised garden beds let you grow rows of various crops side by side because they offer more space. Smart garden bed construction relies on good spacing, a small garden bed design option that makes daily tasks much simpler.
Height and soil depth by crop
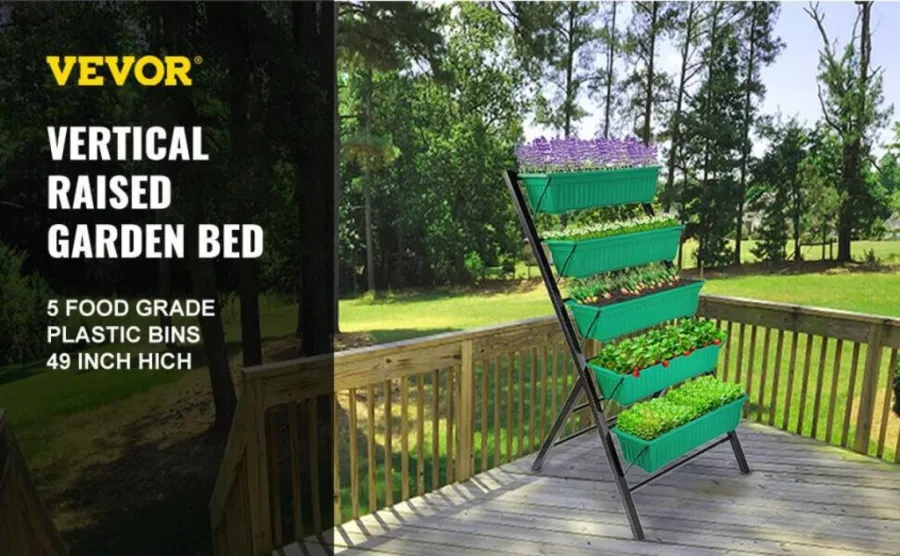
Because roots need room to grow, depth matters more than most people realize. Shallow greens and herbs can tolerate 6 to 8 inches of soil, but most vegetables need 12 to 18 inches. A planter box with legs raises the soil to about waist height; most leg models sit 28 to 32 inches off the ground, so it’s a good option if you have back trouble. A taller bed, like this 6 x 3 x 2 ft box, gives deep feeders like tomatoes and carrots more room. When you prepare the raised garden bed correctly, you will fill it once and never regret going deeper.
How to Build a Garden Bed, Step by Step
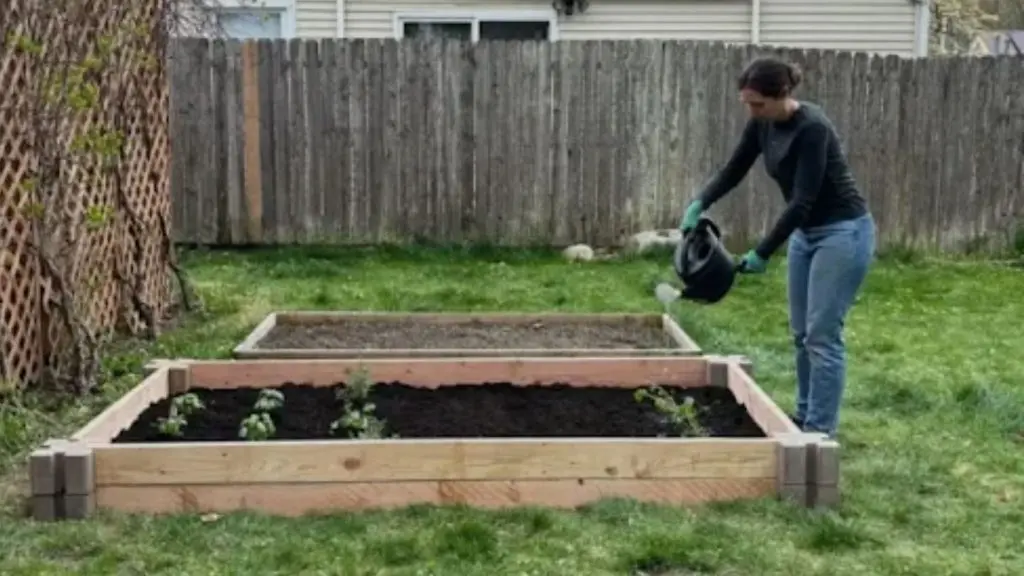
After choosing a material and size, building a garden bed only requires five easy steps. Even if you’re building a DIY garden bed for the first time, follow these steps to complete your setup over a weekend.
Step 1: Clear and level the ground
Properly preparing a garden bed starts with the ground. To keep the frame level and prevent it from rocking later, pull up the grass and weeds where the bed will go, then rake the area flat. Every solid raised garden bed installation starts with a level base; skip it, and the entire vyvýšená záhradná posteľ will tilt once the soil fills it.
Step 2: Loosen the soil and set drainage
To prevent water from collecting, use a fork to loosen the top few inches of compacted soil. Leave the base open so roots can reach the native ground and drain freely; a garden bed without a bottom lets excess water escape naturally. It’s easy to rush this step, but it keeps your raised garden bed from getting soggy after a storm.
Step 3: Assemble the frame
Most metal kits assemble quickly. You can usually finish in less than an hour by bolting the panels to the corner brackets and tightening them evenly. The most frequent garden bed construction error is rushing, so make sure it doesn’t wobble before setting it in place. A steady garden bed installation now ensures that it won’t move once it’s full. If you’re building a DIY garden bed out of boards, make sure the long sides don’t bow by adding a center brace and tightening the corners.
Step 4: Fill it in layers
The budget comes into play here. People often ask which top-rated raised planter boxes maximize soil depth on a budget. Layering is the trick, not the box. After piling logs, branches, and leaves, top the bottom third with a rich soil-and-compost mixture. A deep bed requires less filling, and over time, the bottom layer decomposes and becomes plant food. This works well with an 8 x 4 x 3-foot-tall bed. A traditional method for building garden beds, layered fill expands your soil and nourishes your plants throughout the growing season.
Step 5: Top off and start planting
To prevent soil from washing over when you water, stop about an inch below the rim. Next, plant your first vegetables. Your garden bed setup is finished once you water it thoroughly to settle the mixture. That’s the true key to creating a garden bed that produces robust plants at a low cost.
After the Build: Keep Your Raised Bed Going
Simple care that protects your plants in raised bed
Maintaining the health of an elevated garden bed is much easier than figuring out how to build one in the first place. Because a filled bed settles as the bottom layer decomposes, replenish the soil every spring. Before every planting, add a few inches of compost to nourish the following crop. Once a year, check the frame to make sure the garden bed installation is still level and tight. A well-built raised garden bed can produce for many years with little effort, and the care you put into the initial construction pays off each season.
Záver
Building a garden bed really comes down to four factors: a weather-resistant material, a reachable size, a depth suitable for your crops, and an economical fill. Redwood and cedar offer a natural look without harsh chemicals, while galvanized steel lasts the longest and never warps. Fill in layers to stretch your soil, prepare garden beds carefully, and keep beds no wider than four feet. Once you understand how to build a garden bed, plan your first raised garden bed by reviewing inventory of the garden center.
Často kladené otázky
What are the best raised planter boxes for heavy clay soil and large volumes of soil?
To let water drain, choose an open-bottom bed for heavy clay, and use a fork to loosen the clay underneath before filling. Go big and deep for large soil volumes; an 8 x 4 foot bed that is 2 feet tall can hold a lot of mix without additional bracing.
How deep should a raised garden bed be for vegetables?
Most vegetables thrive in 12 to 18 inches of soil. Deep-rooted crops like tomatoes and carrots need closer to two feet, while shallow greens and herbs need only six to eight inches.
Do raised garden beds need a bottom?
Generally, no. For most in-ground locations, an open bottom lets roots reach the native soil and improves drainage. Use bottomed beds only on patios and decks, or when you want to prevent weeds from rising from below.
Are galvanized raised garden beds safe for growing food?
Naozaj. Galvanized garden beds are a safe, long-lasting option for vegetables and herbs because the zinc coating remains stable at normal soil pH and doesn’t seep into the soil in dangerous amounts.