Um jardim cavador de buracos Pode ser usado para cavar buracos perfeitos para plantas e postes de cerca. Selecione a ferramenta apropriada e prepare o local antes de começar. É importante priorizar a segurança, portanto, tome cuidado com o solo e use luvas. Este é um processo simples e gratificante para iniciantes. Dedicar um tempo para selecionar a ferramenta certa, planejar a área e verificar a disponibilidade de serviços públicos permite um trabalho seguro e eficiente. Como usar uma cavadeira de jardim? Ao plantar um poste de cerca, a profundidade e a largura corretas do buraco ajudarão as plantas a se estabelecerem e proporcionarão anos de estabilidade ao poste.
Cometer erros comuns, como não cavar fundo o suficiente ou não levar em consideração as condições do solo, ajudará você a obter melhores resultados e economizar tempo. Seja você um iniciante ou um profissional experiente em projetos "faça você mesmo", um pouco de preparação e a técnica a seguir podem fazer toda a diferença. projeto de escavação Sem problemas e com sucesso. Se você for paciente e cuidar das plantas adequadamente, sempre terá plantas viçosas, fortes e duradouras.
Conteúdo
Ferramentas e equipamentos de segurança antes de usar uma cavadeira de jardim
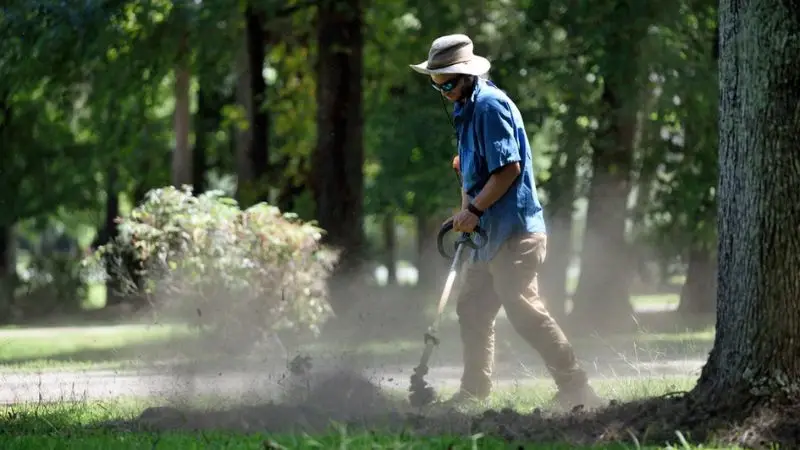
Se você for usar um cavador de buracos de jardimCertifique-se de ter todas as ferramentas necessárias à mão: fita métrica, pá, luvas, óculos de segurança e botas resistentes. Antes de começar o trabalho, sempre verifique a área, procure por tubulações e cabos subterrâneos e remova os detritos. Dedicar um tempo para usar os equipamentos adequados e tomar as precauções de segurança necessárias pode tornar a escavação mais fácil e segura, além de diminuir a probabilidade de acidentes.
Recomendado para o seu projeto
Ferramentas essenciais para jardinagem
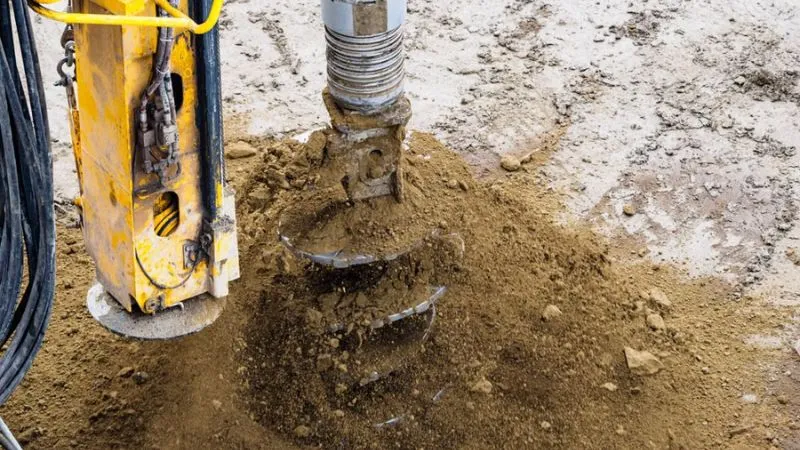
Antes de começar a cavar, reúna todas as ferramentas. Certifique-se de que tudo esteja pronto para uso e que não haja necessidade de interromper o projeto. A ferramenta mais importante é uma boa cavadeira de solo para plantio. Ela foi projetada para fazer buracos profundos e estreitos com menos esforço do que uma pá comum. Uma cavadeira elétrica é ideal para solos duros e compactados ou quando você precisa cavar mais de um buraco, enquanto uma cavadeira manual é melhor para projetos de jardinagem menores.
Aqui estão algumas dicas úteis:
-
- Uma mão ou escavadeira motorizada É usado para cavar buracos em um jardim.
-
- Fita métrica
-
- Use tinta ou estacas para marcar o local.
-
- Luvas de trabalho
-
- Óculos de segurança
-
- Botas resistentes
-
- Pá (para solo duro ou raízes)
-
- Garrafa de água para beber (hidratação!)
Essas ferramentas podem ser adquiridas em lojas de materiais de construção. Uma cavadeira elétrica para jardim pode ajudar a economizar tempo e energia se você pretende fazer vários buracos.
Dicas de segurança antes de começar
A segurança vem em primeiro lugar. Você não quer atingir nada que esteja abaixo da superfície da terra. Evite cavar sem antes ligar para localizar as instalações subterrâneas. Entre em contato com a sua companhia de serviços públicos local ou com o serviço nacional "Ligue Antes de Cavar". Eles identificarão a localização de cabos, tubulações e fios. Ao operar a cavadeira elétrica de jardim, use luvas e óculos de segurança. Certifique-se de que suas botas tenham boa aderência. Limpe a área de trabalho de pedras, galhos ou detritos. Se houver bandeiras de advertência no chão ou tinta, não cave. Leva apenas alguns minutos para limpar a área de riscos; isso evitará muitos problemas no futuro. Certifique-se de ligar para o serviço local de sinalização de serviços públicos ou para o serviço "Ligue Antes de Cavar", se disponível em sua região. antes de começar seu projeto. Os funcionários da concessionária de serviços públicos demarcarão as áreas de escavação para indicar onde é seguro cavar.
Como usar uma cavadeira de jardim para plantar
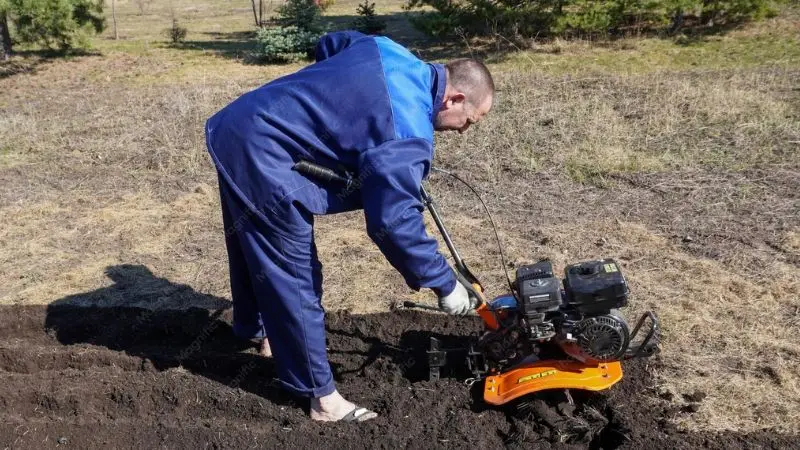
Ao instalar plantas no jardim com um cavador de buracosO primeiro passo é localizar, marcar e cavar um buraco com largura suficiente para as raízes da planta. Coloque a planta com cuidado, preencha o buraco para sustentá-la e compacte levemente a terra. Use cobertura morta e regue bem para ajudar a planta a prosperar e desenvolver raízes fortes.
Escolha o local de plantio adequado
Escolha um local com quantidade adequada de luz solar para sua planta. Verifique o solo. Certifique-se de que haja drenagem adequada. Evite o acúmulo de água ao redor da planta. Encontre um local com espaço suficiente para o crescimento das raízes. Como usar uma cavadeira de jardim? A principal questão a se fazer ao investir em painéis solares é sobre a luz solar. Diferentes plantas requerem quantidades diferentes de luz. A qualidade do solo também é um fator importante. Um solo de boa qualidade fornece nutrientes e promove o crescimento das raízes. Antes de usar sua cavadeira de jardim, verifique se o solo do jardim é solto, fértil e fácil de cavar. Outra consideração importante é a boa drenagem. Deve haver espaço para solo solto ao redor das raízes da planta, e a água acumulada ao redor das raízes por longos períodos não é desejável. crescimento das plantas. A área plantada é adequada e há espaço para expansão futura. Muitos cultivadores iniciantes não se atentam ao tamanho da planta neste momento; eles se preocupam apenas com o tamanho atual da planta e não esperam que ela cresça mais.
Marque o ponto
Marque as áreas onde deseja cavar com uma pequena estaca ou tinta marcadora. Isso ajudará você a se manter organizado e evitará que se perca. Caso caia no buraco errado, será difícil se mover. Você pode usar uma estaca de jardim, tinta spray, giz ou barbante para marcar o local com antecedência, assim saberá onde posicionar a cavadeira elétrica. Isso economizará tempo e esforço, além de evitar escavações desnecessárias. Além de ajudar na marcação, também facilita a organização do seu projeto. Ao plantar várias árvores, arbustos ou flores, é importante que cada um tenha espaço suficiente. Marcar e medir o espaçamento previamente permite verificar as medidas antes de começar a cavar, resultando em um aspecto mais limpo e profissional.
Cave o buraco corretamente
Use sua cavadeira de jardim para solos compactados. Deixe as lâminas prontas para uso. Gire os cabos no solo e junte-os. Separe os cabos e retire a terra com uma pá. Remova a terra e guarde-a para usar em outro lugar. Repita até atingir a profundidade desejada. O buraco é grande o suficiente para que as raízes cresçam e absorvam água e nutrientes. Quando as raízes das plantas estão saudáveis, elas crescem mais fortes, podem produzir mais flores ou frutos e são mais resistentes às mudanças climáticas. Um bom trabalho de jardinagem é essencial para o desenvolvimento adequado das raízes. buraco cavado Garante a estabilidade da estaca e evita que ela incline ou se mova com o tempo. O método correto de escavação também facilita o trabalho. Se encontrar pedras ou raízes, quebre-as com uma pá e continue cavando.
Verifique a profundidade e a largura do furo.
Meça o buraco. Ele deve ter o dobro da largura do torrão da planta e estar no mesmo nível das raízes. Isso dará espaço para a planta crescer. O buraco deve ter o tamanho adequado para o torrão no momento do plantio. Como usar uma cavadeira de jardim? O tamanho do buraco deve ser aproximadamente o dobro da largura das raízes e a mesma profundidade do torrão. Isso permite que as raízes se espalhem naturalmente sem serem compactadas. Espaço adequado para as raízes permite melhor absorção de água e nutrientes. Isso pode ajudar a fortalecer, melhorar e estabelecer a planta no novo ambiente. Verifique a largura antes de plantar. o plantio garante Suas flores, arbustos ou árvores têm vantagem.
Coloque a planta e preencha o buraco.
Coloque a planta no centro da cova. Mantenha-a reta. Recoloque a terra que foi retirada da cova. Firme a terra delicadamente para evitar bolsas de ar. A planta deve estar em uma posição reta e vertical, sem inclinar para um lado. O posicionamento correto garantirá um crescimento uniforme e um bom desenvolvimento do caule. Se cultivada em um ângulo, ela pode crescer de forma irregular e ficar mais fraca com o tempo. A profundidade da planta também é extremamente importante. O torrão de raízes deve estar nivelado com o solo ao redor. Ao preencher a cova com terra, adicione terra ao redor das raízes em vez de jogá-la diretamente na cova. Isso proporciona suporte à planta por todos os lados.
Regue e termine o plantio.
Regue abundantemente para obter melhores resultados. Isso facilitará a fixação das raízes no substrato. Cubra a base com cobertura morta para conservar a umidade e evitar o crescimento de ervas daninhas. Os espaços de ar podem expor partes da raiz e dificultar a absorção de água e nutrientes. A rega ajuda a preencher esses espaços e melhora o contato entre as raízes e o substrato. raiz e o soloAs culturas recém-plantadas precisam de rega abundante logo após o plantio para auxiliar no desenvolvimento das raízes. A planta começa a se aclimatar ao seu novo local e se estabelece no solo. Dê um passo para trás e veja como você se saiu bem!
Como usar uma cavadeira de jardim para postes de cerca
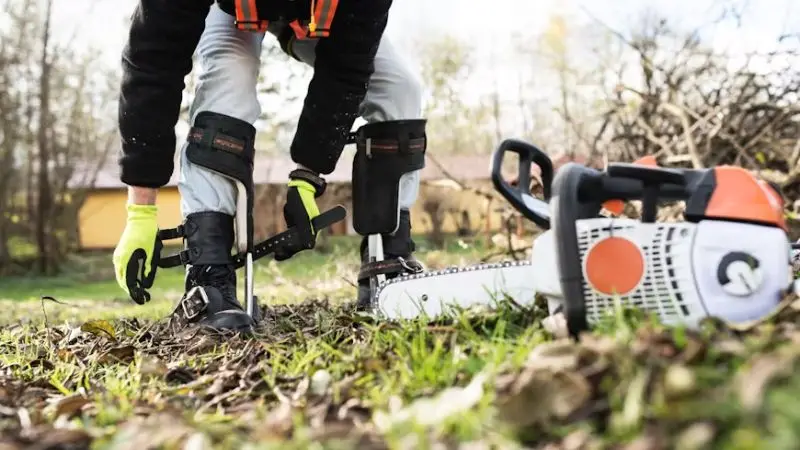
O primeiro passo para usar uma cavadeira de jardim para postes de cerca é medir e marcar a posição de cada poste para que a cerca possa ser instalada em linha reta. Cave buracos Na profundidade correta, nivele cada poste cuidadosamente e compacte a terra ou o concreto no buraco para garantir a estabilidade. Aguarde até que os postes estejam completamente firmes antes de instalar os painéis da cerca para garantir uma cerca estável e resistente.
Meça e marque as posições dos postes da cerca.
O primeiro passo para medir os buracos para os postes da cerca é determinar a localização deles. Para garantir espaçamento uniforme, use uma fita métrica. Use uma estaca ou tinta marcadora para marcar cada local. Isso ajuda a manter a cerca reta e estável. Você não vai adivinhar o comprimento do espaço entre cada poste; em vez disso, use uma fita métrica para descobrir. Depois de medir, use uma estaca, tinta marcadora ou giz para marcar cada local. As marcas ficam visíveis e servem como guia durante a escavação, permitindo que você... publicar todas as postagens na posição correta. Em cercas longas, é particularmente importante observar atentamente as medidas. Se o espaçamento entre os postes estiver um pouco errado, isso pode se tornar um problema maior ao longo do projeto. Se um poste não estiver posicionado corretamente, o restante da cerca pode ficar desalinhado.
Cave na profundidade correta para os postes da cerca.
Pegue sua cavadeira de jardim e coloque-a na primeira marca. Junte as alças e gire-as para dentro do solo. Separe as alças para retirar a terra. Continue cavando até Você criou um buraco com profundidade suficiente. O buraco na maioria dos postes de cerca deve ter aproximadamente um terço do comprimento do poste. Em caso de dúvida, consulte as normas locais. Quanto mais profundo o buraco, maior será o contato do solo ou concreto ao redor do poste, resultando em um poste muito mais forte e seguro. A regra geral é cavar um buraco com aproximadamente um terço do comprimento do poste. Pode ser necessário adicionar um pouco de água ao local onde o solo estiver duro ou pedregoso e deixar descansar por alguns minutos. O solo ficará mais maleável e a escavação será mais fácil. A partir deste ponto, você poderá aprender a usar uma cavadeira de jardim.
Posicione e nivele o poste
Posicione o poste da cerca no centro do buraco. Verifique se o poste está nivelado com um nível. Se precisar de ajuda, peça a um amigo para segurar o poste. Sua cerca fica com uma aparência organizada quando está reta. O suporte principal da cerca é o poste. Os painéis da cerca fixados à cavadeira para o poste podem ficar desalinhados se a cavadeira não estiver nivelada ou posicionada corretamente. Com o tempo, a cerca pode ficar instável e ceder ou se deslocar. Ao centralizar o poste no buraco e garantir que esteja nivelado, você cria uma base muito resistente para toda a estrutura. Um poste nivelado também deixa sua cerca com uma aparência melhor. Uma cerca reta é organizada, limpa e tem um aspecto profissional.
Adicione concreto ou terra ao redor do poste.
Preencha ao redor do poste com concreto ou terra. Para o concreto, adicione água e misture bem. Compacte bem a terra ou o concreto. Isso ajuda a evitar que o poste se mova. A maior vantagem dessa técnica é a estabilidade aprimorada. Se houver espaço ao redor de uma perfuradora de buracos para postes de cerca, ela não ficará no lugar. Quando o buraco é preenchido com concreto ou terra compactada, o poste fica firmemente no lugar. Isso ajuda a... estadia pós O poste deve permanecer firme no lugar, sem inclinar, mover ou oscilar durante o uso regular. Um poste estável cria uma cerca robusta que pode suportar painéis, trilhos ou telas de arame. O concreto endurece, criando uma base firme e fixando o poste no lugar. Isso é particularmente benéfico para cercas altas, portões pesados ou em locais com muito vento.
Permita que a postagem seja configurada corretamente.
Aguarde a cura completa do concreto antes de instalar os painéis da cerca. Todo concreto precisa secar. Aguarde pelo menos 24 horas. Se usar terra, pressione o poste para verificar se ele se move. Os postes inseridos inicialmente no solo podem parecer retos e firmes, mas podem se deslocar se forem mexidos muito cedo. Painéis sem cerca ou encostar-se no poste antes da cura completa do concreto ou da acomodação da terra podem fazer com que o poste saia do lugar. Aguardar garantirá que o material de suporte fique firme e manterá o poste no lugar. A paciência compensa. Um bom poste é uma boa cerca por muitos anos.
Erros comuns a evitar ao usar uma cavadeira de jardim
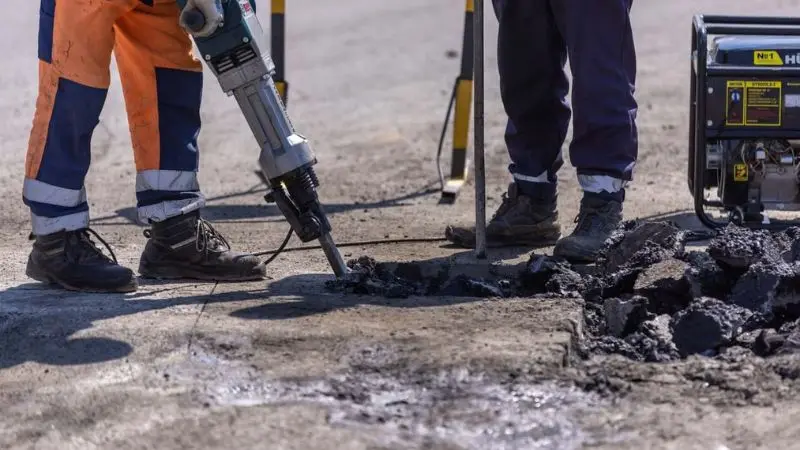
Erros comuns ao plantar usando a melhor cavadeira de jardim podem ser evitados, ajudando você a fazer plantios melhores e a ter postes de cerca mais estáveis. Certifique-se de cavar o buraco no tamanho e profundidade adequados, adaptando-se às condições do solo e nunca negligenciando as precauções de segurança essenciais. Escavação segura, cavar corretamente preparaçãoMedições corretas resultam em melhores resultados e menos problemas.
Cavar buracos muito rasos.
É fácil pensar que basta fazer um buraco rápido e pronto. As plantas sofrem e os postes da cerca ficam bambos em buracos rasos. Sempre verifique a profundidade antes de terminar. As plantas precisam de espaço para que suas raízes se espalhem. A profundidade do buraco é fundamental para o desenvolvimento das plantas. Postes de cerca A cova deve ser suficientemente profunda para resistir ao vento. Uma cavadeira manual oferece essa característica, resultando em uma base mais firme. Ao plantar flores, arbustos, árvores ou postes de cerca, a cova deve ter uma profundidade mínima suficiente para suportar a planta ou o poste. Se a cova for rasa, é improvável que retenha a raiz ou o poste no lugar, podendo causar movimentação com o tempo. Covas rasas podem restringir o bom desenvolvimento das raízes das plantas. As raízes precisam de espaço adequado para se estenderem no solo e absorverem água, oxigênio e nutrientes.
Escolher o tamanho de furo errado
Mesmo com a melhor cavadeira para plantio, se você cavar um buraco muito pequeno ou muito grande, terá problemas. Raízes e estacas podem ser expelidas por buracos pequenos. Buracos grandes causam perda de solo e instabilidade das estacas. Ajuste o tamanho do buraco ao que você vai plantar. Se for plantar uma muda, dobre a largura do torrão de raízes. Siga as instruções do fabricante para postes de cerca.
-
- Plantas – o buraco deve ser grande o suficiente para acomodar o torrão de raízes.
-
- Tamanho do furo: Deve ser tão grande quanto o diâmetro do poste e profundidade.
Ignorando as condições do solo
Não há problema em cavar em qualquer lugar, mas o tipo de solo é importante. Solos rochosos ou argilosos são difíceis de arar. O buraco pode se encher de solo arenoso. Faça um teste de solo antes de começar. Se encontrar áreas difíceis, tente uma abordagem diferente. Às vezes, uma pá ou água são necessárias para auxiliar a sua cavadeira. Existem também tipos de solo macios e soltos, e tipos de solo duros, rochosos ou argilosos. Sem conhecer o tipo de solo e sem estar preparado para a tarefa, o trabalho pode se tornar árduo e frustrante. Estar familiarizado com o que você está enfrentando lhe dá a chance de ajustar sua estratégia antes que um problema surja. Uma cavadeira para bulbos pode facilmente cortar esse tipo de solo. Mas esse solo arenoso pode não manter sua forma adequadamente.
Ignorando verificações de segurança
Algumas medidas de segurança podem ser omitidas para economizar tempo. Isso pode causar acidentes. Sempre verifique a presença de tubulações subterrâneas. Use luvas e botas. Remova quaisquer detritos antes de cavar. A segurança garante que seu projeto permaneça dentro do cronograma e protege você. Não cave Sem inspecionar possíveis riscos. Como usar uma cavadeira de jardim? Você pode usar uma cavadeira de jardim com confiança. Lembre-se destas etapas:
-
- Reúna as ferramentas e verifique se estão seguras.
-
- Cave devagar e com cuidado – descubra primeiro onde você quer cavar.
-
- Corrija erros rapidamente.
Não tenha pressa e divirta-se! Você obterá excelentes resultados!
Embrulhar
Quando usada corretamente, uma cavadeira de jardim facilita e agiliza o plantio e a abertura de buracos para postes de cerca. Com a ferramenta adequada, o preparo correto e alguns cuidados simples, problemas comuns podem ser evitados. Ao cavar buracos no jardim, quais são os passos corretos? A profundidade e a largura adequadas do buraco permitirão que as plantas desenvolvam raízes corretamente e que os postes da cerca permaneçam estáveis por muitos anos. Sempre considere as condições do solo e adapte a técnica de escavação conforme necessário. Medir, marcar e verificar o seu trabalho ajudará a melhorar a qualidade geral. A manutenção regular da sua cavadeira também garante que ela esteja em boas condições para uso futuro. De flores, arbustos e árvores a cercas, a técnica correta produzirá resultados bonitos, organizados e duradouros em cada plantio.
Perguntas frequentes
Como se limpa uma perfuradora de buracos?
Limpe a sujeira com uma escova ou mangueira. Seque a ferramenta para evitar ferrugem. Guarde-a em local seco. Assim, ela durará mais tempo.
É possível cavar buracos no jardim com uma cavadeira em solo rochoso?
Sim, é possível, mas fica difícil. Remova primeiro as pedras maiores. Se você encontrar pontos difíceisUse uma pá — trabalhe devagar e com cuidado.
Qual o tamanho ideal do buraco para uma árvore?
Cave um buraco com o dobro do tamanho do torrão de raízes. A profundidade deve ser a mesma das raízes. Isso permitirá que sua árvore cresça bastante.