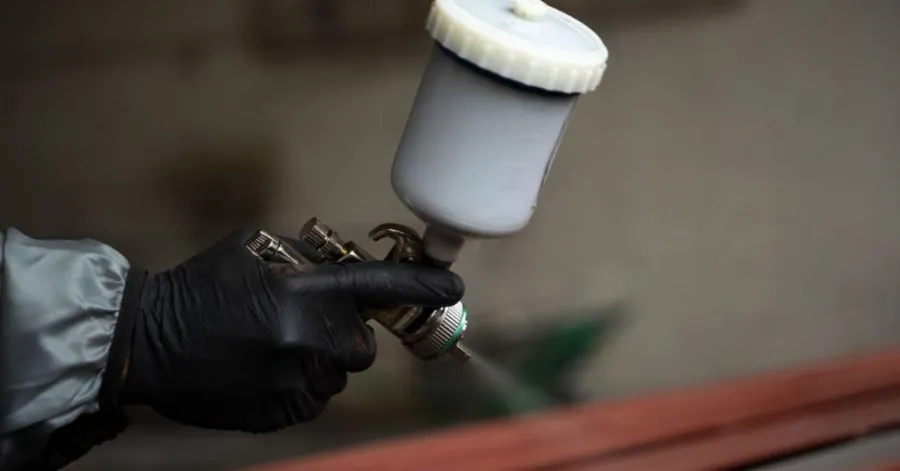
Can you use stains in a pulverizador de tinta? Might you wonder? You certainly can, and the method will cut down on hours of work. Spraying lets you finish decks, fences, and furniture in less time while laying down a uniform coat. Rather than spending hours with a paintbrush, the whole coat lays down evenly in a matter of minutes. Getting the cleanest finish might mean thinning the product a bit and back-brushing so it sinks in deeper. Follow the right steps, practice for a few minutes, and pretty much anyone can get a clean, professional finish right in their own yard.
Conteúdo
Tipos de tinta que você pode usar em um pulverizador de tinta
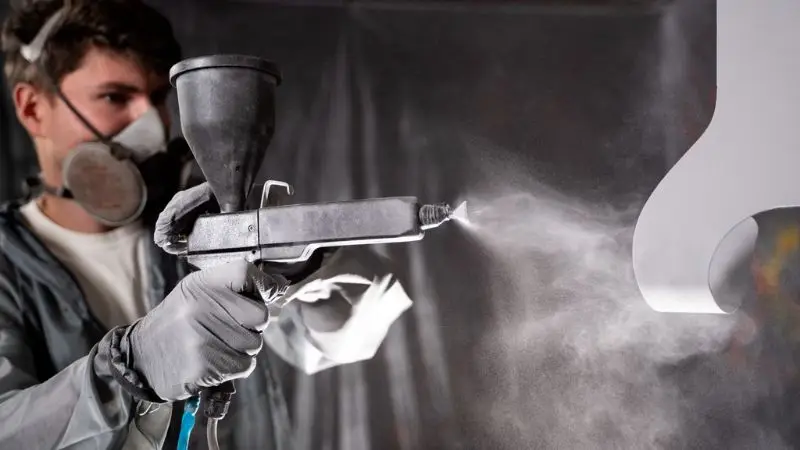
It pays to figure out which stains will actually run through a sprayer before you tackle the job. Each formula handles a little differently. Picking the right product up front cuts down your work time and leaves you with a much better-looking surface.
Recomendado para o seu projeto
Tinta à base de óleo
Oil sinks far into the wood grain, delivering deep, durable protection and a heavy, rich color. It weathers outdoor conditions across several seasons without quitting. Some oil formulas are pretty thick, though, meaning you would have to cut them down before loading the gun. If you have to thin an oil stain for your pistola, use mineral spirits or whatever solvent the maker spells out on the label. Give it a really good stir before it goes into the spray cup, every single time. Oil stains do wonders on abused decks and fence boards, but you must rinse the equipment out completely the second you finish.
Mancha à base de água
Lots of people prefer water-based stain simply because cleanup is painless and it does not take long to dry. Most of the time, it sprays fine straight out of the can without adding water. This formula is a great match for indoor woodwork like trim, built-ins, or furniture. Cleanup only takes water, which makes it far easier to deal with than oil-based formulas. Can you run stain through an airless setup? Absolutely; water-based formulas tend to lay down nicely with both airless and HVLP gear. You only need to dial in the settings so the finish lays down flat and uniform.
Coloração de gel
Gel stains run significantly thicker than standard liquid stains. Because of that thickness, spraying it is almost never a practical choice. Most spray setups will simply clog on gel stain unless the maker explicitly says otherwise. Running it through a tip usually just clogs the gun and leaves you with an uneven finish. For smaller areas, wiping it on with a cloth or working it in with a brush turns out much better. If quick coverage with a spray gun is what you need, leave the gel on the shelf and pick up an oil- or water-based instead.
Qual tipo de pulverizador é melhor para tingir madeira?
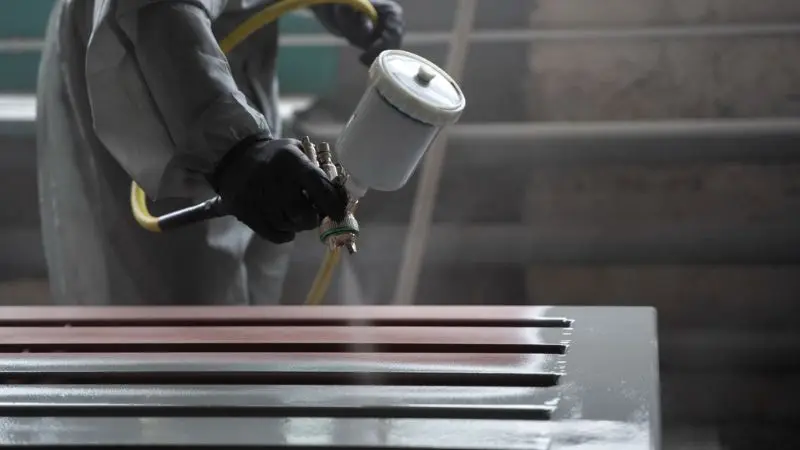
After settling on a stain, you need to match it with the right pulverizador. Sprayers do not all operate on the same principle. What works best comes down to the scale of the job and whether your stain is thick or thin.
máquina de pintura airless
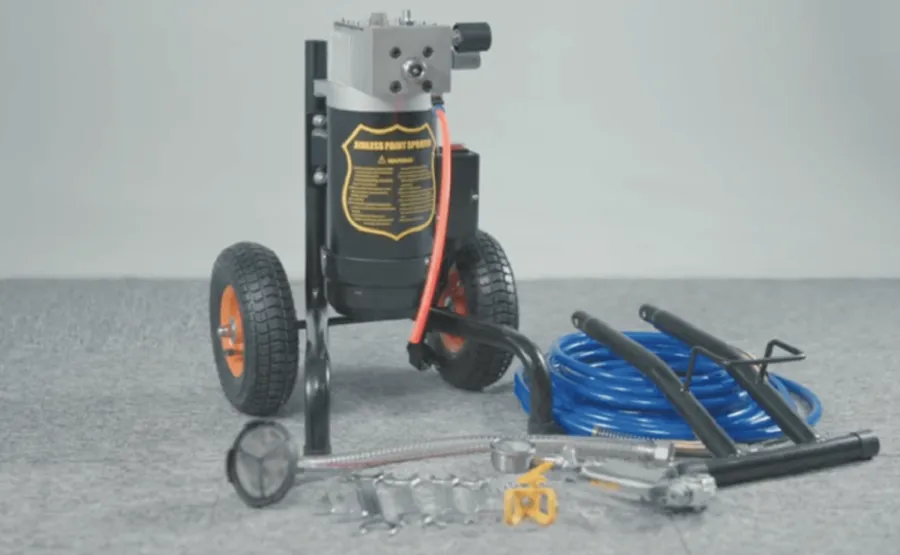
People often ask: what is the best rig for spraying wood stain? An airless setup is easily one of the top contenders. Thick stains are no trouble for it, and it tears through large areas like decks and fences in no time. If you are wondering whether an airless paint sprayer can shoot stains, the answer is definitely yes. Water-based and oil-based formulas both spray well through it. You may have to switch your spray tip and tune the pressure, though, if you want to keep the spray manageable. Always wear your protective equipment, since these sprayers have serious power and throw off plenty of overspray.
Pulverizador HVLP
For detail-heavy tasks, an HVLP (High Volume Low Pressure) sprayer is hard to top. Furniture, cabinets, and anything that demands a smooth, flawless surface are where this setup really performs. HVLP setups are really built to spray thinner products. The lower operating pressure gives you much better precision, leaving you with less mess to clean up. If the stain is on the heavier side, you might need to dilute it with thinner first. This is the exact spot where understanding how to thin stain for a sprayer pays off. An HVLP won’t lay down material as fast as an airless rig, but you get a clean, pro-level surface in return.
Pulverizador portátil
Small-scale staining stays quick and painless when you pick up a handheld sprayer. Because it is light and simple to run, it works well on chairs, modest tables, or wooden garden items. It won’t pull off the heavy-stain work of an airless can, but it is great for quick coats of thinner product. Always check the user manual for your specific handheld sprayer. You might need to adjust the pressure or fine-tune the nozzle. Flush it clean after every use so it is ready to go for the next project.
Preparando-se com seu pulverizador de tinta
You need to get both your workspace and your gear ready before laying down any stain. Solid prep work keeps you safe, speeds up the job, and yields the cleanest possible finish. Here is the step-by-step breakdown.
Ferramentas e materiais que você precisa
Having the right tools on hand makes the whole project go much more smoothly. Gather everything you need in one place before you get started. Here’s a quick checklist:
- Pulverizador de tinta (choose an airless, HVLP, or handheld unit suited to the task)
- Tinta (à base de óleo ou água)
- Stir sticks for mixing the stain thoroughly
- A measuring cup for thinning the stain according to sprayer directions
- Canvas drop cloths or plastic sheeting to keep the floor clean
- Painter’s tape for taping off edges and corners
- Safety goggles to keep your eyes protected
- A pair of gloves for hand protection
- A respirator mask, especially if your stain is oil-based
- Old clothes or coveralls you don’t mind ruining
Don’t take your safety equipment off until you’re completely done. Wearing a mask, goggles, and gloves keeps vapors out of your lungs while guarding your eyes and skin against stray splashes.
Maintaining an orderly workspace matters every bit as much. Put drop cloths under your project to catch any stray drips. Run painter’s tape across any surface you want to protect from stain. That simple precaution will save you massive cleanup time later on.
Preparação de Superfície e Área
With your gear assembled, you can move on to prepping the workspace and the wood itself. Prep work matters every bit as much as picking the right sprayer or stain.
- Clean the wood: Wipe away dirt, dust, or remaining finish with a damp cloth or a stiff brush.
- Sand rough spots: If you hit uneven patches, sand them down until they feel smooth.
- Check the weather: Stain cures best when the air is dry, and the temperature is mild. Stay away from days with high humidity or rain.
- Work in a ventilated area: Keep air moving by working outside or cracking windows so you don’t breathe in heavy fumes.
- Protect surroundings: Drape cloth or plastic over nearby walls, furniture, or plants. If you can, carry things out of the way.
Staying safe matters a great deal at this stage. Never skip gloves and a mask while prepping, most of all when working with oil-based stain.
Putting the time into good prep pays off in cleaner work and far fewer headaches. Wood that is clean and smooth lets the sprayer lay down a uniform coat, just as covering the surrounding space shields everything from stray splatter.
Como diluir tinta para pulverizador de tinta
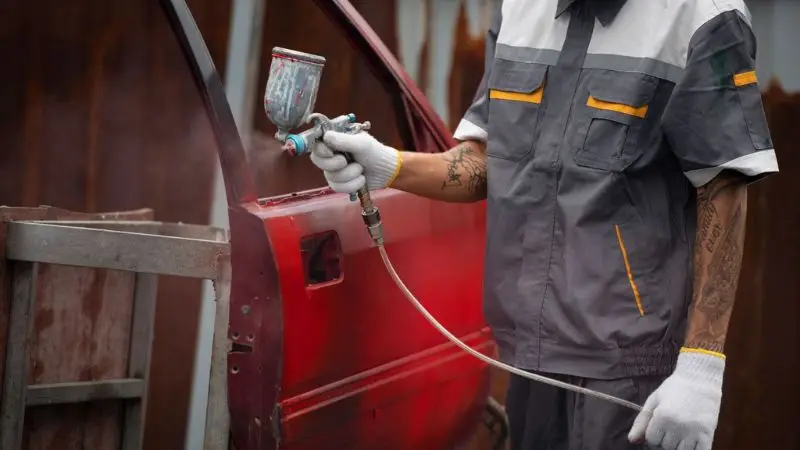
The stain has to pass smoothly through the pulverizador if you want an even spray pattern. If the stain is too thick, it can plug your nozzle and leave you with a patchy finish. Because of that, figuring out how to thin stain for a paint sprayer matters quite a bit. Here is how the process works, one step at a time.
How to Mix and Thin Stain
You cannot spray every stain right out of the container. With some of them, you may have to thin them down before they are ready to use. You want it fluid enough to pass through the nozzle without weakening the pigment so much that it won’t tint the timber.
Start by dumping the stain straight into a fresh mixing pail. Give it a thorough blend using a wooden paddle. Pour in just a splash of your solvent: reach for plain water if you have a water-based product. Go with mineral spirits if it is an oil-based formula. Stir the liquid once more, paying attention to how heavy it feels. Aim for the consistency of thin milk; you do not want it dragging like syrup. Should it still run heavy, trickle in another splash of solvent and blend it again.
Make sure you always try the stain out on a piece of scrap wood first. You nailed the thinning if the pattern lays down flat and the grain drinks it right in. Thinning it with care keeps the tip from gumming up and leaves a clean, level surface. Hurry through this part, and you will end up with an untidy coat.
Getting the Gun Ready
With the liquid thinned and stirred down, turn your attention to the spray rig. Dialing in the equipment properly speeds up your passes and keeps the coat uniform. Fill the spray cup with your reduced stain. Begin with the pressure set low, dialing it up only as you need to. Pick a nozzle size suited to what you are spraying. Thin stains perform best when run through smaller nozzles. Check your spray pattern first on a piece of scrap lumber or cardboard.
The stain might still be too thick if the sprayer spits or lays down an uneven coat. Runs and drips suggest the mixture may be thinned too far. Tweak your settings in small increments until the spray comes out clean and uniform.
Following this routine shows why knowing how to thin stain properly makes all the difference in getting a professional finish. Always try a test pass first so your finished work comes out right.
How to Apply Stain Using a Paint Sprayer
With the sprayer prepped and the stain fully blended, you are ready to begin spraying. Good technique is what keeps your coat uniform and free from blotches or streak marks. Here is how to lay down your passes properly, along with the reason back brushing improves the whole finish.
Técnica de Pulverização
As you begin each stroke, keep the nozzle roughly 8 to 12 inches off the wood. Keep your wrist firm, steady your arm, and pull the gun across in a straight, level stroke. Flicking your wrist or pausing in place just leaves you with blotchy, uneven spots.
Ease up on the pressure or pick up your arm speed slightly if you see the finish run or spit. Always spray a scrap piece of wood first before you touch the actual work. A quick trial lets you find your grip and settle into the feel of swinging the gun. Thin, easy coats always yield a cleaner result, and another pass will always deepen the color if needed.
Drying, Cleaning Up, and Tool Care
Laying down the stain does not mean the work is done. Letting it dry, washing your gear, and packing things away matter every bit as much as the actual spraying. Following through on these keeps the finish even and leaves the rig ready to go for next time.
Tempo de secagem
Leave the wood alone until the stain has dried entirely through. Expect to wait roughly 24 hours in most cases, though some specific brands cure quicker. Always read the instructions on the label for precise dry times, especially before spraying a second layer. Some work sets up in just two or three hours, while other situations keep you waiting until tomorrow.
The local weather plays a part in the drying pace as well. Curing slows down whenever temperatures drop, or damp air sets in. You will see the cleanest results if you let it dry in a warm, dry spot. Tap the surface lightly with a finger; if it feels at all sticky, walk away for a while longer. Never try to speed up the drying process. Patience lets the stain cure properly, which keeps the timber shielded over the long haul.
Sprayer Cleanup
If you wash the sprayer out immediately, you will save yourself a lot of trouble on the next job. A thoroughly washed unit will not clog up on you, and it will hold up over time. Learning the cleanup routine for a Wagner stain sprayer is actually very straightforward.
Veja como você pode fazer isso:
- Shut the unit down and pull the plug from the wall.
- Take off the cup and dump out whatever stain is left inside.
- Pour your cleaning liquid directly into the reservoir. Go with plain water if your stain was water-based, or switch to mineral spirits for an oil formula.
- Run that cleaner through the tip until the spray comes out completely clear.
- Disassemble the nozzle along with any other pieces meant to come off.
- Scrub those pieces down using your cleaning solvent and a bristle brush.
- Allow every single component to air dry completely before reassembling the unit.
For a more thorough walkthrough, the user manual has step-by-step instructions. Keeping your sprayer clean not only gives you better spraying results but also saves you money by extending the life of your tool. Wear gloves throughout the job, since particular solvents are rough on exposed skin.
Embrulhar
Is running stain through a pulverizador de tinta actually doable? You certainly can, and it happens to be among the simplest methods for getting an even, clean coat on lumber. Spraying cuts down your working time and takes care of broad surfaces like fences and decks without dragging a brush around. To get the best finish, just choose an appropriate stain, thin it down if the job calls for it, and dial in your settings. Remember to put on your protective gear, run a quick pass on a scrap board, and wash out the rig every time you finish. If you take your time, the timber will end up with a gorgeous finish that holds up for years.
Perguntas frequentes
Can a paint sprayer handle every variety of stain?
Almost all wood stains, whether oil- or water-based, feed through the machine without trouble. Gel stains run thick, so they usually clog or bog down this kind of equipment. Always begin by checking what the can says, without exception. Some stains require thinning before you pour them into the reservoir.
Do you always have to dilute stain before running it through a sprayer?
You often have to thin the material if you expect it to break into a fine mist. For water-based stains, plain tap water is all you need to thin them. You will need mineral spirits to cut any oil-based stain. Do a quick test burst on some spare lumber to make sure the stain lays down flat.
How do you keep overspray down to a minimum while spraying?
Hold the spray nozzle fairly near the surface you are coating. Maintain a steady speed throughout your stroke. Cover nearby surfaces with painter’s tape and drop cloths. You will have far better control if you stick to thin coats. Practice on a scrap of cardboard before tackling the actual piece.
What is back brushing, and is it actually worth the effort?
It just means working a hand brush through wet stain right after spraying to smooth the layer out. You have to do this right after the spray pass ends. Brushing pushes the finish right into the wood grain while smoothing out the surface. Don’t be tempted to leave this part out. Taking that extra trouble is precisely what makes the finish look professional.