
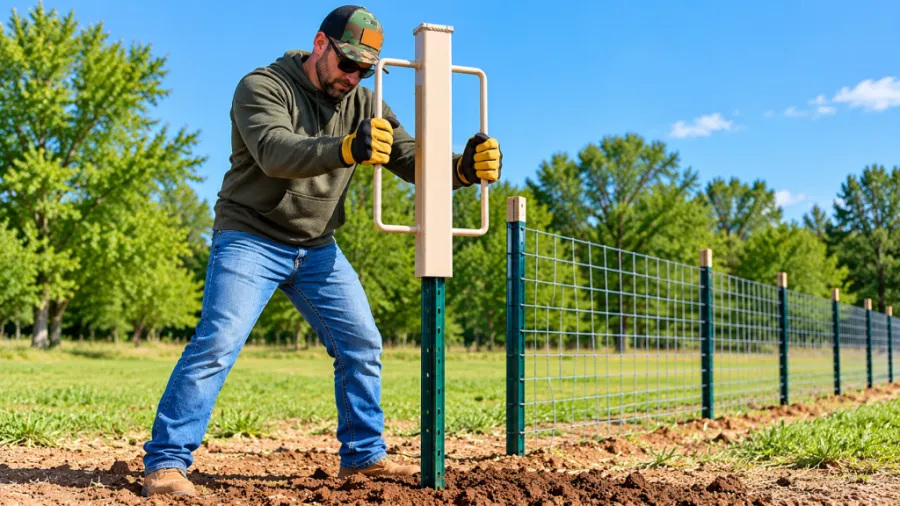
You have unrolled the wire, the T-posts are lined up along the fence line, but the sledgehammer bounces off the top of the post every time you try to drive it in. The solution is to use a T-post driver. This article covers how a T-post driver works, the different types, how to use it, and how to choose the right one for your soil and fence. Interested in viewing your options? Check out the T-post driver options.
- What Is a T Post Driver and What Is It Used For?
- Types of T-Post Drivers and How They Differ
- How to Use a T-Post Driver for T-Post Installation
- How Soil and Ground Conditions Affect Driving T-Posts
- Tools and Equipment for Driving T-Posts
- How to Choose the Right T Post Driver
- Advantages and Limitations of Manual and Powered T-Post Drivers
- Safety Precautions When Using a T-Post Driver
What Is a T Post Driver and What Is It Used For?
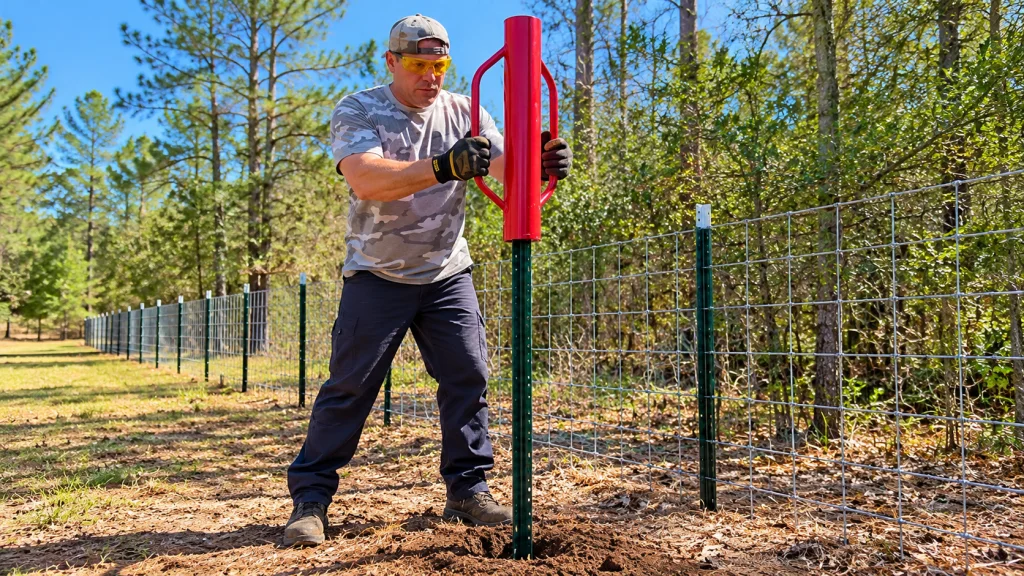
A post driver drives steel-studded T-posts into the ground, with the added advantage of minimizing the risk of bending the top of the posts. The most common type of post driver has a heavy-duty steel sleeve with a closed top and side handles you hold to guide the driver onto the post.
How a T Post Driver Works
The sleeve performs two roles. First, it ensures each hit lands over the top of the post by directing energy downward rather than sideways. Second, it protects the top of the post from the hammer, the area most likely to be damaged by a regular sledgehammer. Handles make lifting the weight easy without holding the steel portion.
Where T-Posts Are Used
You can find T-posts in wire fencing, farm fencing, garden fencing, and livestock fencing. The posts have studs that hold the wire or clips, while the base plate keeps the post in place in the soil. Hard fences that use strong posts usually employ pre-drilled holes. As part of installing an entire fence, the installation process will show you how the posts fit into the big picture. If you still haven’t selected your posts, consider steel T-posts and fence posts pierwszy.
Types of T-Post Drivers and How They Differ
Three types of T-post drivers depend on the source of striking power. Your post number, soil type, and available power source determine which type suits you best.
| Typ | Zasilanie | Najlepsze dla: | ZALETY | Wady |
| Instrukcja obsługi | Your own effort | Gardens, small pens, short runs | No fuel or cord, quiet, simple | Tiring on long lines |
| Zasilany gazem | Paliwo | Long lines, remote areas | Less lifting, works away from outlets | Fuel, noise, engine care |
| elektryczny | Gniazdko lub generator | Średnie oferty pracy w pobliżu elektrowni | No fuel, generally quieter than gas | Cord reach limits where you can work |
Manual T Post Drivers
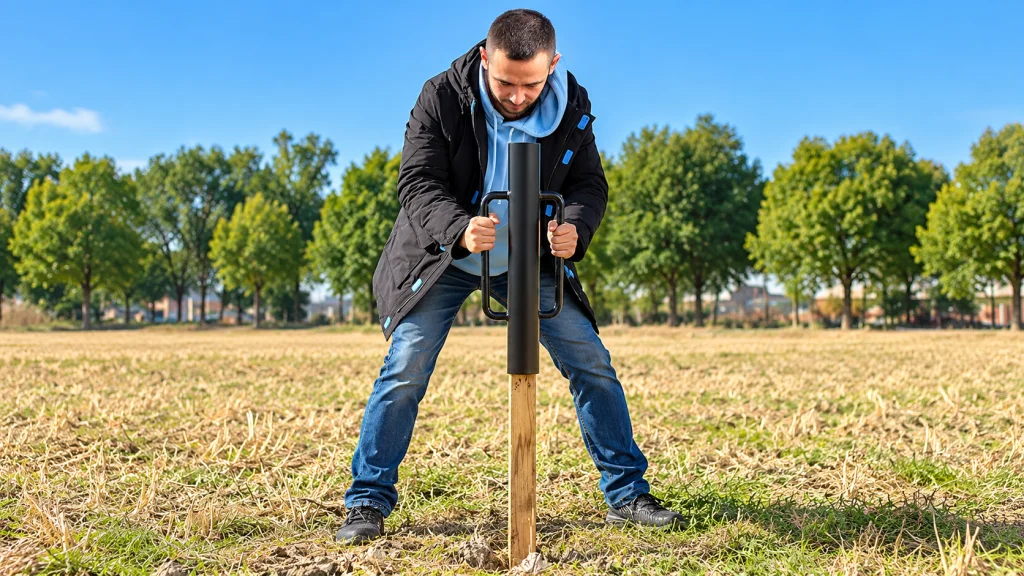
A manual T post driver is an easier choice. Without an engine, fuel, or cords, it is portable and can be carried anywhere on your property. It is also noiseless, which makes it useful when you have animals or people around. For a small garden or a wire fence, you can use a manual T-post rammer.
Gas Powered T Post Drivers
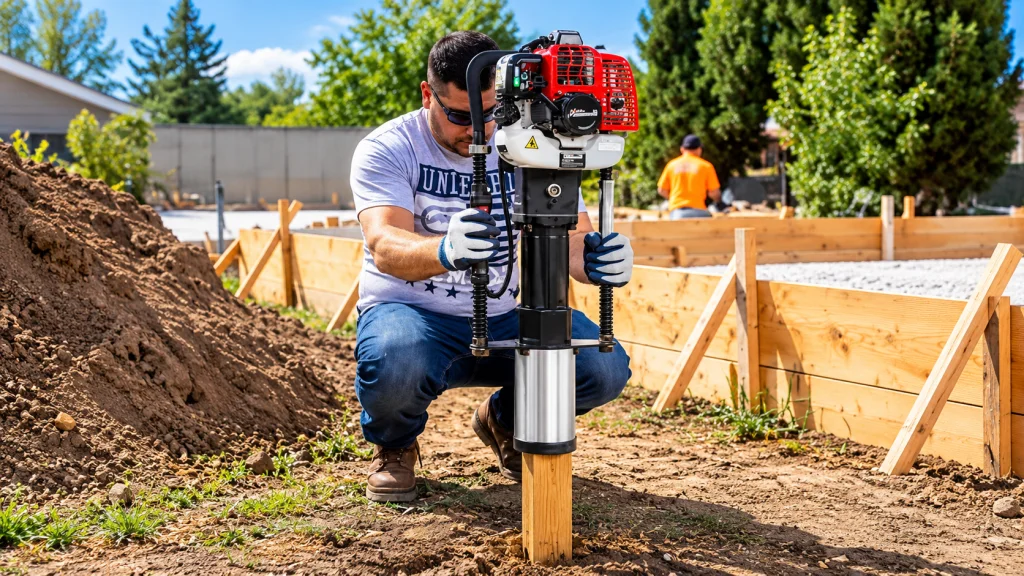
A gas-powered T-post driver uses a small engine to drive a hammering action. You place the sleeve on the post, run the engine, and hold the tool during operation. Some T-post drivers have interchangeable heads, letting the tool handle multiple post sizes. This can come in handy when building a fence over a long distance where electricity isn’t available, but you will have to deal with noise and maintain the engine. A 4-stroke gas pounder jest przykładem.
Electric T Post Drivers
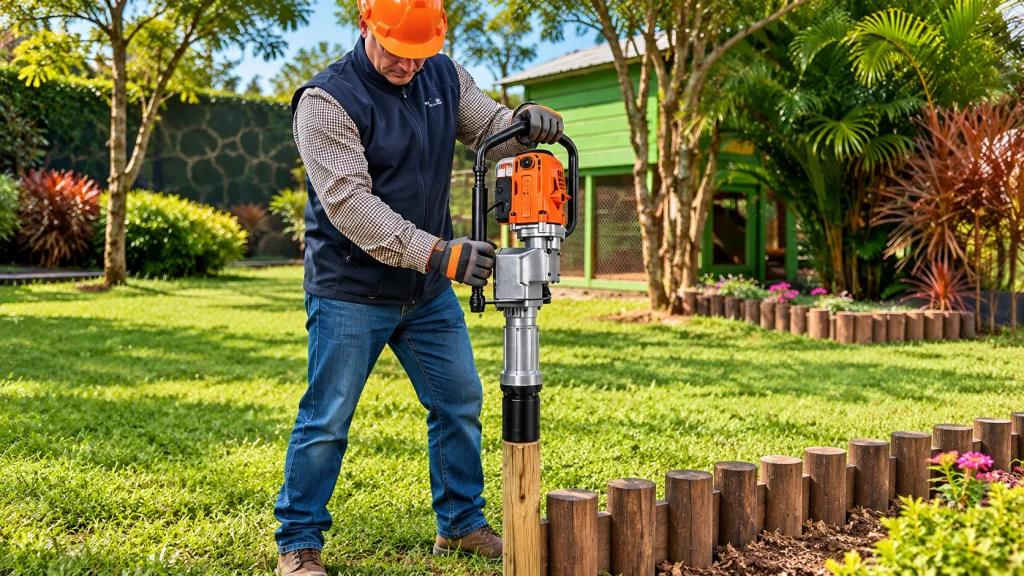
An electric driver does almost the same thing as a pneumatic one, using a motor rather than an engine. You don’t have to transport fuel, and starting is generally easy. However, access to power is the issue, as you will need a socket or a proper generator with enough cable to reach your work area. The Wkrętarka elektryczna 2200W has two sleeves, which is useful when your posts differ in size.
How to Use a T-Post Driver for T-Post Installation
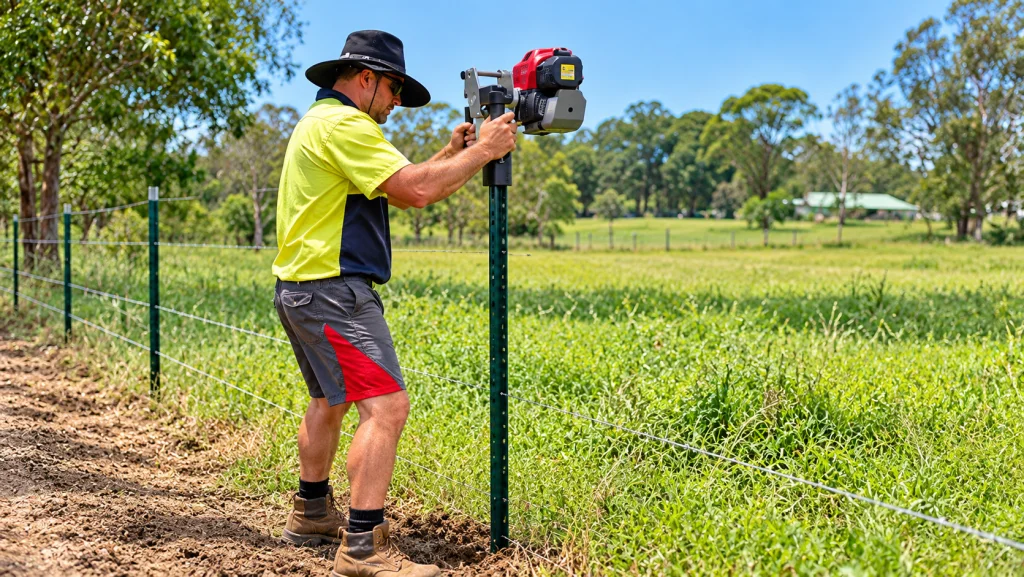
The process is easy, but a few practices can keep your fence straight. Go through the steps below for each post.
Step 1: Plan and Mark the Line
Make sure to mark every position where you will install a post using a string line prior to driving any posts. Identify any underground utilities, and remove any rocks, roots, and sod from each position. Loosen the topsoil if it’s hard, as this may save you several strikes.
Step 2: Start the Post by Hand
Stand the post upright and press it into the ground manually as far as you can. Then place the driver over the top of the post so the sleeve fits over it. When you do it manually, you create a perfect vertical line, and each strike follows the same path.
Step 3: Drive With Steady Strikes
For the manual hammer, lift to a comfortable position and let the weight fall rather than forcing it down with arm strength. Short, consistent blows hold the sleeve in place and keep the post aligned more effectively than a few hard blows. With a powered hammer, let the hammer do the work while you guide it.
Step 4: Check Plumb and Depth
After a few strikes, stop and check the verticality of the post using the level. It is easier to correct a slight lean early on than after burying it deep in the ground. Drive the post to the required depth for your fence design, and research the fence post depth if needed. After completing your post, sight the whole run before going ahead. If the post encounters resistance from something firm underground. Then you should stop because a bent post will affect the whole run.
How Soil and Ground Conditions Affect Driving T-Posts
Soil is the most important variable involved in driving the T-posts. The same operator may place a post in a few hits in soft soil, but may struggle in hard clay. Moisture is another crucial variable. Wet soils are easier to drive compared to dry, hard soils.
| Stan gleby | Wpływ na prowadzenie pojazdu | Praktyczna wskazówka |
| Soft or loose | Easy to drive, but posts can settle or lean | Check plumb often |
| Firm clay | Slower, needs more strikes | Loosen the surface first |
| Sandy | Drives easily but may hold less firmly | Confirm the post feels secure |
| Rocky | Posts can deflect or stop | Move the spot slightly or dig a hole |
| Root-filled | Roots can block or twist the post | Clear roots or dig the location |
Before settling on one method for the entire fence, drive just one test post and observe its progress. This one post will tell you more about the soil beneath your feet than any product description would ever do. If the post resists, don’t push further. Just move the spot a little, or switch to pre-dug holes, described in the kopanie dołków pod słupy
Tools and Equipment for Driving T-Posts
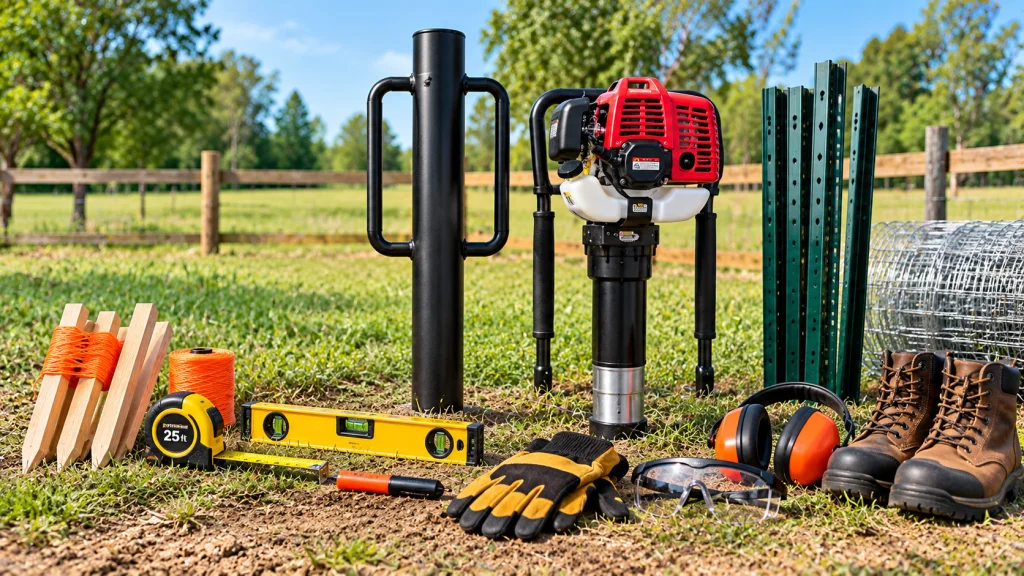
You don’t need a large toolbox. A few basics keep the work accurate and comfortable. Compare the post driver range if you work with more than one post size
| Narzędzie | Cel | Wskazówka |
| T-post driver | Sets the post without damaging the top | Match the sleeve to the post profile |
| Sznurek i paliki | Keeps posts in a straight line | Pull the string tight between end posts |
| Poziom | Checks that each post is plumb | Check two sides of the post |
| Tape measure and marker | Marks spacing and depth | Mark corners and gates first |
| Gloves, boots, eye and hearing protection | Protects you while driving | Add hearing protection with powered tools |
How to Choose the Right T Post Driver
Choosing comes down to a few practical questions. Answer these before you buy.
| Czynnik | Co sprawdzić | Dlaczego jest to ważne |
| Post count | How many posts you need to set | Many posts favor a powered tool |
| Post profile | Sleeve fit for your T-posts | A mismatch slips, jams, or damages the top |
| Gleba | Soft, firm, rocky, or root-filled | Tough ground slows manual driving |
| Dostęp do zasilania | Outlet nearby or not | Decides between electric and gas |
In other words, the key criteria here are post count, soil type, and power availability. For a short fence in loose or medium soil, the hand post driver is the right choice. If you are working with a longer line or harder soil, the power post driver helps you avoid repetitive lifting. If you have thin posts to install, consider the Wkrętak 2.7-calowy i 52cc 2-stroke driver.
Wynajem a kupowanie
If you plan to use the driver only once for a single project, it is better to rent the power tool than buy it. This is because you won’t need to store the equipment, and no maintenance will be required. If you repair or build fences regularly, owning the driver makes things easier. Whether rentals are available depends on the area you live in. Still unsure? See all driver sizes side by side. The options below include manual, gas, and electric models, and you can shop T-posts to pair with them.
Polecane dla Twojego projektu
Advantages and Limitations of Manual and Powered T-Post Drivers
These two methods serve the same function, but each has its own advantages and disadvantages.
Manual Drivers
The biggest strength of a manual driver is its simplicity. You don’t have to start, fill, or charge it, and it has only a few components. They are easy to carry, cheap to buy, and produce no noise. However, the disadvantage is the effort involved. You have to lift each post yourself, and a long row of posts can leave your shoulders and back sore.
Powered Drivers
A powered driver eliminates repeated lifting, making long drives easier and more consistently accurate. A gas-powered driver helps when power isn’t available, while an electric driver doesn’t need fuel. The disadvantages include the need for fuel or power, increased noise, more maintenance, and a larger tool to carry. The limitation is that it requires a properly fitting sleeve, and it can’t drive posts through rock.
Safety Precautions When Using a T-Post Driver
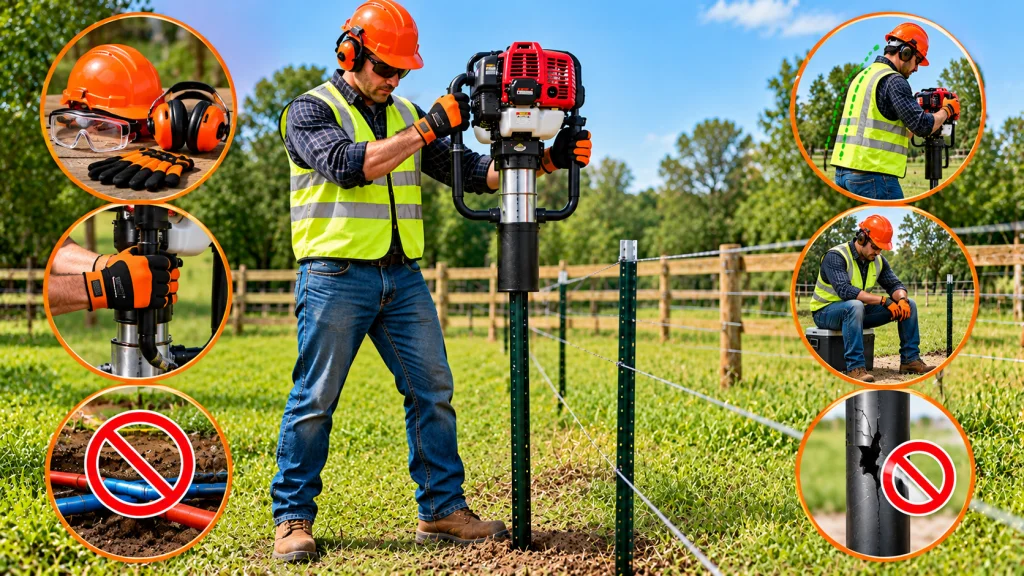
The T-post driver is a basic tool, but it is heavy-duty. An incorrect strike or a falling sleeve may cause injury; therefore, you should develop proper practices before using this tool. Never place your hands anywhere other than the handles, and wear protective gear such as gloves, tough boots, eye protection, and ear protection when using power tools. Confirm there are no underground utilities, and keep spectators and animals at a safe distance.
Be conscious of your body too. Stand firmly, keep your back straight, and rest before you get tired, as fatigue increases the risk of slips and crooked posts. Power tools can also transmit vibrations into your hands. Rest periodically and follow the manufacturer’s safety guidelines. Avoid using a cracked driver, and do not force a stopped post. Read the tool’s instructions before the first strike. For more setup advice, pick up more fence post tipslub browse more tools dla pracy.
@beckenholdt Vevor Hydraulic Lift Table #zachęcam #sklepvevortt #narzędziavevor #hydrauliclift #automobilowy #technikmotoryzacyjny #mechanik #życiemechanika #mechanicsoftiktok #vevorsuperbrandday #dzieńsupermarki
♬ oryginalny dźwięk – Becken
Wniosek
The post driver turns a difficult, laborious process into a controlled one. Sleeve fits the post, test the soil using one post, strike evenly, and keep checking plumb. Use a manual driver for shorter jobs and quiet situations, and a powered driver for long rows or hard ground. With proper protective gear, T-post installation may be easier and more consistent.
Najczęściej zadawane pytania
What is a T-post driver used for?
The T-post driver drives studded steel T-posts into the ground. The T-post driver has a sleeve that keeps all strikes centered, protecting the post top and keeping it straight.
Can I use a sledgehammer instead of a driver?
Yes, but a hammer may just skip and scratch the top of the post. The driver’s sleeve helps direct the impact more accurately.
Will a gas-powered post driver work in rocky soil?
It will be useful on hard ground, but it cannot drive a stake into solid rock. If the stake won’t go in, try a new location or use a pre-drilled hole.
How do I know a driver fits my T-post?
Make sure the inside dimensions of the sleeve match the dimensions of the post top. The fit should be tight, with no wobble or jamming. Make sure to read the instructions on the tool.




