Your garage slab looks nice until you touch it and realize it has an oily, chalky residue. Epoxy adheres only as well as the substrate it is applied to; therefore, concrete floor preparation matters more than the epoxy itself. The right concrete grinders help you complete the seven tasks below faster, from inspection and cleaning to dust removal, moisture testing, and primer application. If you still need to choose a machine size, the מטחנת רצפות בטון חשמלית buying guide has everything you need.
- Step 1: Inspecting the Slab Before Concrete Floor Preparation
- Step 2: Cleaning the Surface When Preparing a Concrete Floor for Epoxy
- Step 3: Repairing Cracks and Imperfections for Concrete Epoxy Floor Preparation
- Step 4: Profiling the Surface by Grinding or Shot Blasting Concrete Floor Preparation
- Step 5: Removing Dust and Debris Before Preparing a Concrete Floor for Paint
- Step 6: Testing for Moisture Before Painting or Coating the Slab
- Step 7: Applying Primer and Final Drying When Preparing a Concrete Floor for Painting
Step 1: Inspecting the Slab Before Concrete Floor Preparation
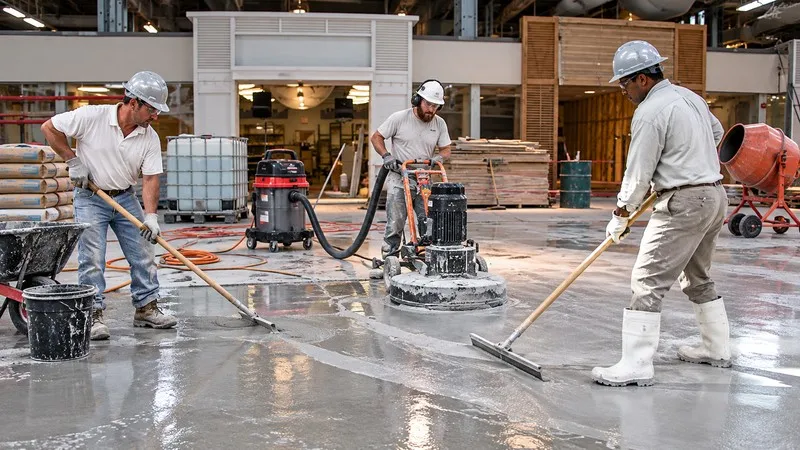
Start concrete floor preparation by checking the slab for cracks, spalling, oil stains, old coatings, and damp spots. Use a flashlight and a straightedge to inspect the slab for cracks, spalls, oil spills, old coatings, and wet spots. Mark all issues on the floor with chalk so you can easily identify them after cleaning.
Note how long the slab has been in use, since a new slab needs curing time, but an old garage slab typically has sealants and greases applied to its surface. For a quick moisture test, you can cover the surface with plastic sheathing for 24 hours, per Tomahawk Power.
What Equipment Do I Need to Prepare a Concrete Floor?
Depending on the floor’s dimensions, quality, and desired finish, use the right equipment. For instance, preparing a concrete floor for painting may involve grinding and cleaning, while preparing a concrete floor for epoxy may involve achieving the right surface profile and removing contaminants/coatings.
| כלי | מה שזה עושה | השתמש בו כאשר |
| מטחנה ניידת | Levels high spots and profiles the surface | The floor is large and open |
| Handheld grinder with shroud | Works edges, corners, and repairs | You need to reach the perimeter |
| מַרְצֵב | Cuts away thick coatings | Diamond tooling would clog |
| מכה יריות | Fires steel shot to clean and roughen | A big floor needs an even texture |
| Dust-collecting vacuum | Captures dust at the source | Any dry grinding step |
Wear eye and ear protection, and use respiratory protection as needed based on the equipment and activity you perform. Repair cracked concrete floors when preparing concrete epoxy floors using an epoxy filler or another filler recommended for the job. Review the guide to תיקון סדקים ברצפת המוסך to understand how to do basic repairs. If the floor is highly damaged or requires specific concrete floor preparation contractors installation, it may be wise to consult concrete floor preparation contractors.
When Should You Hire Concrete Floor Preparation Contractors?
Hire concrete floor preparation contractors if the floor is large, the coating is thick, you have moisture issues, or you don’t want to rent equipment. Inquire what technique they are going to use and how they will minimize dust. A small,l flat floor in good condition is ideal for a DIY project,ct and a floor that size suits מטחנות רצפה you can handle yourself.
Step 2: Cleaning the Surface When Preparing a Concrete Floor for Epoxy
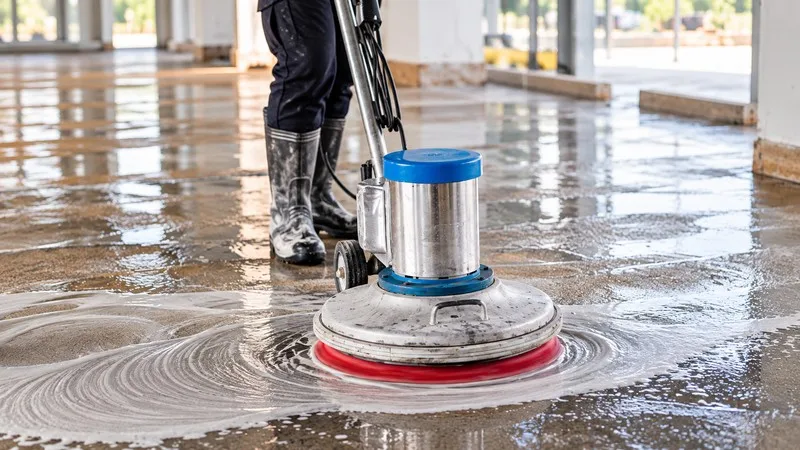
Clean first, as grinding can drive oil further into the pores. Sweep, vacuum, use a concrete degreaser as directed, scrub with a tough brush, rinse, and repeat for stubborn stains until the rinse water runs clear. Dispose of rinse water properly as required by regulations, and ensure it does not enter storm sewers. Also remove old coatings and sealers, as epoxy bonds to concrete, not failed material, and old adhesives or mastics may need an asbestos test before you scrape and grind them. Clean again after profiling. See also cleaning a concrete garage floor.
Step 3: Repairing Cracks and Imperfections for Concrete Epoxy Floor Preparation
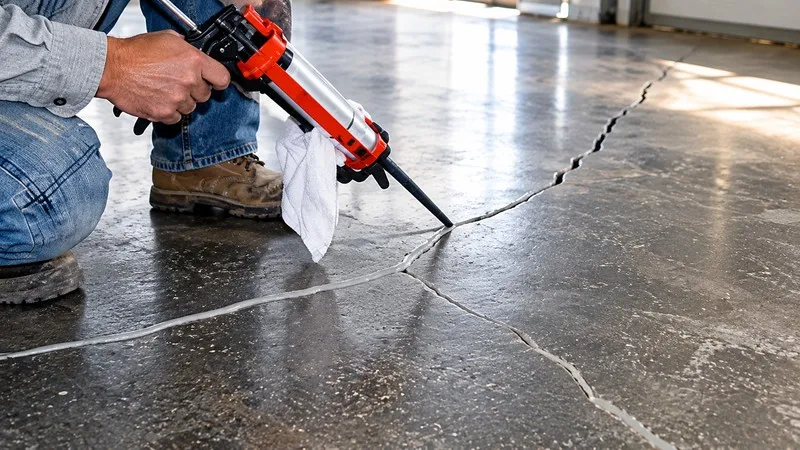
Fill cracks, holes, and indentations with an epoxy crack filler or concrete patching material, and allow it to fully cure. Repair before grinding because grinding will reveal everything. Proper concrete floor preparation includes repairing damage before profiling because grinding can reveal defects not obvious on the surface. The Wexford guide uses a crack chaser saw to open cracks to improve bonding, creating silica dust in the process.
Which Concrete Grinders Are Best for Leveling Uneven Concrete Before Tile?
A walk-behind grinder is ideal for grinding out the entire room because it removes high spots across the surface. The מטחנת בטון 1400W has a vacuum attachment port and an adjustable handle. First, mark the high spots with chalk. Then remove material in small passes with the grinder while maintaining the vacuum and checking with the straightedge after each pass.
Can You Recommend the Best Concrete Grinders for DIY Projects?
A walk-behind grinder is sufficient for grinding the floor in most DIY jobs, and an angle grinder from the angle grinder collection will do the trick for the edges. Leasing these tools for a weekend could be more economical than buying them for a single room. When planning concrete floor preparation, choose equipment based on the slab’s size, condition, and required finish.
Start with the edges using the angle grinder and then use the walk-behind machine on the exposed floor to grind out any scratches from the walls. Grinding the edges can consume much of your time in a small room, so you need to plan for this. Both tools require a vacuum attachment, while a dust shroud with a 5-inch cup wheel works for the angle grinder.
Step 4: Profiling the Surface by Grinding or Shot Blasting Concrete Floor Preparation
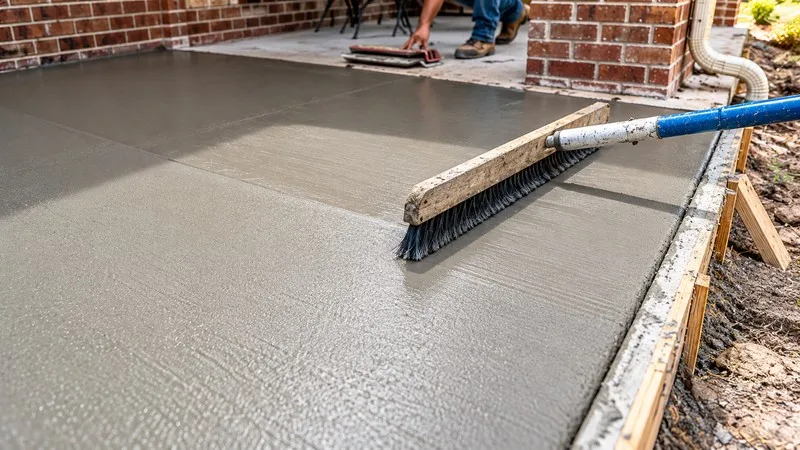
Profiling helps the epoxy gain a texture to hold onto and is measured by the ICRI CSP scale. According to Big Top Concrete Resurfacing, most epoxy coatings can be applied to a medium profile, such as CSP 2, while high-performance commercial coatings require CSP 3. Wexford suggests aiming for CSP 2 to 3 using metal bond diamonds from 30/40 up to 60/80 grits.
Consider these numbers to be average, not absolute needs, as your coating’s data sheet determines the objective. As stated in the Tomahawk Power guidelines for acid etching, acid etching is acceptable only if the coating manufacturer lists it as an acceptable procedure. Shot blasting concrete floor preparation involves spraying steel shot onto the slab to clean it and create the required surface profile. A blaster is a special piece of equipment that many homeowners often hire. A scarifier removes thick coatings or mastic. The משטח בטון VEVOR runs on gasoline; therefore, never use it in an enclosed room.
אילו מכונות ליטוש בטון הן הטובות ביותר להכנת בטון לפני חידוש פני השטח?
A walk-behind floor grinder with diamond blades is usually the better option because it removes weaker surface layers and old coatings, such as laitance, allowing the new layer to bond. Make sure you overlap passes and keep the machine moving. Look at the resurfacer data sheets to find out what the required profile is. The 10-inch 1.7 HP floor grinder grinds a larger floor area in one pass than a 7-inch grinder.
Which Concrete Grinders Are Most Recommended for Prepping Concrete Before Stained Finishes?
For staining, choose walk-behind floor grinders that you can operate in overlapping motions. Stains are clear, so any scratches, previous sealer, or glue will show through. Remove all coating before applying stain. For the room-size area, the מטחנת רצפות 7 אינץ' 1.7 כ"ס will do, and the manual mentions a dry process with an industrial vacuum.
מומלץ לפרויקט שלך
Step 5: Removing Dust and Debris Before Preparing a Concrete Floor for Paint
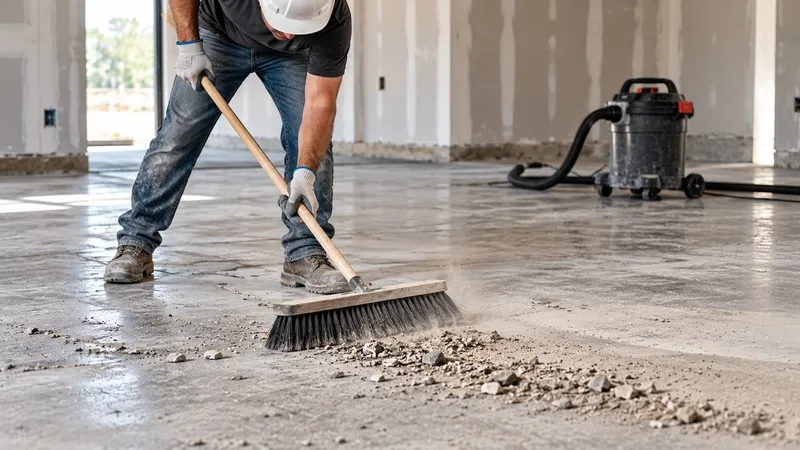
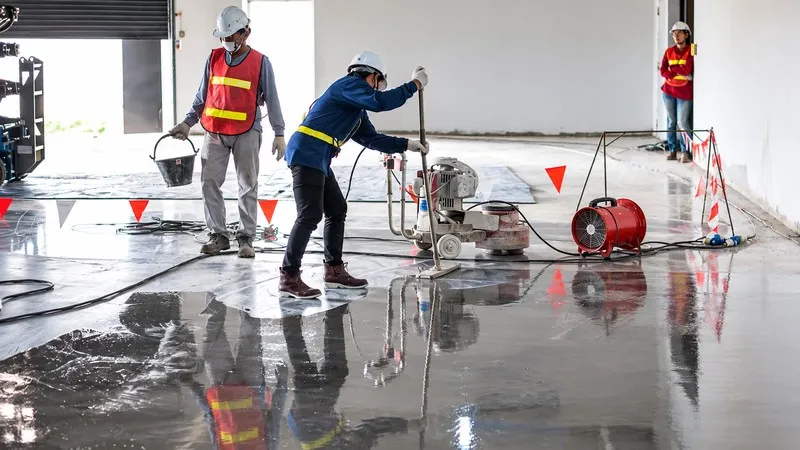
Leftover dust prevents the epoxy from adhering to the surface during concrete floor preparation. Clean the floor with a high-efficiency particulate air (HEPA)- rated dust extractor, since sweeping will simply push fine dust back into the air. Walk-behind floor grinders include dust ports for this reason, and you can compare them based on that.
Grinding releases silica dust, which OSHA’s construction silica rule (29 CFR 1926.1153, Table 1) controls differently depending on the machine used. A handheld grinder requires either the use of an integrated water feed (only outdoors) or a shroud together with a dust collector with airflow at a rate of not less than 25 cfm per inch of wheel diameter through a 99% filter and an indoor respirator with an assigned protection factor (APF) of 10 for a period of four hours per shift.
Walk-behind floor grinders require an integrated water feed or the manufacturer-recommended dust collector with a 99% filter and a HEPA vacuum between passes indoors. Table 1 does not require a respirator for walk-behind floor grinders, but other requirements may still apply.
Step 6: Testing for Moisture Before Painting or Coating the Slab
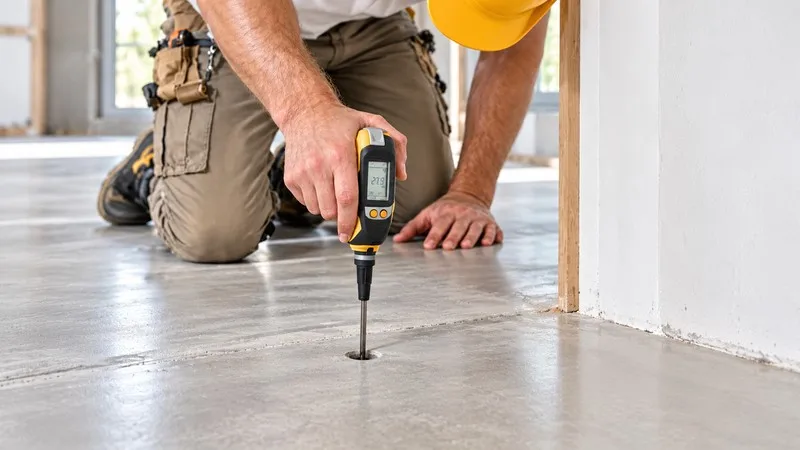
Moisture can cause your epoxy to fail; therefore, you must test before applying it. The calcium chloride test measures the slab surface, so most contractors also perform the in-situ relative humidity test. According to Wagner Meters for ASTM F2170, place at least three sensors in the first 1,000 sq ft. Add one more sensor per additional 1,000 sq ft, focused on the wettest areas. And set the default maximum RH level to below 75% (or whatever your floor covering manufacturer specifies). Your coating supplier may require other testing methods or limits. Moisture meters are just a screening test.
Step 7: Applying Primer and Final Drying When Preparing a Concrete Floor for Painting
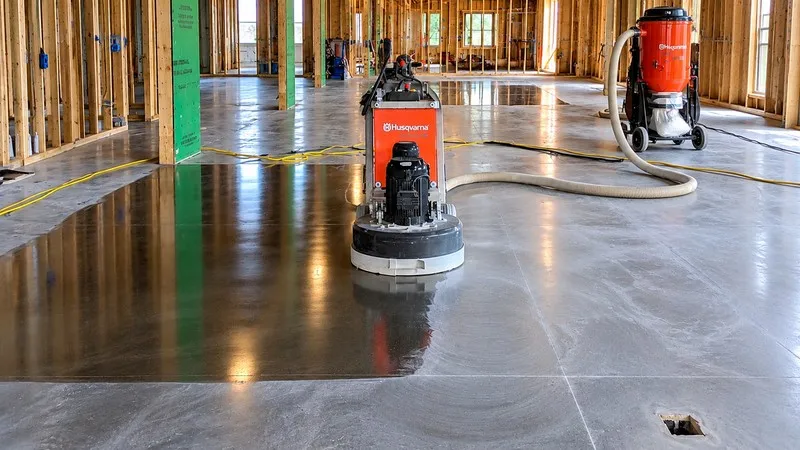
Primer is optional in some systems, but it improves adhesion, so always check the data sheet for your product. After any wet concrete floor preparation approved by the coating manufacturer, such as degreasing, washing, or etching, the floor should be completely dry. Tomahawk Power claims the process may take 24 to 72 hours, but it depends on the product and site conditions. According to Tomahawk Power and Intelligent Concrete, leave the flooring free of traffic for 24 to 48 hours.
Preparing a Concrete Floor for Paint
Preparing a concrete floor before painting is easier than other methods, but it is an essential step to consider when deciding between אריחי רצפה למוסך לעומת אפוקסי and other coatings. Clean, degrease, fill cracks, and strip off sealers or existing coatings. Concrete floor preparation before painting also requires moisture testing, because damp concrete can lift new paint layers, and most paint instructions require etching or grinding.
How Do I Prepare a Concrete Floor for Tile or New Flooring?
Check flatness; repair high and low areas, clean, test for moisture, treat cracks, and prime if necessary. Flooring Clarity suggests a typical allowance of 1/4 inch in 10 feet for ceramic and porcelain tiles, but large-format tiles require a tighter tolerance, so consult your tile manufacturer’s specifications. High areas should be ground using a מטחנת בטון; low areas should be filled with a leveling compound appropriate for your tile system.
סיכום
A good concrete floor preparation process involves seven steps: inspection, cleaning, repair, profiling, dust removal, moisture testing, and priming. This is where mistakes that cause coating to peel out happen. Select a grinder based on the floor size and finish; use shot blasting or scarifying only when needed. For large floors and difficult coatings, one should hire an expert. Always follow the coating manufacturer’s instructions at the final stage. After the epoxy cures, the tips for cleaning your garage floor להישאר רלוונטיים.
שאלות נפוצות
How long does concrete floor preparation take?
This depends on the floor area, the extent of the repair, and the drying time for patches and wet cleaning. Allow time for moisture testing as well as waiting periods required by your coating before application.
Is shot blasting better than grinding for epoxy?
Neither is suitable for all projects. Grinding works well for edging, tight spaces, and smoothing, while shot blasting is ideal for large areas that need a uniform surface. Your coating manufacturer’s data sheet will note this.
Do I need to remove old paint before epoxy?
Normally yes. Epoxy sticks to concrete, not a failing underlying substrate, so strip any loose or flaking finishes before proceeding. Then check the data sheet to see what the finish can be applied over.
Is concrete floor preparation a DIY job?
Small and flat, sound floors are common. Larger floors, coatings, and asbestos or moisture problems may require professional contractors with the right equipment and an understanding of dust-control requirements.