
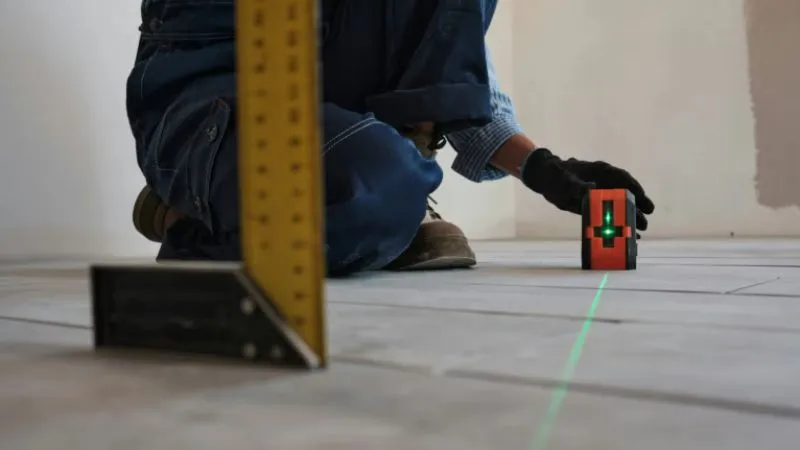
A nivel láser can be a useful tool for many home improvement and construction projects, and it is easy to learn how to use it. Laser levels emit straight reference lines, unlike conventional levels that project only one line on walls, floors, ceilings, and other surfaces. They may assist with hanging pictures, installing cabinets, ceramic tile work, flooring, drywall, framing, and landscaping. However, to obtain accurate results, the setup, positioning, and careful use are required. This guide teaches you how to select and prepare a laser level, set it up properly, cast various lines, and use it in typical applications. You will also discover ways to steer clear of common errors and boost accuracy during the course of your work.
Índice
What You Need Before Using a Laser Level
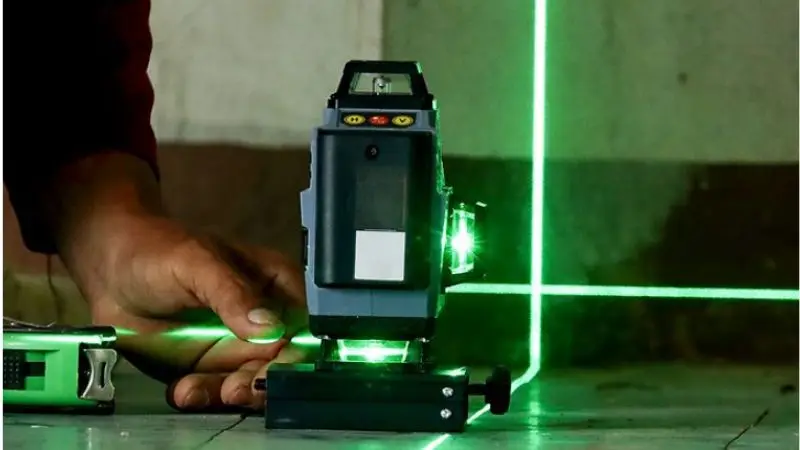
Before you learn how to use a nivel láser, make sure you have the proper tools and setup. Good preparation helps you get accurate readings and makes setup easier.
Select the appropriate laser level for the job, and stabilize a tripod or surface for mounting. Also, verify the required batteries and accessories before starting.
Recomendado para su proyecto
Depending on the project, you will need a different type of laser level. A cross-line laser can be used to project horizontal and vertical lines and is great for how to use the laser level for drywall, framing, cabinets, and general interior work. If you have a construction or outdoor project and require a level reference over longer distances, a láser rotatorio might be a better option. Before deciding on a model, take into account working range, accuracy, beam visibility, self-leveling function, and number of laser lines. If the project involves tiling or flooring, it may be easier to align with a laser that has clearly visible horizontal lines. Using the right tool will enable you to work better and faster, and get the job done the same way every time.
Prepare a Tripod or Mounting Surface
It is crucial to have a stable mounting method, as even slight movement could result in the laser line moving and producing inaccurate measurements. If it is necessary to change the height or positioning of the nivel láser, then a tripod is a handy solution. In some indoor application projects, the tool can be mounted on a stable surface or be fixed on a compatible wall mounting or clamp. Consider tripod legs fully extended and properly placed on the floor. When learning cómo usar un nivel láser for framing, cabinets, or drywall, select a mount that will provide the beam with an unobstructed line of sight over the work area. The secure setup helps to keep the projected line steady throughout your project.
Check the Batteries and Accessories
Make sure your batteries are charged, or if they are solar cells, you have sufficient sunlight for the duration of your project before turning on your laser level. Batteries that are low may cause the laser to turn off during operation. Check the tool and ensure that the laser windows are clean and free of fingerprints and dust. Collect any helpful accessories like a tripod, mounting bracket, clamp, target plate, or measuring staff as appropriate to your project. A wall mount or small tripod can help you position the laser level if you’re learning how to hang pictures with the laser level. Inspecting all of the above will ensure that the job is not interrupted and that the equipment is set up correctly.
How to Set Up a Laser Level
After preparing the machine, the next step is to properly adjust the nivel láser. When properly set up, the projected beam will give a reliable reference line.
The procedure is simple: place the laser level properly and ensure it has a clear view of the area. Before you start taking measurements or installing, do the following.
Elija una ubicación adecuada
First, choose a location where the nivel láser can see the area you need to measure or align. Do not place the tool near surfaces that can move, vibrate, or interfere with the position of the tool. In indoor projects, position the laser to direct its beam to the wall, floor, ceiling, or other surface onto which the work is to be done. When learning how to use a laser level to hang pictures, set the level in a location that will allow the horizontal or vertical beam to span the wall. For large projects, choose a central location whenever possible so the laser line covers the most area. A well-chosen location minimizes the need for repeated tool movement and makes it easier to take repeated measurements.
Monte el nivel láser
Once the site has been selected, attach the nivel láser firmly to a tripod, bracket, clamp, or other appropriate support. Secure the tool as per the manufacturer’s instructions and ensure that it is well secured. The mounting surface must not tilt or move while working. Move the tripod up or down until the laser beam strikes the area where the reference line is desired. When using a laser level for cabinets, proper positioning lets you set cabinets on straight lines across the wall. In the same way, a proper mounting height can simplify how to use a laser level for tiling, ensuring that a constant horizontal or vertical reference is available. Avoid touching or moving the tool after positioning it.
Position the Level Correctly
Una vez que la nivel láser is set up, move it into place so that the laser beam is projected precisely where it is needed. Many laser levels today are self-leveling laser levels, which automatically level the tool once it is within its level range. To ensure the unit is on a level surface, place the unit on a stable surface and allow the leveling system to level itself before taking measurements. If the tool reads outside of its range, move the tripod to a different position or adjust the tripod until it is in leveling range. The correct position is particularly crucial when learning cómo usar un nivel láser for a floor, drywall, or cabinet project, as even a minor mistake in setting up can impact the whole reference line.
Turn On the Laser Beam
After you firmly secure and align the nivel láser, turn on the laser beam using the appropriate control. Choose the Horizontal, Vertical, or Cross line mode you need for your project. Wait for the beam to settle before it is used as a reference. The laser line may be more difficult to see in bright lighting, and you may need to enhance visibility by adjusting your working position or by using a compatible laser detector where appropriate. Do not look into the laser beam directly; avoid shining the laser beam into people’s eyes. Once the line is visible and level, you can start marking points, positioning materials, or creating a level reference line for your project.
How to Use a Laser Level Step by Step
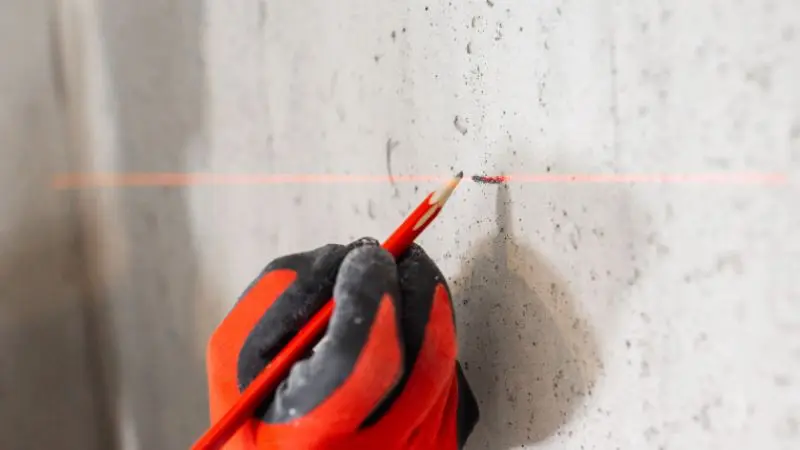
It is easier to learn how to use a laser level by following a set-up and measuring procedure in the right order. This repeatable method ensures you have an accurate reference line for each project.
The basic procedure includes leveling the device, projecting the necessary beam, and making the necessary markings. Be sure to follow these steps carefully to ensure your layout is straight and accurate.
Step 1: Level the Device
Montar el nivel láser on a stable tripod, mount, or secure level location. If there’s a self-leveling feature on your model, enable it and let the device level. Check the indicator to ensure that the tool is in the leveling range. If it displays an error, move it into position so that it can level. Manual models have integrated bubble vials to make adjustments. Wait until the laser beam is steady before starting to measure. A level device is a useful tool for a variety of tasks including installing floors, tile, drywall, framing, and cabinets. Secure the tool during layout to avoid causing it to move unintentionally.
Step 2: Project a Horizontal Line
Switch to horizontal-line mode, and set the nivel láser to the desired height for your project. Switch on the beam and let it shine on the area of work. Make sure that the line extends to the surfaces where you require a reference. When using a laser level to hang pictures, set the horizontal laser at the desired height, and use it to set up a straight reference line for several frames. Cabinets, shelves, tiles and wall decorations are treated in the same way. First, check the stability of the laser line and its correct position – do not make any marks. A clear horizontal reference will help you in achieving a consistent height throughout the project.
Step 3: Project a Vertical Line
To get a straight line reference from the floor to the ceiling, use the vertical-line function on the laser level. Adjust the device in such a way that the beam is in the exact location where the alignment line is required. It is an effective technique for cabinets, wall panels, doors, tiles, and framing parts. The vertical beam function can be used to ensure straight alignment between various structural elements when using a laser level for framing. It can also help to make the use of laser levels for drywall installation easier by giving you a reference point for positioning the sheets and openings. After proper positioning of the beam, apply it to take measurements or to guide installation.
Step 4: Use Cross-Lines for Accurate Layouts
Si nivel láser has a cross-line feature, activate it to emit a horizontal and vertical cross-line. The two beams form a cross, giving you both horizontal and vertical reference points. This feature can be beneficial for cabinets, tiling, drywall, framing, and other intricate layouts. To use a laser level for cabinets, use the horizontal beam to set the height of the installation and the vertical beam to ensure they are level. A laser level for tiling is also helpful with cross lines when learning how to use a laser level for tiling, especially when setting the starting point. When measuring or marking a work surface, check for the intersection of the beams.
Step 5: Mark the Laser Line
Once the laser beam is in proper position, label the necessary points and/or lines on the working surface. Use a pencil, chalk, or appropriate marking instrument for the material. Stay aligned with the projected beam when making marks for accuracy. Use a laser level to hang pictures and to mark hole locations for hooks or mounting hardware. For construction jobs, your markings could be shown for drilling holes, framing lines, tile lines, or where cabinets go. Make sure to measure before changing the position of the laser level. The original reference may no longer exist after the device was moved, and through proper marking, you can continue to work with confidence.
How to Use a Laser Level for Different Projects
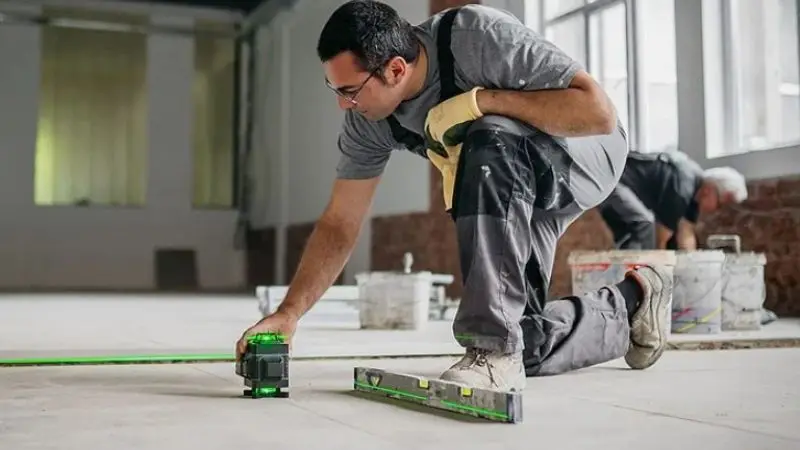
Many home improvement, construction, and outdoor projects can be made much easier with a laser level that gives flat and true reference lines. The standard setup stays the same, but beam use varies by application.
Whether it’s flooring, tiling, cabinets, drywall, framing, or landscaping, the right laser projection can improve alignment and eliminate repeated measurements. The following applications give an idea of how to use the tool in a variety of work.
Using a Laser Level for Flooring & Tiling
Coloque el nivel láser on a stable surface where the beam can reach the working area. Choose horizontal or cross-line mode for your layout. Use the beam to extend the line out along the floor or wall and set up a starting point. In terms of the uses of a laser level for flooring, use the projected line to ensure a constant level and alignment when installing flooring materials. For tiling, use a laser level to keep rows level and columns straight. Mark key reference points before installation. Keep verifying the laser line as you go to ensure that your tiles or flooring materials are even with the original layout.
Using a Laser Level for Hanging Cabinets
First, figure out where the cabinets need to be and how tall they need to be. Attach the laser level and extend the horizontal line over the installation area. When teaching cómo usar un nivel láser for cabinets, set it to the desired cabinet height or mounting rail position. Use the horizontal line as your main reference when positioning the cabinets. To check side alignment or cabinet positioning, turn on the vertical beam. Use the laser to mark drilling locations. Before attaching cabinets, check your measurements. Use a laser level to ensure multiple cabinets are level and look consistent throughout the installation.
Using a Laser Level for Wall and Ceiling Work
Select a secure area with good visibility of the wall or ceiling surface. Level the laser and let it settle before utilizing the laser beam. Choose the horizontal, vertical, or cross-line mode you need for your work. To use the laser level for drywall, use the beams to create straight reference points for sheets, openings, or other parts. When learning how to use a laser level for framing, use the vertical line to make sure that framing components are lined up and the horizontal line to make sure that heights are equal. Lay it out and verify dimensions prior to installing. Ceiling panels and other wall work can also be done with this process.
How to Get Accurate Results With a Laser Level
But switching on the laser beam alone isn’t enough to get accurate results. Proper positioning, visibility, and regular checks all affect measurement quality.
When it comes to using a laser level for flooring, cabinetry, drywall, or framing, minor setup mistakes can lead to bigger issues. Follow these practices to maintain reliable reference lines.
Mantenga estable el nivel láser.
To achieve accurate measurements and consistent reference lines, a stable laser level is crucial. Set the device on a sturdy tripod, mounting bracket, or flat surface that cannot be moved during work. Do not place it on a vibrating surface or a surface that may be accidentally bumped. After the laser level is set, wait for the self-leveling mechanism to settle before taking measurements. Even when learning how to use a laser level for cabinets, even a tiny bit of motion can cause the laser line to move and alter the positioning of the cabinets. This also applies to flooring, tiling, drywall, and framing jobs. Periodically inspect the device on longer projects to verify that it hasn’t shifted from its original location.
Check the Level From Multiple Points
It’s good practice to verify the accuracy of your layout by checking the laser line from various locations. Stand in various positions and make comparisons between the projected line and the intended line of reference. This is especially handy when working on long walls, large floors, or several installation surfaces. When using a laser level, for instance, to hang pictures, allow the horizontal beam to run the length of the wall before marking the picture hangers. Stop and check the laser level’s position and calibration if the line isn’t where you expect it. Comparing multiple points can help you catch setup issues early that could affect your final installation.
Work Within the Recommended Range
Cada nivel láser has a defined operating range, and as long as it stays within it, it can maintain reliable accuracy. The farther away the laser line is, the less visible it may be, and the more apparent measurement errors may be. Before starting a big job, consult the tool’s specifications and set it in the right place to cover the area you need. When using a laser level to frame or in a large construction layout, you might want to move the laser level around or get a laser level with a longer range. Do not presume that the beam is equally sound outside the recommended range. The use of the set distance ensures efficient reference lines.
Avoid Obstructions and Bright Light
Avoid as much obstruction as possible between the laser level and the working surface. If objects obstruct the beam, the reference line may be disturbed, making accurate measurement difficult. During daytime, bright sun can also make it more difficult to see the laser, particularly outdoors. When the beam is hard to see, move the tool, use less direct light if possible, or use compatible accessories to enhance visibility. If inside, clear away unneeded items that might obstruct the line of sight. When installing or marking out materials, especially when using a laser level for tiling, flooring, cabinets, or drywall, clear visibility is vital.
Common Laser Level Mistakes to Avoid
Even a good laser level is not going to be accurate if it is used incorrectly. Simple setup or measurement errors can impact the entire project.
Knowing common mistakes helps prevent unnecessary rework. Before using the device, consider the position, calibration, working range, and projected beam.
Setting Up the Level on an Unstable Surface
One of the simplest ways to create incorrect reference lines is to set a laser level on a shaky surface. The device can shift during the project because of a moving table, uneven floor, or loose tripod. The projected beam can even move slightly with the slightest movement. Please pick a solid and stable base point prior to taking measurements. When learning how to use a laser level, give it time to settle after it is mounted and don’t touch the tripod unnecessarily. With projects like cabinet installation, Flooring, tiling, and Drywall, it’s very critical to stay in position, since even little errors can become more apparent as you work.
Ignorar la calibración
Even if a laser level appears to be functioning properly, leaving it in its “default” setting may result in inaccurate measurements. Calibration allows the projected beam to function properly to the desired level or alignment. Check the calibration according to the manufacturer’s instructions and get the tool professionally calibrated as required. If the laser line is irregular or not where it is known to be, cease the project and check the laser device. This is especially crucial for work that requires careful attention, like framing, cabinetry, and tiling. Even if you don’t notice any accuracy issues during calibration, regularly monitor the results to catch problems before they affect your final piece. Follow the manufacturer’s recommended calibration procedure for your particular model.
Measuring Outside the Working Range
Each laser level will have a specific working distance. If you use the beam outside this range, it becomes harder to see the line, and the measurement’s reliability may be compromised. The manufacturer will specify the range in which a device works; before you start your project, you should check this and adjust the device. In larger spaces, you may have to relocate the laser level and re-reference or use a laser level that has a longer range. If you are learning cómo usar un nivel láser for framing or other construction purposes, working within the recommended range will help you to get the same results each time. Don’t think that a slight or just barely visible beam is accurate because it can be seen.
Misreading the Laser Line
Misreadings of the projected laser line may result in false measurements and misalignment. Know what beam you are using if your tool has multiple horizontal, vertical, or cross-lines. Be sure to mark the surface referencing the specific spot and not reflections or parts of the beam that are not clearly visible. If you’re using a laser level to hang pictures, for instance, be certain your marks are aligned to the horizontal reference specified and not another horizontal line. If the beam is unclear, clean the laser window and verify the line’s location from multiple positions, as needed. Taking a second to confirm which beam to use helps avoid needless errors later.
Cierre
When used correctly, a laser level can help to make alignment and measurement tasks faster, easier, and more consistent. Whether hanging pictures, laying tile, installing cabinets, drywall, or framing, the same principles apply with the use of a laser level. Use a steady base, make sure your device levels, select the proper beam, and record your reference points carefully. Always operate within the recommended range and maintain the laser line throughout the project! Accurate positioning and regular calibration can also enhance accuracy. With proper preparation and practice, you can use a laser level with confidence for a variety of DIY, renovation, and construction projects.
Preguntas Frecuentes
What is the application of a laser level?
Securely mount the laser level, let it settle, choose the desired beam, and use the beam projection for material measurement, marking, alignment, and installation.
Is it possible to hang pictures with a laser level?
Yes. Draw a horizontal line on the wall at the desired height and mark the correct mounting points on the beam to ensure that several pictures are mounted at the same height.
What is the use of a laser level for cabinets?
Adjust the laser level to the desired height of the cabinet. The horizontal beam can be used as a reference to level rails, cabinet tops, and for consistent cabinet alignment.
Is it possible to tile with a laser level?
Yes. Laser levels can cast horizontal and vertical reference lines to guarantee straight tile lines, spacing, and alignment between floors or walls throughout the installation process.
How to use a laser level for drywall?
Lock in the laser level and put horizontal or vertical lines on the wall. Refer to these to even out drywall sheets, openings, studs, and more.




