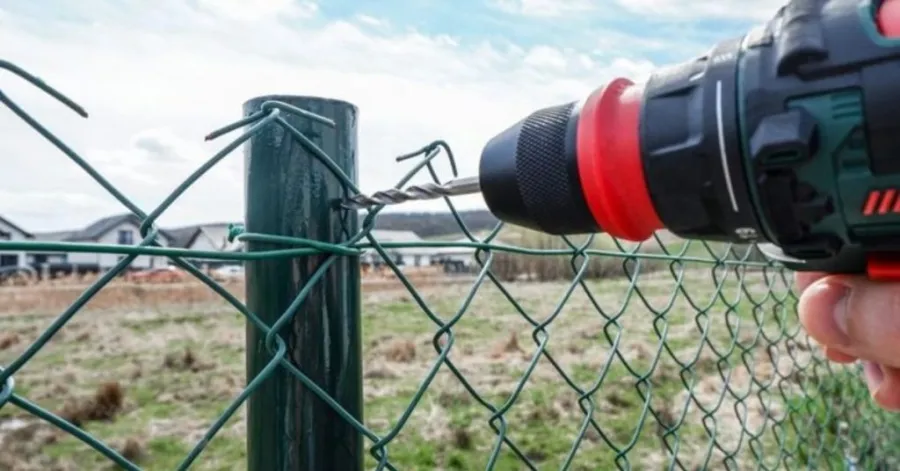
¿Estás listo para comenzar tu proyecto de jardín? Tal vez te estés preguntando cómo instalar un cerca de alambre soldada con autógena y si puedes hacerlo tú mismo. ¡Adivina qué! No tiene ninguna complicación y ni siquiera necesitas ser un experto.
Índice
Herramientas y materiales necesarios para instalar una cerca de alambre soldado
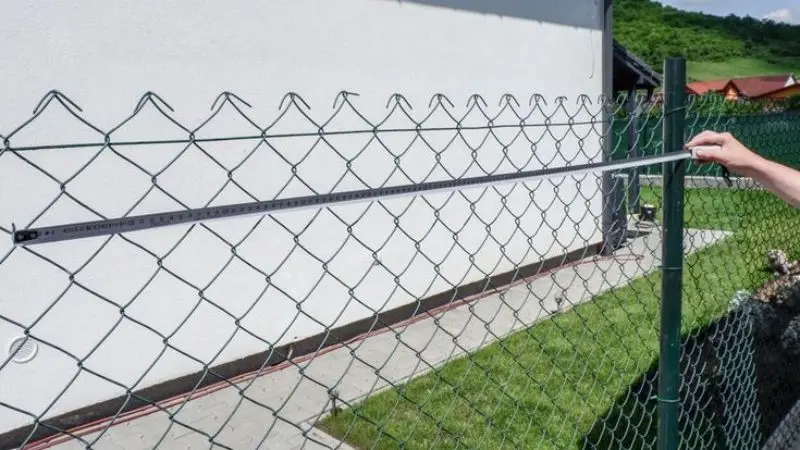
¿Cómo instalar una cerca de malla electrosoldada? Para instalar una cerca de malla electrosoldada, primero debes reunir todas las herramientas y materiales necesarios. Esto te ayudará a comenzar tu proyecto.
Herramientas esenciales
Lo que necesitará para instalar un cerca de alambre soldada con autógena No se necesita ningún equipo sofisticado. Todas estas herramientas se pueden encontrar fácilmente en la ferretería más cercana. Aquí tienes una lista de lo que necesitarás:
-
- Cinta métrica – Para medir la línea de su cerca y la distancia entre los postes.
-
- Perforadora o barrena para postes – Esto te ayudará a cavar agujeros para los postes de tu cerca.
-
- Nivel – Si quieres que tus postes queden rectos, un nivel es imprescindible.
-
- Martillo o mazo – Lo necesitarás para clavar grapas o clavos.
-
- Cortadores de alambre – Estas herramientas te ayudan a cortar el alambre soldado a la longitud correcta.
-
- Tensor de valla o polipasto – Esta herramienta te ayuda a tensar el cable.
-
- Guantes de trabajo – Protéjase las manos mientras trabaja.
Materiales Requeridos
Recomendado para su proyecto
| Material | Propósito |
| Cercado de alambre soldado | La parte principal de tu cerca |
| Postes de cerca (madera/metal) | Soporte para su cerca |
| Mezcla de concreto | Fija los postes al suelo (opcional) |
| Grapas, clips o bridas | Fije el alambre a los postes |
| Puerta (opcional) | Para facilitar el acceso a través de su cerca |
Equipo de seguridad que debe usar
¿Cómo instalar una cerca de malla electrosoldada alrededor de un jardín? La seguridad es lo primero. Debes protegerte mientras trabajas al aire libre. Asegúrate de tener:
-
- Guantes de trabajo resistentes – Mantén tus manos a salvo de los cables afilados.
-
- Lentes de seguridad – Protéjase los ojos de los escombros que puedan salir disparados.
-
- Mangas largas y pantalones – Protege tu piel de los arañazos.
-
- botas resistentes – Brinda soporte y protección a tus pies.
Cómo prepararse antes de instalar una cerca de alambre soldado
La preparación es tan importante como la construcción en sí. Si quieres que tu cerca luzca bien y dure mucho tiempo, debes comenzar con una buena preparación. Aquí te mostramos cómo puedes asegurarte el éxito.
Mide y marca la línea de la cerca.
¿Cómo instalar una cerca de malla electrosoldada en postes de madera? Primero, toma una cinta métrica y algunas estacas o pintura en aerosol. Camina por el área donde quieres colocar la cerca. Mide la longitud desde el inicio hasta el final. Coloca una estaca en cada esquina y en los extremos. Usa hilo o pintura para marcar las estacas. Esta línea te indicará exactamente dónde irá tu cerca.
Verificar los límites de la propiedad
No querrás construir tu cerca en el terreno de tu vecino. Verifica los límites de tu propiedad antes de empezar a excavar. Consulta el plano de tu terreno o pide ayuda a la oficina del condado. Si tienes dudas, habla con tu vecino. Es mejor preguntar ahora que tener que mover la cerca después.
Despeje el área de instalación.
Ahora es el momento de despejar el camino. Quita piedras, ramas y cualquier planta que pueda estorbar. Corta el césped para que puedas ver el suelo. Si encuentras raíces grandes o escombros, desentiérralos. Un área limpia facilita mucho la instalación de los postes y el desenrollado del alambre. Necesitas una guía paso a paso para instalar una cerca de alambre soldado.
Cómo instalar una cerca de alambre soldado Paso a Paso
Paso 1: Instalar los postes de la cerca
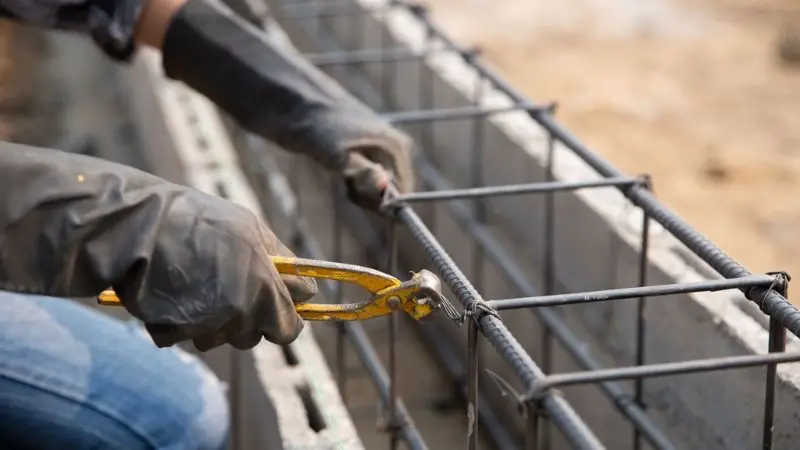
¿Cómo instalar una cerca de malla electrosoldada con postes en T? Comience colocando los postes a lo largo de la línea marcada. Use una cinta métrica para espaciarlos uniformemente. Cave agujeros con una excavadora de hoyos para postes. Haga cada agujero lo suficientemente profundo para que los postes queden firmes. Coloque el poste, verifique con un nivel y rellene el agujero con tierra o concreto. Presione para compactar bien la tierra. Repita el proceso para cada poste.
Paso 2: Asegure los postes de las esquinas y los extremos.
Los postes de las esquinas y los extremos necesitan refuerzo. Coloque soportes o añada más hormigón a estos postes. Asegúrese de que no se muevan. Estos postes soportan la mayor tensión al estirar el alambre. Deben ser resistentes.
Paso 3: Desenrollar la malla de alambre soldada
Consigue tu rollo de cerca de alambre soldada con autógena Comience a desenrollar el material desde un extremo del poste. Mantenga el material recto y sin enredos durante el proceso. Puede pedir ayuda a su compañero, quien se encargará de sujetar el rollo mientras usted camina. Esta es la forma recomendada de instalar una cerca de malla electrosoldada.
Paso 4: Estire la valla correctamente.
El tensado se realiza con un tensor de cercas o un polipasto. Puede comenzar a tensar desde un extremo del poste hasta el otro para asegurarse de que el material de la cerca no se combe. Tensar el alambre es esencial para mantener la resistencia y el buen aspecto de su cerca.
Paso 5: Fijar la cerca a los postes
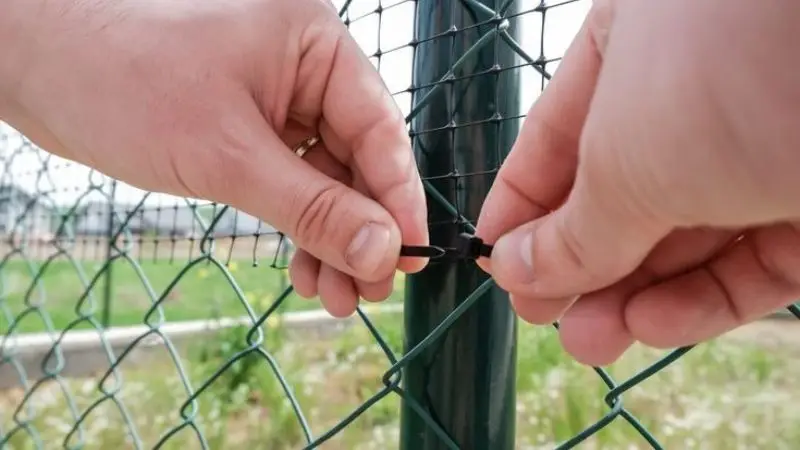
Consigue las grapas, clips o bridas y comienza a fijarlas a cada poste de la cerca, empezando por los postes de las esquinas y los extremos, y avanzando a lo largo de la línea de la cerca. La cerca debe permanecer tensa mientras fijas el material.
Paso 6: Asegure la parte inferior de la cerca.
Coloca la parte inferior de la cerca de alambre cerca del suelo. Usa grapas o ataduras adicionales para evitar que se levante. Esto impedirá que los animales se cuelen por debajo.
Paso 7: Inspeccionar y realizar los ajustes finales.
Recorre la cerca. Busca zonas sueltas o huecos. Aprieta las que lo necesiten. Comprueba que todos los postes estén rectos. Asegúrate de que el alambre esté bien sujeto. Ahora ya sabes cómo instalar una cerca de alambre soldado de principio a fin.
Errores comunes que se deben evitar al instalar una cerca de alambre soldado.
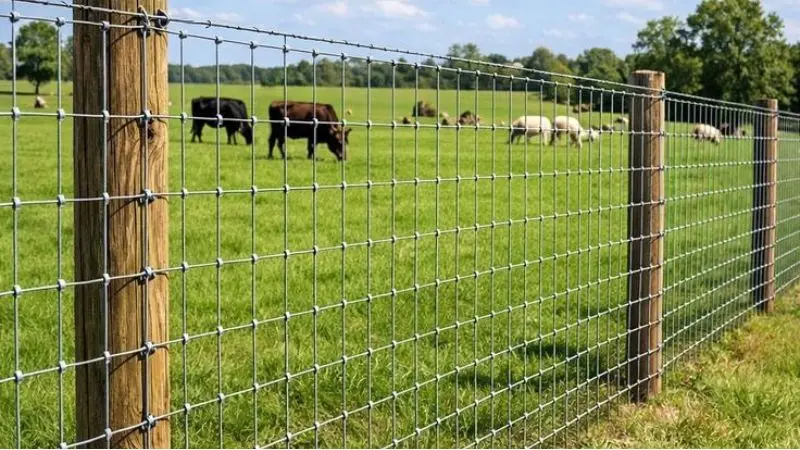
Aunque sigas todos los pasos, podrías encontrarte con algunos errores comunes. Saber qué tener en cuenta puede ahorrarte tiempo y frustración. Aquí tienes algunas cosas que debes evitar al aprender a instalar un cerca de alambre soldado.
Colocar los postes demasiado separados
Quizás pienses que ahorrarás dinero usando menos postes. Sin embargo, esto suele resultar en una cerca débil. Si colocas los postes demasiado separados, el alambre se combará y perderá resistencia. Intenta mantener una distancia de entre 6 y 8 metros entre los postes. Esto ayudará a que tu cerca sea más resistente y dure más tiempo.
No estirar lo suficiente la valla
Una cerca floja no cumple su función. Si no se tensa bien el alambre, se combará y tendrá un aspecto desordenado. Incluso los animales podrían colarse. Utilice un tensor de cercas o un polipasto para tensar el alambre antes de fijarlo. Tómese su tiempo con este paso. Esta es la mejor manera de instalar una cerca de malla electrosoldada.
Utilizar los sujetadores incorrectos
No todos los sujetadores funcionan para cercas de alambre soldadoSi utiliza el tipo incorrecto, el alambre podría deslizarse o soltarse. Utilice siempre grapas, clips o bridas especiales para cercas. Estos elementos mantienen el alambre en su lugar y aseguran la cerca.
Ignorar el terreno irregular
¿Cómo instalar una cerca de malla electrosoldada en terreno irregular? Muchos jardines tienen desniveles o pendientes. Si ignoras el terreno irregular, terminarás con huecos debajo de la cerca. Los animales pueden colarse por estos espacios. Recorre la línea de la cerca y ajusta el alambre para que siga el terreno. Es posible que necesites doblar el alambre o añadir fijaciones adicionales en los puntos más bajos.
Conclusión
Ahora ya sabes cómo instalar una cerca de malla electrosoldada de principio a fin. Mide el espacio, coloca los postes, tensa la malla y asegura todo en su lugar. Tómate tu tiempo y revisa cada paso a medida que avanzas. Si sigues estas instrucciones, construirás una cerca resistente. ¡Disfruta de la satisfacción del trabajo bien hecho! ¡Tu jardín está listo para cualquier cosa!
Preguntas Frecuentes
¿A qué profundidad debo colocar los postes de la cerca?
Se recomienda enterrar los postes hasta un tercio de su altura. En la mayoría de los casos, cave agujeros de hasta 2 cm de profundidad. Esto hará que los postes de su cerca sean más estables.
¿Es posible instalar una cerca de alambre soldado por mi cuenta?
Sí, lo es. La mayoría de las personas realizan esta tarea por sí mismas. Sin embargo, es posible que necesites ayuda, especialmente al estirar el cable.
¿Qué herramientas debo usar para estirar el alambre?
Un tensor de cercas o un polipasto serían la mejor opción. Estos dispositivos facilitan el tensado del alambre sin esfuerzo adicional. Se pueden alquilar en cualquier ferretería.
¿Qué ocurre si mi propiedad tiene algunas pendientes?
En este caso, deje que el alambre siga la pendiente del terreno. Presione la parte inferior de la cerca contra el suelo lo máximo posible, utilizando grapas o ataduras adicionales en los puntos más bajos.
¿Necesito hormigón para cada poste?
El hormigón solo es necesario para los postes de las esquinas y los extremos. Los postes de línea generalmente no requieren nada más que tierra compactada.