
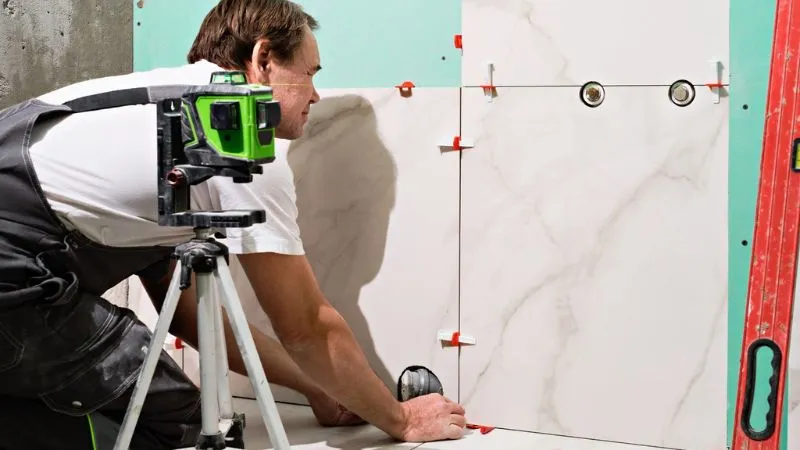
A επίπεδο λέιζερ κατασκευής makes it easier and more accurate to level, align, grade, and lay out. From framing walls to laying flooring, setting up cabinets to preparing an outdoor site, the right laser level can help you provide reliable reference lines. But correct measurements, calibration, and setup are required to obtain correct results. Proper use of a laser level can save time and minimize errors in construction projects. This guide covers the necessary equipment, the leveling process, common uses, accuracy tips, and pitfalls to avoid for both outdoor and indoor construction laser applications.
What You Need Before Using a Construction Laser Level
Make sure you have the right equipment and a proper workplace setup before you begin your project. The key to accurate measurements and avoiding too many adjustments while on the job is to prepare well. Before you start a job, test the laser, power supply, and accessories, both indoors and out. The entire process will also be easier if you know how to set up a επίπεδο λέιζερ κατασκευής correctly. For reliable results, use a stable setup and a properly calibrated tool. When ready, you can use the laser level for construction, grading, alignment work, concrete work, and more leveling applications.
Choose the Right Construction Laser Level
Construction projects vary, so you need to choose the right laser level. If you are working in a large outdoor area, a rotary laser level may be a better option; for indoor layout, a cross-line or line laser might be better. When choosing, consider the required working range, beam visibility, accuracy, and self-leveling ability. The επίπεδο λέιζερ κατασκευής should also match your site conditions. When working outdoors, select one that would work best in bright places and long distances. Measurements can be easier and more reliable when using the right tool to create a horizontal, vertical, or graded reference line.
Check the Battery and Calibration
When using the laser, check the battery level and ensure that it will have sufficient power for the job at hand. A weak battery may cause your measurements to be interrupted or the laser to turn off automatically. It is also important to make sure that the laser is calibrated correctly before use. To ensure accurate measurements over time, it is important to know how to calibrate a επίπεδο λέιζερ. Laser the laser on a stable surface and perform the manufacturer’s calibration procedure. Inconsistent beam readings or discrepancies with known reference points may indicate a “laser level not accurate” issue that may need investigation or professional calibration.
Select a Stable Setup Location
A stable location is required in order to make accurate laser measurements. Choose a stable, solid surface for the laser stand so it is not moved, vibrated, or knocked accidentally during the project. If using a tripod, ensure that all legs are well placed and adjusted. Do not work on unstable platforms, in soil, or around moving heavy equipment. Additionally, the beam has a clear path across the work area when it has a stable location. Maintaining the επίπεδο λέιζερ‘s stability is essential to prevent measurement errors and create reliable reference points.
Gather the Required Accessories
Finally, certain accessories can make your laser leveling job easier and quicker. A tripod, mounting bracket, measuring staff, laser receiver, detector, or target plate may be required for your project. The tripod helps to stabilize the instrument, and the receiver can be used to identify the laser beam if in bright outdoor light or if the distance is long. With grading or site preparation projects, a measuring rod can assist in making height differences more apparent. These accessories can be set up ahead of time, making it easier to use the laser level outdoors and able to perform measurements efficiently.
How to Use a Construction Laser Level Step by Step
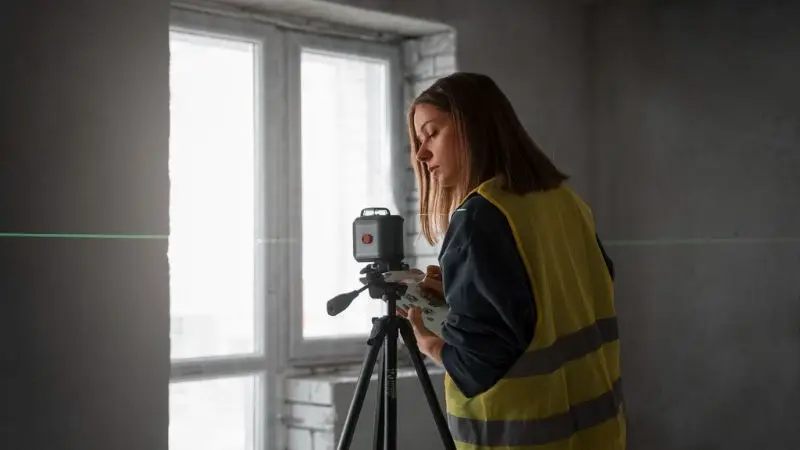
Using a laser level is easy once the equipment is ready. Perform the setup and measurement process in a logical order to ensure accuracy throughout the project.
Next, learn how to use a επίπεδο λέιζερ κατασκευής to create a dependable level reference line and to utilize the beam in various construction measurements. Take care with each step to get consistent results.
Βήμα 1: Ρύθμιση του επιπέδου λέιζερ
First of all, position the επίπεδο λέιζερ in a proper place to aim the laser beam at the measuring area. Use a tripod or other suitable surface for mounting the unit, avoiding contact with vibrating surfaces or heavy machinery. Before turning the instrument on, make sure there is sufficient battery in the instrument. In laser level grading training, first set the elevation position correctly to maintain consistent elevation throughout the construction process. Ensure the laser can clearly reach the target and is set to a suitable height for measurement.
Step 2: Position the Tripod or Mount
Set the tripod on steady ground, and then attach the laser level. Place the tripod legs evenly and firmly into the surface to be measured to prevent the tripod from shifting during measurement. Change the length of the legs so that the mounting platform is fairly level and stable. Follow the manufacturer’s instructions to attach the laser, but be sure to tighten it without excessive force. Using the tripod properly provides a firm reference point for leveling a construction site and other layout activities. Never set up the tripod in a location that workers, vehicles, or equipment may inadvertently walk over, drive over, or otherwise disturb.
Βήμα 3: Ενεργοποιήστε το επίπεδο λέιζερ
Once the instrument is secured, press the power button or control panel to power on the laser level. Wait until the unit has finished its internal leveling before making measurements. Depending on the model, you may have to choose a horizontal, vertical, cross-line, or rotary mode. Review warnings on display or indicator lights that may impact operation. Adjust the tripod or the instrument if it indicates it is not in this range. The key to knowing how to level with a laser is to make sure it’s working properly first, before you use the beam.
Step 4: Allow the Laser to Self-Level
Το πιο μοντέρνο επίπεδα λέιζερ have an automatic self-leveling feature that corrects the beam within a certain range. After the unit is turned on, do not move the unit at all until it has determined the level reference. Wait until the beam stops moving or it is indicated that self-leveling has been completed. Wait until the meter is stable before starting measurement. If the laser fails to level itself, it is possible that it is out of range; try adjusting the tripod and try again. One of the most important considerations when learning how to use a laser level for accurate grading is the proper self-leveling.
Step 5: Check the Laser Beam Alignment
After the laser self-levels, check the laser for visibility and proper alignment for your project. Compare the beam to a known level or benchmark, if available. If the application is outdoors, a laser receiver may help to make the beam more visible over greater distances and even to detect the beam in the daylight. Stop and investigate if the measurements do not seem to make sense. Alignment checking is especially crucial when it comes to outdoor laser level use due to distance, ground level, and visibility issues that may affect the measurement process.
Step 6: Mark the Required Reference Points
Once you have verified the beam is properly set, use it to set up and mark your desired reference points. These marks can represent different levels like elevations, wall lines, foundation levels, concrete heights, or grading points, depending on the project. Accurately find the position of the beam with a measuring staff or an appropriate target. Clearly label each point so that it can be referenced during the layout process. If you are leveling concrete using a laser, it is crucial to use consistent marks to compare areas and help to identify high or low areas. Marking points can take time, as errors can affect the whole project.
Step 7: Take Measurements and Complete the Layout
Once the reference point is set, take the necessary measurements and move the reference point of the laser level from place to place while working. Compare the measurement with the set standard and note any discrepancies in height, alignment, or position. When grading projects, take elevation measurements at various points to decide which areas require more soil to be added or subtracted. Use the laser reference for concrete work to assure desired finished elevation. Recheck beam/instrument position as layout progresses. If the laser level is inaccurate or a problem occurs, stop measuring and check the setup, calibration, and reference points before proceeding.
How to Use a Construction Laser Level for Different Projects
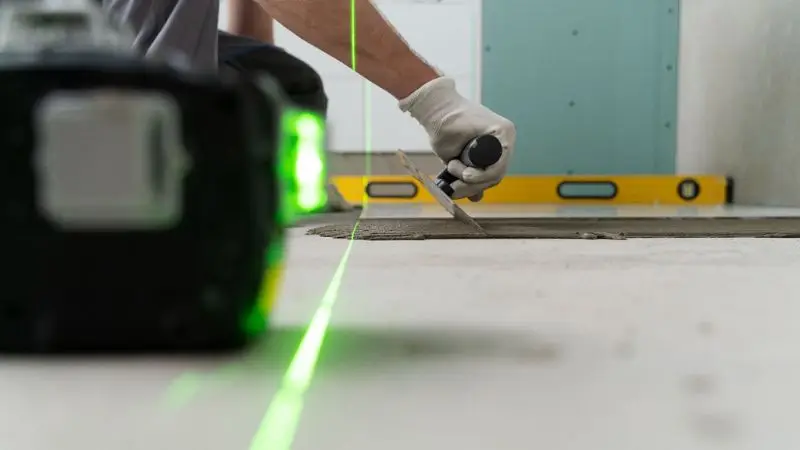
Construction lasers can be used for many things beyond leveling and alignment. After learning how to set it up, you can utilize it for various indoor and outdoor projects.
The proper method will vary depending on the surface, working distance, and kind of measurement desired. Here are some of the most popular uses of a επίπεδο λέιζερ υπό κατασκευή.
Using a Laser Level for Wall Framing
When framing walls, a laser level may be helpful to create straight and level reference lines. Set the tool so that the beam reaches the working area and let it self-level prior to taking measurements. The horizontal beam is used to set out a level line, and the vertical beam is used to check wall alignment. This makes it easier to set out studs, plates, and other framing parts at the proper dimensions and locations. If you are learning how to check level with a laser, make sure you look through your plans with the laser before ordering materials. If used correctly, a construction laser level can minimize alignment mistakes and produce more uniform and straight wall framing.
Using a Laser Level for Flooring
When you’re working with flooring, a laser level simplifies the task by enabling you to create a consistent reference line throughout the room. Place the instrument on a level surface and draw a horizontal line around the working area. It is used to verify floor height, to set up layout points, and to ensure even alignment when installing. Prior to starting, check the old surface for any large areas that are above or below the level that you want to measure. A laser level is particularly handy for transferring a level reference in a big room. Accurate measurements help keep your floor even and deliver a quality flooring installation.
Using a Laser Level for Ceiling Installation
A laser level is helpful in creating level lines for ceiling installation. Secure the tool and set out a horizontal beam at the height where the tool is to be installed. Always use the beam as a point of reference when setting the positions of ceiling tracks, framing members, panels, or other parts. To achieve a uniform finished ceiling elevation, use a common string throughout the room when installing suspended ceilings. When working in a large area, carefully move the laser back into position when needed and check the new reference line with the original line. Learning the proper procedure for construction laser level setup can enhance the leveling of the ceiling.
Using a Laser Level for Cabinets and Fixtures
Installing cabinets, shelves, light fixtures, and other wall-mounted items can be easier with a laser level. Create a horizontal line at the intended installation level and use it as a guide when installing components. It is also possible to align several cabinets or fixtures in one plane by using a vertical beam. Always check the laser reference against your measurements and confirm the proposed drilling or securing locations prior to drilling or securing. This can help minimize irregular spacing and crooked installations. Learning the process of leveling with a laser will enable you to maintain a level across several fixtures without having to take out a traditional spirit level several times.
Using a Laser Level for Outdoor Construction
If you are building outdoors, you may need a longer measurement distance and greater visibility; thus, opt for a laser level that is designed for outdoor use. Place the instrument on stable ground and use a compatible receiver if sunlight makes the beam hard to see. For larger areas, a rotary laser can be very helpful for establishing horizontal reference elevations. If you are learning how to use a laser level outside, make sure to keep the laser level from moving around and check your reference points before you take a reading. You can also use the laser for grading, foundations, landscaping, site preparation, and other outdoor projects where leveling and alignment are key.
How to Get Accurate Results With a Construction Laser Level
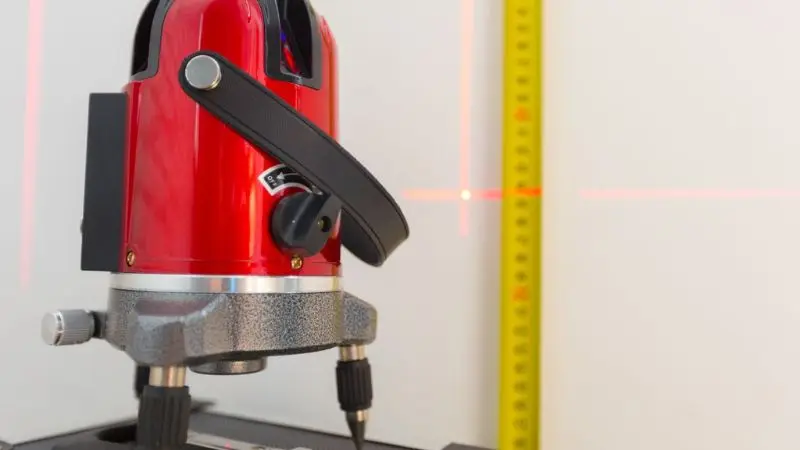
Turning on the laser is not enough to get accurate measurements. The instrument should be stable, level, and where the beam is able to clearly access your reference points.
Minor setup mistakes can impact the end results, particularly in large construction sites. Using the same measurement process makes it easier to get consistent, accurate results from your construction laser level and requires fewer adjustments.
Keep the Laser Level Stable
Stabilizing the laser is important to ensure accurate measurements during your project. Secure the instrument on a firm surface or securely mount it to a tripod or mounting system. Keep away from places where the machine, vehicles, or people walking around could cause vibrations to move the device. Beams can be moved even with a small shift, which will impact reference marks. Before taking measurements, verify tripod connections and the mounting point. When moving the instrument, carefully redefine a new reference, not assuming the old one is accurate. A stable setup can be used as a reliable base for reliable construction measurements.
Check Leveling Before Taking Measurements
Please make sure that the laser has finished self-leveling before measurements are taken. Most automatic laser levels will have an indicator light, display, or a stabilized beam to show when the beam is ready. When the instrument is not in its self-leveling range, move the tripod into the leveling range. When checking for accuracy, you can also compare the beam to a known reference point. Knowing how to level by laser can enable you to fix setup issues before they impact your work. Wait for the laser to adjust itself before taking measurements, or the reference beam might be moving, and the readings will be incorrect.
Use a Laser Detector Outdoors
It may be challenging to see a laser beam outdoors in bright sunlight, especially for long-range applications. This can be overcome by a laser detector that is compatible with the laser and provides an unambiguous indication of the laser’s location. Fix the detector to a measuring stick and slide it until it detects the laser reference. This is particularly convenient for grading, excavation, foundations, and large site layouts. When learning how to use a επίπεδο λέιζερ outdoors, double-check that the detector is compatible with your laser, and it must be placed in the proper location. With a detector, you can make sure that your measurements are reliable even if the beam is not very visible.
Avoid Beam Obstructions
Wherever possible, maintain the laser beam path so that the reference line can reach the necessary measurement points. Equipment, materials, walls, or temporary structures may obstruct the beam and cause difficulties in measurement. Before operating, check the work area and place the laser where it has the best possible line of sight. If you can’t remove an obstruction, set up a good reference point and move the instrument carefully. When working on how to use a laser level for grading, it is especially crucial to keep the beam line clear as measurements might be required at several locations over a large area.
Verify Measurements Before Marking
Check each measurement with your reference before making permanent reference points. Repeat measurements if they are critical or do not seem correct. Make sure that the laser hasn’t been moved from its original position and that it is still stable. When laying concrete, leveling floors, framing or grading, mark a number of locations to look for any hidden changes in grade. If your laser level not accurate problem persists, please halt the project and check the calibration, setup, and battery life of the instrument. Taking repeat measurements before marking helps to minimise the possibility of small inaccuracies creating bigger issues that can impact the final construction layout.
Wrap-Up
A επίπεδο λέιζερ κατασκευής is an important gadget for establishing a level reference line, verifying elevations and performing various construction jobs effectively. Proper setup is crucial for accurate results; take measurements on level ground, let the instrument level itself, and always check the beam first. For outdoor work, a compatible laser detector can improve visibility and make measurements easier at greater distances. It is also important to have regular calibration to ensure accuracy over time. Knowing how to use the laser level correctly and without common mistakes means you can use the laser level fearlessly for framing, floors, ceilings, grading, concrete, site preparation, and more construction applications.
Συχνές Ερωτήσεις
What can a construction laser be used for?
A construction laser level is used to send out accurate horizontal, vertical, or rotating reference lines. It can be used for leveling, alignment, grading, framing, flooring, ceiling, concrete, and outdoor construction work.
How to install a construction laser level?
Set the laser on a stable surface or tripod, set it up correctly, switch it on, and let it self-level to provide an accurate reference beam.
Is it possible to use a laser level outside?
Yes, you can use a laser level outside. In bright light or for longer distances, use a compatible laser detector to accurately find the beam and ensure reliable measurements.
What is the way to determine accuracy of a laser level?
Compare the laser beam to a known point/reference or measured elevation. In the event of unexpected differences in readings, verify the setup, calibration, battery, and instrument condition.




