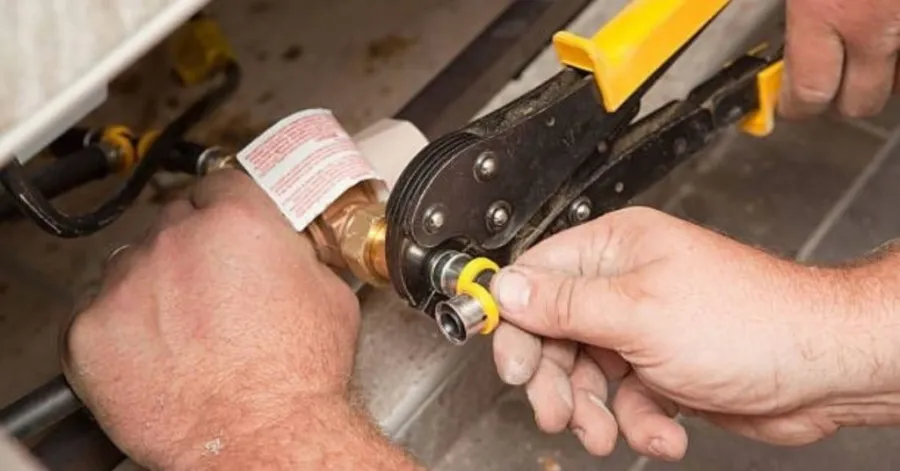
Learning the best way to crimp PEX pipe correctly enables you to make strong, waterproof connections in no time. Both amateur homeowners and professional plumbers can easily learn this connection technique with a step-by-step guide. Copper ring crimping represents the most inexpensive and efficient method of fixing PEX pipes.
- Prepare your pipe by making a perfectly even cut through the tube.
- Place a copper ring onto the end of the tube.
- Put the fitting into the pipe opening until it goes through.
- Crimp the ring entirely using the adjustable crimp tool, which is the most efficient way to crimp PEX pipe.
- Use a special gauge to check whether the joint was done right.
Now you can be sure that your plumbing connections are going to be waterproof and strong.
Πίνακας περιεχομένων
Tools for Crimping PEX Pipe
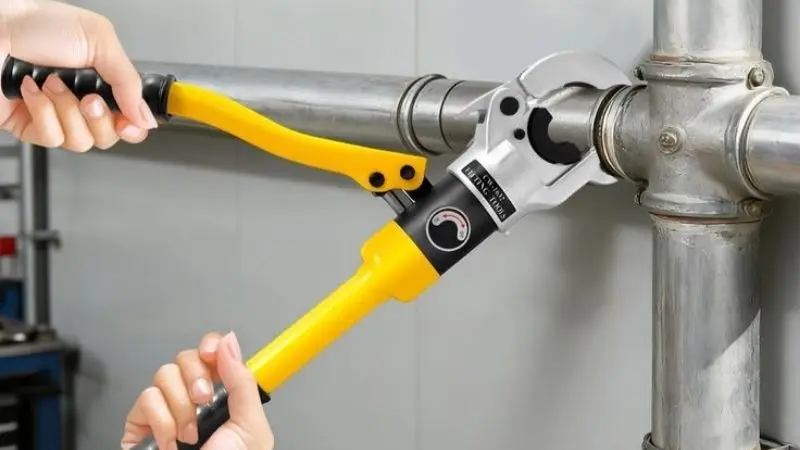
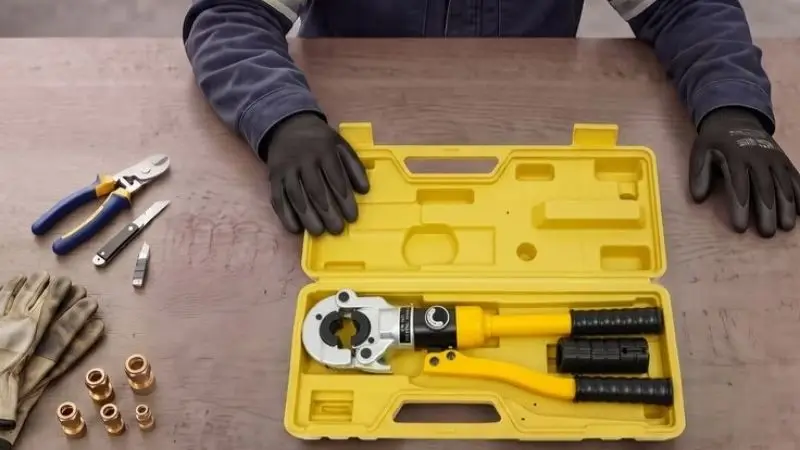
You should have specific tools to perform any plumbing task. The usual pliers cannot crimp PEX pipe connections. Using the right tools will ensure the right outcome of your plumbing job. Proper tools save you time and help prevent leaks in your water supply. Every single tool makes a difference.
Συνιστάται για το έργο σας
Εργαλείο πτύχωσης PEX
Ενα δυνατό Εργαλείο πτύχωσης PEX squeezes copper bands tightly around fittings. You push the long handles to apply even pressure. This main tool shapes metal rings around flexible pipes without harming the plastic. Different pipe sizes need matching jaw parts for your Εργαλείο πτύχωσης PEX. You can buy full-size jaw sets or smaller tools for tight spaces. Every Εργαλείο πτύχωσης PEX needs quick adjustments to keep its strong clamping power.
PEX Crimp Rings
Copper rings hold flexible PEX tubing tightly onto ribbed fittings. You slide these metal rings over the pipe before making the joint. The soft copper shrinks smoothly under firm pressure to create a lasting seal. You must pick rings that match your pipe width precisely. Normal sizes include half-inch and three-quarter-inch choices. Bent rings will cause leaks, so check every piece before using your εργαλείο πτύχωσης on the connection.
PEX Tubing Cutter
A special PEX tubing cutter makes straight cuts across plastic pipe. Turning blades cut through tough plastic without creating rough edges. You get flat ends every time by using this simple hand tool. Normal utility knives crush bendable pipes and leave crooked edges. Smooth, flat cuts help metal fittings slide completely inside the pipe walls. You keep your plumbing connections safe by keeping sharp blades on this cutter tool.
Go/No-Go Gauge
A Go/No-Go gauge checks every finished crimp connection in your home. You slide the metal measuring slot right over the squeezed ring. This small tool proves your measurements are correct after you crimp each joint. The Go slot should slide over the squeezed ring easily. The No-Go slot must not fit over the metal ring. Checking this helpful tool gives you quick peace of mind about your plumbing work.
Best Way to Crimp PEX Pipe Step by Step
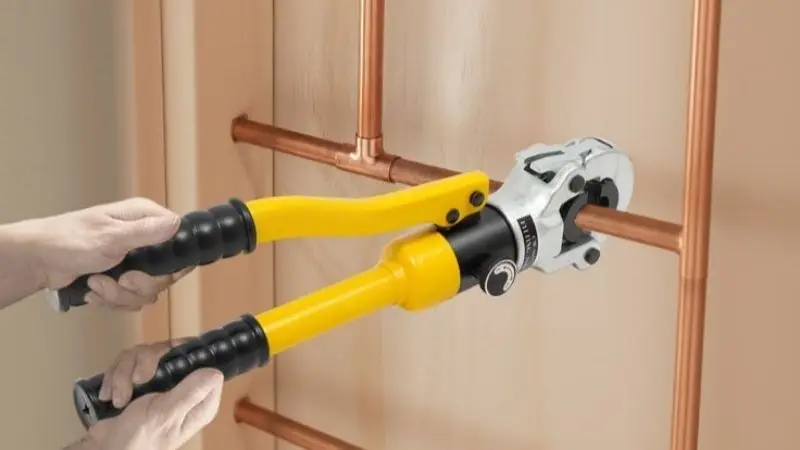
You can master the best way to crimp PEX pipe by following a simple step-by-step guide. This practical process helps you install PEX tubing with complete confidence.
1. Measure and Cut the PEX Pipe
How to crimp PEX pipe step by step? First, you prepare the PEX pipe by taking clear measurements for your water line. Place your marking tool directly on the plastic tubing to mark the exact spot. Position your specialized PEX cutter directly on the mark. Squeeze the handles firmly to make a smooth, square cut through the pipe wall.
2. Slide the Crimp Ring Onto the Pipe
Next, you install a crimp ring by pushing it over the clean end of the pipe. Choose a solid copper ring that matches the precise width of your PEX tubing. Slide the metal band down past the cut edge. Leave a small gap between the ring and the end of the tube for now.
3. Insert the PEX Fitting
How to install PEX crimp fittings? Push your brass or plastic fitting all the way into the open PEX pipe end. You must push until the pipe wall hits the built-in shoulder of the fitting. This step seals the interior connection tightly. Proper insertion prevents immediate water leaks inside your home water system.
4. Position the Crimp Ring Correctly
Now, you install a crimp ring over the ribbed section of the inserted fitting. How to properly crimp PEX pipe? Move the metal ring forward until it sits roughly one-eighth inch from the pipe edge. Cover all internal ridges completely with the ring. Proper ring placement ensures a leak-free PEX crimp connection.
5. Use the PEX Crimp Tool
How to crimp PEX pipe correctly? Open the long handles of your Εργαλείο πτύχωσης PEX completely. Center the tool jaws directly over the copper ring at a straight angle. Squeeze the handles together firmly until the εργαλείο πτύχωσης closes completely. Learning how to use a PEX crimp tool requires applying full pressure to crush the ring evenly.
6. Check the Crimp Connection
Slide your metal measuring gauge over the crushed metal band. The Go slot of your tool must fit smoothly over the connection. If the No-Go slot fits, you used your crimping tool incorrectly. Repeat these precise steps with a fresh ring to finish crimping PEX pipe properly. You now know how to use a PEX crimp tool properly, so install a crimp ring on your next joint carefully.
How to Crimp PEX Pipe Correctly
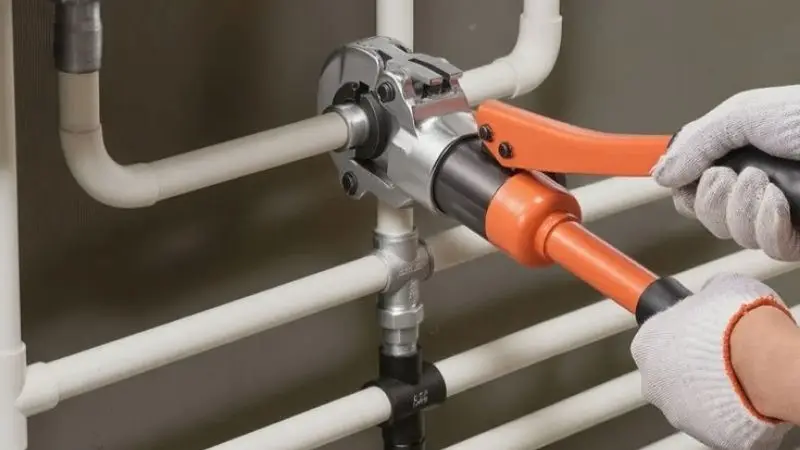
You build reliable water systems by attaching metal bands to flexible pipes using accurate methods. Proper alignment prevents secret leaks from ruining your home interior.
How Far Should the Crimp Ring Be From the End?
Place the metal band right near the tube end before using your hand tool. Keep a tiny space between the plastic edge and the metal ring. Place the copper band between one-eighth inch and one-quarter inch from the pipe end. This exact spot lets the metal ring crush over the inside fitting ridges. Pushing the band too close to the end weakens your seal.
How Tight Should a PEX Crimp Be?
Your joint needs exact pressure to seal water lines completely tight today. The metal band squeezes plastic walls into the inside fitting ridges evenly. Apply strong pressure without crushing the inner plastic pipe at all. Good pressure forms the soft band into a smooth circle without sharp edges.
How to Use a Go/No-Go Gauge
Check every completed joint with a metal tool to ensure correct ring sizes.
- Grab your thin metal gauge after squeezing the ring on your pipe joint.
- Push the slot labeled Go over the crushed metal band right away.
- Make sure the Go slot slips over the copper ring smoothly.
- Attempt to push the slot labeled No-Go over the same metal ring.
- Confirm that the No-Go slot stops instantly and never slides over.
Common PEX Crimping Mistakes to Avoid
Plumbing mistakes cause sudden water leaks inside your walls later on. Prevent expensive damage by catching basic errors early during pipe setup work.
Χρήση λάθος εργαλείου πτύχωσης
You must use special tools made specifically for bendable water pipe systems. Normal hand pliers fail to apply balanced pressure around metal bands. An unadjusted Εργαλείο πτύχωσης PEX makes uneven spots across your pipe connection. Pick a matching tool designed for your exact pipe width every time.
Cutting the PEX Pipe Unevenly
How to crimp PEX tubing with a crimp tool? Crooked edges stop plastic tubes from fitting fully against inside fitting stops. Cutting tubing on an angle leaves internal ridges totally uncovered inside. Use sharp pipe cutters to create straight, square cuts across plastic lines. Straight ends give your connection maximum holding power every single time.
Placing the Crimp Ring Incorrectly
Placing a copper band too far from the joint area brings instant water leaks. The ring misses inner ribs completely when pushed too deep on tubing. Make sure that the copper band is in place before closing your tool. It will take a second, but it can save you from a huge plumbing disaster.
Over-Crimping or Under-Crimping the Ring
The excessive force damages the inside fittings as well as soft plastic pipes. Insufficient force creates cracks where pressurized water can get through. Knowing how to use a Εργαλείο πτύχωσης PEX properly will help you avoid these major mistakes. Adjust the center screw of your tool if the measurement fails.
Reusing Broken PEX Fittings or Rings
It is never a good idea to try to reuse the damaged copper rings or fittings to save some money. The damaged metal rings will not be able to press the bendable plastic lines anymore. You should always use new PEX parts when creating a brand new connection. It is the right way to crimp PEX pipes.
How to Tell If a PEX Crimp Is Good
Signs of a Proper PEX Crimp
Checking finished PEX plumbing joints ensures your home stays safe. A solid joint features an even copper ring pressed tightly onto the plastic pipe. The metal band rests completely straight without leaning. You will also notice a small space between the ring and the tube end.
Your Go/No-Go tool easily proves that the joint succeeded. The Go side fits across the squeezed copper ring without catching. Meanwhile, the No-Go side blocks right away when touched against the band. Clearing this fast test confirms a secure PEX crimp connection for your home water lines.
Signs of a Bad PEX Crimp
A few plain warning signs point out a failing pipe connection. You can spot a bad joint if the copper ring appears crooked. A band pressed too near the pipe edge cannot hold strong water pressure. A crushed metal ring might also look oval instead of round.
The measuring gauge finds hidden mistakes before water ruins your house. A faulty joint lets the No-Go side slide fully over the band. On the flip side, a tight ring blocking the Go side means you squeezed too hard. Fix both errors right away to stop severe water leaks inside your walls.
What to Do If a PEX Connection Leaks
Move quickly if water drips from your flexible PEX tubing. Turn off the main water valve right away to block incoming flow. Drain the line and slice out the broken pipe piece using a PEX cutter. Never squeeze an old copper ring a second time.
Rebuilding the whole joint using new parts ensures total safety. Push a fresh copper ring over the clean PEX pipe and seat the PEX fitting fully. Crimp the new ring with a correctly adjusted tool. Check the final fix using your gauge to turn on the water safely.
Συμπέρασμα
Learning how to crimp PEX pipe keeps your home plumbing safe for many years. Check this final list before opening your main water valve:
- Make sure your cutter left a straight, smooth edge.
- Check that the copper band rests slightly off the end.
- Press the tool handles all the way together when crimping.
- Verify your finished connection with the measuring tool.
Stick to these easy steps to get a strong, leak-free pipe system every single time.
You are now ready to tackle any plumbing project with total confidence. Taking your time prevents expensive water leaks and helps you gain real handyman skills fast.
Συχνές Ερωτήσεις
Can You Use Copper Rings Again?
You should dispose of old copper rings because taking out a deformed ring elongates the material. A new ring will not seal well and will lead to water leaks. Put a new copper ring on every pipe fitting always.
Can You Work in Frosty Weather Conditions?
The freezing temperature hardens the plastic pipe. Keep the materials in a heated room before installation. The cold pipes will take some time to set the fittings. This guarantees perfect sealing and prevents breaking of fittings.
Do You Need Steel Rings or Copper Rings?
The most inexpensive rings are copper rings for PEX systems. You can also use steel clamp rings which will need another hand tool for the job. Consult your area codes about what kind of rings you should use.
Why Did My Gauge Test Fail?
A wrong adjustment of the hand tool is likely to be the reason why the gauge check fails. Your tool jaws should be adjusted with an adjustment key. Trim the faulty joint, make adjustments and proceed with crimping using new parts.