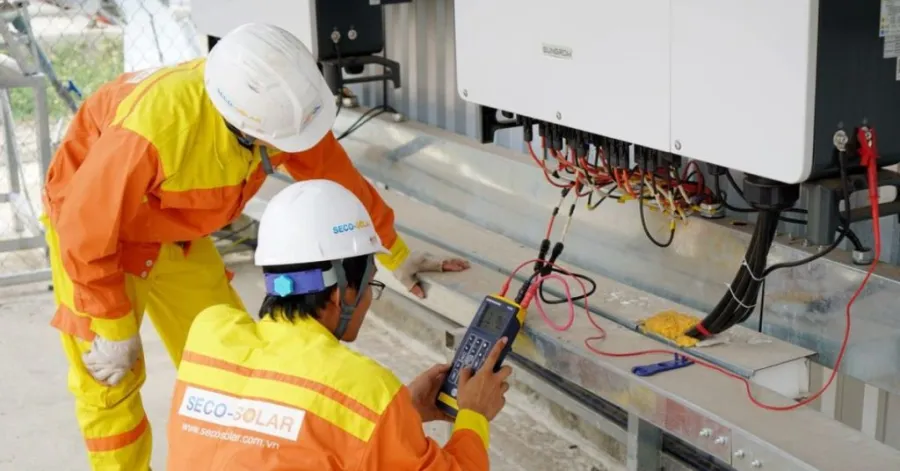
You can complete a solar power inverter installation safely by following the manual and taking each step carefully. Make sure to go through the solar power inverter installation process slowly, paying attention to every detail. Safety is always the top priority during solar power inverter installation. Before you begin, check your solar energy system to ensure all components are compatible. If you are unsure about any part of the solar power inverter installation, mistakes could cause injury or damage.
This step-by-step solar inverter installation guide will help you the most. It’s best to consult a professional for help with installing a solar power inverter if needed. You will also learn about common installation mistakes and important safety precautions to avoid costly problems. Whether you are considering a DIY installation or hiring a professional, this guide will help you make informed decisions and ensure a successful solar power inverter setup.
Things to Consider Before Solar Power Inverter Installation
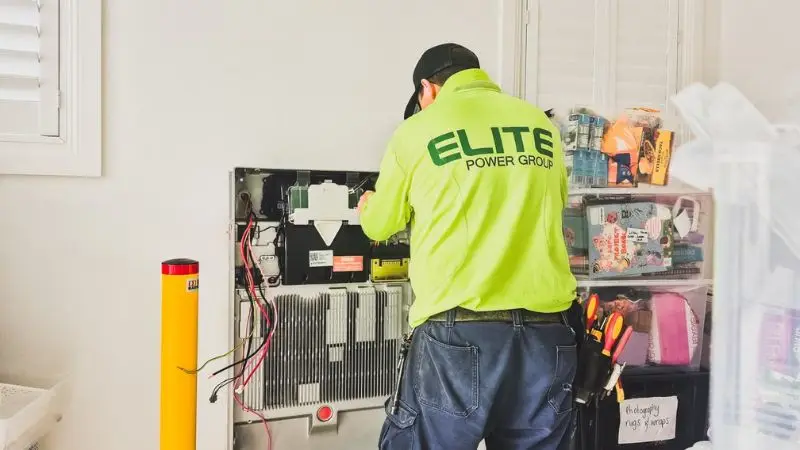
Before installing a solar inverter, determine your home’s solar energy requirements by analyzing your electricity consumption and selecting the right inverter size. Make sure to match your solar panel’s voltage and current specifications with the solar inverter rating. Select an appropriate installation location that is safe, dry, and well-ventilated, with easy access for maintenance. Last but not least, make sure you budget correctly, taking into account the initial setup and maintenance costs.
Your Energy Requirements
Before installing a solar inverter, it is important to know your home’s electricity consumption. Look at your electric bill and determine your average consumption. The best way to install a solar inverter system is to record the peak energy consumption in a day, as this will give a good idea of how much energy is needed. This step ensures that the solar power inverter size is correct. If you pick an inverter that is too small, it will not meet your energy requirements. If you choose a size larger than you really need, you can end up wasting money. Some homes require very little electrical power while others need more power due to the presence of air conditioners, water heaters, electric ovens, or several electronic gadgets. This knowledge will help you not purchase too much or too little equipment. This feature helps you choose the right inverter size.
Solar Panel Compatibility
Ensure solar panels are compatible with the inverter. Panels and inverters are not always compatible. Check the voltage and current ratings of both. How to connect solar panels to an inverter? The solar inverter can only be installed if the parts fit together. Double-check the manual, or contact a professional if you’re unsure. The wrong parts can harm your solar energy system. The compatibility of solar panels enhances system performance. If your inverter is optimized to operate with the type of solar panels you have, it can take in panels’ generated electricity more efficiently. This will maximize the energy that your system can deliver each day. This means you will receive more benefits from your solar power investment and reduce your reliance on grid electricity. An inverter that is compatible with the solar panels will allow more solar energy to be captured and converted.
Available Installation Space
For beginners, first find a safe, dry location for installing the solar power inverter. Air needs to circulate in the inverter. The inverter is cooled by good air circulation and performs well. The inverter should not be placed in direct sunlight or a wet location. Install a sturdy wall to support the inverter’s weight. Ensure you can access the inverter for future inspection or maintenance. One of the integral parts of a solar setup is the solar power inverter. It converts the energy produced by the solar panels into electricity for your home or business. The inverter’s placement is critical because it performs a very important function; it must be positioned in an appropriate area with adequate clearance. The available installation space feature helps the user find the best location for installing the inverter before installation begins.
Budget and Long-Term Cost
Estimate your budget before you start installing. The cost covers the parts, the wiring, and the inverter. Permits and/or inspections may also be required. Consider the long-term costs, such as maintenance and repairs. A good solar power inverter may cost more upfront, but it can save you money over time. This is proving to be effective in preventing overspending. There are lots of solar power inverters, and they come in a variety of sizes, types, and price ranges. Certain models come with advanced features that might not be all that important to all users. This feature is used to prevent users from choosing the cheapest option to save money initially. The Budget and Long-Term Costs feature enables users to make an informed financial decision when installing a solar power inverter. Preparing in advance for the installation of a solar power inverter will help to prevent issues and future expenses.
Step-by-Step Solar Power Inverter Installation Process
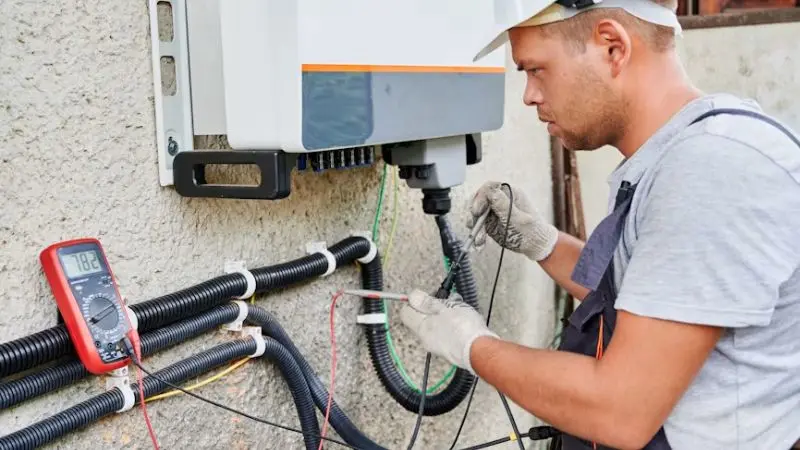
The first step to a successful solar power inverter installation is to do a proper site assessment and choose the right location. The inverter should be installed safely and correctly connected to the solar panels and electrical wiring within your home, in line with the manufacturer’s instructions. Once wiring is finished, test and commission to ensure safe and efficient operation. With careful planning and proper installation, maximum performance and long-term reliability can be achieved.
Site Assessment and Planning
Begin by checking your house and roof. Seek sun exposure in the morning and/or afternoon. Determine the area size to ensure the solar power system can be installed. Record objects that could block the sunlight, such as trees or vents. If you plan for things, you don’t have to deal with them later. How to install solar panels on an inverter? Most electricity is produced when the sun is directly overhead on the solar panels for most of the day. Assessors examine the environment for potential shading issues at the time of installation, including trees, buildings, chimneys, or other structures. Knowing these barriers allows the solar energy system to be installed in the most advantageous position to maximize energy output. Another important benefit is selecting the appropriate position for the solar power inverter. Ideally, the inverter should be placed in a cooler, drier, and more ventilated space.
Choosing the Right Installation Location
Pick a place for your solar power inverter that is cool and dry. Inside your garage or utility room is a good choice. Stay away from places with sunlight or moisture. Ensure you have access to the inverter to check and repair it. The proper location ensures a safe, long-lasting system! The inverter’s performance can be enhanced by selecting the appropriate location. If your inverter is set up in a nice, warm, well-ventilated environment, it can function better. The inverter may have to work harder in high temperatures, which may reduce energy output. If the location is planned and optimized, the inverter can operate without any fluctuations and provide a reliable power supply throughout the day. This feature also helps protect the inverter from environmental conditions. The inverter’s service life can be extended, and repair costs reduced, by protecting it from harsh environmental conditions.
Mounting the Solar Inverter
Use the manufacturer’s mounting kit. Press the inverter against the wall and note the positions of the holes. Drill holes and mount the mounting bracket. Hang the inverter on the bracket. Test for security by feeling it. This is a precautionary measure to prevent your inverter from falling. How to connect solar panels to an inverter? The inverter must have a stable, protected electrical element. A correctly installed inverter will stop it from sliding, falling, or being damaged by accidental impacts. With secure mounting, electrical connections will stay neat, minimizing the hazards of loose wires and other safety concerns. If the inverter is mounted correctly, there will be sufficient room around it for the air to circulate and heat to dissipate. This will reduce overheating and help the inverter to work efficiently.
Connecting the Solar Panels
Connect the solar array wiring to the solar inverter. Follow color coding and labels. Make sure all connections are tight. Untethered wires can cause issues. Please refer to the manual for the correct sequence. If you are doing it right, it will run smoothly. Good wiring of solar panels increases energy generation. If they are connected correctly, then electricity flows freely from the panels to the inverter. Installing a solar inverter system is most effective when it can harvest and convert as much energy from the sun as possible during the day. Proper connection will ensure that users can make the most out of their solar system and save on electricity bills. Another essential reason for proper solar panel connections is safety. Correct connection procedures can also help ensure that manufacturers’ warranties are not voided.
Wiring the Inverter to the Electrical System
Switch OFF the main power before starting. Install the inverter in your home’s electrical panel. Ensure the proper wire size and fuses are used. This step requires special attention. If you are unsure, call a professional. Wiring your home with care can help to reduce the risk of electrical hazards. A properly connected inverter can effectively supply solar power to electrical circuits and household appliances. This enables users to make greater use of energy generated by their solar panels and minimize reliance on grid electricity. These steps will serve as a beginner’s guide to solar inverter installation. Proper wiring is crucial for the system to operate without any interruptions or issues. Correctly wiring your solar system will have it run efficiently, safely, and reliably. It also helps the inverter operate safely, which can prolong its lifespan and ensure reliable performance.
Testing and Commissioning
Turn the power back on. Look at the inverter’s display. Check for error messages. Ensure that the system starts up and operates properly. Monitor performance using the monitoring app or screen. This final step indicates whether the solar power inverter installation is effective. The step-by-step solar inverter installation guide helps make your installation a confident process. This feature enhances system security. A solar power inverter works at high voltage; it is important to examine all connections and components carefully. A test is used to verify the correct operation of wiring, voltage levels, grounding, and protective devices. This minimizes the chances of electrical issues, overheating, or other safety hazards. A properly tested system allows users and their property to enjoy a safer environment.
Common Solar Power Inverter Installation Mistakes to Avoid
There are many common installation mistakes that will substantially impact the safety and efficiency of your solar power inverter. They can lead to installing the wrong-size inverter or installing it in a poorly ventilated area, if it is installed. Failure to use the correct connections and follow the manufacturer’s instructions can negatively impact performance and safety. With good planning, correct wiring, good air circulation, and by following the instructions in the manual, a reliable & long-lived solar energy system is put together.
Incorrect Inverter Sizing
Thus, the right size for your solar power inverter must be chosen. If the inverter is not the right size, its electrical power will be inadequate. If it is too large, then you’re wasting energy and money. Before starting, it is always best to review the energy usage. Review your electricity bills to estimate the cost of installing a solar inverter at your home. It will help you choose an inverter suitable for your house. An incorrect inverter size occurs when the inverter is not sized correctly for the solar system. If you have a smaller-sized inverter, it may not be able to power your solar panels or your electrical use. But its capacity can be higher than necessary, leading to higher installation costs when it is too large. Once the inverter’s correct size is known, the following problems can be avoided.
Poor Ventilation Around the Inverter
The inverter requires air to cool it. May be too hot in certain locations or within small spaces. If the temperature exceeds the limit, it will affect the inverter and shorten its lifespan. Always leave space around the inverter when you install it. How to connect solar panels to an inverter? Pick a place that is cool and dry. Solar power inverters will work best with good air circulation. Poor vent is when the inverter is in a small, confined, poorly designed space where air cannot freely flow. If the ventilation is inadequate, heat can accumulate around the inverter, preventing it from cooling properly. Proper ventilation is crucial and can influence where the system is installed and the common issues that users may experience with their solar energy system. This can also be used to help improve energy performance.
Improper Wiring Connections
Installation Wiring: Wiring is one factor that, if done wrong, can prevent a successful installation. Loose or improper wiring may cause a fire or loss of power. When wiring, use the wiring diagram provided in the manual. All wires prior to the completion test. If you are not sure, ask a professional for help. Don’t install solar inverters incorrectly to prevent enhanced safety. Following safety procedures will help to keep people and equipment safe.
- Check wire colors and wire labels.
- Tighten all connections.
- Install using proper equipment.
Ignoring Manufacturer Guidelines
It is important to follow the manufacturer’s instructions when reading it. Each inverter has different installation rules. Failure to follow the steps or to use sufficient parts can void the warranty. When installing, it is important always to have the manual nearby. This will help protect your solar power system, and failure to follow the manufacturer’s instructions will reduce inverter performance. Solar inverters are designed to operate within certain parameters, such as voltage ranges, temperature limits, and wiring requirements. When users install the inverter incorrectly or modify the recommended settings, the system may not convert solar energy efficiently. By following the instructions, the inverter will work optimally and deliver the desired energy output. Properly installing the solar power inverter can ensure it serves you longer and works well.
Solar Power Inverter Installation Safety Tips
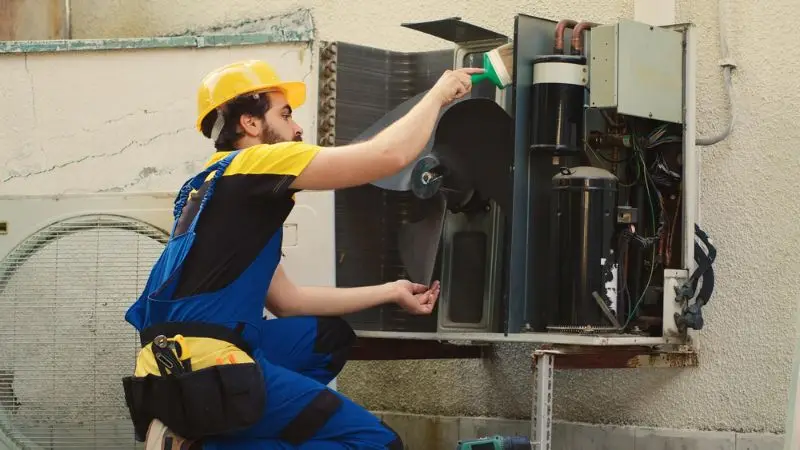
When installing a solar power inverter, safety must be the top priority. Protective equipment (e.g., gloves, safety glasses, insulated tools, safety harness) should be worn when working at height. Abide by electrical safety rules: unplug the power, test for voltage, use the correct wiring, and ensure the work area is clean, dry, and organized. When it comes to installation, if you don’t know what you’re doing, hire a certified installer to ensure your solar energy system is installed safely, reliably, and in compliance with the warranty.
Using Proper Safety Equipment
Wear the appropriate equipment before you start. Gloves keep your hands safe from sharp wires and tools. Safety Glasses will keep dust and sparks out of your eyes. Closed-toe shoes protect against injuries when you drop something. What are the insulated tools to use to avoid shocks? How to connect solar panels to an inverter? When working on a roof, wear a harness. Always inspect equipment before use. Accidents can happen due to broken equipment. It is especially critical to wear insulated tools and gloves when handling inverter wiring and electrical connections. Standard tools can conduct electricity, either intentionally or accidentally, which can lead to electric shock or a short circuit. Insulated tools are used to provide additional protection when tightening connections or wiring, or when making adjustments. This enables the user to be more confident and safe while installing.
Following Electrical Safety Standards
Electrical safety precautions must be followed during installation. Always disconnect the power before handling wires. Use a voltage tester to make sure no voltage is present. Avoid working in wet areas. A combination of water and electricity is a dangerous mix. Ensure that all wires are snug. Loose wires can cause fires. Install a solar power inverter with the proper wire size. Refer to the manual for information. If you find broken wires, replace them before moving on.
- Please install in accordance with local codes.
- Label all wires to identify what each one is.
- Do not allow children and pets to enter the work area.
When to Hire a Certified Installer
Some steps will require expert skills. When in doubt, call in a certified installer. Experts are familiar with wiring and permits. They provide safety for beginners installing solar inverters. You avoid time and errors. You also safeguard your warranty. The certified installers ensure the well-being of your solar energy system. A solar inverter can be installed by taking each step. Make a plan before you begin the work. Use safety equipment and perform frequent self-checks. If you are not sure, ask a certified installer for help. Store the solar power inverter in a cool and dry environment. Follow the manual for each operation. Become familiar with your solar energy system and how it operates. A solar inverter installation will yield clean energy and save you money. Safe installation provides a calm, secure feeling.
Wrap Up
Correct installation of the solar power inverter is crucial to ensuring the solar power system is safe and efficient. To prevent problems during inverter installation, you need to know your energy requirements, the appropriate inverter size, and the system’s compatibility. Inspecting the installation position, installing the inverter correctly, and using proper wiring can lead to better performance and a longer inverter lifespan. Always refer to the manufacturer’s instructions and use the proper safety gear to keep you and your equipment safe. When installing solar inverters, there are certain mistakes you should avoid. Avoiding common solar inverter installation mistakes will help you create the best solar inverter setup. Some people might want to install it themselves, but for more intricate electrical work, professional assistance is recommended. When installed safely and carefully, a solar power inverter can ensure you receive clean, reliable power.
FAQ
How long does it take to install a solar power inverter?
Most people finish the installation in one day. If you plan well and have all the tools, you can work faster. If you hire a professional, the process may go even quicker.
Can you install a solar inverter by yourself?
You can install a solar inverter if you follow the manual and safety rules. If you feel unsure, you should hire a certified installer. Safety always comes first.
What tools do you need for solar inverter installation?
You need a drill, screwdrivers, wire cutters, safety gloves, and a voltage tester. Some kits include mounting brackets and screws. Always check your manual for any special tools.
What should you do if your inverter shows an error?
Tip: Check the display for error codes. Look in the manual for what the code means. If you cannot fix the problem, call a professional for help.