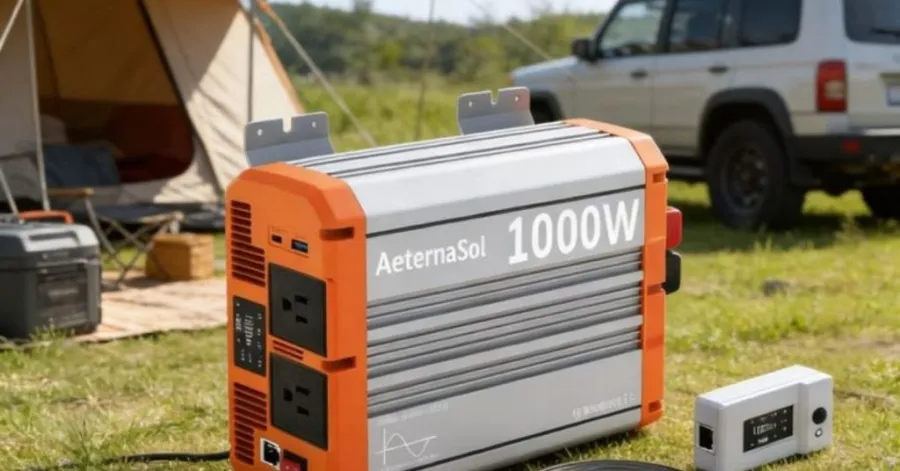
A solar power inverter is necessary for reliable energy in your RV. The following guide will help you successfully install the solar inverter for your RV without any problems. Choose the proper inverter and take all the necessary safety measures. The installation process does not require any special skills or experience. All that is required is basic tools and care. Be patient while installing and enjoy gaining some knowledge.
Tools and Materials Required for RV Solar Power Inverter Installation
List of Essential Installation Tools
To install a solar inverter in your RV, you will need certain tools on hand. Prepare all necessary tools beforehand. It will help you save time and avoid errors.
- Flathead and Phillips screwdrivers
- Wire cutters and wire strippers
- Adjustable wrench
- Drill and drill bits
- Electrical tape
- Multimeter
- Zip ties
Personal Protective Safety Gear
When working with electricity, it is crucial to wear the appropriate protective equipment to avoid injury. Below is the list of essential personal safety items.
- Insulated gloves
- Safety goggles
- Electrical fire extinguisher
- First aid kit
Choosing the Right Solar Power Inverter for Your RV
How to choose a solar inverter for an RV? Choose a solar inverter that meets your RV’s needs. Check how much power your things use. Look at your RV’s battery voltage. Choose an inverter that can handle all your power needs. There are pure sine wave and modified sine wave inverters. Pure sine wave inverters are best for sensitive electronics. Modified sine wave inverters are less expensive and suitable for simple devices.
How to Choose the Best Solar Power Inverter for Your RV
Understanding Power Requirements
You need to know what size inverter I need for the RV solar system. Start by making a list of all the devices you want to run. Write down the wattage for each item. Add up the numbers to get your total power needs. For example, if you want to run a microwave (800W), a laptop (60W), and some lights (40W), your total is 900 watts. Always add a little extra to your total. This helps you avoid overloading your system.
Pure Sine Wave vs. Modified Sine Wave Inverters
You will see two main types of inverters: pure sine wave and modified sine wave. Pure sine-wave inverters produce smooth, clean power. They work best for sensitive electronics like laptops, TVs, and medical devices. Modified sine wave inverters cost less. They work for simple things like lights and fans. Some devices may buzz or not work well with modified-sine-wave inverters.
Matching the Inverter to Your Battery System
You must match your inverter to your RV’s battery system. Most RVs use 12V batteries. Some larger systems use 24V or 48V. Make sure your inverter matches your battery voltage. If you use a 12V battery, buy a 12V inverter. Also, check the battery’s amp-hour rating. Bigger batteries can run your inverter longer. This guide helps you choose the right inverter for your setup.
Preparing Your RV for Solar Inverter Installation
Installation of Your Inverter in the Best Place
Now it is the turn for the solar inverter installation for an RV tutorial. Ensure that your solar power inverter is in a safe place away from hazards. Ideally, try placing it as close to the batteries as possible. It will enable you to use shorter, more efficient cables. Make sure that there is airflow around the inverter as it produces heat while operating. Do not install it in enclosed cabinets or around flammable materials. This table may help you choose.
Inspecting Batteries and Solar Panels’ Wires
Before installing anything in your vehicle, inspect the connections to your batteries and solar panels. Look out for wires that appear damaged or disconnected. If there are any signs of dirt or rust, clean the ends of the battery cables. Check if all loose wires are tightly connected and secured. Measure the voltage at the battery terminals with a multimeter. The number should be correct and steady.
Safety Precautions Before Installation
You must be careful when working with electricity. Ensure that you switch off the battery power supply. Also, wear safety gloves and safety goggles when installing an inverter. Place a fire extinguisher near where you will install your inverter. Read the manual provided with your inverter and battery carefully. Stick to each procedure in the guide.
Step-by-Step Guide to Installing a Solar Power Inverter for Your RV
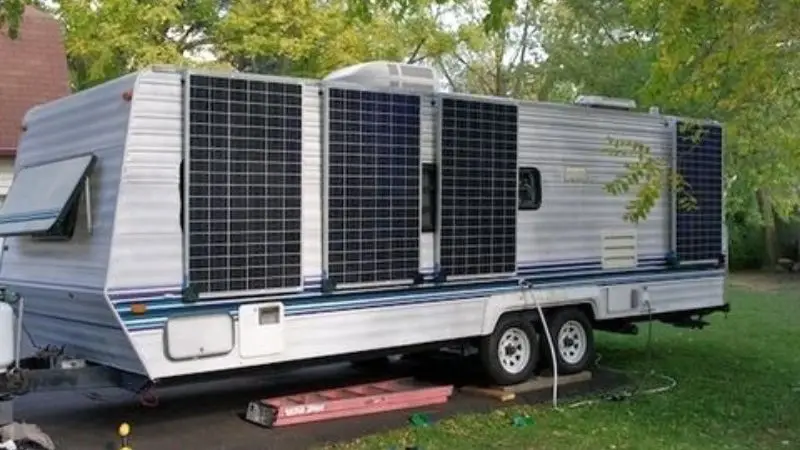
Step 1: Disconnect the RV Battery
Disconnect all battery cables before installing your RV power inverter. It is important because disconnecting will provide safety for both you and your RV. Remember to start disconnecting the negative cable.
Step 2: Install Your Solar Power Inverter
It is necessary to choose the right position for installing the RV solar inverter. You should mount your RV solar inverter firmly using the mounting brackets provided with the inverter. Airflow near the inverter helps keep it cool.
Step 3: Connection of the Inverter to the Battery Bank
Now that we know how to choose a good RV inverter, we need to learn how to install it. The connection between the inverter and the batteries requires large wires. You should connect the inverter’s positive cable to the battery’s positive terminal. Repeat this step for the negative wire. Shorten the wire as much as possible to avoid damaging the inverter.
Step 4: Installation of the Required Fuse and Circuit Protection
A fuse should be installed near the battery on the positive cable. It will protect the inverter and your RV from any short circuits. Circuit protection is one of the key things when installing an RV inverter.
Step 5: Grounding Cable Installation
Attach the inverter’s ground cable to the clean metal surface of the RV frame. This is necessary to prevent electric shock when using an inverter. Follow the manufacturer’s recommendations about grounding.
Step 6: Connection of the AC Output Wires
AC output wires should be attached to the RV electrical system. Select wires of the correct sizes according to your inverter type. Attach wires to the power system with zip ties.
Step 7: Inspect All Connections
Inspect all connections to ensure that all wires are securely fastened and in the appropriate position. This process helps prevent any difficulties when installing the solar power inverter in the RV.
Step 8: Test the Solar Power Inverter in the RV
Restore the battery connection. Switch on your solar power inverter for the RV. Test the inverter’s operation by connecting a small electrical appliance. Look out for any indicator lights or codes of possible mistakes. Successful testing of the inverter shows that you have completed your task.
Conclusion
In this article, we have considered how to install a solar power inverter in your recreational vehicle. Examine all steps attentively. Be careful and put on the required equipment. Perform tests before operating your inverter. Seek professional help if you are inexperienced in such procedures. Be patient and careful when installing an inverter, and you will complete the task without difficulty. Enjoy your stable source of energy in your RV on your next trip!
FAQ
How long will the installation of the solar power inverter take?
It usually takes 2 to 4 hours to install a solar power inverter. It depends on the installer. Sometimes one may spend a long time because they are cautious about each step. Do not hurry.
Should I reuse the wiring already installed in the RV for the inverter?
No, you should buy fresh and heavy-duty wires. The wires must match the inverter’s requirements. Thin wires are a risk since they are likely to get hot.
What capacity inverter should I purchase for my RV?
Write down a list of appliances you wish to have on. Calculate their wattage, then pick an inverter with a higher wattage. This will help you prevent overload.
Should I switch off my solar panel before installing the inverter?
Yes, you must disconnect the solar panels and the battery from the power supply. It will ensure safety during the process.