
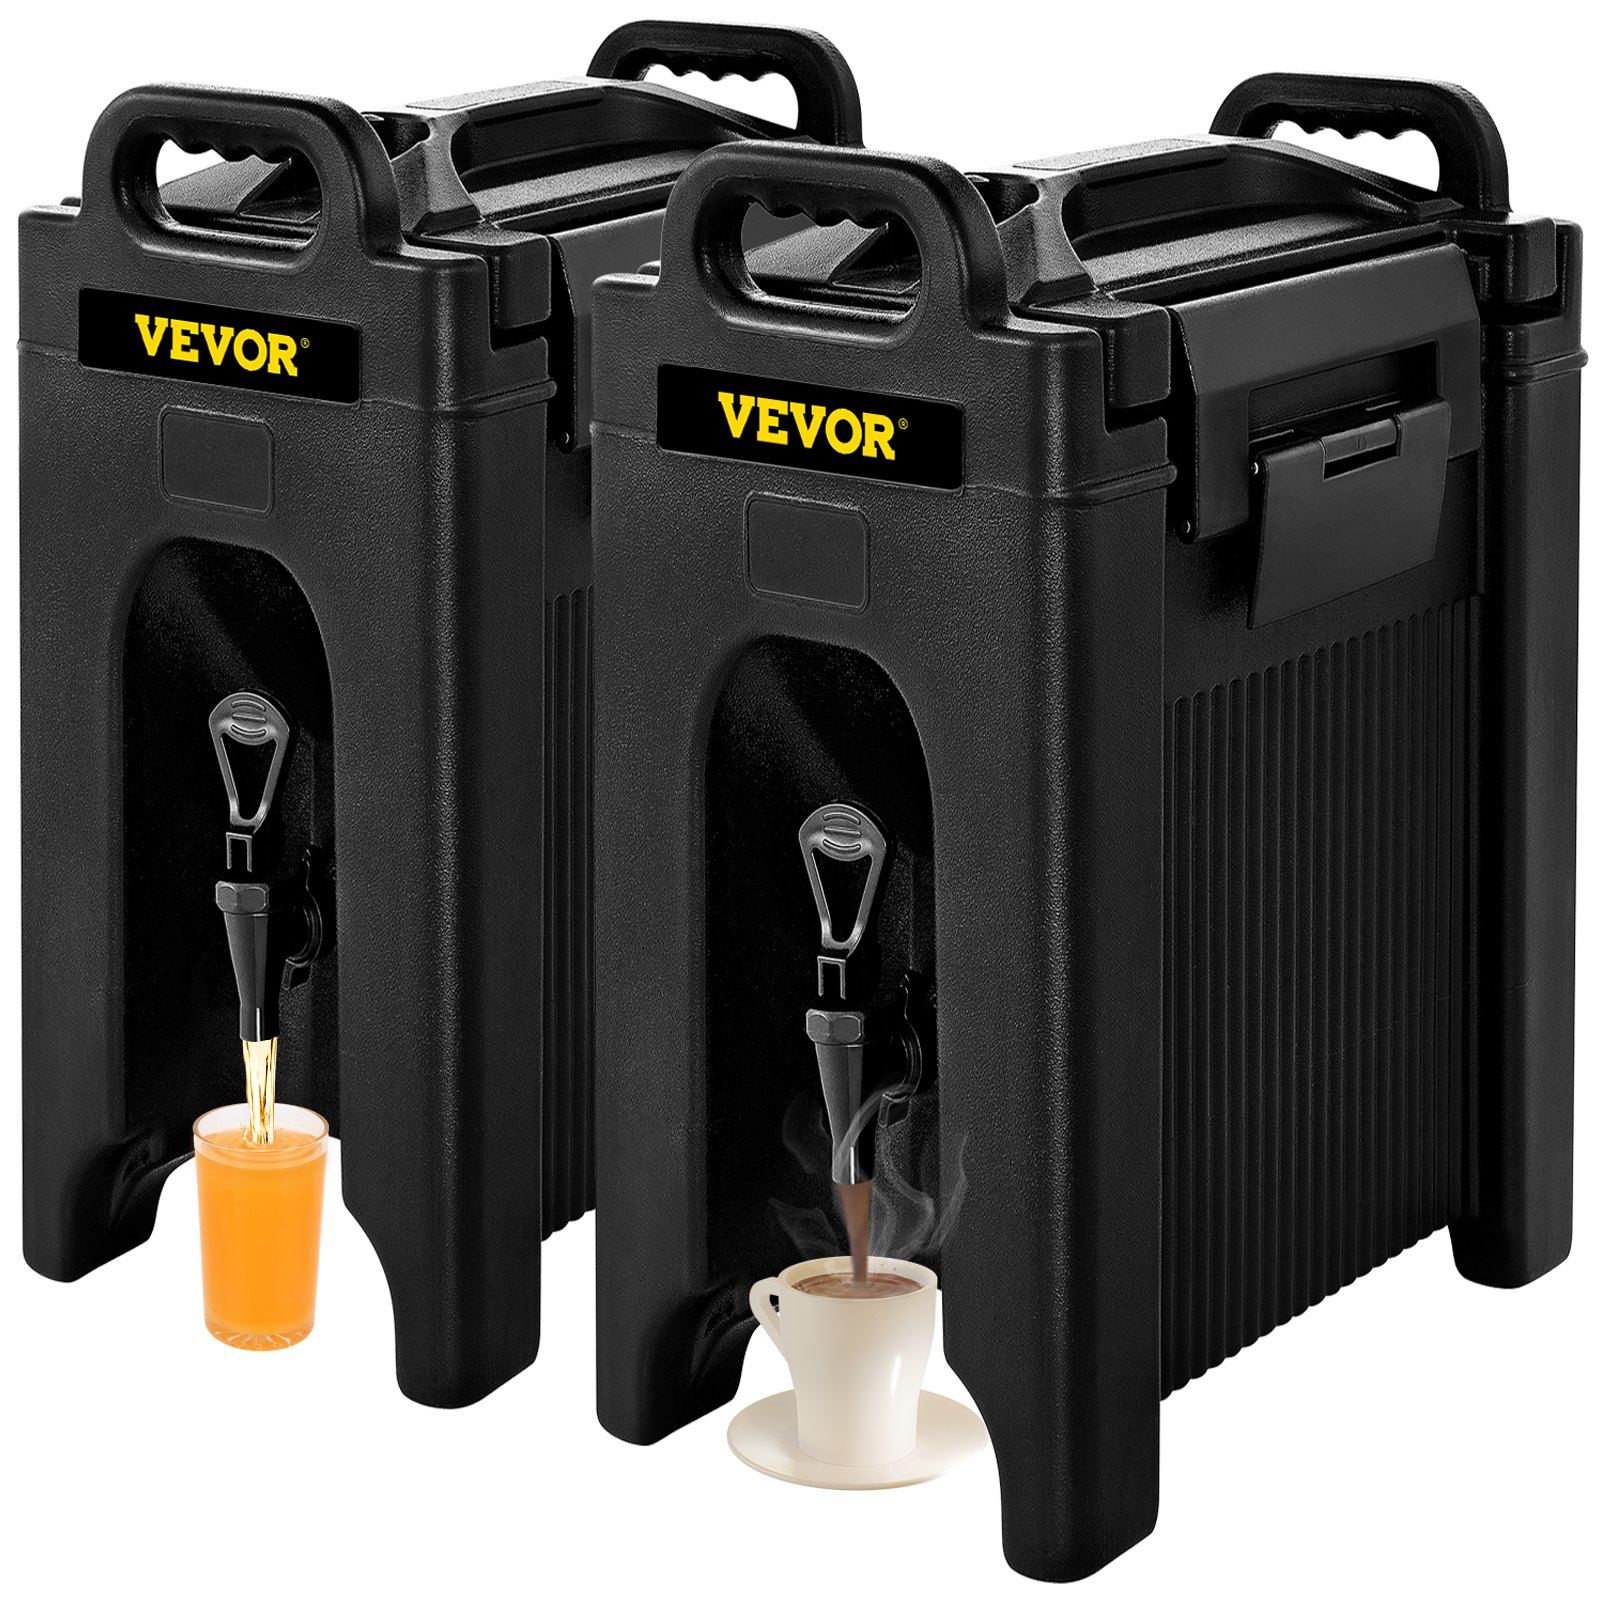
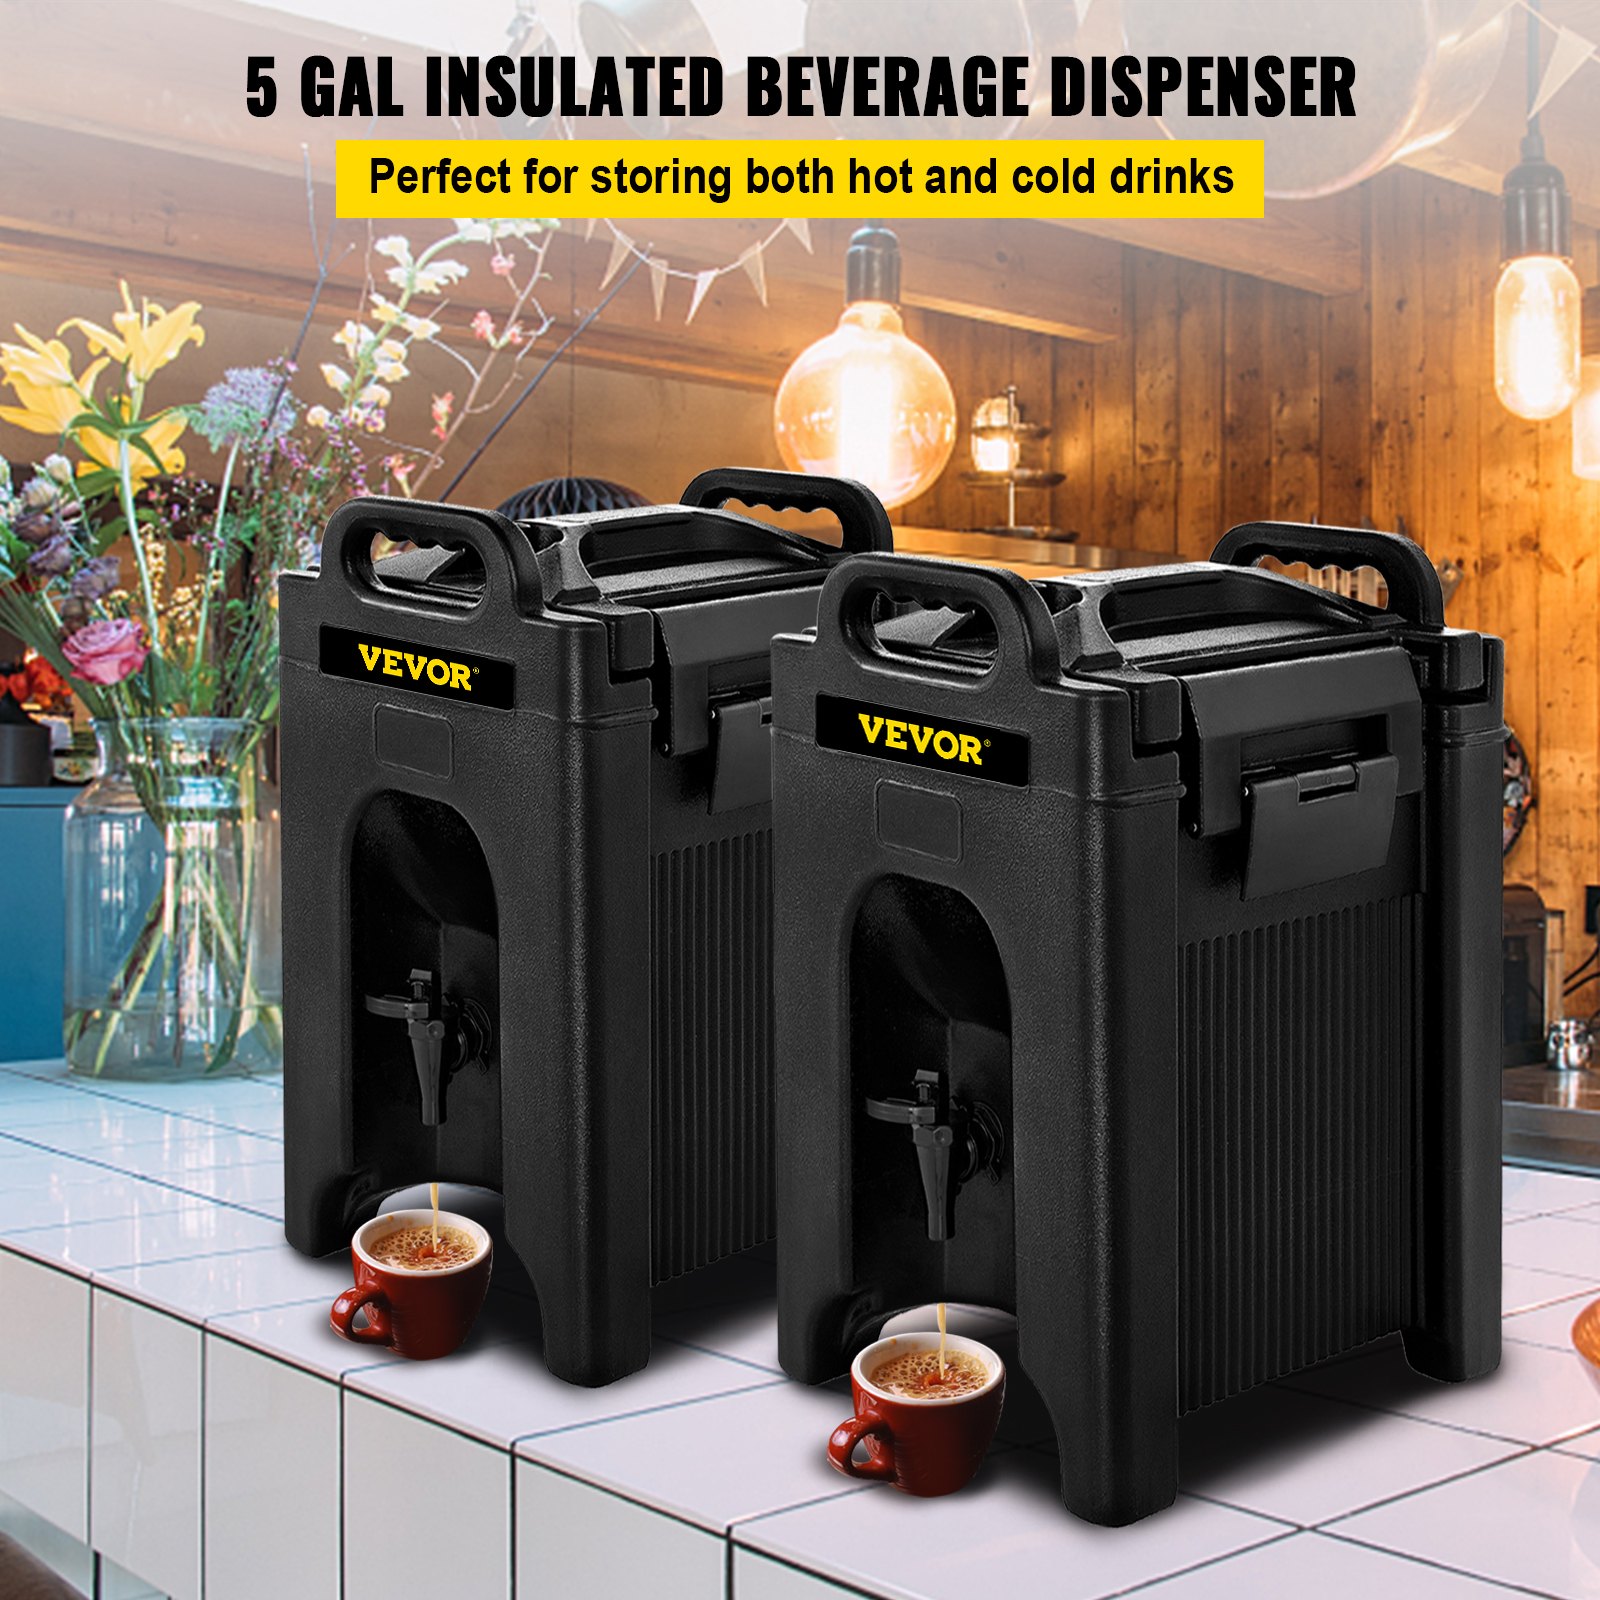
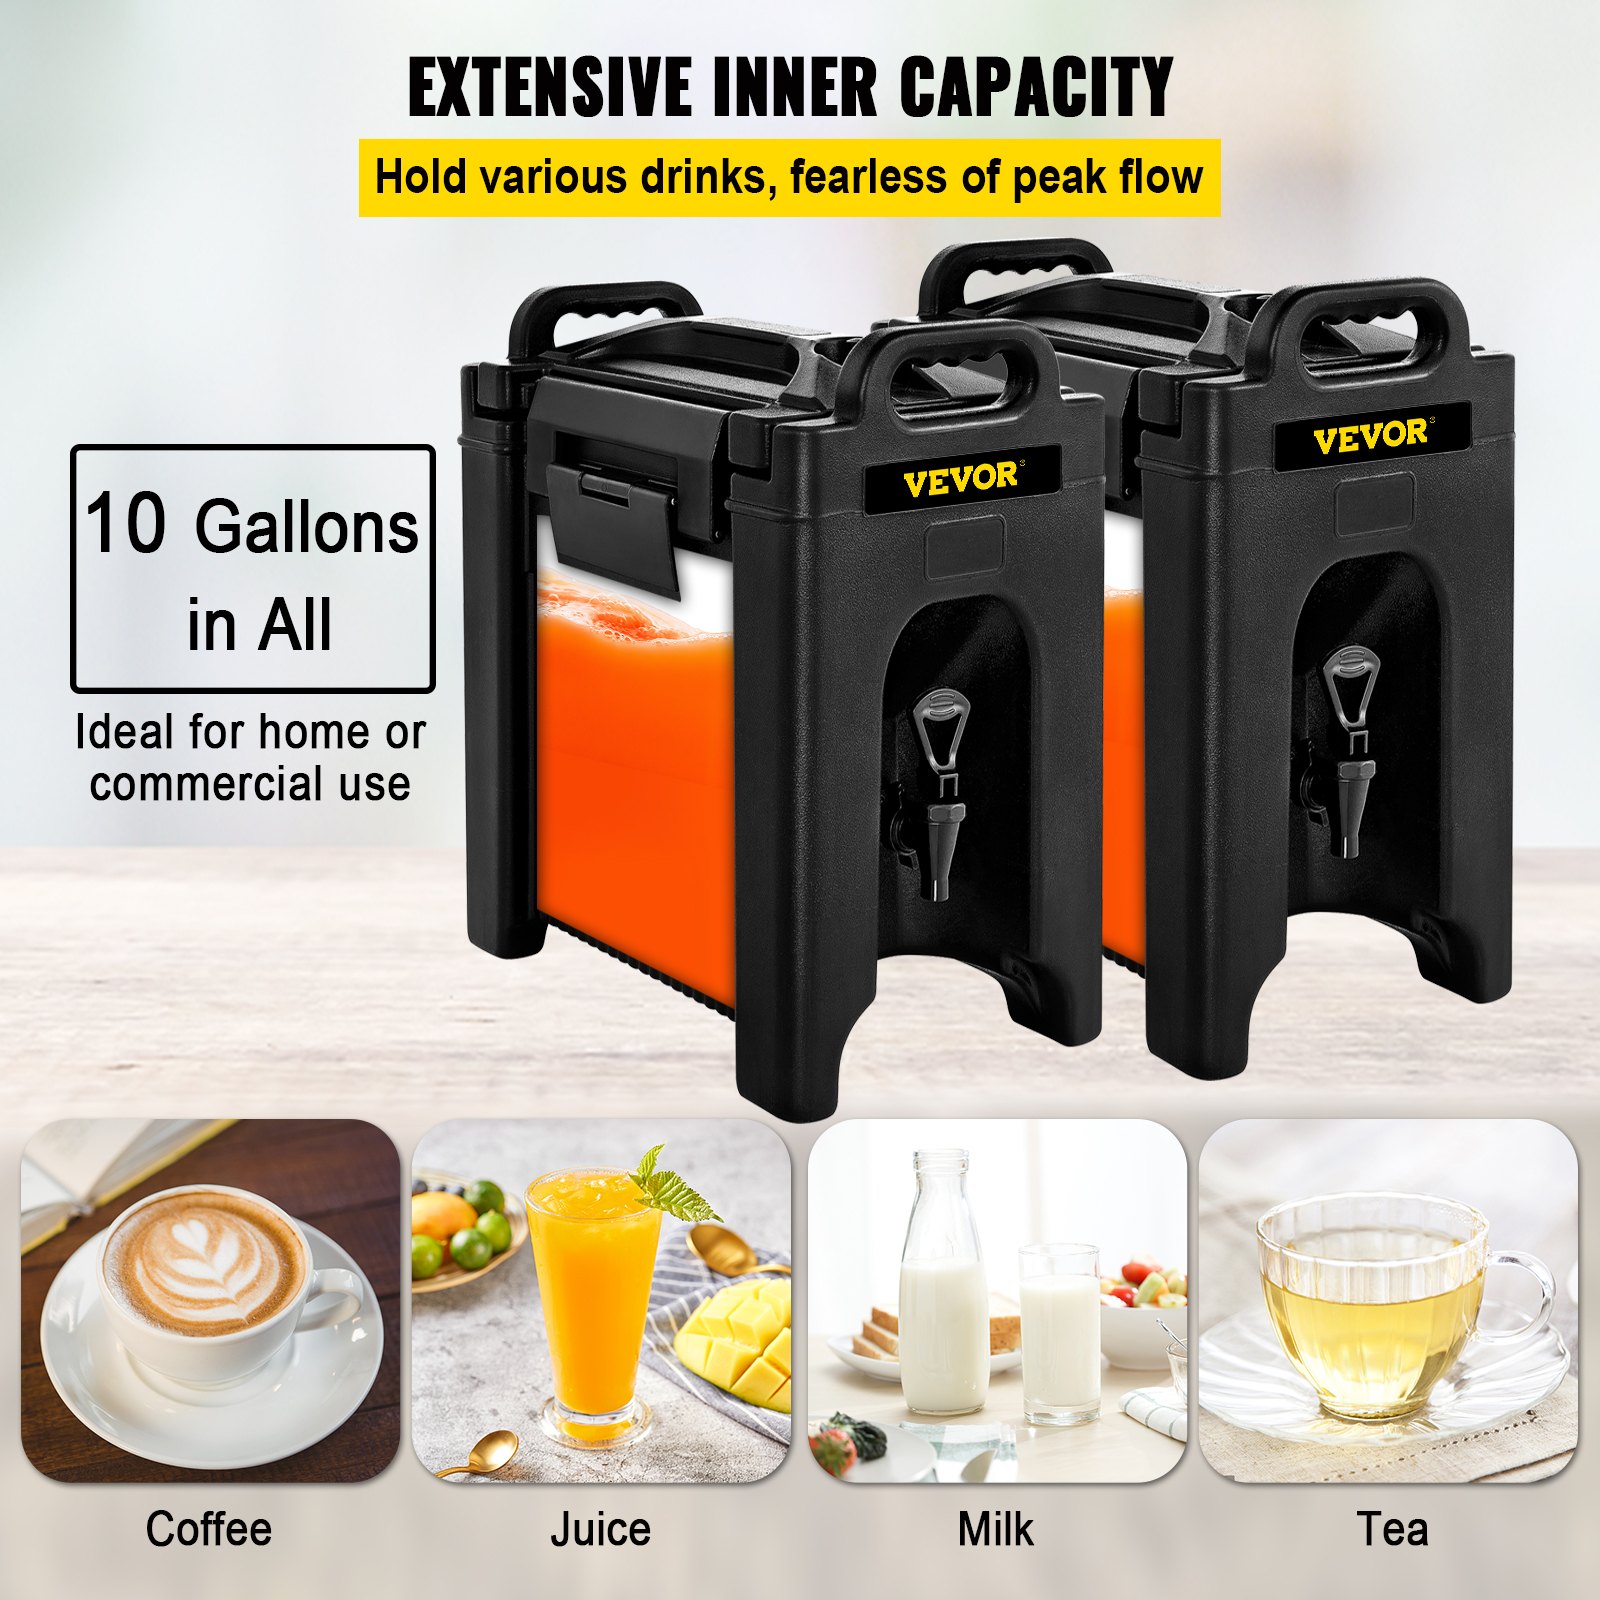
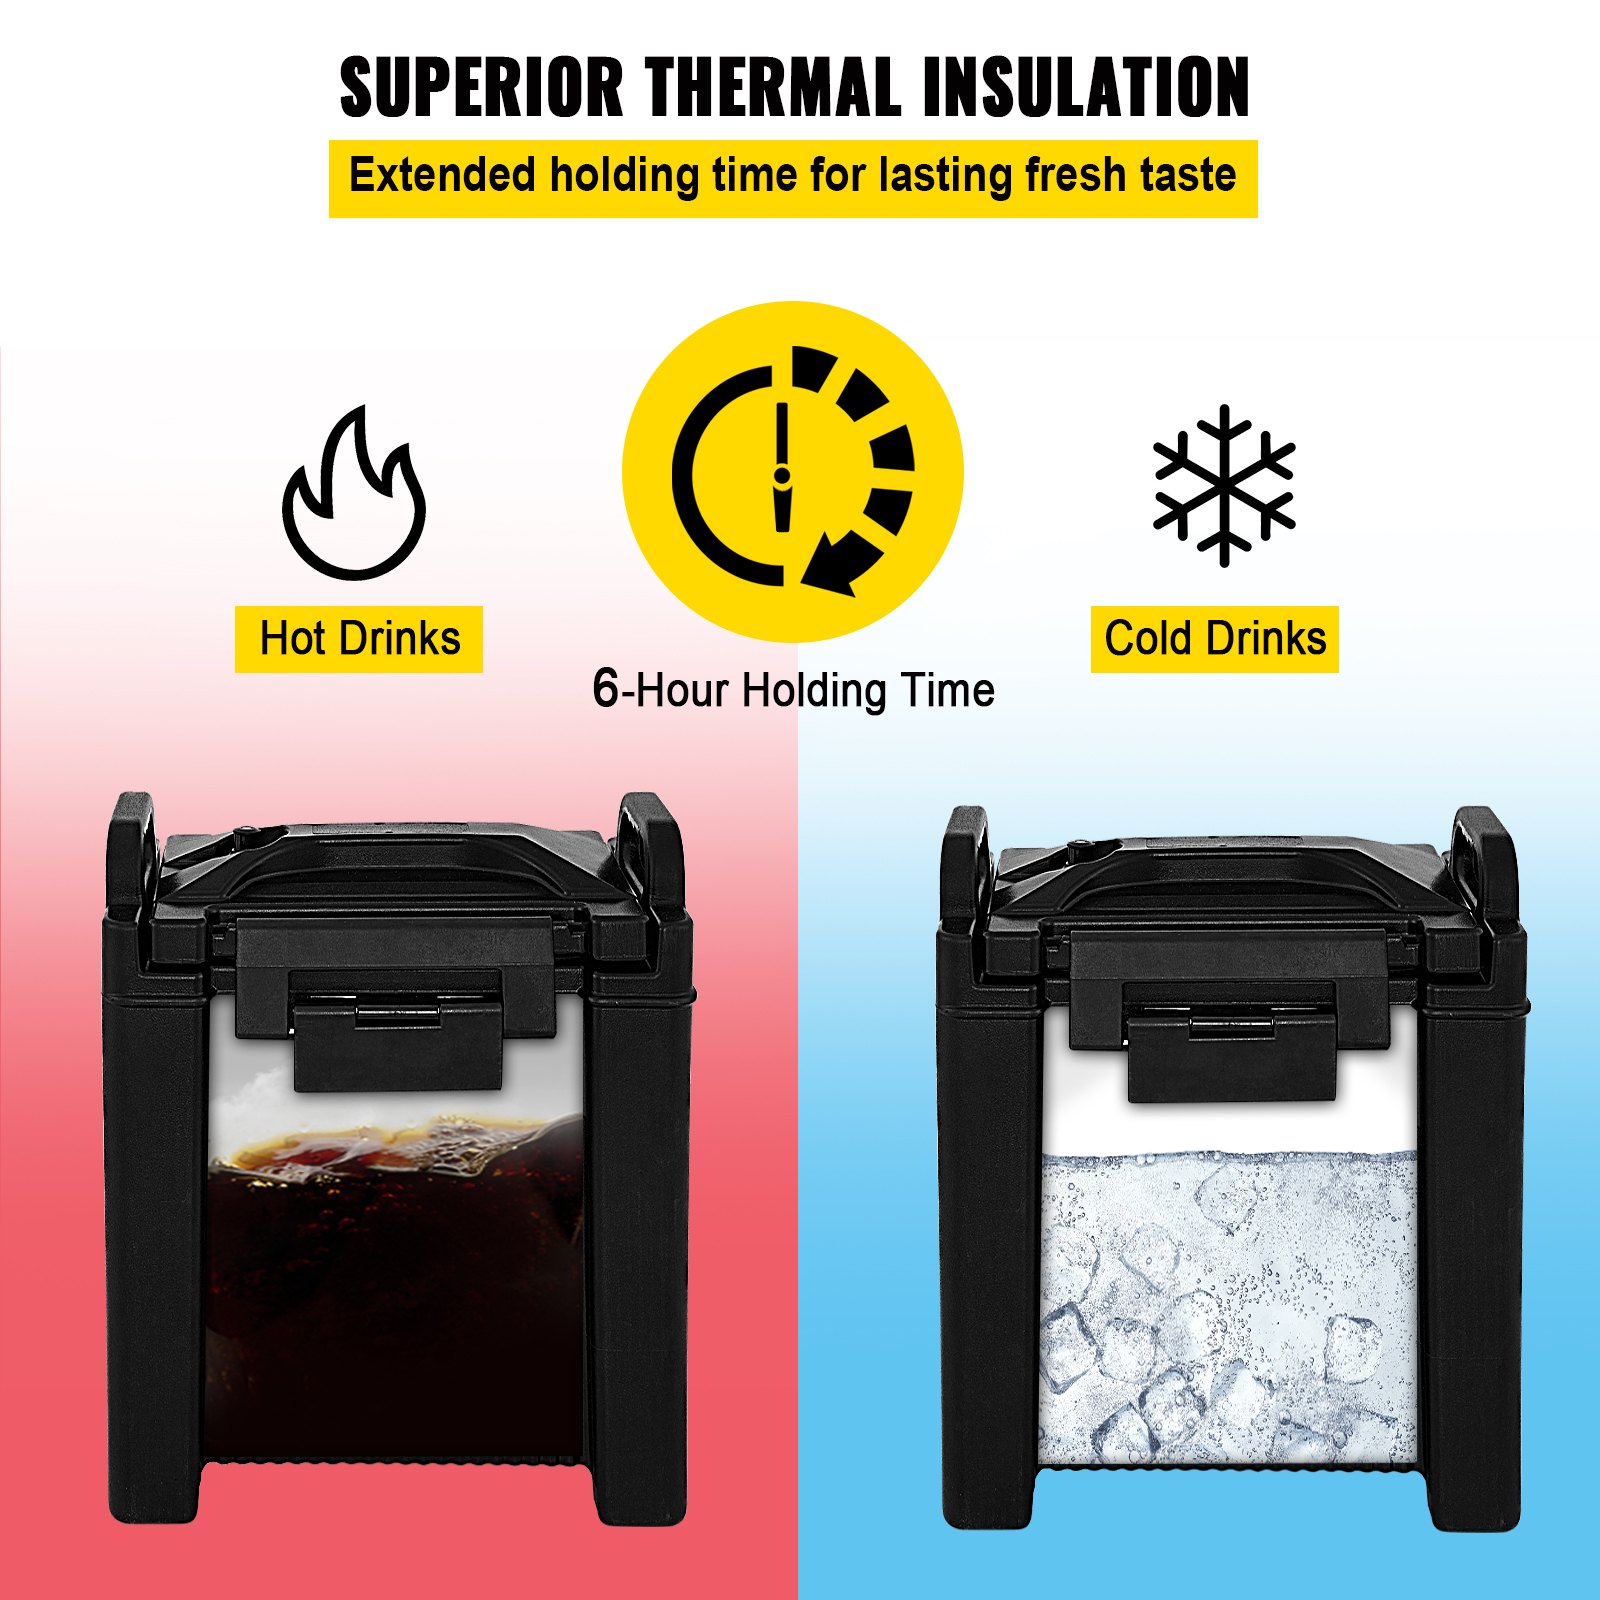
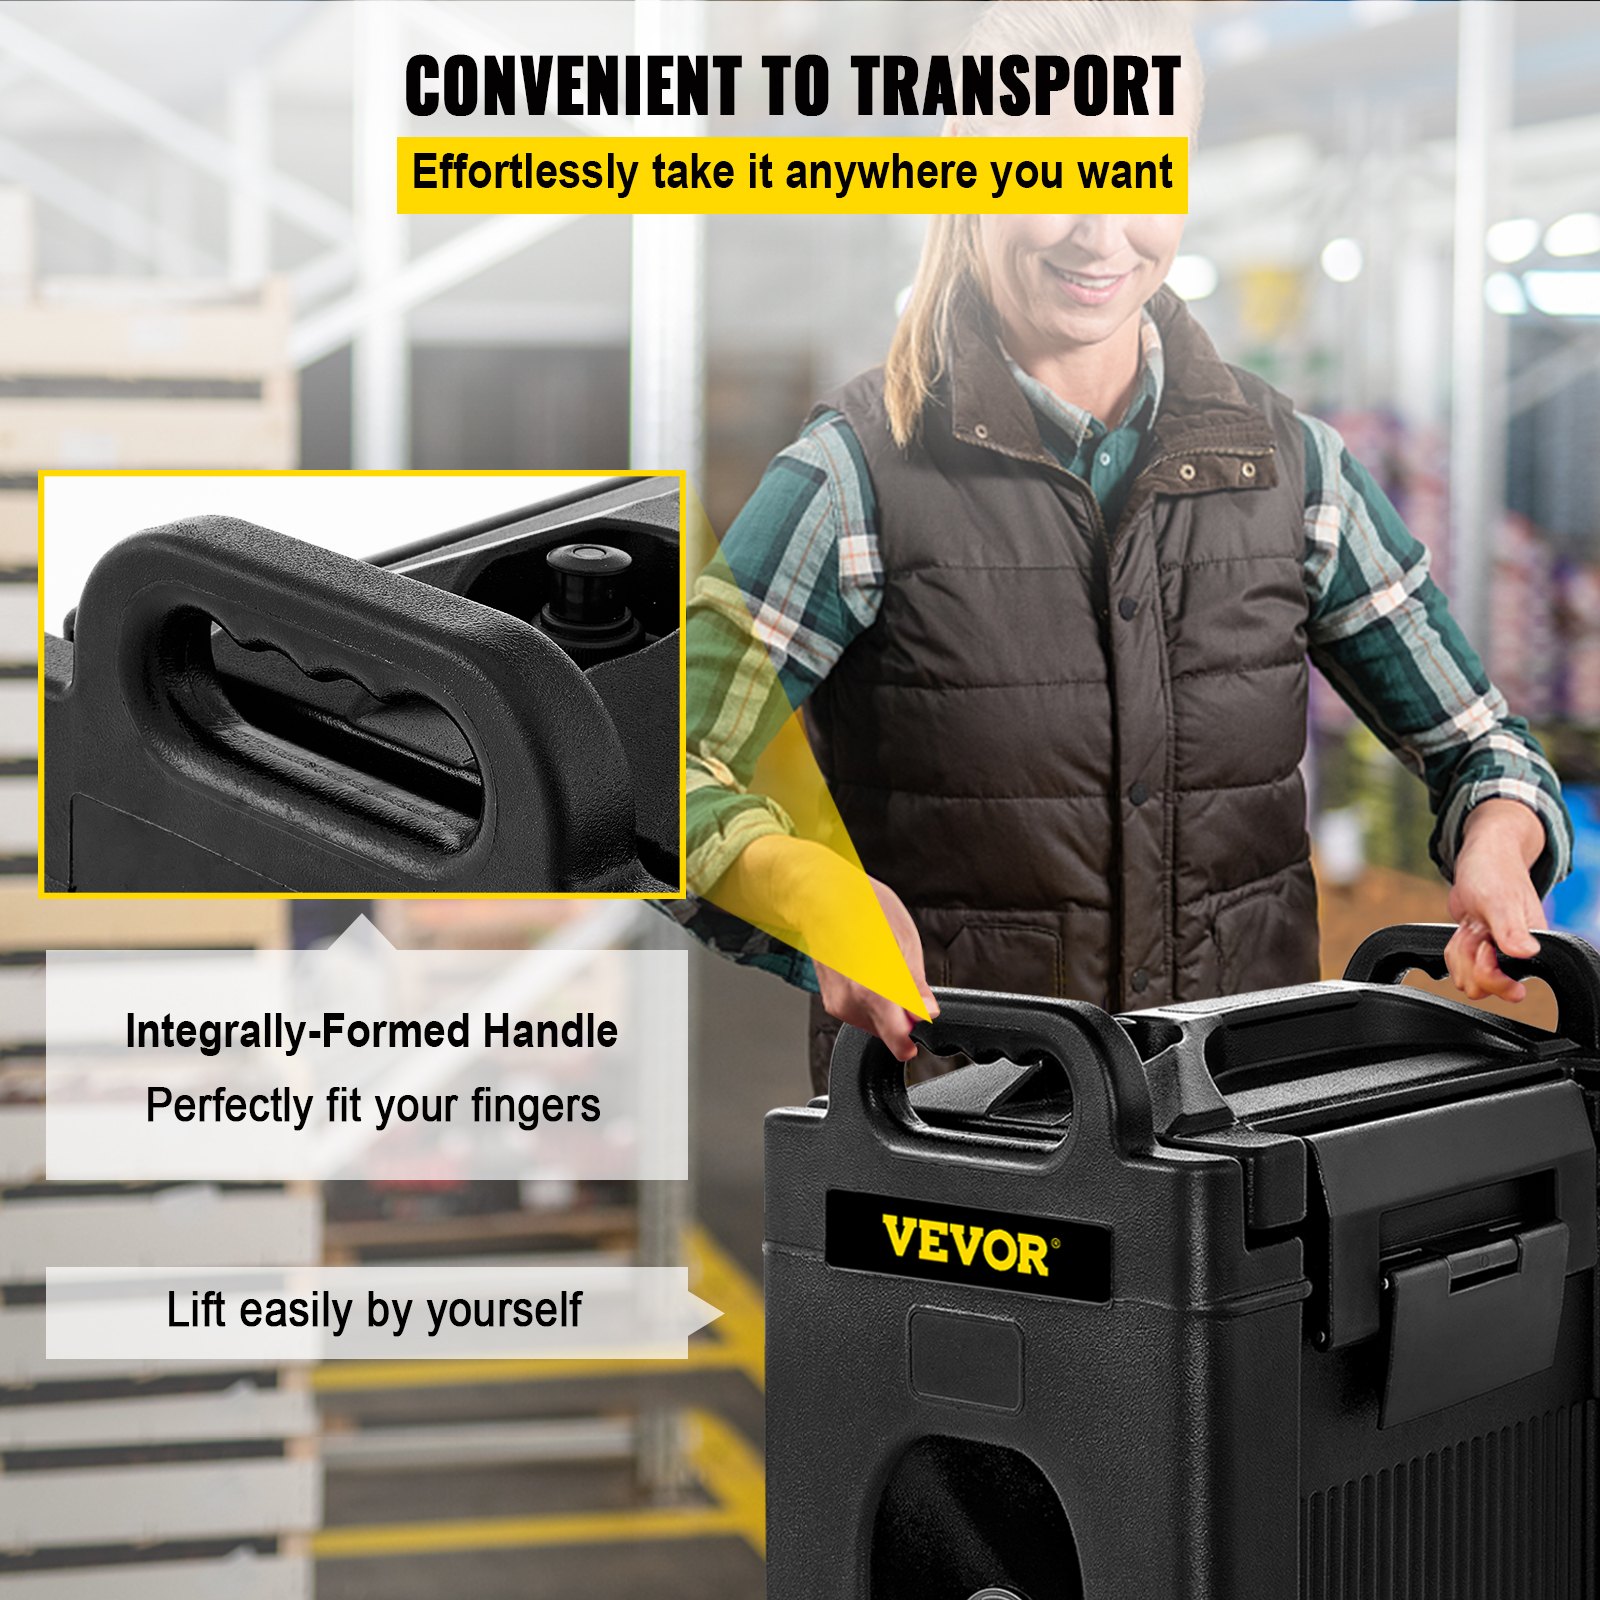
Unlock the full potential of your VEVOR Insulated Beverage Dispenser 2 PCS, 10 Gal, with our comprehensive product manual. This detailed guide is designed to help you effortlessly set up, optimize, and troubleshoot your double-walled beverage server with PU insulation.
Our manual covers every aspect of your hot and cold drink dispenser, including expert tips on using the 2-stage faucet handles, nylon latches, and vent cap effectively. NSF Approved and built to last, the VEVOR Insulated Beverage Dispenser ensures your drinks remain at the perfect temperature.
Download the manual today to maximize the benefits of your beverage dispenser and enjoy seamless service for any occasion.
Proper Use of Your Insulated Beverage Dispenser
- Wash and rinse the unit before its use.
- Preheating the interior with hot water will improve heat retention.
- Pre-chilling the entire unit will improve cold retention.
- Load the container to its maximum capacity. Make sure the gasket is in place. Replace lid and lock in position.
Beverage Dispenser Filling Instructions
CAUTION: Liquid can overflow or squirt out of the vent cap when securing the lid if you overfill the unit. TO PREVENT OVERFLOW, DO NOT FILL HIGHER THAN 11/4” FROM TOP.
Care and Cleaning of Insulated Carrier
- Clean after every use. Destaining compounds approved for food or beverage contact may be used. Ask your detergent supplier for the proper compound.
- Ensure the gasket is removed before running it through a dishwasher. Prevent latches from getting caught in the conveyor.
Care and Cleaning of the Faucet
To remove the faucet assembly from the unit:
- Unscrew the union nut to remove the faucet from the unit.
- Unscrew the bonnet from the faucet body to expose the rubber seat cup and stem end. Pull down on the seat cup to remove.
- Push back the union nut and remove the metal “c” ring. Unscrew the wing nut to remove the spout from the unit altogether. Set aside the large rubber washer, the small rubber washer and the “c” ring.
- Depress the faucet lever in the “locked open” position to thoroughly clean the bonnet’s top.
- Clean all parts of the faucet with hot water and urn cleaner. Use a faucet brush to clean the insides of the faucet and spout.
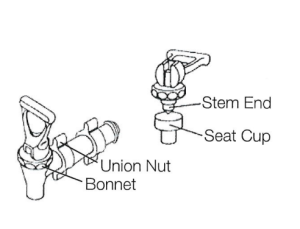
To return the faucet assembly to the unit:
- Place the small rubber washer on the spout first. Then place the spout inside the unit.
- Place the large rubber washer on the spout from outside the unit.
- Screw wing nut on spout with circle base facing the unit. Fit union nut on spout with inner screw side facing
out. Replace the metal “c” ring. - Replace the rubber seat cut on the spring and the stem end of the faucet. Apply pressure to secure the seat cup.
- Screw bonnet onto faucet body.
- Screw faucet onto spout and tighten union nut.
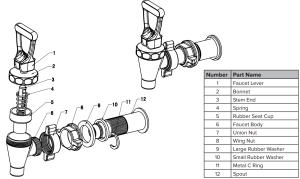
Beverage Dispenser Exploded Parts Diagram
Beverage Dispenser Faucet
Recommended For Your Project
VEVOR Insulated Beverage Dispenser 2 PCS, 10 Gal, Black Manual
Reviews
There are no reviews yet.