
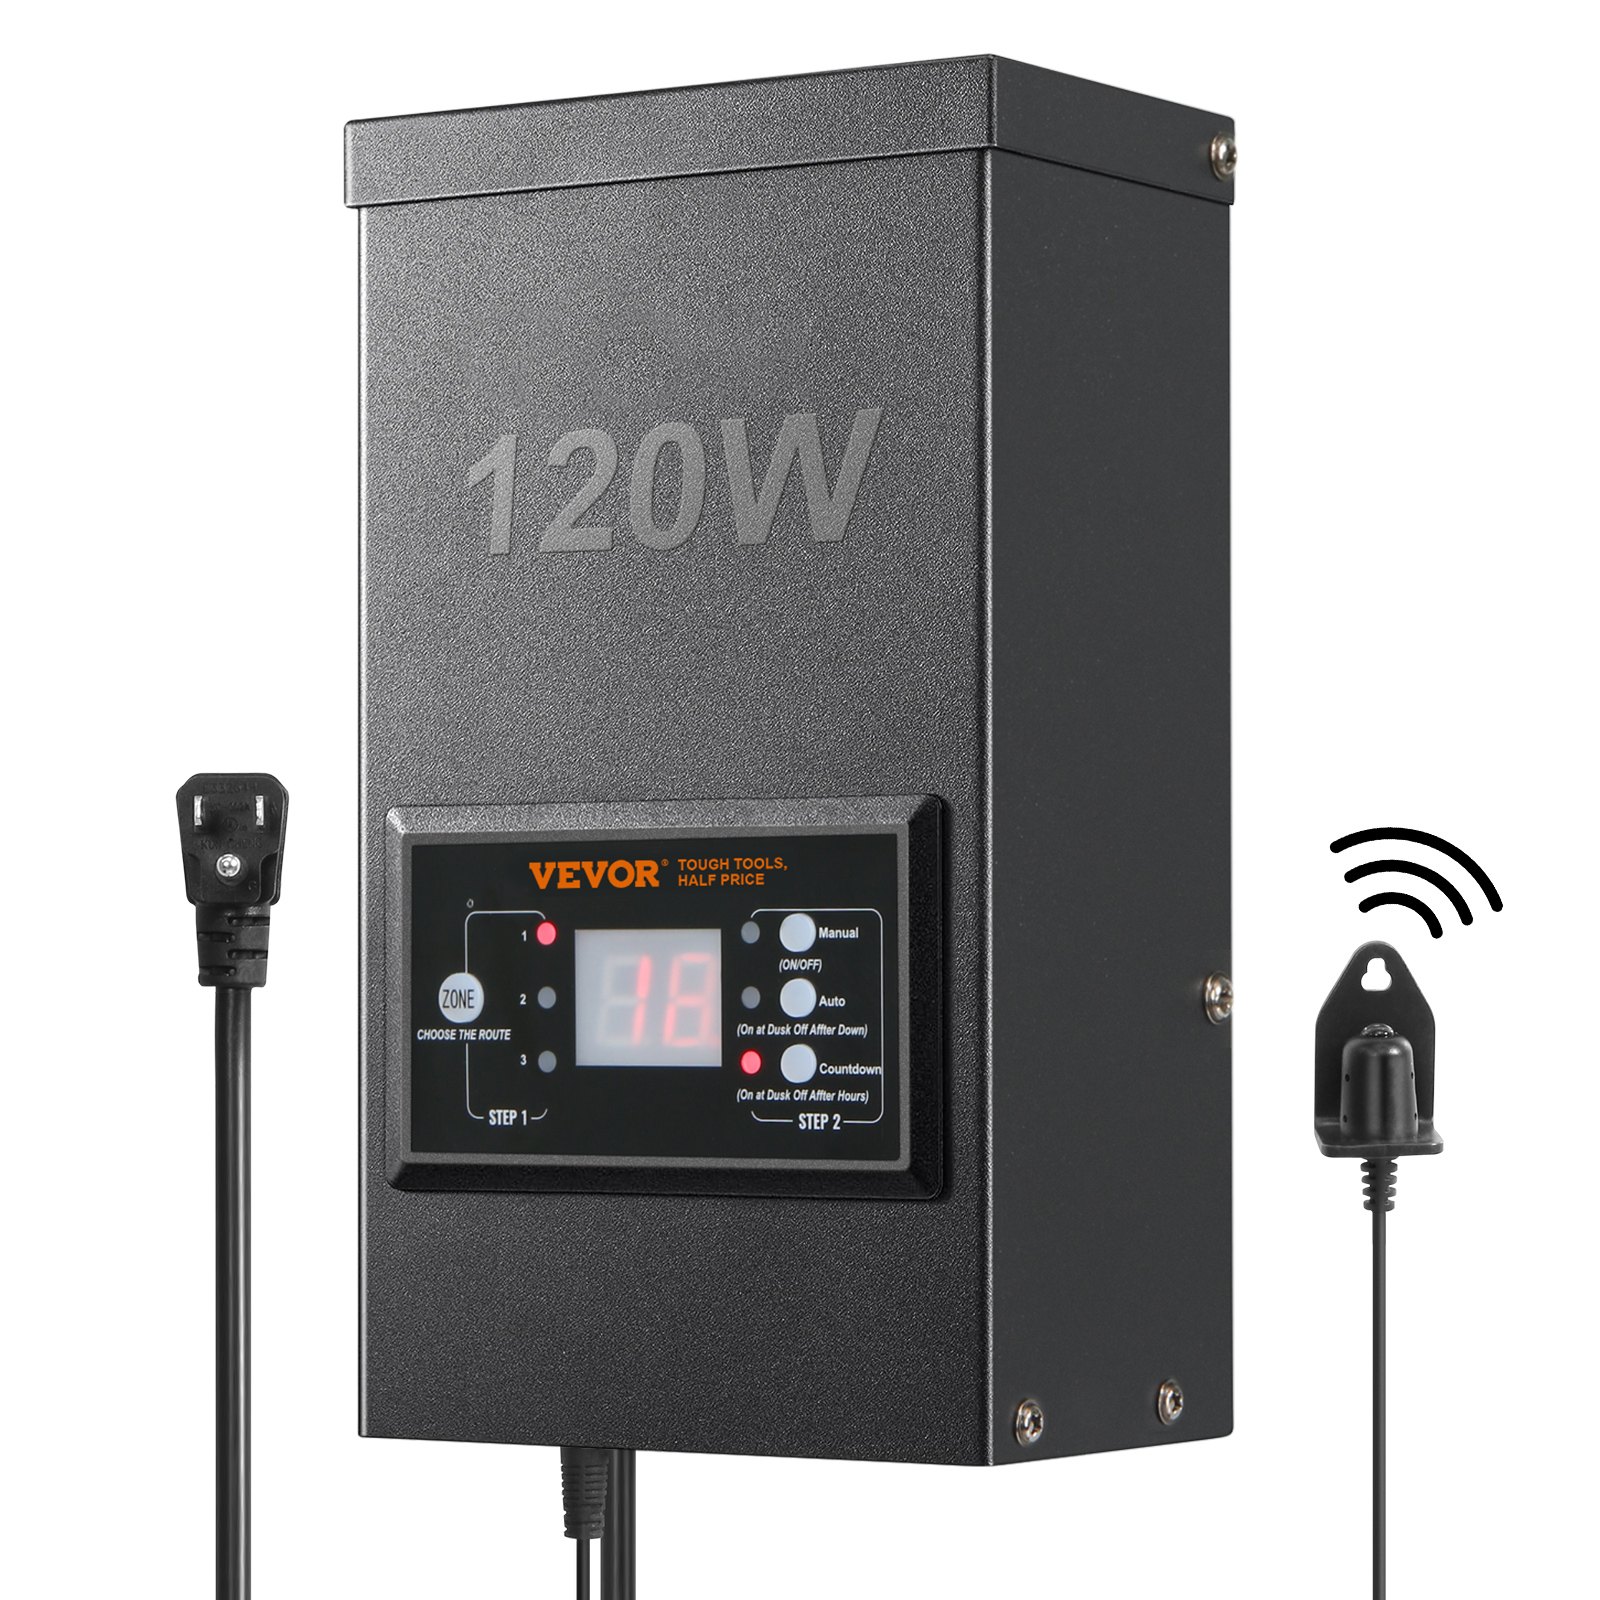
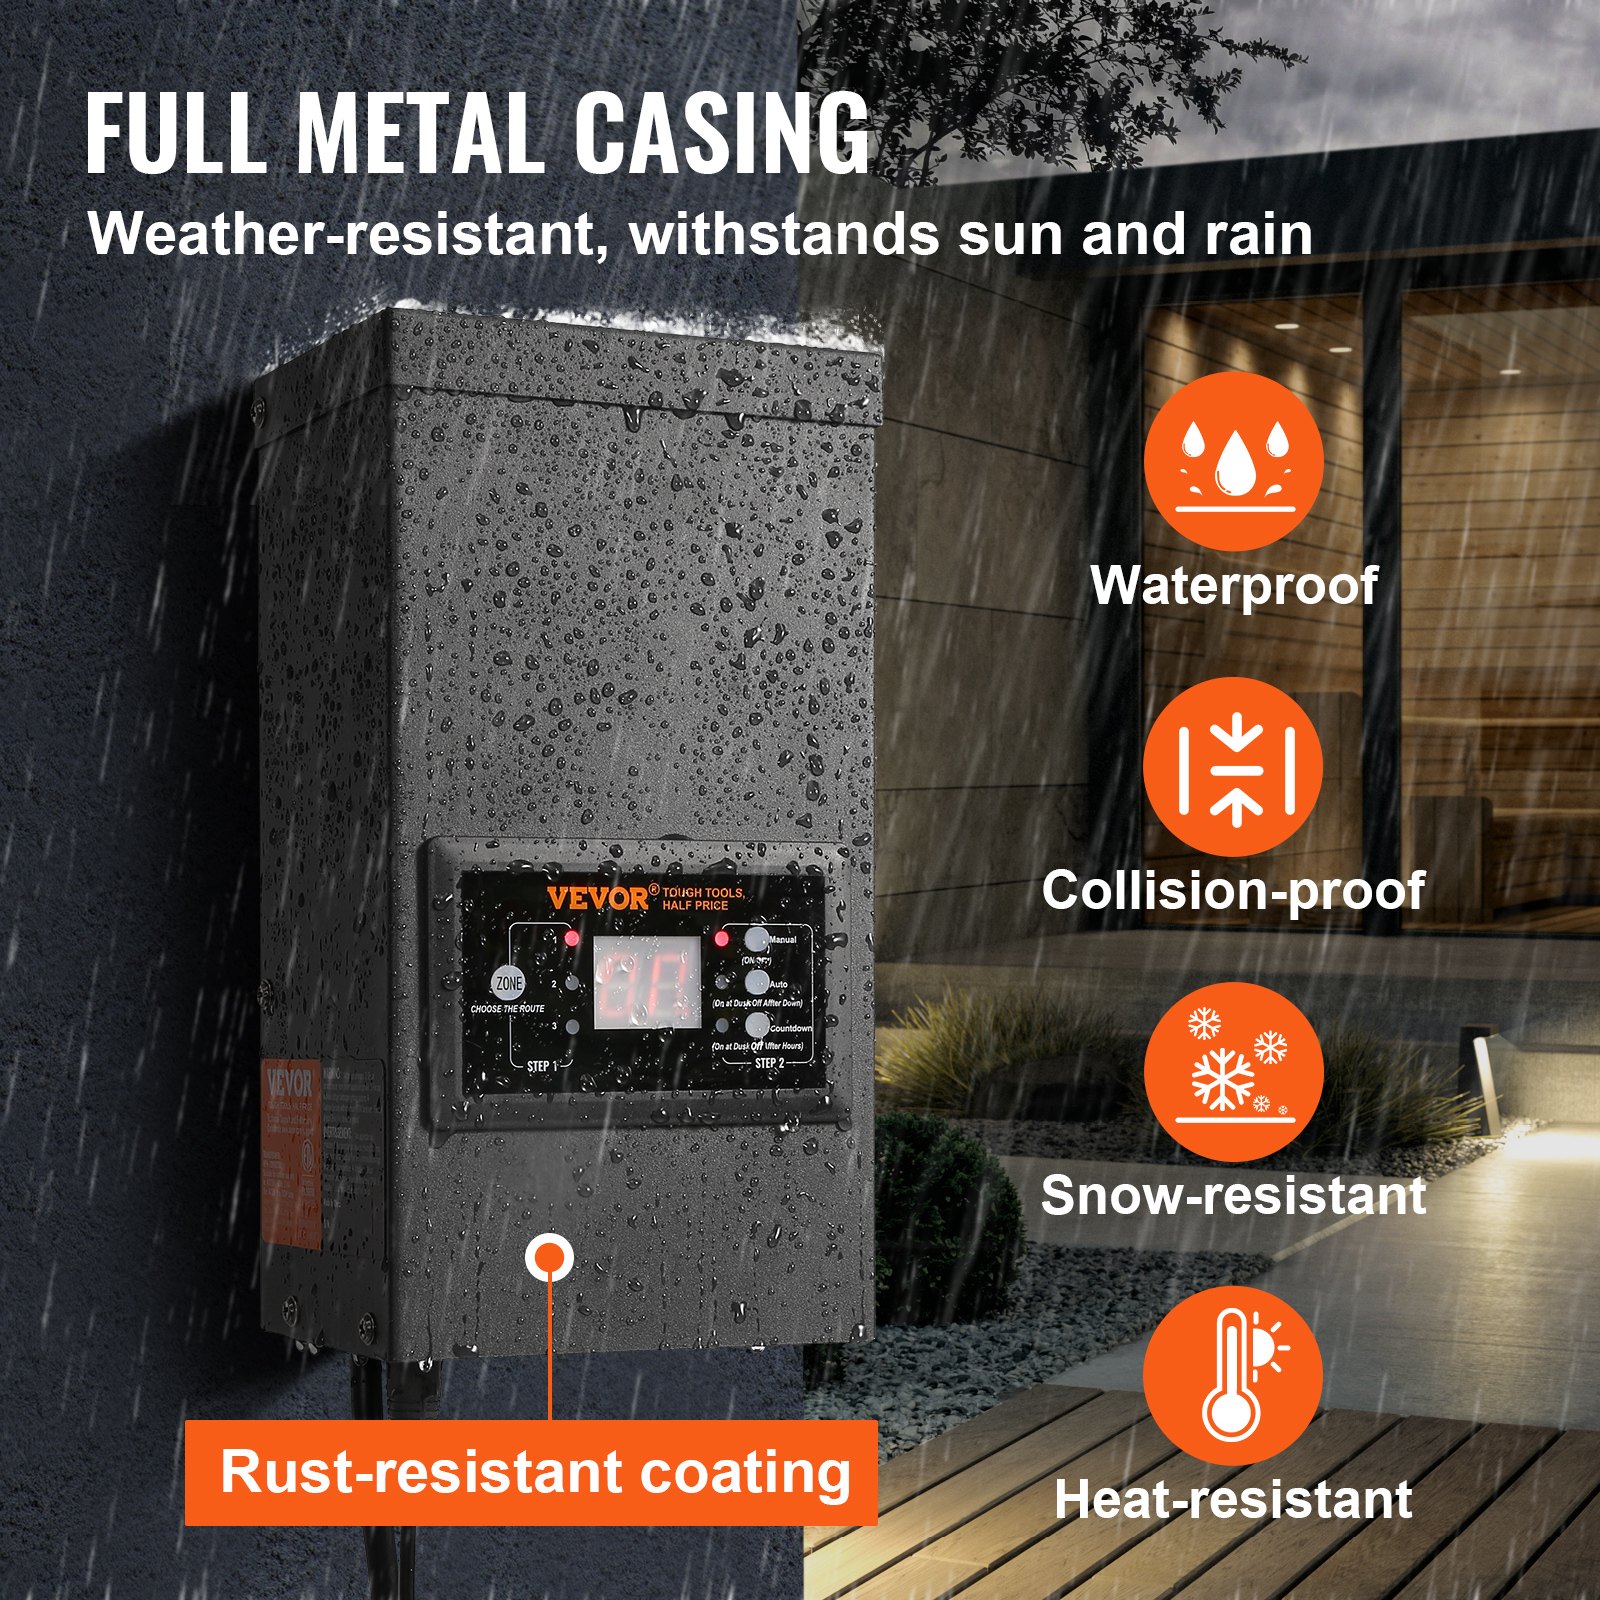
Unlock the full potential of your VEVOR 120W Low Voltage Landscape Transformer with our comprehensive product manual. This detailed guide is designed to simplify the setup, troubleshooting, and optimization of your waterproof landscape lighting transformer.
Whether you are installing a spotlight, pathway, or pool lights, our manual provides step-by-step instructions and expert tips to ensure a seamless experience.
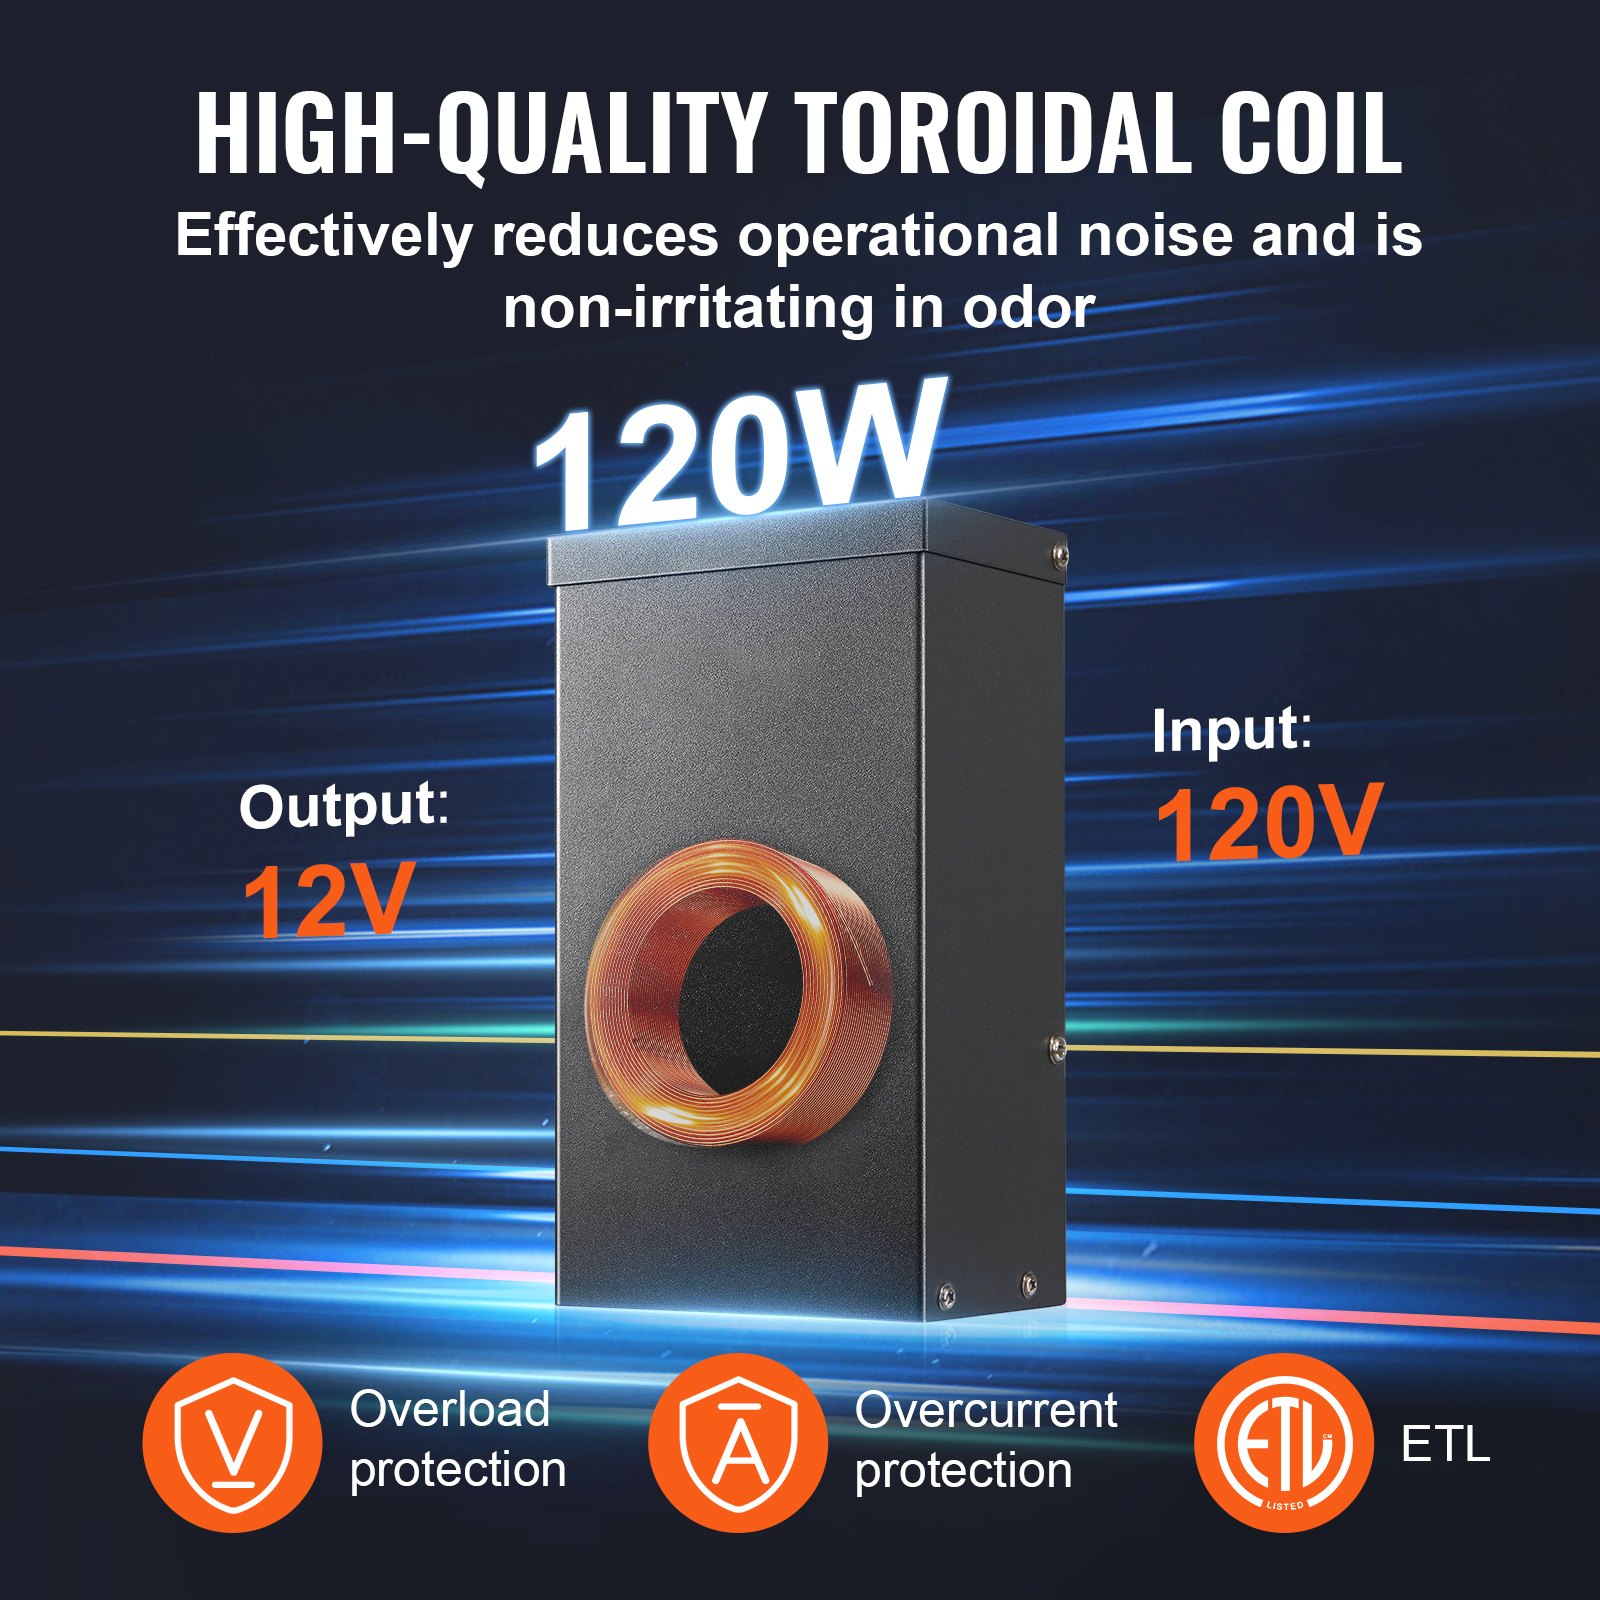
With a built-in timer and photocell sensor, this ETL-certified transformer converts 120V AC to 12V AC, making it perfect for all your outdoor lighting needs. Download now and enjoy hassle-free installation and optimal performance.
VEVOR Low-Voltage Landscape Transformer User Manual
MODEL: HPN-120GK2301 HPN-200GK2302 HPN-300GK2303HPN-600GK2306
Safety Information
IMPORTANT SAFETY INFORMATION TO REDUCE RISK OF FIRE OR INJURY
Do not install within 10 feet ( 3 m ) of a pool, spa, or fountain. For use with low-voltage outdoor landscape lighting systems only. There are no serviceable parts inside the power supply unit.
DO NOT DISASSEMBLE.
Do not submerge the transformer.
Do not connect two or more transformers in parallel.
Do not use it with a dimmer. Plug the power supply unit directly into a GFCI wet location outlet.
Do not use an extension cord. WARNING :
Changes or modifications to this unit not expressly approved by the party responsible for compliance could void the user’s authority to operate the equipment.
Note: This equipment has been tested and found to comply with the limits for a Class B digital device, pursuant to part 15 of the FCC Rules.
These limits are designed to provide reasonable protection against harmful interference in a residential installation. This equipment generates, uses, and can radiate radio frequency energy and, if not installed and used per the instructions, may cause harmful interference to radio communications.
However, there is no guarantee that interference will not occur particular installation. If this equipment does cause harmful interference to radio or television reception, which can be determined by turning the equipment off and on the user is encouraged to try to correct the interference by one or more of the following measures:
Reorient or relocate the receiving antenna. Increase the separation between the equipment and receiver.
Connect the equipment to an outlet on a circuit different which the receiver is connected.
Consult the dealer or an experienced radio
Pre-installation
WARNING. Before installing the Low Voltage Landscape Transformer;
Use only CSA or UL-approved low-voltage cable. Failure to use at least a 16-gauge minimum cable or install it as directed in these instructions may result in the Risk of Fire or Electric Shock. Using a large cable will ensure maximum light output.
Low Voltage Landscape Transformer Technical Parameters
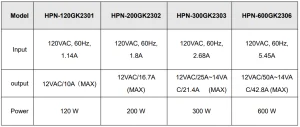
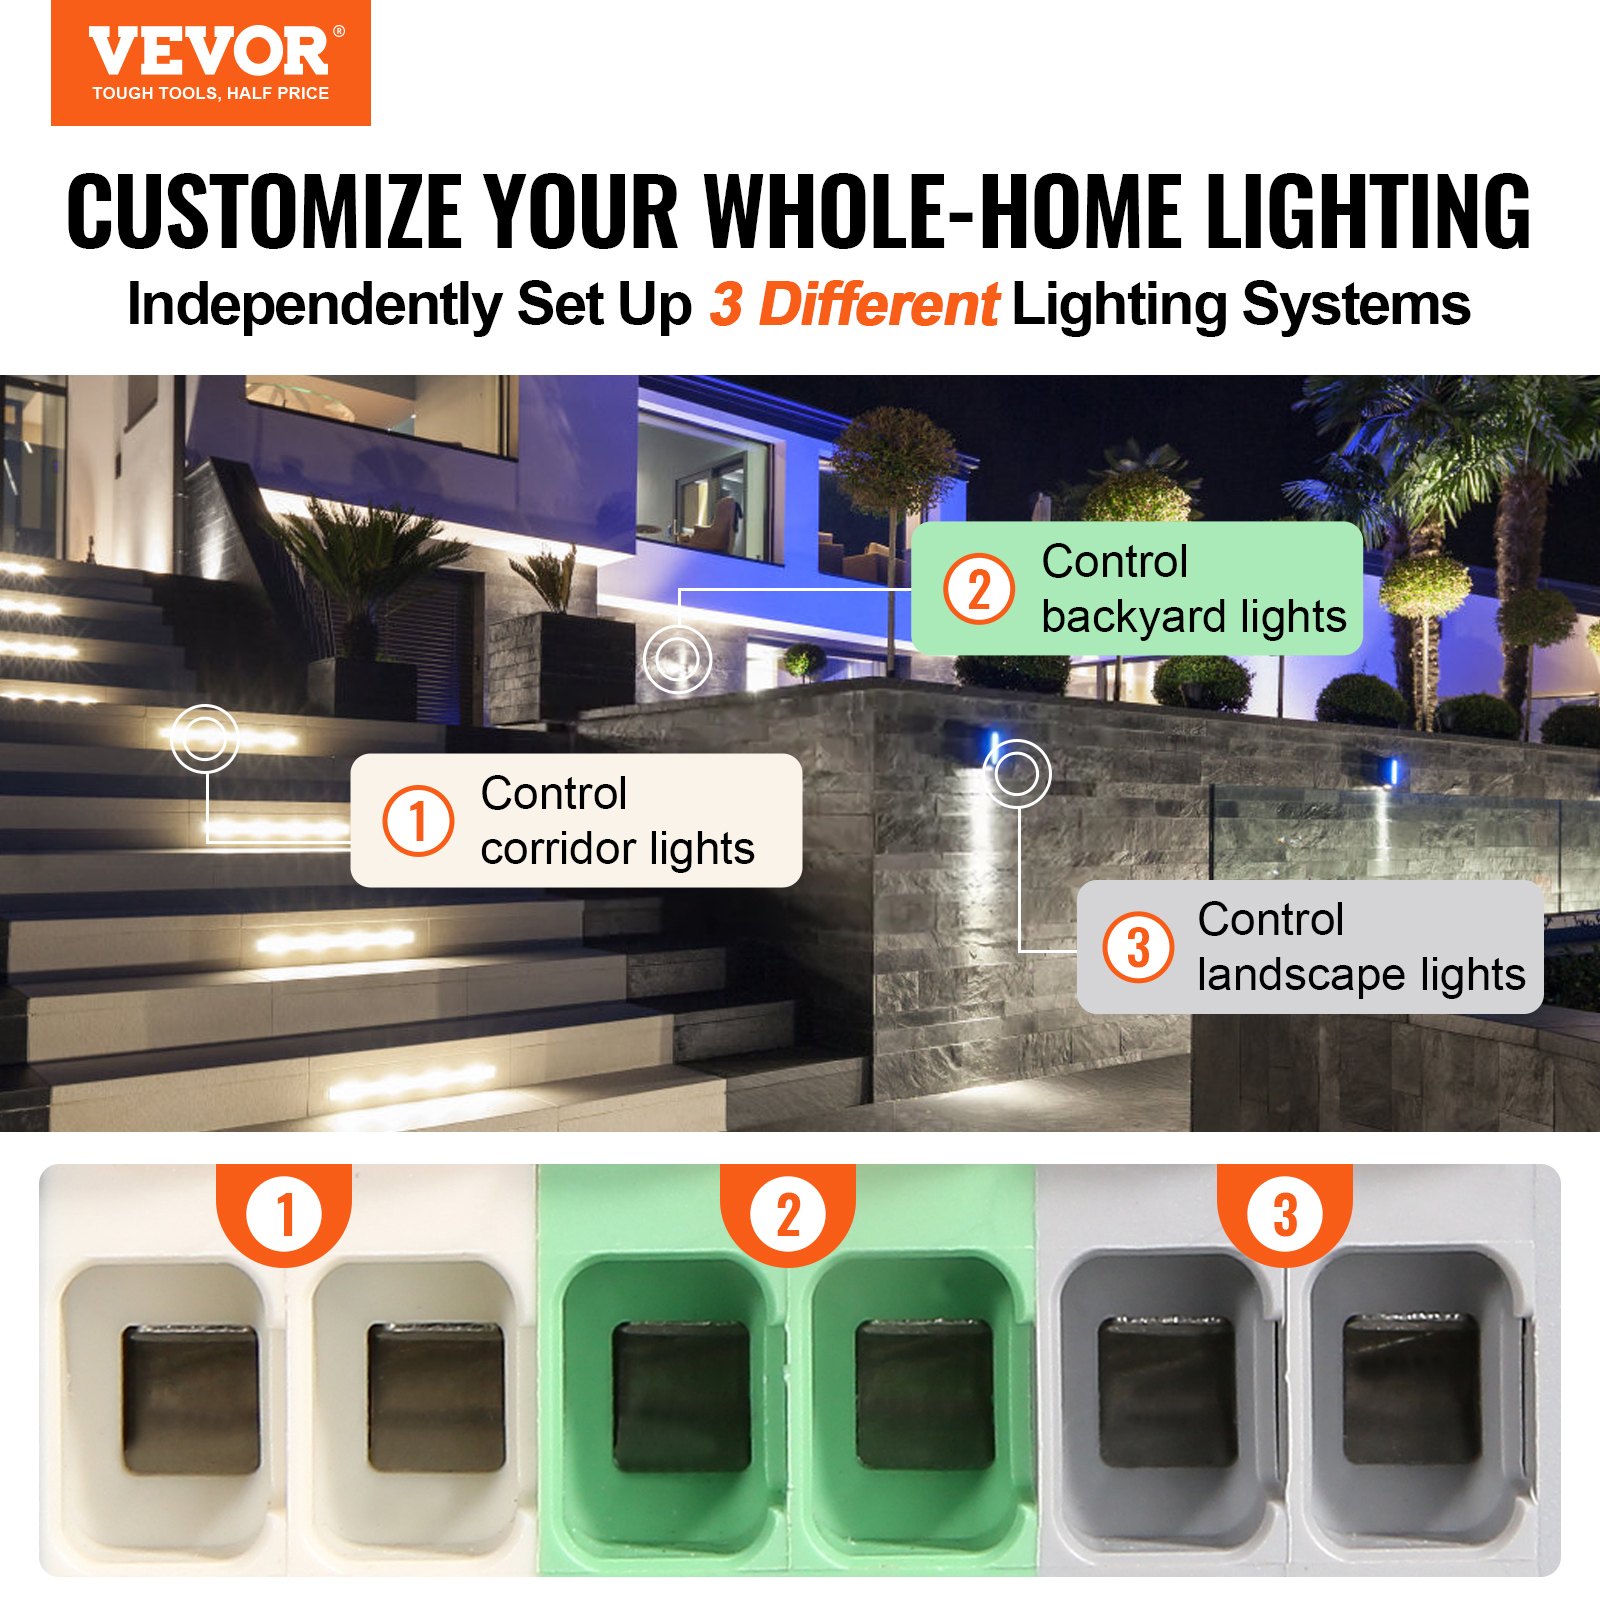
Note: The transformer has three sets of outputs, with each set of power accounting for one-third of the total power.
For example:
- The total power is 120W, and each output cannot exceed 40W
- The total power is 200W, and each output cannot exceed 66W.
- The total power is 300W, and each output cannot exceed 100W.
- The total power is 600W, and each output cannot exceed 200W.
Tools Required

Hardware Included
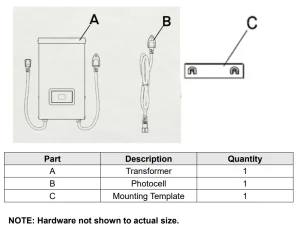
Low Voltage Landscape Transformer Installation
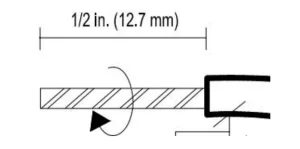
1. Preparing the Cable
Being careful when splitting, NOT to expose the copper wire, remove the landscape wire insulation 1/2 in. from both wires, and twist ends.
2. Connecting the Cable to the Transformer
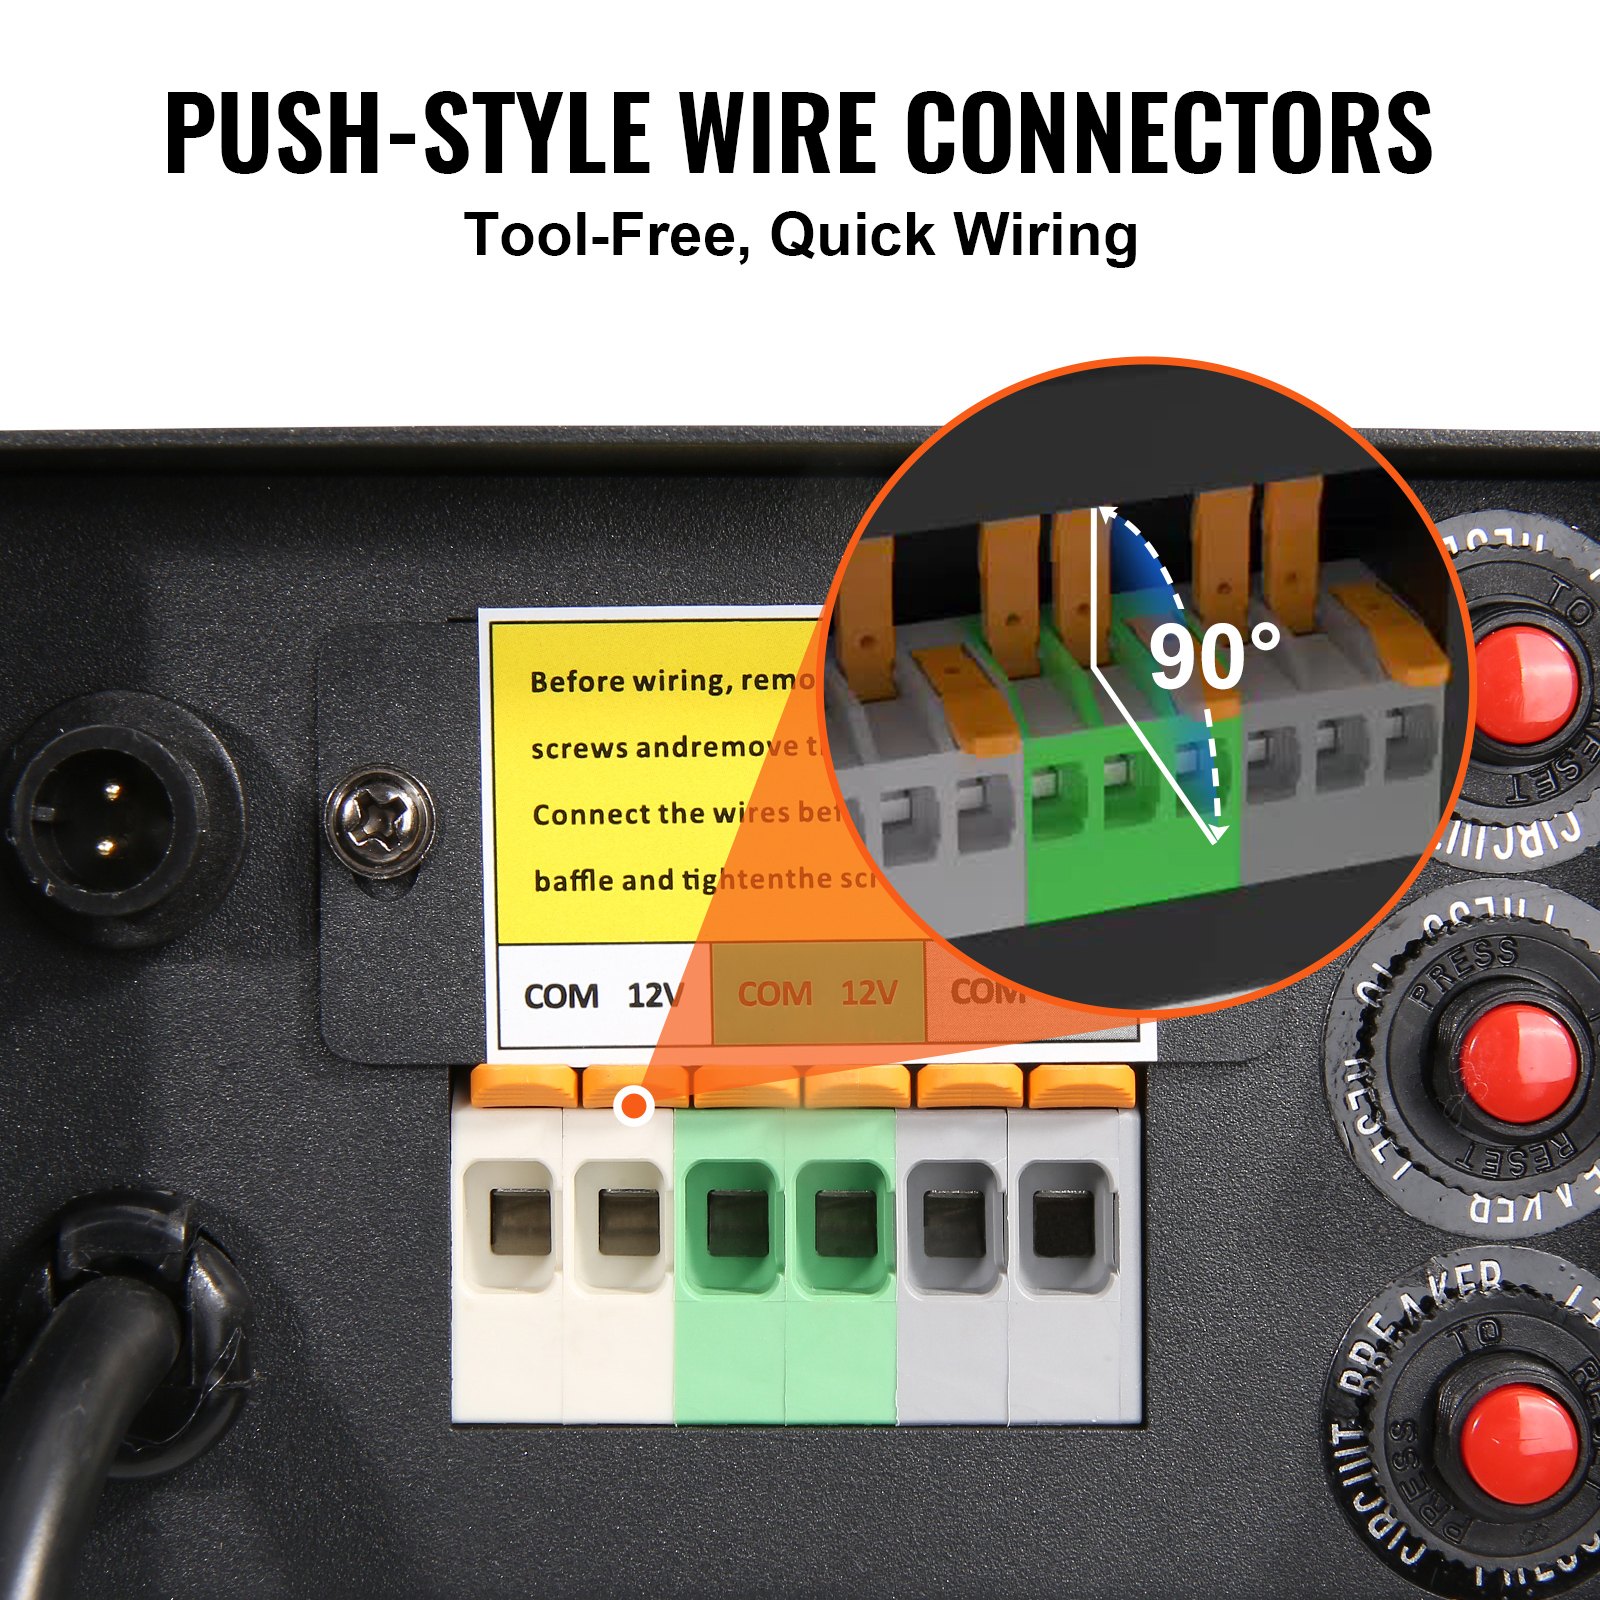
Lay the transformer on a flat, stable surface and insert the stripped end of one wire under the terminal clamping plate “COM”. Repeat this procedure for the clamping plate “12V” or “14V”.
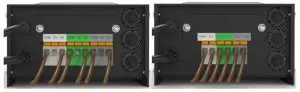
NOTE: Gently pull on the landscape wire to verify if the connection is strong.
3. Placing Your Fixtures and Routing the Cable
Lay your fixtures (not included) out where you want to locate them. Be sure they do not exceed the rating of the transformer. Route the low-voltage cable to the fixtures. If there is extra cable, coil it after the last fixture.
WARNING: Risk of Fire
Be sure to leave a minimum of 10 feet (3m) of wire between the power pack and the first fixture.
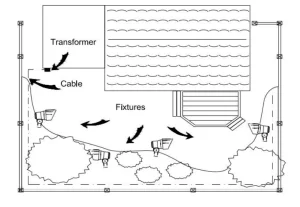
4. Attaching Your Fixtures
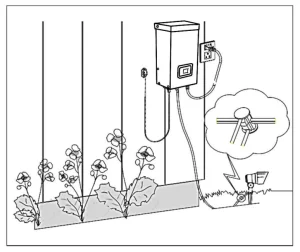
Turn the transformer on. Attach your fixtures to the cable connectors as shown. Place one connector on each side of the cable, then press together to lock. Prongs will pierce the cable to make contact, and your fixtures should light up. Turn the transformer on.
Attach your fixtures to the cable using the cable connectors as shown. Press the connector tightly onto the cable until the prongs pierce the cable insulation. The fixtures should light on.
5. Mounting the Low Voltage Landscape Transformer
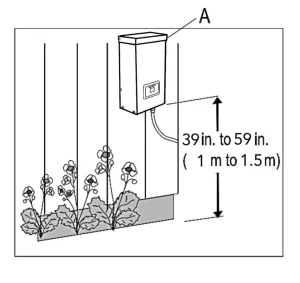
To mount directly to a wall surface, use the included screws as shown, suitable for mounting within 39 in. to 59 in. (1 m to 1.5 m) of the ground.
When installing the screws, the spacing between the. Hang the transformer (A) onto the screws.
6. Mounting the Photocell
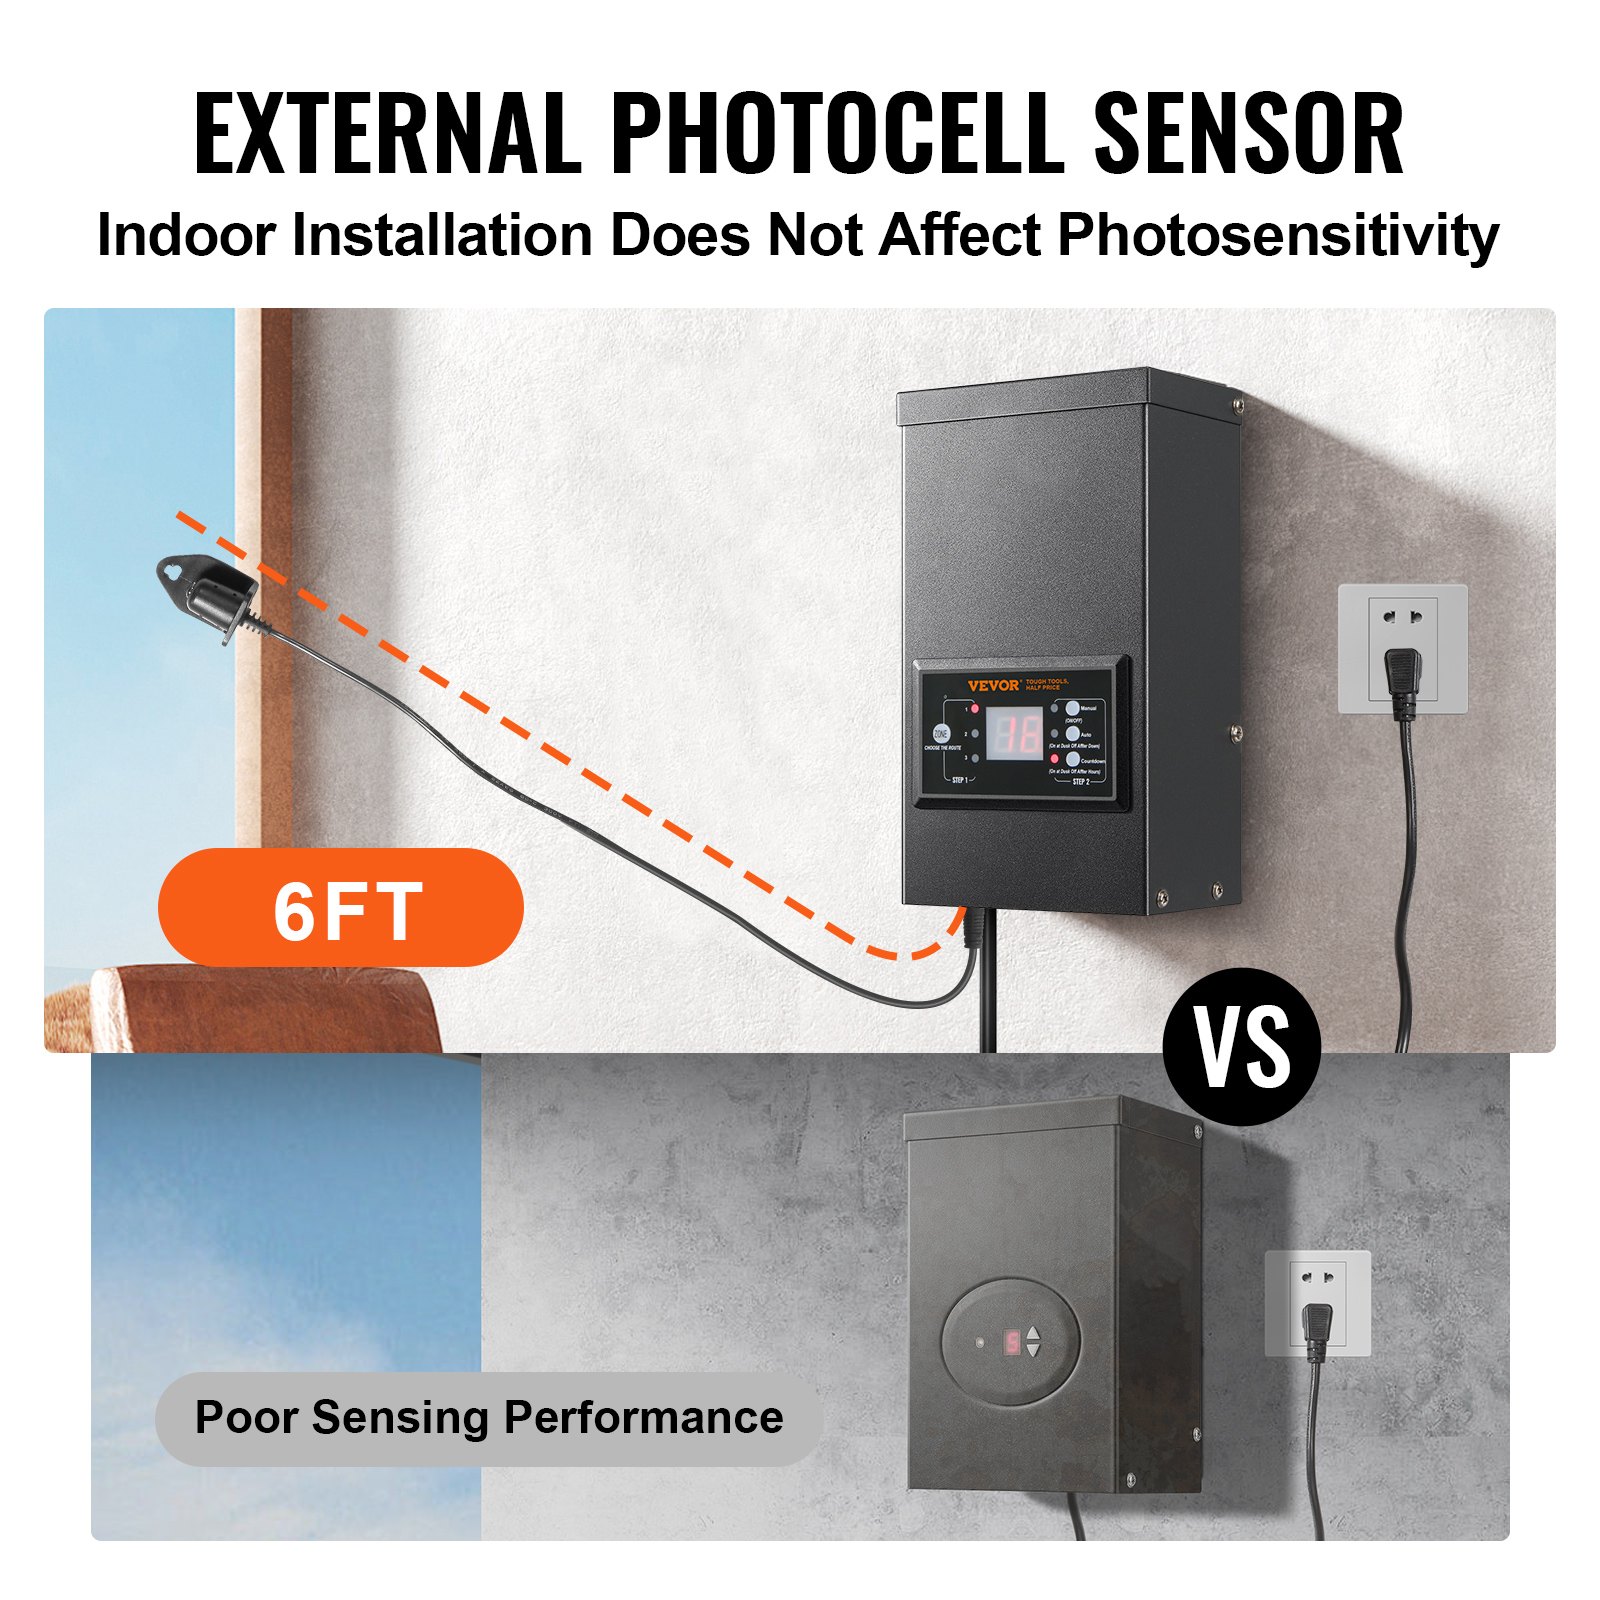
Mount the photocell (B) bracket on a wall or other solid surface. Snap the sensor into the bracket. Route or coil the excess wire to protect it from lawn mowers, trimmers, etc. Avoid pointing the sensor at nighttime light sources such as windows, porch lights, and street lights.
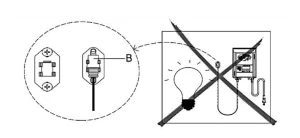
Placing the sensor in areas receiving less sunlight at dusk (east side of house, behind trees and bushes, under a deck) will have the transformer come on earlier in the evening. Mounting the photocell in brighter locations will have the transformer to come on when it becomes darker out. The location, position, and orientation of the photocell can be adjusted until the transformer turns on at the desired light level.
If the wires to the photocell are cut or broken, the photocell can be replaced. Unscrew the photocell connector cover from the transformer and pull the bi-pin connector out of the mating socket. The replacement part is inserted into the socket and the capisscrewedback onto the socket to provide a water-tight connection.
Note that the bi-pin connector is polarized and can be inserted into the socket only one way. A replacement photocell is available in the store.
7. Protecting or Hiding the Cable
Once all fixtures are in place and you are satisfied with their locations, the cable may be covered with mulch or buried up to 6 in. (15 cm) deep. Leave about 12 in. (30 cm) of cable after the last fixture.
WARNING: Risk of Fire
Do not coil the cable around the transformer. Total bulb wattages must not exceed the maximum power of the transformer.
Low Voltage Landscape Transformer Operation
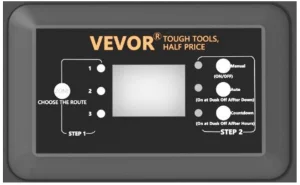
1. Operating in Manual Mode
This setting allows you to immediately turn the lights on and turn them off when you no longer need them
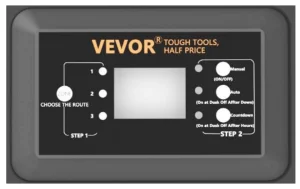
- STEP 1 Press ZONE Select the line that needs to be manually set (a total of 3 lines).
Each time you press ZONE, the indicator light will cycle on, and the corresponding line indicator light will illuminate to indicate that the line is selected. - STEP 2 Press MANUAL. The MANUAL mode is now activated
2. Setting PHOTOCELL AUTO ON / OFF
This setting allows the photocell to turn the lights on at dusk and off at dawn
- STEP 1 Press ZONE Select the line that needs to be manually set (a total of 3 lines). Each time you press ZONE, the indicator light will cycle on, and the corresponding line indicator light will illuminate to indicate that the line is selected.
- STEP 2 Press AUTO until the AUTO LED indicator is lit. The PHOTOCELL AUTO ON / OFF mode is now activated. The digital display shows AU.
3. Setting PHOTOCELL ON / TIME OFF
This setting allows the photocell to turn the lights on, and you set the time they go off
- STEP 1 Press ZONE Select the line that needs to be manually set (a total of 3 lines). Each time you press ZONE, the indicator light will cycle on, and the corresponding line indicator light will illuminate to indicate that the line is selected.
- STEP 2 Press COUNTDOWN until the COUNTDOWN LED indicator is lit. The COUNTDOWN mode is now activated.
- Press COUNTDOWN to select the time, with a time step of 1 and a maximum setting of 12H.
NOTE: When encountering a sudden power outage and power is restored, the transformer will repeat the previous settings. If changes are needed, you will need to manually reset the desired mode.
Troubleshooting the Low Voltage Landscape Transformer
NOTE:
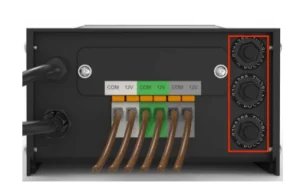
The buttons in the red box are three circuit protectors, corresponding to 1,2, and 3 from bottom to top. When the button protrudes, it represents the corresponding output overload protection.
After adjusting the load, press the corresponding button to reset.
Recommended For Your Project
VEVOR 120W Low Voltage Landscape Transformer Manual



Reviews
There are no reviews yet.