
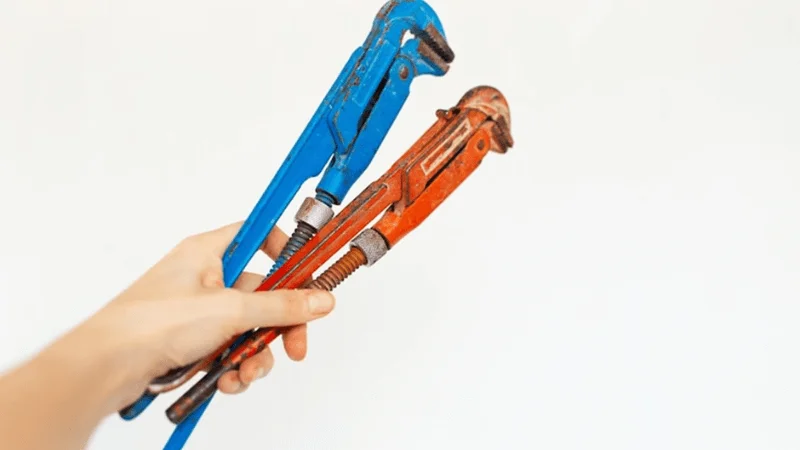
A plumbing crimp tool might look intimidating, but it’s actually one of the simplest tools you’ll ever use for plumbing work. It helps you create secure, leak-free connections between pipes and fittings in no time. If you’re new to this, don’t worry! With just a few steps, you’ll be crimping like a pro.
Tools and Materials for Plumbing Crimping
Before you start crimping, it’s important to gather the proper tools and quality fittings. Having everything ready will save you time and ensure your connections are secure.
Essential tools: plumbing crimp tool, PEX crimp tool, and compatible jaws
The star of the show is the plumbing crimp tool. If you’re working with PEX tubing, you’ll need a PEX crimp tool kit with the right-sized jaws. These jaws are interchangeable and must match the size of your crimp rings and fittings. Ensure you double-check compatibility before beginning.
Materials: crimp rings, fittings, and pipes (PEX or copper)
You’ll need crimp rings and fittings that match your pipe type. For PEX tubing, use PEX fittings and crimp rings designed for PEX. If you’re working with copper pipes, you’ll need copper press fittings and copper crimp rings. Always select materials that are durable and specifically suited for your plumbing project.
Additional tools: pipe cutter, deburring tool, measuring tape, and marker
A clean cut is crucial for a leak-free connection. Use a pipe cutter to trim your PEX tubing or copper pipes to the correct length. A deburring tool smooths out rough edges, ensuring a snug fit for your fittings. A measuring tape and marker help you measure and mark your pipes accurately.
Testing tools: go/no-go gauge for leak verification
Once you’ve crimped your connection, you’ll need a go/no-go gauge to test it. This handy tool checks if your crimp is tight enough to prevent leaks. It’s a small step that makes a big difference in ensuring your plumbing system works perfectly.
You can also use an electric crimping tool. By gathering these tools and materials, you’re setting yourself up for success. With the right preparation, you’ll find that crimping is easier than you think!
Preparing Pipes and Fittings
Getting your pipes and fittings ready is a crucial step in the crimping process. Follow these steps to ensure everything is set up for a secure and leak-free connection.
Measure and mark the pipe for accurate cutting
Start by measuring the length of pipe you need. Use a measuring tape to get the exact length, and mark the spot with a marker. This ensures you cut the pipe to the correct size. If you’re working with PEX tubing, make sure to account for the fitting length when measuring.
Cut the pipe cleanly with a pipe cutter
Use a pipe cutter to make a clean, straight cut. Place the cutter on the marked spot, tighten it slightly, and rotate it around the pipe. Tighten a little more after each rotation until the pipe is cut. This method works well for both PEX and copper pipes. A clean cut is essential for a proper seal.
Deburr the pipe edges for a smooth connection
After cutting, you’ll notice rough edges or burrs on the pipe. These can prevent a snug fit and may cause leaks. Use a deburring tool to smooth out the edges. For PEX pipes, this step is quick and easy. When preparing to copper pipe crimp tool, take extra care to remove all burrs for a secure and perfect connection.
Position the crimp ring or sleeve on the pipe
Slide the crimp ring or sleeve onto the pipe before inserting the fitting. Position it about 1/8 to 1/4 inch from the end of the pipe. This placement ensures the ring will compress properly when you use the crimp tool. For PEX tubing, make sure the ring is aligned evenly around the pipe.
By following these steps, you’ll have your pipes and fittings perfectly prepared for crimping. Taking the time to do this right will save you from headaches down the road.
Using the Crimping Tool for Plumbing
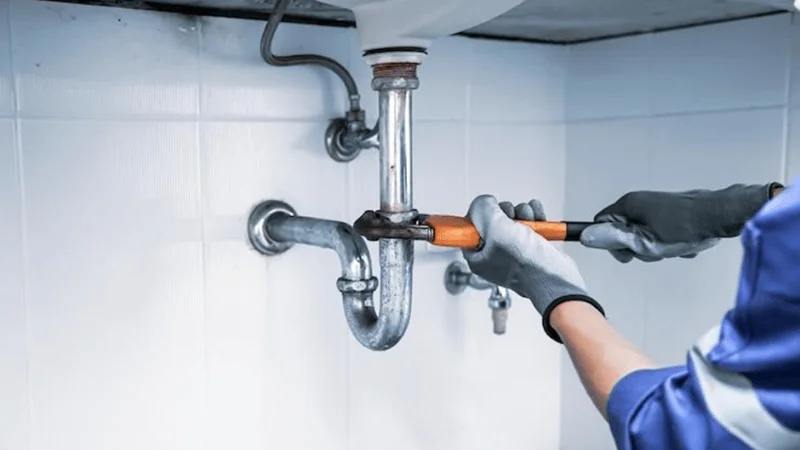
Now that your pipes and fittings are ready, it’s time to put the plumbing crimp tool to work. This step is where everything comes together, so follow along carefully to create secure and leak-free connections.
Select the correct jaw size for the crimp tool
The first step is to select the correct jaw size for your plumbing crimp tool. The jaw size must match the diameter of your crimp rings and the type of pipe you’re working with, whether it’s PEX or copper.
For example, if you’re using 1/2-inch PEX tubing, you’ll need a jaw designed for 1/2-inch crimp rings. Double-check the size markings on the jaws to ensure a proper connection.
Attach the jaw securely to the tool
Once you’ve selected the correct jaw, attach it to your plumbing crimp tool. Most tools have a simple mechanism, like a pin or latch, to secure the jaw in place. Make sure it’s locked tightly to prevent it from slipping during use. A loose jaw can lead to uneven pressure and a poor seal. If you’re using a PEX crimp tool, ensure the jaw is aligned correctly for smooth operation.
Position the fitting and crimp ring correctly on the pipe
Next, slide the crimp ring onto the pipe if you haven’t already. Then, insert the fitting into the pipe until it’s fully seated. The crimp ring should sit about 1/8 to 1/4 inch from the edge of the pipe, covering the fitting’s barbs or ridges.
This placement ensures the ring compresses evenly, creating a strong connection. For copper pipes, make sure the fitting is snug and the ring is positioned precisely.
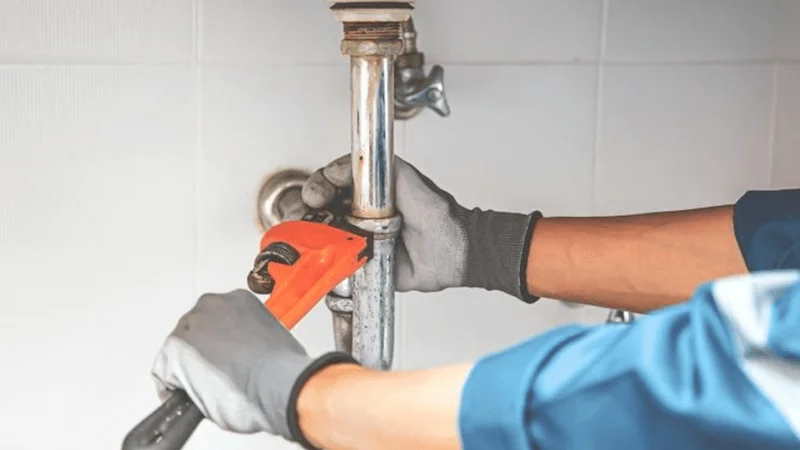
Align the crimp tool over the ring and apply pressure
Now comes the fun part—crimping! Open the jaws of your plumbing crimp tool for copper pipe and position them over the crimp ring. Make sure the tool is centered on the ring for even compression. Once aligned, squeeze the handles firmly until the tool completes the crimp.
You’ll feel the resistance ease up when the crimp is done. If you’re using a PEX crimp tool, the process is the same—just ensure the tool closes completely for a proper seal.
Inspect the crimped connection for proper sealing
After crimping, take a moment to inspect your work. The crimp ring should sit tightly around the pipe without any gaps. Verify that the fitting remains aligned and hasn’t shifted during the process. If you’re working with copper pipes, look for a uniform crimp with no visible deformities. A quick visual check can save you from potential leaks later.
By following these steps, you’ll master the art of using a plumbing crimp tool in no time. Whether you’re working with PEX or copper, taking your time to align and crimp properly will result in durable, leak-proof connections.
Ensuring Leak-Free Fittings
Creating leak-free connections is the ultimate goal of using a plumbing crimp tool. After crimping, you need to test and inspect your work to ensure everything is secure and ready for use. Here’s how you can confirm your fittings are tight and reliable.
Test the crimp with a go/no-go gauge
The go/no-go gauge is your best friend when it comes to checking crimp quality. This small tool helps you verify whether the crimp ring has been compressed correctly. To use it, slide the gauge over the crimp ring. If the ring fits into the “go” slot, your connection is good to go.
If it fits into the “no-go” slot, the crimp is either too loose or too tight. For copper pipe connections, the gauge works the same way. It ensures the crimp ring is seated correctly and the fitting is securely in place. If the crimp fails the test, you’ll need to redo it.
Visually inspect the fitting for alignment and tightness
After testing with the go/no-go gauge, take a moment to visually inspect the fitting. Look closely at the crimp ring and the pipe. The ring should sit evenly around the pipe, with no gaps or uneven compression. Check that the fitting hasn’t shifted during crimping.
For copper pipe connections, ensure the fitting is snug and properly aligned. Misaligned fittings can weaken the connection and lead to leaks. If you notice any issues, it’s better to fix them now than deal with problems later.
Perform a pressure test to confirm no leaks
Once you’ve tested and inspected your fittings, it’s time for the final step: the pressure test. To perform a pressure test, connect your pipes to a water source and gradually increase the pressure. Watch for any signs of leaks around the fittings.
When working with copper pipe connections, pay close attention to the crimp rings and fittings. Copper is durable, but even small gaps can cause leaks when subjected to pressure. If you spot a leak, turn off the water and recheck your crimped connection.
To Sum Up:
Mastering a plumbing crimp tool is easier than it seems. Start by gathering the right tools and materials. Prepare your pipes carefully, crimp with precision, and test for leaks. Practice on spare pipes to build confidence. You’ll get better with every attempt. Whether you’re working with PEX or copper, you’ve got this!
FAQ
What size crimp tool should I use?
Select a crimp tool that matches the size of your pipe and crimp ring. For example, use a 1/2-inch tool for 1/2-inch PEX tubing.
Can I reuse crimp rings?
No, crimp rings are single-use. Once crimped, they can’t be removed or reused. Always use a new ring for each connection.
How do I know if my crimp is tight enough?
Use a go/no-go gauge to check. If the crimp fits into the “go” slot but not the “no-go” slot, it’s perfect!


