
Starting with a sewer inspection camera may feel a little intimidating at first, especially if you are new to the process. You might worry about damaging the equipment or not knowing how to use it properly. The good news is that learning to operate these tools is easier than it seems. By following the right pipe inspection camera tips for beginners, you can avoid costly mistakes and complete inspections safely.
With gentle handling, proper setup, and attention to safety rules, you’ll quickly gain confidence. Using inspection cameras the right way ensures accurate results and smooth, stress-free inspections every time.
Pipe Inspection Camera Tips for Beginners
Learning how to use a pipe inspection camera can feel overwhelming at first. With the right approach, though, even new users can handle inspections with ease. Choosing the correct camera, making sure it matches your pipes, and getting clear images are all key steps. This section will walk you through the basics and help you feel confident as you start. By following these ideas, you can find the best pipe inspection camera for beginners and use it without stress.
How to Choose the Right Camera
The first step is selecting a camera that fits your work. A camera head that is too large will not fit into small pipes, while one that is too small may not show you enough detail. Choosing the right size ensures your inspections are clear and safe. Look for a waterproof and durable model, since sewer pipes can be harsh environments. A strong camera will last longer and save you money in the long run.
It is also important to choose a system with simple controls. Easy-to-use buttons help new users avoid mistakes. Many people find that a user-friendly design is less stressful to learn. If you can, ask for a demo or short training session before using the tool. This will give you a step-by-step guide to using a pipe inspection camera and help you avoid early mistakes.
How to Check Pipe Compatibility
Once you have chosen a camera, the next step is making sure it matches your pipes. Pipes come in different shapes, sizes, and materials. Some are narrow and bend a lot, while others are wider and more rigid. If your camera cannot move through them properly, it might get stuck or miss important areas. Always think about both the diameter and the material before you begin.
Metal pipes may need a sturdier system, while plastic pipes often require flexibility. Picking the right setup keeps your equipment safe and improves results. Remember, when learning how to use a pipe inspection camera, matching it to the right type of pipe is just as important as buying the right model. This way, inspections go smoothly and you avoid damage.
Check Image Quality
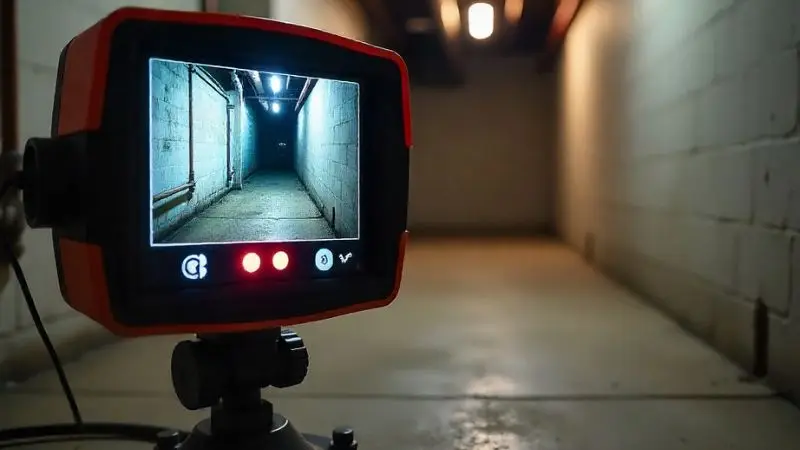
Even with the right camera and pipe fit, your results depend on image quality. A sewer inspection camera must give clear pictures so you can see cracks, leaks, or clogs. Without sharp images, you may miss serious problems. That’s why resolution and lighting matter so much during inspections. Many cameras come with LED lights, but you should still test them before starting.
Learning how to check pipes with a drain camera also means adjusting settings for the best view. Good lighting and high resolution work together to reveal hidden details. Testing before each job helps you avoid surprises. With practice, you will feel more confident and soon handle every inspection like a pro. A reliable pipe inspection camera for beginners gives you both clarity.
How to Prepare for an Inspection
Before starting any inspection, it’s important to make sure your equipment is ready. Small issues, like a weak battery or a dirty camera head, can cause big problems later. Preparing ahead saves time and prevents interruptions. By taking just a few minutes to check everything, you’ll avoid delays and ensure smoother results. For anyone new to the process, this preparation is a vital part of learning how to use a pipe inspection camera the right way.
Do a Complete Equipment Check
Always examine your camera before each job. Look at the camera head to make sure there are no cracks, dirt, or signs of damage. Check the cable carefully, since cuts or sharp bends can weaken it over time. Turn on the monitor to confirm it works and shows a clear image.
Even small issues can affect your inspection, so it’s best to fix them early. When you are just starting out, these habits will help you get comfortable with the best pipe inspection camera for beginners and make your work smoother.
Charge and Calibrate Before Every Use
Your inspection can only run as long as your battery does, so always charge your camera fully before use. If your system uses replaceable batteries, bring extras with you. A dead battery not only wastes time but also interrupts your inspection in the middle of a job.
Along with power, you should also calibrate your camera. Calibration ensures that the colors and images you see on the screen are true and sharp. Following your user manual is key here. By preparing your system this way, you’ll follow a solid step-by-step guide to using a pipe inspection camera with reliable results.
Make Sure Lighting Is Ready
Lighting is just as important as resolution when it comes to pipe inspections. Most cameras come with built-in LED lights, but you should always test them before starting. Turn them on and check if they provide enough brightness for dark or dirty pipes.
Adjust the settings so cracks, leaks, or clogs are easy to see. If your lights are not working, replace them or add extra lighting. Good lighting not only makes inspections clearer but also helps you learn how to check pipes with a drain camera effectively. With practice, you’ll quickly see how much difference proper lighting makes.
Tips for Using a Sewer Inspection Camera
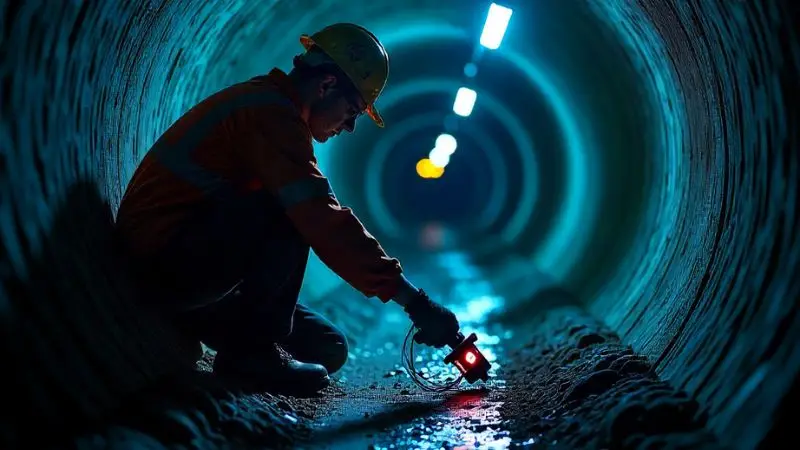
Once your equipment is ready, the next step is learning the right way to handle it during inspections. The way you move, position, and guide the camera directly affects the results you see. Beginners often make small mistakes that lead to poor images or even damage to their equipment. By taking your time and focusing on careful handling, you can avoid problems and improve accuracy. These tips will help you feel confident as you learn how to use a pipe inspection camera step by step.
Move the Camera Gently and Slowly
Moving the camera with care is one of the most important habits to develop. Quick or jerky movements inside a pipe can blur the image and cause you to miss small cracks or leaks. In some cases, rushing can even damage the camera head or cable.
That’s why steady, slow motions are recommended. By guiding the camera gently, you’ll get a clearer picture of what’s happening inside the pipe. For new users, slow handling makes the job easier and builds confidence when using the pipe inspection camera for beginners.
Keep the Camera Positioned Correctly
Positioning the camera correctly gives you the best view of the pipe. Keep the camera straight and centered so you can see the full area rather than just one side. Hold the cable loosely and adjust angles as needed while moving forward.
Many cameras include guides or small markers that help you stay aligned. By paying attention to your monitor, you can see right away if the view needs adjusting. Practicing good positioning is an important part of any step-by-step guide to using a pipe inspection camera, since it ensures nothing is missed during inspection.
Never Force the Camera Through Blockages
A sewer inspection camera is designed to capture images, not to clear blockages. Forcing it through a clog or tight bend can break the lens or cable, leading to costly repairs. If you feel resistance, it’s better to stop, pull back, and address the blockage with the right plumbing tools first.
This careful approach protects your equipment and makes the inspection safer. When learning how to check pipes with a drain camera, patience is key. Treating the device gently will keep it working longer and help you get reliable results for every job.
How to Keep Your Camera Clean
Taking care of your inspection camera is just as important as using it correctly. After every job, dirt, grease, or moisture can remain on the camera and cable. If not cleaned and stored properly, these can cause damage and reduce the quality of your inspections.
With simple cleaning and safe storage, you can protect your investment and ensure the equipment lasts longer. For anyone starting out with a pipe inspection camera for beginners, building these habits early will make every inspection smoother.
Clean the Camera After Every Use
Always clean your camera once the inspection is complete. Wipe the camera head and cable gently with a soft cloth or sponge dipped in warm water. Pay extra attention to the lens, since even a thin layer of grime can block your view the next time you use it.
Avoid scrubbing too hard, as this can scratch the surface and reduce image clarity. Consistent cleaning after each job keeps the equipment in top condition. When following a step-by-step guide to using a pipe inspection camera, regular cleaning is an important final step that should never be skipped.
Store the Camera Safely to Prevent Damage
Proper storage extends the life of your sewer inspection camera and keeps it ready for the next task. Coil the cable loosely to prevent bending or breaks, then place the unit in a cool, dry area. Using a protective case shields it from dust, impacts, and moisture.
Never leave the camera in direct sunlight or near heat, as this can damage sensitive parts. By making storage part of your routine, you’ll always be prepared when learning how to use a pipe inspection camera. A few simple steps today can save you costly repairs tomorrow.
Avoid Harsh Chemicals During Cleaning
When cleaning, always choose safe methods. Harsh chemicals can damage the seals, lens, and overall structure of the camera. Instead, use mild soap with water and a soft cloth. This gentle approach protects the camera while still removing dirt and buildup. Strong cleaners may seem effective, but they can shorten the lifespan of your equipment.
By keeping your methods simple, you ensure the camera stays reliable for every inspection. Understanding how to check pipes with a drain camera also means knowing how to maintain it afterward. Careful cleaning keeps your inspections sharp and your equipment ready.
Troubleshooting Pipe Inspection Cameras
Even with good preparation and careful use, problems can sometimes happen during inspections. Blurry images, weak batteries, or missing records can slow you down and cause frustration. Knowing how to troubleshoot these issues keeps your work on track and saves time.
For beginners, it’s important to learn how to solve these common challenges step by step. With the right habits, you’ll feel confident every time you handle the best pipe inspection camera for beginners.
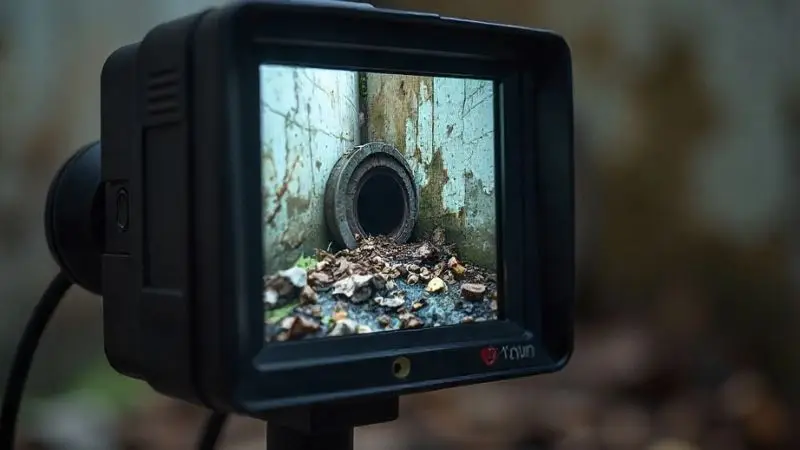
Fixing Blurry or Unclear Images
One of the most common problems is unclear or blurry images. This usually happens when the lens is dirty or when there isn’t enough light inside the pipe. Before starting, always check the lens of your camera and wipe it gently with a soft cloth. Make sure the built-in LED lights are working properly to brighten the view.
If the image still looks poor, inspect the cable for bends or damage, since this can affect the video signal. Testing the camera in a short pipe before a full job helps you spot issues early. These steps are part of learning how to check pipes with a drain camera effectively.
Preventing Battery Problems During Inspections
Another issue beginners face is battery failure. If your battery runs out during an inspection, your work comes to a sudden stop. That’s why it’s important to fully charge the camera before you begin. If your model supports replaceable batteries, carry spares to avoid downtime. In cases where the battery drains quickly, it may need to be replaced.
Always use the correct charger for your camera, since the wrong one can reduce battery life. Following this advice is an important part of a step-by-step guide to using a pipe inspection camera, helping you avoid interruptions.
Recording and Saving Inspection Results
Recording your inspection results is just as important as performing the inspection itself. Write down details such as the date, pipe size, and any problems you find. Many modern cameras allow you to capture images or videos directly onto a memory card.
Keeping these records makes it easier to compare results over time and share information with customers or your team. Organized notes also help you spot repeated issues and prepare better for future jobs. For anyone learning how to use a pipe inspection camera, good documentation is a habit that ensures professional and reliable work.
Wrap Up
Learning how to use a pipe inspection camera may seem tricky at first, but with the right approach, it becomes much easier. From choosing the right model to keeping it clean, every step matters. By following the pipe inspection camera tips for beginners, you can avoid mistakes, protect your equipment, and get clearer results. Whether you are just starting out with a pipe inspection camera for beginners or looking to improve, careful handling and good habits make all the difference. With practice, you’ll soon feel confident in how to check pipes with a drain camera.
FAQ
How do you know if your pipe inspection camera is waterproof?
Check the product label or manual. Look for an IP rating, such as IP67 or IP68. Waterproof cameras work well in wet conditions.
What should you do if your camera gets stuck in a pipe?
- Stop pushing the cable.
- Gently pull the camera back.
- If it does not move, call a professional for help.


