Cutting tiles accurately and neatly is a crucial skill that every worker must learn before undertaking any tile project. When working on any kind of tile, the right tools, techniques, and safety precautions are important to ensure accuracy and professional results.
This guide will tell you how to use a tile cutter safely, step-by-step, with tips you should follow. By the end of this, you will be able to cut tiles confidently, even if you are a beginner! Let’s dive into the details!
What Is a Tile Cutter?
A tile cutter is also called a manual core-and-snap cutter or tile cutter pen. It is operated by hand and used to cut ceramics and some porcelain tiles. It consists of a strong base plate to support the tile, a cutting wheel, a scoring handle and rail system, a breaker bar, and measurement guides for straight cuts.
As compared to a tile saw, tile cutters don’t require water, electricity, or a complex setup. They are quieter, cleaner, and cost-effective, especially for household work or professionals working on ceramics.
When it comes to working, they are best for:
- Ceramic tiles
- Thin porcelain tiles
- Straight cuts only
If your tiles are hard and thick, or you need to cut them in complex shapes, you need a tile saw for that.
How to use a Tile Cutter?
We will tell you how to use a tile cutter step-by-step below. You will learn how to cut ceramic tile by hand with these steps:
Prep the Tile and Working Area

Before you start cutting, follow these steps:
- Clean and clear your workplace
- Make sure the tile cutter is present on a flat, stable surface
- Remove dust and debris from the tile area
- Wear gloves and safety glasses for protection
A clean working place gives accuracy and prevents accidents and tile breakage caused by uneven places.
Pro tip: if you are cutting multiple tiles, organise them by size and kind for a faster workflow.
Measure and Mark the Cut Line
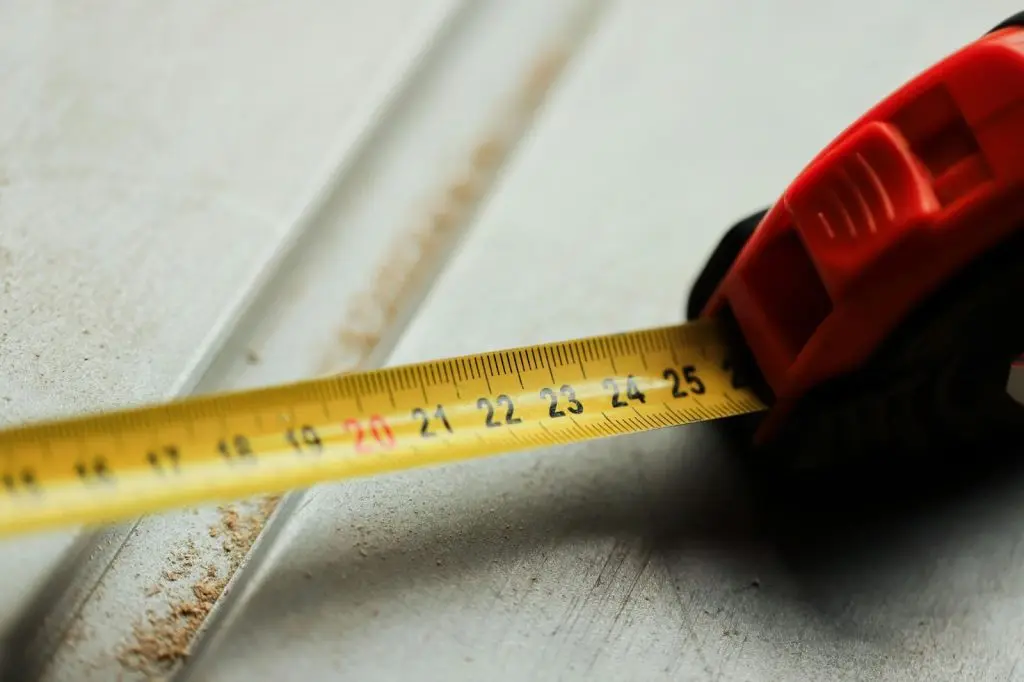
Accurate measurement is very important as it saves on wasted tiles. Here are the steps to follow:
- Use a measuring tape to determine the length of the tile to cut
- Use a pen or non-permanent marker for marking on the tile
- If the tiles are dark, use a white wax pencil for that
- Use a straight edge to keep the line perfectly straight
Always measure twice before cutting to avoid errors.
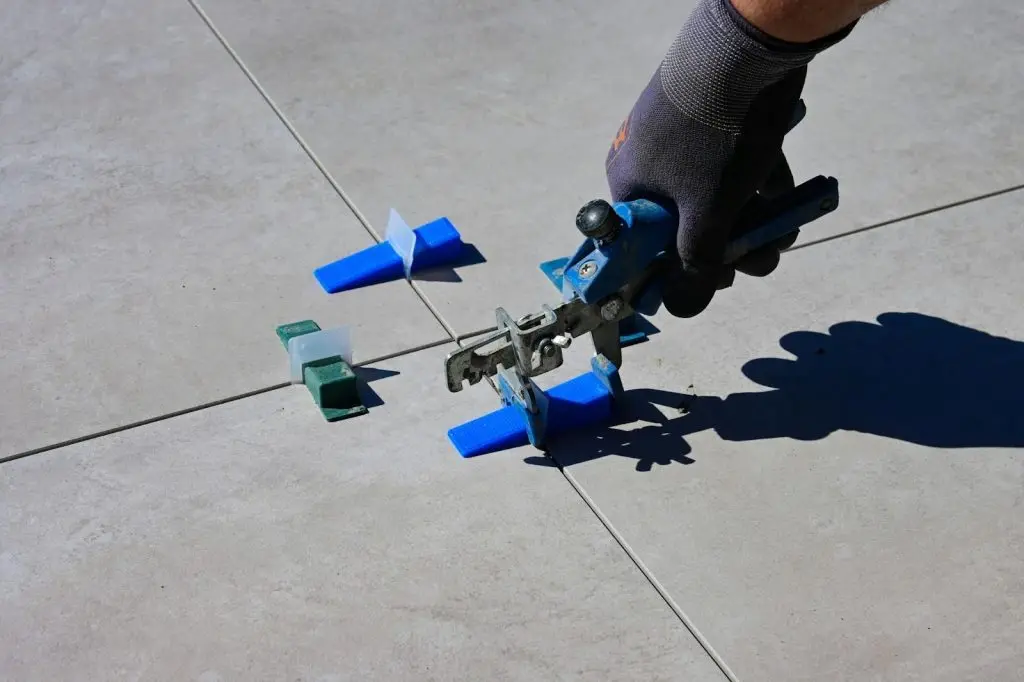
Position the Tile on the Cutter Base
Place the tile face-up on the cutter. Slide the tiles to see the marked lines matching the cutting wheel. Your tile should be placed on a smooth and flat surface to avoid cracking. If your cutter has a side fence, adjust it for repetitive cuts. Proper positioning is crucial for even scoring line.
Align the Cutting Wheel With the Mark
Proper alignment of the tile is necessary for accurate cutting. How to align correctly:
- Place the cutting wheel on the top of the tile
- Line it up accurately on the marked line
- Before cutting, check the alignment on both the top and bottom of the tile
A mistake of a few millimetres can break the tile unevenly.
Score the Tile in One Smooth Pass
Scoring means the scratching of the tile surface by the cutter to create a controlled breaking line. Here is how to use a tile cutter to score a tile correctly:
- Hold your hand firmly
- Pull the wheel across the tile with even and moderate pressure
- Make only one smooth pass. Avoid multiple scoring
If you score multiple times, it will cause uneven grooves. It weakens the glaze of the tiles and also increases the chance of chips and shattering. A crisp, clear scratching sound of the wheel is a good sign of proper scoring.
Pro tip: If you hear rattling or grinding, check the wheels. Perhaps they need cleaning or replacement.
Apply Pressure to Snap the Tile Cleanly
After scoring, it’s time to snap the tiles. For this, you will follow these steps:
- Place the breaker bar centred over the score line
- Apply firm and moderate pressure on the handle
- Make sure the tile snaps evenly with a neat edge
Do not slam or jerk the handle; only apply steady pressure. If the tile doesn’t snap clearly, the scoring line may be too light or uneven. Either the tile may have shifted, or the cutter is not strong enough for the tile’s hardness.
Smooth Edges and Finalize the Cut
After snapping, make the edges of the tiles smooth with the help of these materials:
- Rubbing stone
- Tile filer
- Fine-grit sandpaper
This step is very important for exposed tile edges, especially on a backsplash or wall trim. Smoothing the edges is also recommended to avoid injuries.
Safety Precautions
A tile cutter is safer than a tile saw, but you still need safety precautions to avoid injuries. If you don’t know how to use a tile cutter on large tiles and how to use a tile cutter on small tiles, follow these steps for your safety:
1. Wear safety gear
Wear safety glasses to protect your eyes from chips. Safety gloves are necessary to protect your hands from sharp edges. Wear close-toed shoes to avoid injuries while working with the cutter.
2. Keep fingers away from snapping zone
To avoid accidents and injuries, keep your fingers away from the snapping line. This is to be on the safe side, as it requires applying pressure for scratching and snapping the tile.
Don’t apply excessive pressure
Too much pressure can cause glaze shatter. It can damage tiles, and they can break. Due to this, the cutter can be damaged, too.
4. Replace worn-out wheels
A dull or worn-out wheel can produce rough cuts, and it can damage the tile as well. It increases the chances of chips.
5. Cut the tile on a plain surface
If you place the tile on an uneven surface, it can cause it to break due to unbalance. Make sure the tile is placed on a flat surface to avoid jagging.
6. Ensure the tile is stable before cutting
Make sure the tile is stable and is not moving when you are cutting. Movement can cause uneven scoring or jagged breaks.
7. Clean the wheel
Built-up debris on the wheel can affect scoring quality. So, clean the wheels before cutting and also clean the tile surface to avoid slipping and wrong cuts.
Follow these tips to get accurate and precise results with safety precautions without any hazards.
FAQs
How much pressure should I apply when scoring a tile?
Use moderate even pressure just like writing firmly with a pencil. Your aim is to glaze the tile surface, not breaking the tile. If you can see the score line visible and consistent, it means you have applied the right pressure.
Can I use a manual tile cutter on porcelain?
Yes, you can use a manual cutter for porcelain but it is only effective for thin porcelain. For a heavy and thick porcelain, you need a heavy-duty and high-quality tile cutter. Standard cutter work well on ceramic but not for porcelain. Ideally, tile saw is used for that purpose.
Why does my tile chip off when I snap it?
There might be some reasons why your tile chips off when you snap it:
- Applying unnecessary force
- Scoring multiple times
- Using a weak scoring wheel
- Improper alignment of the wheel
- Movement of tile while scoring
Make sure to score once with steady pressure to avoid chipping off.
How often should I replace my scoring wheel?
These are the signs that tell you that you need to replace the scoring wheel now:
- Variable scratches
- Chipping along the scoring line
- Rough scoring
- Needs more effort to score the tile
The longevity of wheels depends on the usage of the cutter. For frequent users, it may last for several months; however, DIY users can use a single wheel for more than a year.
Conclusion
A tile cutter is a handy tool when it comes to cutting ceramic tiles. It is the simplest, cleanest, and most efficient tool for straight cutting of ceramics. With the right techniques, precise cutting, and safety precautions, you can make the most of it without dust or noise.
A manual tile cutter is a reliable, affordable, and effective tool for DIYers and beginners. If you follow the steps and techniques discussed in the guide above, you can be a pro in using a tile cutter with minimal tile wastage and maximum accuracy.
So, now you know how to use a tile cutter for your work. Keep our useful tips in mind before you start!