
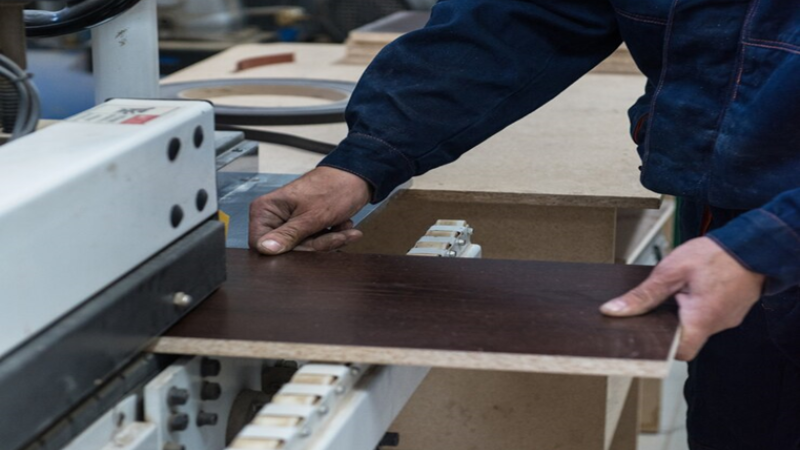
Thickness planers are valuable instruments for smoothing wood. Knowing how to utilize them properly can help you to be a better carpenter. It evens the wood’s surface and makes it all the same thickness. It provides you with great results whether you’re making shelves or furniture.
It is very important to be careful when using a width planer. Did you know that more than 10,000 people get hurt every year using jointers and planers? If you know how to use a thickness planer correctly, you can avoid crashes, dull blades, and wood damage. To avoid problems, learn the basics and follow safety tips. Using this method will make it easy for you to make great projects.
Safety Tips for Using a Thickness Planer

Though using a thickness planer can greatly enhance your woodworking tasks, it is crucial to give safety first priority. Always use protective tools and follow appropriate safety procedures to prevent injuries or accidents. Also, consider the following tips while using such tools:
Use the Appropriate Safety Equipment
Using a thickness planer requires the proper use of safety gear. So, make sure to use safety glasses. Inhalation of small wood particles can harm your lungs. So, always prefer a dust mask or respirator to prevent such damage. Also, prolonged exposure to loud noise produced by planers can result in hearing loss over time. Don’t forget ear protection.
Wearing safety equipment can greatly lower accident chances, did you know? Here is how useful it can be
| Statistic | Description |
| 60% reduction | Using safety gear can cut injuries by up to 60%. |
| 40% increase | Workplaces with safety training see 40% better productivity. |
| 90% compliance | Strict safety rules lead to 90% gear usage rates. |
Wearing the right gear keeps you safe and helps you work better.
Check the Thickness Planer for Problems
Before starting, check your thickness planer for any problems. Assess for cracks, loose components, or dull blades. A broken planer might lead to accidents or poor cuts. Ensure the blades are sharp and firmly fastened. Dull blades can harm wood and damage the equipment.
If something appears off, do not disregard it. Regular inspections help it to function correctly. Also, fixing little faults early helps to avoid larger ones later.
Maintain a Neat & Clean Workspace
A clean workplace is not just nice to see; it is also safer. Dust and wood shavings could cause your planer to clog or slip. Regular sweeping and the use of a dust collector will help maintain order.
Cleaning up is essential for this reason:
- It prevents tools from breaking and extends their life.
- A tidy space is safer with fewer hazards.
- Being arranged lets you complete tasks more quickly and take more pleasure in what you’re doing.
This shows how tidiness helps teamwork and safety. So, before planning, spend a few minutes cleaning up—it’s worth it!
Tools and Materials Needed to Use a Thickness Planer
Gather the appropriate tools and supplies first, then use a thickness planer. Being ready enables you to operate effectively and provide greater outcomes. You will require the following:
Thickness Planer
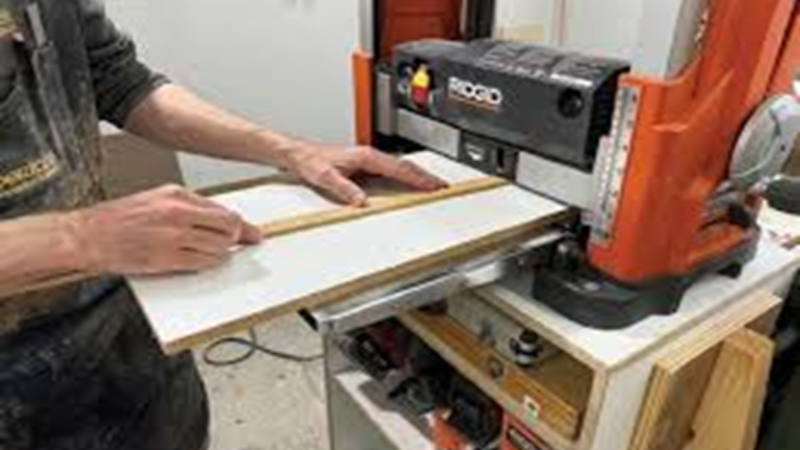
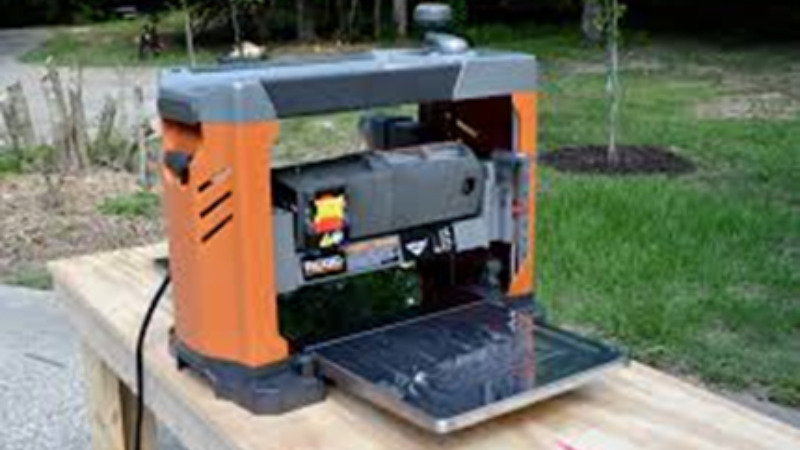
For this work, the thickness planer is the main tool. When choosing one, look for a robust engine, adjustable depth, and a sturdy foundation. Popular choices include the DEWALT DW735 and DW734. You can also opt for a portable planner. But the question is how to use a portable thickness planer? And the answer is that it is straightforward, just read the instructions. Below is a quick comparison:
| Feature | DW735 Specifications | DW734 Specifications |
| Motor | 15 Amp | 15 Amp |
| Cutter Head Speed | 10,000 rpm | 10,000 rpm |
| Cuts Per Inch | 96 or 179 CPI | 96 CPI |
| Chip Ejection | Fan-assisted chip ejection | – |
| Base | 19-3/4 in. cast aluminum, 2X more rigid than standard | – |
| Carriage Lock | Automatic, reduces snipe | Four-column, reduces snipe |
| Warranty | 3-Year Limited Warranty, 1 Year Free Service | 3-Year Limited Warranty, 1 Year Free Service |
Wood Boards for Planing
Choose the right wood for your project. Some woods are easier to plane than others. Here are common types and their uses:
| Wood Type | Characteristics |
| Pine | Great for smooth surfaces in cladding, moldings, and flooring. |
| Oak | Good for splitting to show fibres and make clean cuts. |
| Walnut | Best for shaving due to its density, but hard to split. |
Always, check your wood for nails, screws, or debris before planing. These can harm your thickness planer blades.
Measuring Tools for Accuracy
Measuring tools help you get the right thickness. Check your boards before and after planning with a tape measure or digital calliper. Some planners, such as the DW735, feature a significant thickness scale for exact cuts.
With this equipment and supplies in place, you are ready to start. Being prepared helps to simplify and improve the procedure.
Dust Collection System
A dust collection system is super helpful when using a thickness planer. It keeps your workspace tidy and makes breathing easier. Without it, wood shavings and dust can pile up fast. This can make your work area messy and unsafe.
A dust collector is practical and environmentally friendly. Research indicates that sophisticated technologies conserve energy and maintain cleaner environments.
How to Use the Thickness Planer (Step-by-Step)
So, now that you have selected the right thickness planer for yourself, the next question is: how do you use a Dewalt thickness planer or a handheld thickness planer? To plane wood like a pro, simply follow these easy steps:
Step 1: Set Up the Thickness Planer
Getting good outcomes depends on the precise setup of the planner before you begin. Start by setting your thickness planer on a sturdy surface to prevent vibrations. Here are tips for setting up your planner:
- Using a Sledge and Shims to Set Up Your Planer: Level your wood with shims after placing a sledge underneath it.
- The Planning Process: With the right side facing up, feed the wood and sledge into the planer.
- Checking and Modifying for Flatness: Verify the wood’s flatness after each pass and make any necessary shim adjustments.
Step 2: Adjust the Planer to the Desired Thickness
Now it’s time to set the thickness planer to your desired measurement. But before that, you might be wondering: how do you taper a board using the thickness planer?
First of all, adjust the depth of cut using the thickness scale or gauge on your planer. Next, begin with modest steps, because removing too much wood in one pass could damage your board or put stress on the equipment.
Here is a reason for this action:
- It guarantees uniform thickness all over your boards.
- It prevents snipe (those annoying dips at the ends of your wood).
- It lets you get a smooth finish without straining the planer.
Step 3: Examine and Get the Wood Ready
Inspect your wood thoroughly before running it into the thickness planer. Search for trash, screws, or nails that can harm the blades. Look for fractures or knots that could result in uneven cutting. This increases the life of your blades and enables the planer to operate more effectively.
Step 4: Put the Wood into the Planer
The exciting part is placing the wood into the thickness planer! Make sure the wood grain follows the same direction as the feed rollers. It provides a smooth finish and helps to prevent uneven areas. Set the board on the infeed table and lightly push it forward until the rollers draw it in.
Just feed the wood to the planer and let it do the work. Avoid pushing or dragging the board, as it can damage the machine or cause uneven cuts. Always keep your hands away from the blades and rollers, to avoid any potential injury.
Step 5: For Consistency — Repeat the Process
Examine the surface of the board following the initial pass. If it’s not smooth enough, don’t be concerned. You will have to run it multiple times through the thickness planer. Each time, adjust the depth slightly to remove small wood layers.
Repeating this process repeatedly allows you to achieve the best possible results. Many woodworking techniques highlight step repetition to raise quality. Here is how this concept functions with planning:
| Methodology | Focus | Why Repetition Helps |
| Continuous Improvement | Better performance | Keeps things running smoothly |
| Lean | Less waste | Needs regular checks and fixes |
| Six Sigma | Higher quality | Uses repeated steps for better results |
Step 6: Examine Final Thickness and Finish
Check the thickness of your board after multiple passes. Using a tape measure or calliper, check whether it fits your aim. If it’s still too thick, run it through the planer once more.
Examine the surface to ensure it is smooth. A good board should be smooth and even all around with no rough patches. If necessary, light sanding of any uneven spots will help to fix them.
Following these instructions will give you flat, even boards for your upcoming task!
Tips for Best Results
To maximise the use of your thickness planer and guarantee smooth, professional outcomes, follow these guidelines:
Plane Both Sides Equally
A quick tip that can help you avoid many problems is planning both sides of your wood uniformly. Removing material from just one side causes the board to bend or warp with time. Uneven moisture content in the wood causes this.
Turn your board after each run through the thickness planer to prevent this. After several passes, check your board’s thickness. Use a tape measure or calliper to determine if it aligns with your goal. If it’s still too thick, run it through the planer again.
Plane Along the Grain to Avoid Tear-Out
Wood grain matters more than you might think. Feeding your board into the thickness planer against the grain might produce tear-out, which leaves rough areas and damages the surface. Before you begin, always verify the grain direction.
Here is how to find the grain direction:
- Examine the wood for lines or patterns.
- Run your hand over the surface; smooth indicates you’re going with the grain, rough indicates you’re against it.
Don’t Remove Too Much Wood in One Pass
Go slowly, and don’t take too much wood off in one pass. While it may be tempting to remove a lot of material at once to speed things up, this can damage your board and put extra stress on your thickness planer. Instead, try to take off small layers of wood with each pass.
This approach will help keep your planer blades sharper for a longer time, and it also reduces the risk of snipe (those dips at the ends of the board). As a result, you’ll end up with fewer flaws and a much smoother finish.
Suggested Practices from Experienced Woodworkers
Experienced woodworkers often share tips that make a big difference:
- Keep your thickness planer clean and well-maintained.
- Stay safe by using ear protection and goggles, among other safety equipment.
- Improve your results with the ability to identify problems, including snipe or uneven cuts.
These recommendations will produce the best outcomes and guarantee a more seamless woodworking process.
Common Mistakes to Avoid
Using a thickness planer can lead to mistakes, even for experienced woodworkers. However, with good preparation and careful attention to detail, you can avoid these common problems. So, take a deep breath and relax. Now, let’s go over the most frequent errors and how you can avoid them.
Planing Dirty Wood (Dulls Blades Fast)
Running dirty wood through your thickness planer is a quick way to ruin its blades. Dirt, dust, and grit act like sandpaper, quickly dulling the blades. Inspect your wood closely before you begin.
Use a brush to remove debris or wipe it off with a fresh towel. If the wood has been kept outside, give it more care. A few minutes of cleaning could save you from expensive blade replacements.
Taking Out Too Much Wood in One Pass
Removing a heavy layer of wood in one pass may speed up the process. However, it can lead to uneven cuts, tear-out, or even damage your thickness planer. In addition, it increases the risk of snipe—those annoying dips at the ends of the board. Instead, take your time. With each pass, remove only small amounts of wood. This way, you protect your planer and achieve a more even, smoother finish.
Disregarding Grain Direction
Wood grain guides board planning, not only a lovely pattern. Feeding wood against the grain can create tear-out, which leaves uneven areas and damages the surface. Before you begin, always verify the grain direction.
Examine the wood’s lines or patterns. They should run in one way. Run your hand along the surface as well. Should it feel smooth, you are following the grain. If it seems rough, you are opposing it.
Ignoring Nails Or Screws
Your thickness planer’s foes are screws and nails. Look for concealed screws or nails with a strong magnet or metal detector. If you discover any, use a screwdriver or pliers to remove them. A tiny metal item might create major issues; hence, skip this stage.
Avoiding these frequent errors will help you to safeguard your thickness planer and produce superior outcomes in your carpentry task.
Final Thought
How to use a thickness planer could initially appear difficult, but simple directions can assist. Always wear protective gear, check your tools, and keep your work area tidy. Practice often to get better.
Woodworking is about growing and experimenting. Don’t hesitate to try new ideas or larger projects. With time and effort, you will excel at planning and producing wonderful things!
FAQs
How to use a thickness player as a jointer?
A thickness planer makes boards an even thickness and smooths surfaces. A jointer flattens one side of a board and squares the edges. No one can replace the other.
How much wood should I remove in one pass?
Remove no more than 1/16 inch per pass. Taking off too much wood can strain your planer and cause uneven cuts. For hardwoods, go even slower—1/32 inch works best.
Why does my planner leave snipes at the ends of the board?
Snipe occurs when the board dips entering or exiting the planer. Roller stands or end lifts will help to support the board and prevent this.
May I run a thickness planer over recovered timber?
Certainly, but check the wood first. Search for trash, screws, or nails that can harm the blades. Clean the surface to get rid of dirt and grit.
When should I change the planer blades?
Change blades if you see burn marks on the wood, tear-out, or uneven cuts. Dull blades also cause inconsistent outcomes by forcing the planer to work more.


