Copper pipes can be soldered, a simple plumbing technique used to make robust, leak-free joints in water supply systems. It is the process of heating copper fittings and joining them with solder. It offers long-lasting joints that will not have issues with daily water pressure when installed correctly. This is a skill many homeowners and beginners would like to acquire to do small repairs and installations independently. It is essential to know the proper procedures, equipment, and safety measures to follow prior to commencement. In modern plumbing systems, a pro press crimping tool is also widely used as a fast, heat-free alternative to soldering copper pipe joints. You will find everything you need in this guide on how to solder plumbing copper pipe, and how to finish them all with confidence.
Essential Tools and Materials You Need
This equipment and these materials are useful for making clean, robust plumbing joints. To make the work easier and safer, it is recommended to put everything in one place before beginning the process. Quality plumbing tools enhance precision and create long-lasting copper pipe connections that will last for years.
Choosing The Right Torch And Solder
One of the most popular tools for soldering copper pipes is a propane torch, since it provides consistent heat to melt solder around the joint. Lead-free solder is preferred by many plumbers in residential plumbing systems that are safe. Flux is also significant, as it removes the copper surface and helps the solder flow well within the fitting. Simple, reliable tools that are easy to handle should be selected when learning to solder copper plumbing pipe. Proper soldering materials will minimize leakage and provide stronger plumbing joints during installation or repair.
Pipe Cutters, Brushes, And Safety Equipment
Pipe cutters help produce smoother, more even cuts on copper pipes before soldering begins. Wire brushes and sandpaper can be used to remove oxidation and dirt from pipe surfaces to ensure the solder bonds properly. The sparks and hot metal during the heating process are protected by safety glasses and heat-resistant gloves. When working close to a wall or wooden surface, a flame protector cloth is also useful. The right preparation tools simplify and streamline the entire soldering process. Any person who has a copper pipe being soldered using a step-by-step guide must always have safety equipment in and around them whenever they are heating copper plumbing fittings.
Best Tools For Soldering Copper Plumbing Pipes
@milusos502 En trabajo sacas la inversion #vevor #vevorpresstool #fentysuperbrandday #dealsforyoudays #parati
♬ sonido original – milusos502
There are a number of professional tools that can enhance the quality and speed of copper plumbing work. Most plumbers also have ProPress crimping tools to join copper pipes without flames, along with torches and cleaning brushes. These tools fit the fittings firmly into the pipe, making installation quicker and minimizing fire hazards in tight spaces. Traditional soldering is still widely used; however, ProPress systems are now surfacing on new plumbing work. Adjustable wrenches, deburring equipment, measuring tape, and pipe reamers are also essential in the proper preparation of pipe. Soldering copper plumbing pipes with the appropriate tools helps both novices and experts achieve more reliable, clean, and solid plumbing joints.
Preparing Copper Pipes Before Soldering
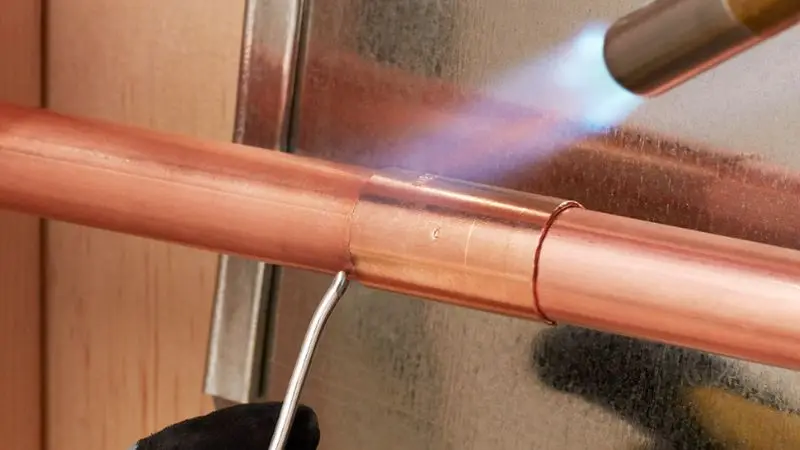
Strong pipe connections are in good preparation. Proper cleaning and fitting of the pipes will assist in the smooth flow of solder and help prevent future plumbing leaks. This step is worthwhile because it simplifies the entire soldering process and ensures that plumbing systems deliver long-lasting results.
How To Measure Copper Pipes And Cut Them Cleanly For A Perfect Fit
The correct way to measure and cut copper pipes is the first step towards a proper joint, which will be strong and leak-free. When making any cut, it is always important to measure the required length beforehand, as a slight miscalculation can cause the entire plumbing line to fail. Instead of using saws, use a pipe cutter to make straight, clean cuts that minimize rough edges. Once cut, make sure that both ends of the pipe are flat in order to fit into the fittings. When learning to solder copper plumbing pipe, measuring and cutting straight are imperative, as they directly affect the solder’s bond after heating.
How To Clean Copper Pipes And Remove Dirt, Rust, And Oxidation
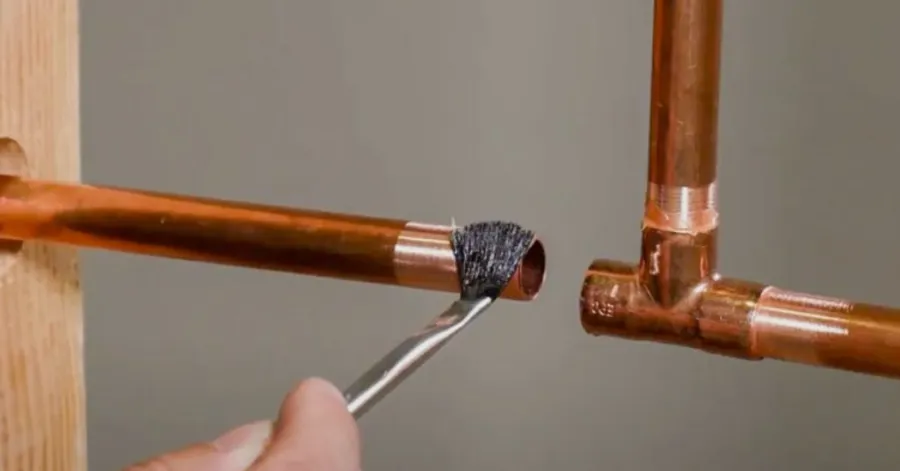
Cleaning the surfaces of copper pipes is essential, as dirt, oxidation, and grease can prevent the solder from bonding. Clean the inside of the fitting and the outside of the pipe with a wire brush or sandpaper until the surface appears shiny and smooth. This is done to make sure that the heat and solder are evenly spread throughout the process.
A hygienic surface enhances joint strength and reduces the likelihood of future occurrences. In modern plumbing setups, tools like a copper pipe crimping tool are often used alongside soldering methods in certain systems, so keeping surfaces properly prepared helps ensure compatibility with different connection types. No one following a detailed guide to copper pipe soldering can afford to omit this cleaning step, as it is among the key steps in proper plumbing preparation.
How To Apply Flux Correctly On Copper Pipes Before Heating
Flux has a significant contribution in ensuring that solder flows well into the joint. Clean the pipe and fit, apply a thin and even coating of flux on both surfaces. Flux prevents oxidation during heating and helps the solder adhere to the copper properly. In the absence of flux, the connection will be weak or disproportionate. Do not overdo it, and excess flux may cause a mess inside the pipe. The correct use of flux is one of the main steps to follow when learning how to solder copper pipe plumbing joints, since the flux provides a strong, clean, and dependable seal when heated.
Step-By-Step Guide To Soldering Copper Pipes Properly
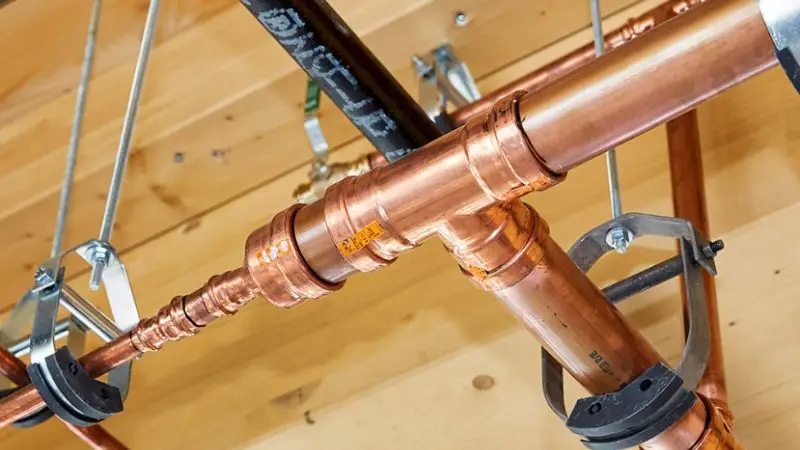
Dry up the pipes and ensure that they fit into each other before beginning the heating process. Soldering can be done carefully to form strong plumbing joints that can last a long time. It is important to follow the proper sequence to avoid any leakages, loose joints, and overheating during the process.
How To Solder Plumbing Copper Pipe Safely And Correctly
Working with open flames and hot metal requires a high level of safety. Before starting, always ensure that the work area is free of any flammable material. Warm the pipe rather than heating a single area, as uneven heating can destroy the joint. When learning to solder copper plumbing pipe, one should understand how heat affects solder flow and pipe strength. After the solder has melted and been poured around the joint, wipe off the excess heat and let the pipe cool naturally. This equates to a robust and well-bonded connection that will perform in plumbing systems.
How To Solder Copper Pipe Plumbing Joints Without Making Common Mistakes
The process of soldering copper pipe joints is time-consuming and requires careful control to prevent common errors, such as overheating, excessive solder, or gaps in the connection. Always ensure that the pipe is well cleaned and fitted before heating it. Turn the flame around the joint to even the heat.
Learners should focus on solder flow when mastering the art of joining copper pipes in plumbing, rather than on speed. It is also important to avoid movement of the joint during cooling since the seal may be weakened. In modern plumbing, a copper pipe crimping tool is sometimes used instead of soldering, but heat control is still important for traditional methods. This cautious, gradual process helps produce clean, robust, and leak-free plumbing connections.
Common Problems During Copper Pipe Soldering
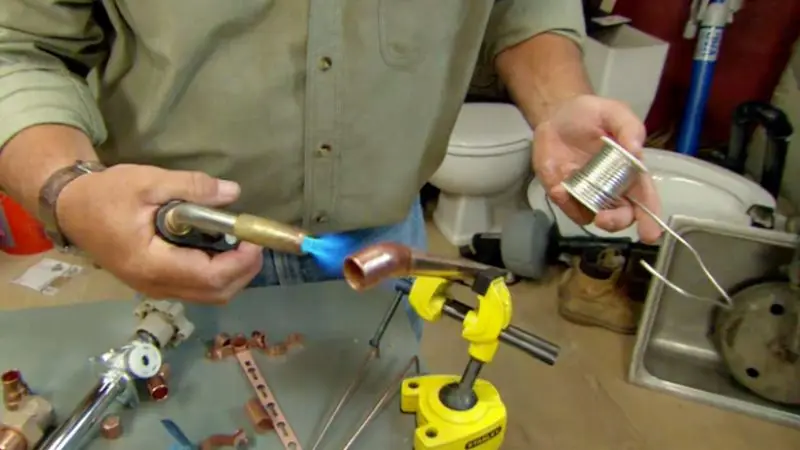
Misplaced solder can lead to poor solder joints or water. Being aware of these typical issues can allow novices to save money on costly plumbing fixes in the future. Being aware of what may go wrong also allows you to get a better technique and establish more powerful and durable copper pipe connections.
Why Copper Pipe Solder Joints Become Weak Or Fail
Failure or weak solder joints typically result from improper pipe cleaning or improper flux application. The solder may not bond due to dirt, grease, or oxidation on the copper surface. Uneven heating is also another common cause, as the solder does not flow completely around the joint. In others, the seal can be broken simply by relocating the pipe before cooling it. In understanding how to solder plumbing copper pipe, it is important to note that preparation is equally as important as heating, since incorrect preparation is the ultimate cause of poor plumbing connections.
How To Identify Poor Heating And Too Much Solder In Copper Pipes
Inadequate heating or excessive solder may cause visible issues in the joint. Unless the pipe is evenly heated, the solder might not flow evenly, leaving gaps or weak spots. Conversely, excess solder can result in a heavy coating around the joint that is not useful for strengthening it and can even conceal internal defects. A well-soldered joint must appear smooth and evenly covered at the connection. Anyone who has followed a step-by-step guide to selling copper pipes would know to look out for these signs in the initial stages to prevent future leaks and plumbing problems.
How To Prevent Water Contamination While Soldering Copper Pipes
Water pollution during soldering occurs when water is inside the pipe while it is being heated. This may weaken the joint and prevent the solder from flowing. Always make sure that the pipe is fully dry before beginning the soldering process. Even small amounts of water can turn to steam and affect the bonding within the joint. Proper preparation and system drainage are important steps in how to solder copper pipe plumbing joints safely. Drying and keeping the pipe clean during the process will ensure the pipe forms a strong seal and helps prevent future plumbing problems caused by contamination.
Repairing And Fixing Leaking Copper Pipes
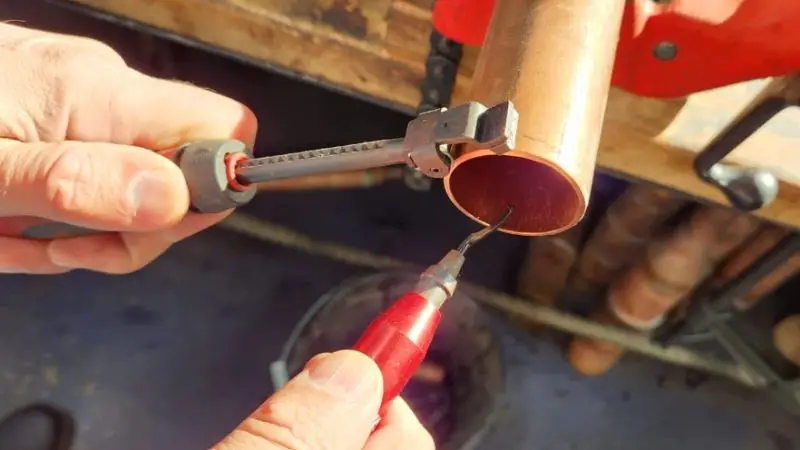
Copper pipes that leak may damage walls, floors, and other nearby plumbing systems. Knowing how to repair faulty solder joints can save time and reduce repair costs. Repairing the leaks also helps restore water flow and prevent future plumbing failures at the same connection.
How To Fix Leaks In Soldered Copper Pipes Quickly And Correctly
A break in a soldered copper pipe normally occurs where the connection was not heated, or the solder failed to completely envelop the connection. The initial step to remedy this is to shut off the water flow and fully dry the pipe. The damaged joint needs to be reheated to allow the old solder to loosen and a new layer to be applied evenly. In other cases, the joint might require complete removal and replacement. When learning to repair leaks in soldered copper pipes, proper cleaning, uniform heat distribution, and solder flow should be given attention to ensure a good, permanent repair.
How To Remove Old Solder From Copper Pipe Fittings Before Repair
Before repairing a damaged copper joint, old solder has to be removed. Heat the joint first until the solder softens, then remove the excess with a cloth or a brush. If necessary, a suitable brush or sandpaper may help clean the inner and outer surfaces until they are smooth again. This measure will ensure that new solder bonds correctly without becoming contaminated by old solder. Clean surfaces are essential for strong plumbing repairs. Everyone following copper pipe soldering step-by-step instructions must realize that it is essential to properly remove the old solder to establish a strong, leak-free bond.
How To Re-Solder Copper Pipe Connections For A Strong And Long-Lasting Fix
When re-soldering a copper pipe connection, it is important to prepare and take care of the details. Once the old solder is removed and the surfaces cleaned, apply new flux to aid the new solder in flowing smoothly. Warm the joint and ensure that the temperature is even around the fitting. When the pipe has the correct amount of heat, apply the solder so it flows into the joint. Do not move the pipe until it is cool to keep a tight seal. In learning to solder copper pipe plumbing joints, it is essential to be able to re-solder properly in order to have a strong, clean, and lasting repair that will not leak in the future.
Wrap Up
Soldering copper pipes is an art that is facilitated with proper preparation, tools, and time. By knowing all the steps involved, cleaning/fitting, heating, and sealing, you have the capability to make solid and water-tight plumbing connections. The appropriate technique will prevent typical problems, such as poor connections or water leakage. Regardless of whether you are repairing old pipes or installing new ones, it is best to use a systematic approach to achieve better results. Simple plumbing jobs can be easily handled by anyone, as their expertise and practice will enable them to do better with it over time, without necessarily having to rely on professional assistance for every minor fix.
FAQs
How Do You Know The Easiest Way To Learn How To Solder Plumbing Copper Pipe?
The simplest method is to begin with the simplest practice joints that are then followed by using the actual plumbing lines. Wipe the pipes carefully, put on an equal amount of flux, and heat the joint gradually until the solder flows freely. Novices have to deal with gradual heating and not hurry up. This instills confidence and assists in enhancing accuracy in the long run.
Why do my copper pipe joints, where they have been soldered, continue to leak?
Leaks are most likely to occur as a result of improper cleaning, uneven heating, or dislocation of the joint before it cools. Unless all the dirt or oxidation is removed from the pipe, the solder will not be bonded well. Ensuring that the surfaces are clean and dry is important in avoiding leaks and enhancing joint strength.
Are Beginners able to repair Copper pipe leaks without replacing the pipe?
Yes, with a well-conditioned pipe, beginners can repair small leaks by heating and re-soldering the joint. The solder should be cleaned and re-fluxed, then new solder applied to the damaged area. In case the damage is extensive, it might be a good idea to replace the fitting.