
Making homemade beef jerky is fun, tasty, and satisfying. The secret to great jerky starts with knowing how to slice meat for jerky properly. Cutting the meat the right way affects its texture, flavor, and how evenly it dries. Using the right technique or a meat slicer can make your jerky tender and delicious every time. Whether you are new to jerky-making or have tried it before, following simple tips will help you pick the best cuts, trim fat, freeze meat for easy slicing, and slice safely. Learn these steps to create perfect homemade jerky at home.
Meat Selection and Preparation: Choosing the Best Cuts for Jerky
Before slicing, the first step is selecting the right meat. Your choice here affects flavor, texture, and shelf life.
Best Cuts for Jerky
In the case of jerky, lean meat is necessary. Fat spoils your jerky and makes it greasy, and shortens its shelf life. Top round, eye of round, and sirloin are the best beef to use in making jerky. These are natural, too lean, tasty, and simple to slice.
You can ask your butcher to suggest anything in case you do not know. When the sellers have a sale, you have an opportunity to test out the various cuts and find the texture you like the most.
The lean meat will ensure that your jerky stays longer on the shelf and your hard work is rewarded.
Trimming Fat for Perfect Jerky
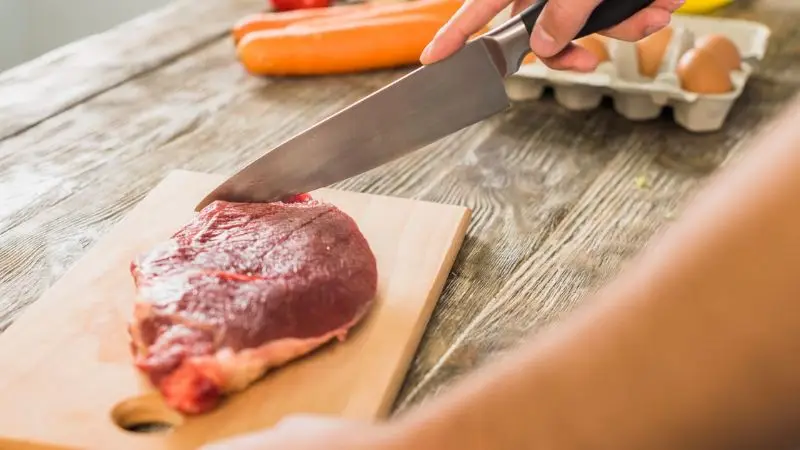
After selecting your meat, carefully inspect it for any visible fat. Use a sharp knife to trim off as much fat as you can, since fat does not dry well and can make your jerky spoil faster. Removing most of the fat ensures your strips are lean, allowing them to dry evenly and develop the best texture. Don’t worry if you miss a tiny spot—just focus on removing the majority. Taking your time with this step sets the foundation for perfectly dried, flavorful homemade jerky.
Preparing Meat for Slicing: Tips for Easy Cutting
Before you slice, preparing your meat properly can make a big difference.
How to Freeze Meat Before Slicing for Jerky
A tip many jerky lovers swear by is that you should freeze your meat half-completely beforehand, then slice it. Put your meat in the freezer for about 1-2 hrs till it is firm without being rock-solid. This prevents it from being cut into thin squares easily and safely.
Cut it into smaller pieces first thing if you are dealing with a big roast. Larger pieces are easier to handle, particularly when cutting across the grain. Always cut on a clean cutting board and always keep your knife sharp.
When the meat is cut appropriately, it will be easier to slice and have even tastier jerky slices.
How to Slice Meat for Jerky: Techniques for Tender Strips
Slicing correctly is the heart of making perfect jerky. Here’s everything you need to know.
Should You Cut Meat With or Against the Grain for Jerky
The direction you slice affects chewiness and tenderness. The orientation of the meat muscle fibers is known as the grain. If you’re using a meat slicer, it becomes easier to control this direction and get uniform slices. In order to prepare tender jerky, cut across the grain. This lacerates the fibers, and fattens the jerky to be chewier.
When cut across the grain, the result is chewier, tougher jerky. You can also check the two methods by first cutting out a small piece in each direction and trying them out. Typical jerky recipes suggest cutting across the grain to achieve the traditional jerky. To achieve more chew, cut with the grain; however, to cut everyday tender jerky, always cut across the grain.
How Thick to Cut Meat for Jerky
Thickness is critical for even drying. Strips that are too thick take longer to dry and may remain chewy inside, while strips that are too thin can dry too fast and become brittle. The ideal thickness is about 1/4 inch.
Try to keep all strips uniform to ensure even drying. Use a ruler if needed, or eyeball it once you get the hang of it. A meat slicer makes this much easier, but you can also use a sharp knife with practice. Most jerky recipes also recommend this thickness for perfect results. Uniform thickness helps all pieces finish at the same time, avoiding over- or under-dried jerky.
Cutting Uniform Strips for Consistent Jerky
Consistency is key. The strips are supposed to be about 1- 1/eighth of an inch wide each and should also dry out at the same pace. Crushed lines may leave behind parts that are too dry and those that are compliant. In the case of large batches in groups, pile two or three pieces and cut them at once.
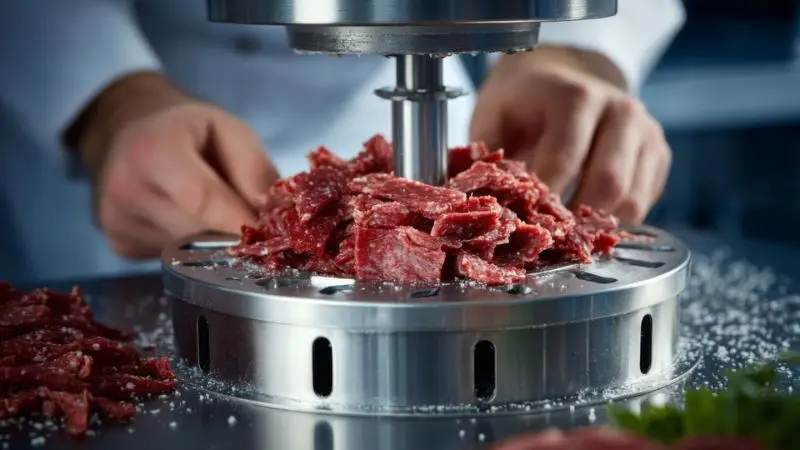
This saves time and enhances consistency. A meat slicer may be used to make the process faster and yield results equally. Check strips one by one, and cut away excessively thick and thin pieces. To make a professional-appearing batch of jerky, uniform strips are important.
Best Knife for Slicing Meat for Jerky
Your most useful thing is a sharp knife. A blunt knife will cause more accidents, and it becomes difficult to get clean cuts. It is advisable to use a long, flexible meat-slicing knife or a special jerky knife.
Keep the knife properly maintained in the process. In case of a slicer, it is advised to use the device as provided in the instructions and keep hands clean. Always keep your hand and body facing downwards. It is best to always cut away to prevent injuries.
Knife Safety and Hygiene When Preparing Jerky
The way to deal with raw meat should be with due care with regard to safety and hygiene.
- Clean your hands before and after contact with meat.
- Wash your cutting board and your knife.
- Accidents can be prevented with the help of a cutting board that is used without slipping.
- One, take your retreat–hurrying is the cause of errors.
Safe as well as tasty. These tips will guarantee that your experience of making jerky is not only safe but also enjoyable.
Step-by-Step Checklist for Slicing Meat for Jerky

To summarize, here’s a quick checklist to follow:
- Choose lean meat and trim visible fat.
- Partially freeze meat for easier cutting (how to freeze meat before slicing for jerky).
- Check the grain direction and slice against it (should you cut meat with or against the grain for jerky).
- Cut strips about 1/4 inch thick (how thick to cut meat for jerky).
- Make each strip uniform, around 1–1/8 inches wide.
- Use a sharp knife or slicer (the best knife for slicing meat for jerky).
- Maintain hygiene and safety throughout the process.
Once your meat is sliced, it’s time to dry it. Most homemade jerky recipes take 4 to 8 hours in a dehydrator or oven. Thicker strips require longer drying times, so check your jerky periodically.
Always test a piece before finishing—jerky should be dry, flexible, but not brittle.
Wrap Up
Learning how to slice meat for jerky is about precision, patience, and practice. By choosing lean cuts, trimming fat, freezing for easier slicing, cutting against the grain, and keeping strips uniform, you’ll consistently create tender, flavorful jerky.
Don’t forget knife safety and hygiene. With these tips, even beginners can make professional-quality jerky at home. Practice will improve your technique, and soon, slicing perfect jerky strips will feel second nature.
Homemade jerky is a rewarding snack that’s healthier and customizable. Give these steps a try, experiment with recipes, and enjoy the delicious results of your hard work!
FAQs
But what recipe is the best to use for beef jerky?
Experiment with recipes to determine which one fits you. Others are heavy-handed on spices, whereas others are simple. Record history on every attempt to reproduce your favorite taste and sensation.
Can you use any meat for jerky?
Yes! Popular meats are beef, turkey, and venison. Instead of spoilage, lean cuts are used. It is best to begin with beef and then get a variety of other meats.
What is the duration it takes to dry the jerky through a home recipe?
It takes 4-8 hours to dry, which is dependent on the moisture content and thickness. Strips that are thicker are slower to dry as compared to thin strips. Always use your recipe so that you have your best.


