
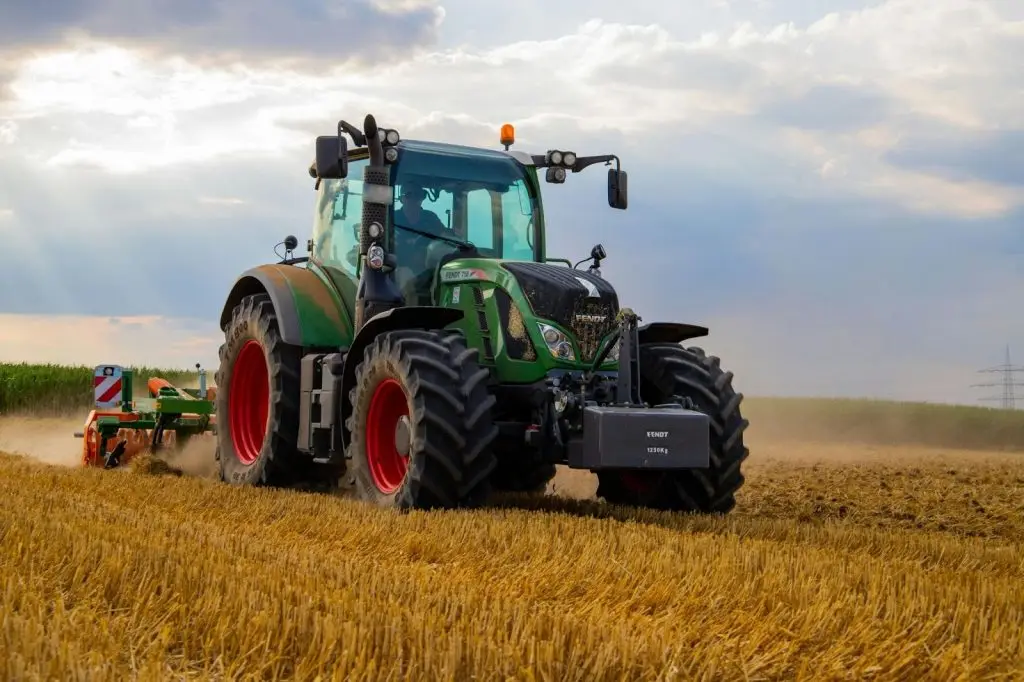
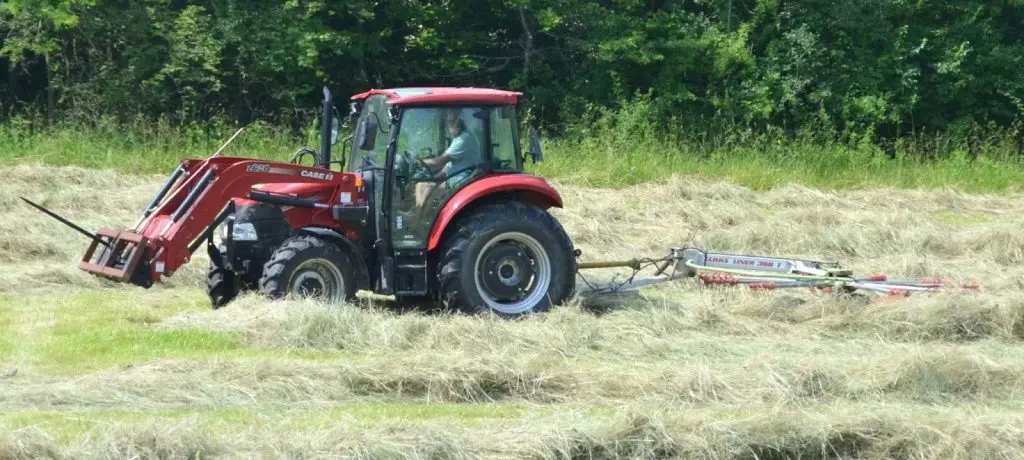
If you have ever moved heavy equipment like logs or pallets on a farm, you would have an idea how important a tractor is for this purpose. Your tractor can be a powerful lifting and carrying tool when attached to forks. It would be ideal for everyday farm chores, landscaping, and construction projects.
Buying ready-made pallet-forks can be very expensive for you. The good thing is, with some basic fabrication skills and correct materials, you can make the best forks for tractor forks yourself. This guide will explore how to make forks for a tractor, all from scratch. Let’s start!
Can you make forks for a tractor yourself?
Fortunately, you can make forks for a tractor by yourself if you have some experience in metalworking and welding work. One of the great advantages of building your own forks for a tractor is customising the size, weight capacity, and connection type according to your tractor.
Homemade forks are the best forks for tractors, and they are easy on the pockets, too. Their price ranges from $400-$1000.
You can make DIY forks for tractors with strong materials, proper design, and skills. They can be as good as other forks, useful for farm and yard applications.
When learning how to make forks for tractor, it is essential to fulfil the project safely. Forks carry heavy loads, so it’s good to use high-quality steel with proper welding procedures. Make sure you verify your design before putting it to work.
Types of tractor forks
Before learning how to make forks for tractor, you should know the different types of forks and their uses as well. Each design is distinct and has a slight variation to be used for different purposes. Here are some pallet types:
- Log Forks: They are designed for forestry or yard work. They have curved or prop up tines to cradle logs securely.
- Pallet Forks: These are the most common types, and they have two flat steel tines with a space of 20 inches apart. They are used to lift pallets, crates, and boxes.
- Clamp-on Forks: These forks attach directly to the front-end loader bucket with clamps. It serves great for temporary use if your tractor doesn’t have a quick-attach plate.
- Quick-attach Forks: They are well-built and easy to switch between attachments. They are built with a quick-hitch or skid-steer.
- Homemade Hybrid Forks: Combining different features like clamp-on pallet forks with adjustable spacing can serve you for different purposes.
Identify the purpose of using the forks before making them. It will help you choose the right materials and dimensions.
What you need to make forks for tractor
You will need some tools, materials, and safety gear to make forks for a tractor. Here is the list of apparatus to prepare:
Materials
- Heavy-duty steel tubing(for fork tines)
- Square tubing(for the frame)
- Steel plate(for mounting bracket)
- Nuts, bolts, and washers(if using a bolt-on system)
- Rust-resistant paint
Tools and equipment
- Measuring tape and marker
- Cutting torch
- Stick welder
- Drill and bits
- Clamps for holding the steel piece correctly
- Level edge for alignment
- Gloves, helmet, eye, or ear protection
- Hydraulic press for shaping steel
- Plasma cutter for precise cutting
Steps on how to make forks for tractor
Making forks for a tractor is all about accuracy, positioning, and solid welding. Follow these steps carefully to make strong and reliable forks for your tractor.
Step 1: Measure the design for your machine
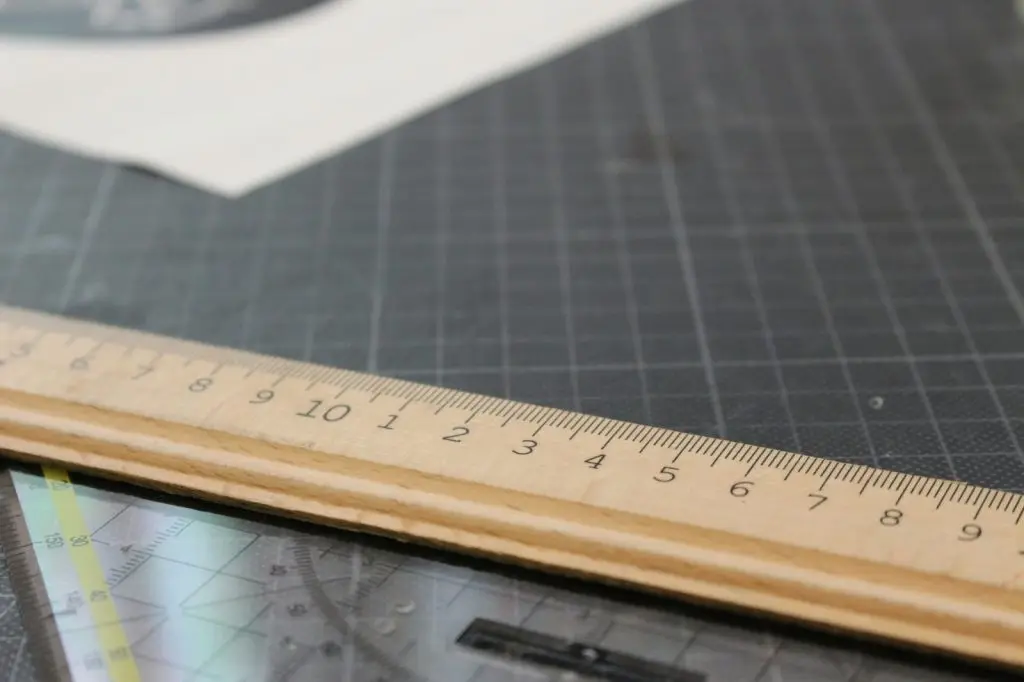
To take the first step, start by determining the capacity and size of the load you want to lift. Generally, forks are 42 to 48 inches long, but you can adjust that based on your tractor’s height, lift, and usage.
Here are three things you should measure:
- The width between mounting points.
- The maximum load capacity your tractor can handle.
- The desired spacing between forks.
First, draw a sketch on paper to get an idea showing the frame dimensions, fork angle that is slightly upward to avoid slipping, and the way it attaches to the tractor.
Step 2: Cut and shape steel for tines and frame
The next step is to cut the steel to size.
- Use solid or hollow rectangular steel bars of around 2”x4” for the tines.
- Cut square tubing or angle to construct the crossbars and vertical support for the frame.
Smooth all the edges with the help of an angle grinder. A gentle bend in the tine tips upward will be helpful to hold the load safely. For a cleaner shaping, you can heat the tips with a torch before bending.
Step 3: Weld the tines to the frame or mounting plate
Set the two tines parallel on a flat surface with a space of 20-40 inches. Place your frame tubing on top carefully so that both tines sit straight and level. Before welding, clamp everything in place.
- Use tough, continuous weld beads along each contact point.
- Prop up with gussets or angle support for extra strength.
- Check alignment frequently during welding to prevent twisting or bending.
If you want to use clamp-on forks, weld a C-shaped bracket or tubing section that fits over the edge of your tractor bucket. You can also make homemade forks for tractor bucket in this way.
Step 4: Create or adapt the attachment interface
The type of your tractor determines the attachment of your forks:
- Quick-attach loaders: For this, weld a congruent quick-attach plate to the back of your frame.
- Pin-on systems: Drill holes in the mounting plates to match your tractor’s pin dimensions.
- Clamp-on style: Weld a threaded clamp that tightens under the bucket’s lip.
Be sure that the attachments are set in the centre and are balanced so that there is no uneven lifting or damage caused.
Step 5: Clean, primer/paint, and finish for corrosion protection
After welding, what you have to do is clean the metal surface with a wire brush or a grinder. Remove rust, dust, and oil, and then apply a coat of metal primer on the surface to prevent rust.
When the primer gets dry, apply tractor paint or durable enamel. This will give your homemade forks a professional look with finishing.
Step 6: Test load capacity and alignment
Before using the forks professionally, it is crucial to test them to avoid mishandling. Follow these steps:
- Start with carrying lighter weights and gradually increase them.
- Check for bending, stress, or cracking.
- Check that both tines work evenly and remain balanced under pressure.
It is better to know the limits of the loads your tractor can carry. Never exceed that limit to avoid dangerous failure.
Step 7: Secure mounting before use
Every time before using your forks, check attachments for loose bolts or worn belts. Make sure your mounting points are tight and forks are locked securely.
One more thing, keep the tractor on level ground when lifting heavy loads to maintain balance.
FAQs
How thick should the steel be when you make forks for a tractor?
When learning how to make forks for tractor, use 3/8-inch to 1/2-inch thick steel for small to medium-sized tractors. Large tractors that can load over 2000 pounds should use thicker steel. For making a frame, you can use 2”x 2” square tubing with at least 3/16” wall thickness.
Can a beginner safely weld and fabricate forks for a tractor?
A beginner can make forks for a tractor if he has basic knowledge of welding and if he follows safety measures carefully. If you are new to welding, practice on scrap steel sheets first before making the final product.
What load rating should I aim for when you make forks for a tractor?
When you are aiming to learn how to make forks for a tractor, match your fork’s load capacity with the maximum lift rating of your tractor. For instance, if your tractor can load 2000 pounds, design your forks at least 2x that load for safety.
Is it safe to make forks for a tractor instead of buying factory ones?
Yes, absolutely! It is safe to make forks for your tractor using proper welding techniques, strong materials, and proper testing. In fact, many farmers make DIY forks for their tractors to save money and customisation.
How do I mount the forks to my tractor bucket or quick-attach plate?
When you are learning how to make forks for tractor bucket, you should know that clamp-on forks are the easiest. In this, you have to slide the forks under the bucket edge and tighten the bolts or clamps. Always double-check the latch before lifting any load.
Conclusion
Learning the amazing skill of how to make forks for tractor is beneficial and cost-effective, especially if you are a tractor owner. Whether you are learning how to make pallet forks for a tractor or any other, you now have the basic knowledge for all.
Remember not to leave behind safety measures, testing your build thoroughly, and knowing the rated limits of your tractor. Besides this, maintaining the forks regularly, whether you are moving pallets, bales, or logs, will make forest chores faster and efficient. So, you can safely build your heavy-duty solution!


