
Installing kitchen cabinets might seem tricky, but with the right steps, you can handle it yourself without the need for expensive help.
This DIY kitchen cabinet installation guide walks you through the process—from prep to perfect finish—without the stress. You’ll learn how to measure, level, and secure cabinets like a pro using basic tools and smart techniques.
Preparation
Before jumping into your project, getting ready is the key to success. Solid prep saves time, prevents errors, and makes your DIY kitchen cabinet installation smoother from start to finish. Let’s walk through what you need to do before lifting a single cabinet.
- Gather Your Tools
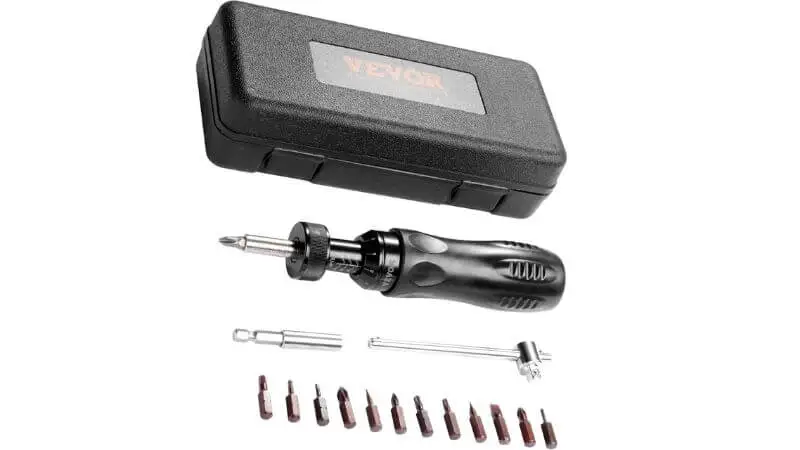
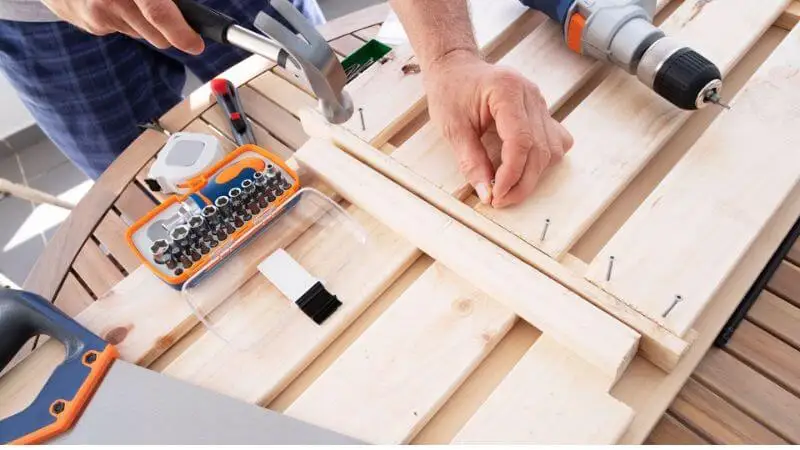
To complete your kitchen cabinet installation, you don’t need fancy equipment—just the right basics. Make sure you have a tape measure, 4-foot level, stud finder, drill, screwdriver, clamps, shims, screws, pencil, and utility knife.
Lay everything out in advance so you’re not hunting around mid-project. This organized start makes the rest of the work faster and less frustrating. Having the correct tools ensures clean, strong cabinet placement and supports long-term durability.
- Use Proper Safety Gear
Protecting yourself is part of smart cabinet installation tips. Always wear safety glasses to guard your eyes from dust and flying bits. Put on sturdy work gloves to avoid cuts and splinters, and closed-toe shoes to protect your feet.
If you’re using power tools, tie back long hair and skip loose clothing that could catch. Safe prep keeps you focused and avoids setbacks. Even for a home project like DIY kitchen cabinet installation, acting like a pro with safety first will keep your work smooth and injury-free.
- Check the Cabinets
Before installing anything, inspect your cabinets closely. Look for cracks, scratches, or missing hardware. Make sure the drawers and doors work properly. Catching damage now avoids surprises later. If you need to repair or replace a part, do it before lifting and aligning.
Being thorough here prevents time-wasting fixes mid-install. It’s one of the most important cabinet installation tips and helps your end result look professional and polished. Once everything checks out, you’re ready to move on to the next phase.
Planning and Measuring

Before the cabinets go on the wall, careful planning and measuring are crucial. Taking time with this step ensures everything fits, aligns, and looks professional. If you’re aiming for a smooth DIY kitchen cabinet installation, this is where it all begins.
- Measure and Mark the Layout
If you want your kitchen cabinet installation to go smoothly, start by measuring the walls carefully. Use a tape measure to note the width and height of each section. Then, mark where both upper and lower cabinets will go.
Draw horizontal layout lines using a pencil and make sure they’re level—this ensures your cabinets sit straight. One of the top cabinet installation tips is using a long level or laser level for accurate lines. Skipping this step can result in uneven, crooked cabinets, which are difficult to fix later. Taking time now saves you trouble later on.
- Find the Wall Studs
Finding studs is one of the most important steps in any DIY kitchen cabinet installation. Use a stud finder to locate where they sit behind your drywall. Mark each one above your layout lines. Studs give the cabinets strong support and keep them in place over time.
Cabinets that miss the studs might shift or even fall, which ruins your hard work. Studs are usually spaced 16 inches apart, but double-check your wall. This step ensures your cabinets are securely anchored and ready for long-term use.
- Use Reference Lines
After you’ve marked your layout and studs, step back and check your reference lines. These markings act as guides for installing upper kitchen cabinets and lower ones, too. Make sure everything looks level, lined up, and well-placed before drilling.
Reference lines reduce guesswork and help your project stay on track. If anything seems off, fix it now. Adjustments are easy to make at this stage. A little time spent double-checking will help you avoid errors once the cabinets are up and harder to move.
Remove Old Cabinets
It’s important to remove the old cabinets carefully. Clearing the space makes the process easier and keeps your kitchen safe and clean for the next steps.
- Clear the Work Area
Start by clearing everything off your countertops. Remove dishes, small appliances, and anything that could get in the way. Move nearby furniture like kitchen tables and chairs to another room. If your old cabinets are near a sink, turn off the water supply to avoid accidents.
Unplug all electrical items nearby. Place a drop cloth or old sheet on the floor to catch debris and dust. This part of the kitchen cabinet installation helps protect your floors and lets you work without distractions or mess.
- Take Off Doors and Drawers
Begin by removing all cabinet doors and drawers. This step makes the cabinets lighter and easier to handle. Use a screwdriver to take off the hinges and place the doors aside. Stack drawers neatly so they don’t get damaged.
Put all screws and hardware in a small container so you don’t lose them. If you plan to reuse any parts, label them clearly. This step is especially useful in cabinet installation tips for keeping things organized and minimizing damage while you remove and reinstall later.
- Detach Cabinets from the Wall
Now you’re ready to take the cabinets off the wall. Always start with installing upper kitchen cabinets, or in this case, removing them first, so you don’t have to work over the lower ones. Look inside each cabinet for the screws holding it to the wall or other cabinets.
Remove them with a drill or screwdriver. Ask someone to help hold the cabinet while you loosen the last screws. Lift carefully using your legs, not your back. Once removed, check for leftover nails or screws and patch any holes if needed.
How to Install Kitchen Cabinets
After planning and prep, it’s time to begin your project. This part of the guide shows you how to install kitchen cabinets correctly, starting from the base units and working your way up. Take it step by step for the best results.
Step 1: Install Base Cabinets
You begin your DIY kitchen cabinet installation by placing the base cabinets first. Start in a corner and line the cabinet up with your reference marks. Save the sink base for later and begin with the smaller units. Inside the cabinet, mark where the wall studs are.
Then drill pilot holes where the screws will go. Don’t attach the cabinets yet—just slide the next one into place. Check fit and alignment across all base units before securing anything. Use a support cleat or ledger board to hold weight as you work. This makes early steps in kitchen cabinet installation much easier.
Step 2: Level and Shim
Leveling is essential for a smooth install. Set a level on top of the base cabinets if the bubble’s off-centre, slide shims underneath to balance the unit. These wedge-shaped spacers help you align the cabinet from front to back and side to side.
Check that all cabinet fronts sit flush and in a straight row. Add more shims as needed until everything is perfectly level. This step affects how your drawers and countertops function, so take your time. Once level, trim the excess shim with a utility knife. Good leveling improves the whole result of your cabinet installation tips.
Step 3: Join and Secure
With all base cabinets in place and level, it’s time to connect them. Open the cabinet doors and clamp the face frames tightly together. Drill pilot holes through one frame into the next, then join them with screws. After all base cabinets are joined, double-check the alignment and leveling again.
Everything should be straight, even, and flush. Once confirmed, drill through your earlier pilot holes and into the wall studs to secure the cabinets permanently. Use 2½-inch cabinet screws. Don’t overtighten, or you could warp the wood. A strong and straight base creates the perfect start for kitchen cabinet installation.
Step 4: Install Upper Cabinets
Now it’s time to install the upper kitchen cabinets. These go in next because they’re easier to hang without the lower cabinets in the way. Start by marking stud locations above your layout line. Drill pilot holes in the backs of the cabinets at these marks. Use a ledger board under your guideline to support each cabinet as you lift.
Place the first cabinet, line it up, and drive in the screws—loosely at first. Add the next cabinet, clamp the frames together, and join them with screws. Once all are level and connected, tighten everything and remove the ledger board.
Finishing Touches

Now that your cabinets are up, it’s time to wrap up your DIY kitchen cabinet installation. These final steps will give your kitchen a polished, professional finish. Don’t rush—these details make a big difference.
- Install Doors and Drawers
This step brings your cabinets to life. Begin by reattaching the doors and drawers you removed earlier. Screw the hinges back onto the cabinet doors and attach them to their original positions. If you labeled everything, this step goes quickly. Slide drawers back onto their tracks and check that they glide smoothly.
If a drawer sticks, inspect the track alignment. Some hinges allow adjustments—tighten or loosen screws to shift the door slightly. This ensures everything fits well and looks neat. These small tasks complete your kitchen cabinet installation, making it both functional and visually pleasing.
- Add Trim and Molding
Trim and molding finish off your cabinets with style. First, measure the top or bottom edges of your cabinets. Cut the trim with a miter saw to get clean corners. Carefully attach it using small nails or finishing brads. Add toe kicks at the base or crown molding above upper cabinets for a custom look.
Light rail molding helps hide under-cabinet lighting and gives a smoother finish. Fill nail holes with wood filler and touch up with matching paint or stain. These elements boost the overall effect of your cabinet installation tips and leave your kitchen looking beautifully complete.
- Final Adjustments
Walk through the entire kitchen and inspect your cabinets. Open and close each drawer and door to check the function. Tighten any loose screws and tweak hinge positions for perfect alignment. Look closely for any small gaps along the walls. Fill them with caulk to create a seamless edge.
Finally, wipe everything down to remove fingerprints, sawdust, or smudges. This step ensures your kitchen looks clean and well-finished. Completing these last tasks brings the whole process of DIY kitchen cabinet installation together, making your hard work pay off. Now, enjoy your refreshed kitchen—it’s the reward for a job well done.
Wrap Up
With careful planning, patience, and the right tools, DIY kitchen cabinet installation becomes a task you can handle with confidence. From measuring your layout and removing old units to mounting base and upper cabinets, every step plays a part in creating a smooth, professional result.
Don’t skip the final touches—doors, drawers, and trim bring everything together. Whether you’re updating your kitchen or learning how to install a kitchen cabinet, these steps help you get the job done right. You’ve learned the process, applied the effort, and now you can enjoy your upgraded space for years to come.
FAQ
1. How long does it take to install kitchen cabinets?
Most beginners finish in one or two days. If you work slowly and double-check each step, you can get a great result. Take breaks when you need them. Rushing can lead to mistakes.
2. Can I install cabinets by myself?
You can install cabinets alone, but having a helper makes it much easier. Upper cabinets are heavy and hard to hold in place. Ask a friend or family member to help lift and steady the cabinets. Use a ledger board to support cabinets if you work alone.
3. What if my walls are not perfectly straight?
Walls are rarely perfect. You can use shims to fill gaps and keep cabinets level. Always check for level and plumb as you go. Shims help you get a professional look, even with uneven walls.
4. Do I need special screws for cabinets?
Yes, use cabinet screws. They are stronger than regular wood screws and hold cabinets securely to the wall studs. Look for 2 ½-inch cabinet screws at your hardware store. Never use drywall screws for cabinets. They can break under weight.


