
Grouting is hands down the most important part of any tile job. It is the stuff that is used to fill in the spaces between the tiles. For your tile installation to last, you have to learn the ins and outs of how to grout tile, and how to grout tile with premixed grout. Depending on the surface and the environment, different types of grout have different advantages.
To attain a polished appearance, it’s necessary to prepare yourself. Knowing the fundamentals of how to grout tile and having the specific tools, such as a manual tile cutter and materials, available before starting makes this process much more efficient.
What You Need to Grout Tiles
It is prudent to have all the necessary tools at your disposal before starting the grouting process.
When you have everything prepared and ready prior to starting your task, this creates a much smoother workflow and helps to eliminate small errors. Select tools help with more even grout application, efficient cleanup, and a better final appearance.
A manual tile cutter is super helpful for getting tiles to the perfect size, and other essentials like trowels, sponges, and mixing buckets make the whole process easier. Knowing what each tool does will save you time and stress while keeping your tiles looking flawless. Next, we’ll go over some of the must-have tools you’ll need.
Manual Grout Tile Cutter
A manual grout tile cutter is a lifesaver when you need tiles to fit perfectly. Especially around edges, corners, or tricky spaces. It lets you score and snap tiles with precision, which makes grouting much easier and cleaner.
With drill-grade tile cutters, you will want something sturdy and precise. You want to make sure you buy a tile cutter that snaps tiles to the specifications that you need.
When you have a tile cutter that is precise, it will be easier to do your grouting. Ultimately make the tiles you have finished look nice and neat. This is helpful for everyone from the DIY novice to the professional.
Other Essential Tools
- Grout Float is needed to help spread the grout throughout the whole area evenly.
- Sponges help clean up any excess grout after you’re done applying.
- For mixing the grout powder and to make the grout a bucket is needed.
- Gloves are a must have as a safety gear when handling grout.
- Tile spacers are used for perfect alignment between the tiles when installing them.
Preparing the Tile Surface Before Grout Application
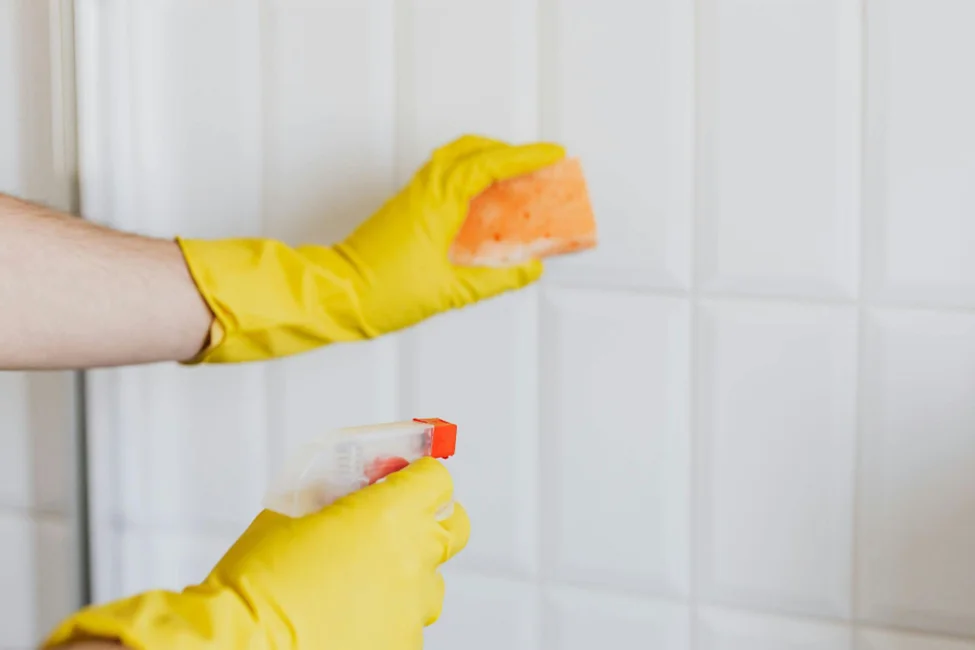
Before you even start the grout application, you need to make sure that the tile surface is ready to go. You will want to ensure that all dust, residue, or loose particles are removed from the surface, as these will impact the grout and how well it sets.
If you want to ensure your grout is going to be permanent, then you have to make sure that the surface is clean and also that the adhesive is set and dried. You want to be sure the tiles are secured in place as well.
Next, wipe the tiled area with a damp sponge to remove any surface debris. Pay extra attention to the joints, as even small bits of dried adhesive can cause uneven grout lines.
Ensuring a clean, smooth surface not only makes the application easier but also helps the grout cure properly, giving you a cleaner, longer-lasting finish. If everything looks clear and dry, you’re ready to move on to the actual grouting process.
How to Grout Tile Correctly
Grouting tile the right way is all about patience, proper technique, and a bit of preparation. When you understand how to grout tile properly, from mixing the grout to the ideal consistency to spreading it evenly across the joints, each step plays a key role in achieving a polished finish.
Working in small sections, pressing the grout firmly into the gaps, and cleaning excess as you go ensures your tiles look neat and stay durable over time.
Mixing the Grout to the Right Consistency
Choosing the correct mixture is crucial for the application process. In this phase, we are going to spend time caramelising the mixture for the correct consistency. First, add the required amount of water to the grout powder. Mix slowly, making sure it creates a thick, paste-like consistency.
Applying Grout and Pressing Into Joints
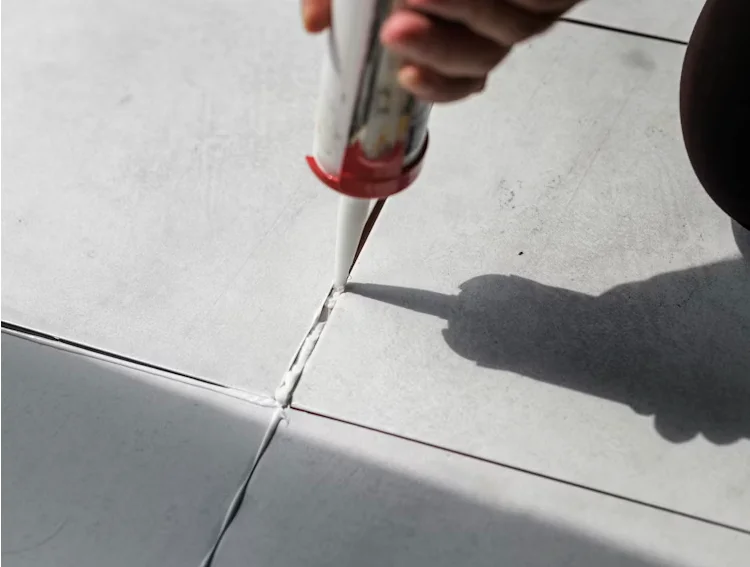
At this point, it is important to have a mixture that is not runny, in other words, not flowing and not dripping. The mixture has to be left alone for some time before it is given a final stir. Properly mixed grout is sure to fill the joints evenly and, as a result, stick better to the substrate.
The time is now. Use the grout float and be sure to have it angled slightly so that it is easy to spread the mixture.
The grout float is not the entire focus of the process though, we are going to be moving diagonally. The purpose of moving diagonally is to make sure it is all the way down in the joints.
At this point, it is very important to focus and work in small sections so that you are constant and keep that mixture from drying too quickly. It is essential that a solid application is made to give the tiles that are in the application a uniform strength and to give them a clean look.
Cleaning Off Excess Grout and Smoothing Joints
After the grout has been pressed into the joints, it’s time to clean the surface before it dries. Use a damp sponge to gently wipe away the excess grout from the tiles, rinsing the sponge frequently to keep it clean.
Move in light, circular motions to avoid pulling grout out of the joints. As you wipe, you’ll also smooth the grout lines, giving them an even, consistent finish. Taking your time here prevents haze, keeps the tile surface clean, and leaves your grout lines looking neat and professional.
Don’t scrub too aggressively or wipe back and forth, because that can pull fresh grout out and leave gaps. And try not to wait too long before cleaning; letting grout dry completely on the tile surface makes it much harder to remove and can leave behind a stubborn haze.
Sealing and Curing the Grout for Long‑Lasting Finish
Sealing and curing are key steps in making your grout hold up over time. After the grout has been applied and the tiles wiped clean, it needs a period to dry undisturbed so it can harden properly. Giving it that curing time helps prevent cracks, movement, and early wear.
When the grout is fully cured, applying a high-quality sealer creates a protective barrier that blocks moisture, stains, and everyday dirt. This extra layer keeps your grout looking fresh, strengthens the surface, and gives your tiled area a longer-lasting, polished finish.
A good sealer also acts like a shield, keeping your grout from soaking up moisture or picking up stains as time goes on.
Applying it smoothly helps create a strong barrier that makes everyday cleaning much easier. With proper sealing, your grout keeps its color, stays firm, and holds up even in areas that get a lot of use.
Common Mistakes to Avoid When Grouting Tile
- Using too much or too little water when mixing grout. Too much makes it runny and weak, while too little makes it dry and hard to spread.
- Not pressing grout firmly into the joints can leave air pockets or gaps that allow moisture to seep in.
- Rushing the cleaning process often leaves a stubborn haze on the tiles.
- Skipping sealing and proper curing causes the grout to absorb stains and moisture and eventually discolor or get damaged.
- Using the wrong tools, like a worn-out float or an overly wet sponge, which can create uneven lines, scratches, or pull grout out of the joints.
FAQs
What type of grout is best for tile in the bathroom?
Epoxy or superior cement-based grout is best for wet areas like bathrooms, as it is water-resistant and repels the growth of mold and mildew.
How long to wait to grout tile?
The ideal wait time for the grout to dry down is 24-48 hours. The grout takes a while to properly settle and seal to prevent any cracks.
Is it ok to over-grout?
To prevent the grout from being sealed before it has dried, always wait 24 to 72 hours before sealing the grout. If you want to be extra sure, you can always follow the instructions from the grout manufacturer.
What can I do to repair the cracks in the grout after it has dried?
To properly repair grout lines, you need to complete the following steps in the order provided. Remove the damaged grout, clean the gap thoroughly, and fill the gap in with new grout. After smoothing the new grout, let it cure. Seal the grout lines to prevent cracking from happening again.
Conclusion
Understanding how to grout tile is part of the tile installation process. It helps give your surface a finished appearance as well as a polished look while protecting the floor.
The small things done right here add up to make a huge percentage of the value of your finished project. Mitigating the grout exposure to damage by sealing and healing it will add to the life of the floor and will help the grout retain its color and will also stand up to use.


