
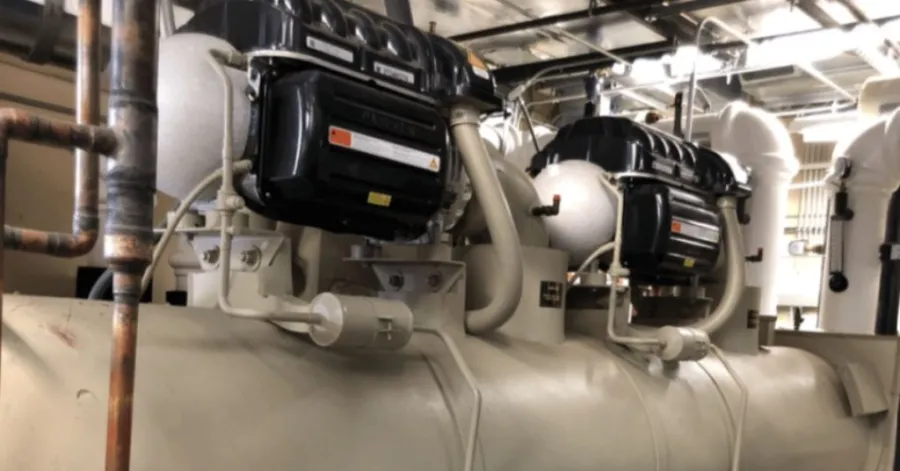
A chiller cooling system is important for controlling temperatures in HVAC systems and across the industry. Air injection into the system may disrupt water flow, reduce cooling, and increase energy consumption. This tends to cause performance inequalities and strain on the system. Air entrapment and proper air elimination are necessary to ensure smooth operation. Numerous technicians seek viable instructions on how to empty air in the cooling system to re-establish normal circulation. With the appropriate actions, equipment, and precautions, you can have a steady output, prevent failures, and enhance the performance of the whole chiller system.
- Common Signs That Air Is Trapped in a Chiller Cooling System
- Tools and Preparation Before Bleeding a Chiller Cooling System
- Step-by-Step Process to Remove Air From a Chiller Cooling System
- Alternative Methods to Remove Air From a Chiller Cooling System
- Important Checks to Perform After Removing Air From the Chiller Cooling System
Common Signs That Air Is Trapped in a Chiller Cooling System
A chiller cooling system may have air trapped in it, which may severely impact cooling performance and efficiency. It normally occurs following maintenance, filling water, a leak, or an inappropriate start-up of the system. In the long run, the impact is evident in the system’s working and cooling performance. When you are aware of these early warning signs, it will be easy to determine how to get air out of the cooling system before it causes decreased efficiency or equipment problems.
The issue must be correctly identified before implementing a solution. The air within the piping network impedes the circulation of smooth chilled water, disrupting heat transfer and system stability. These symptoms mostly occur as one, and this is a clear indication that the system needs to be removed of air.
Chiller Overheating or Poor Cooling Performance
One of the most common signs of trapped air in a chiller system is poor cooling performance or overheating of system components. The chilled water may not reach some parts of the system when air pockets prevent the flow of the chilled water. This causes uneven temperature control and inefficiency throughout the system.
This issue can be experienced frequently following maintenance or a system restart. Technicians, in most instances, resort to finding out how to purge air out of the chiller cooling system step by step since the performance immediately decreases following servicing. Otherwise, trapped air can impose additional load on pumps and shorten the system’s overall lifespan, and superior air removal should be employed to ensure the system operates in a stable state.
Unstable Pressure and Fluctuating Flow Readings
Another obvious sign of air in a chiller system is an unstable pressure or varying flow values. Pressure gauges and flow meters could report erratic movement as opposed to consistent readings. It occurs due to air bubbles disrupting uninterrupted water flow through pipes and sensors.
Consequently, operators might not be able to tell whether the system is operating normally or not. This problem usually occurs following maintenance or refilling. Most technicians at that time attempt to learn how to remove air from the industrial chiller water system since stagnant air is usually present in the high point of piping networks. Unless addressed, such inaccurate readings may cause wrong system settings and inefficiency.
Reduced Heating or Cooling Effect in HVAC Zones
In cases where HVAC zones are linked together via a chiller system where air is trapped, cooling and heating might fail to balance. The flow of the chilled water is no longer uniform, and the heat exchange efficiency decreases greatly. Consequently, some regions can be warmer or more comfortable than others.
This problem is usually observed following the servicing of systems or a water change. When this arises, individuals may tend to find out how to evacuate the air out of the HVAC cooling system as soon as possible and safely, since air pockets do not allow the transfer of heat effectively. As soon as the air is removed, chilled water circulation is enhanced, and the system can maintain temperature balance across all zones.
Bubbling or Gurgling Sounds in Piping or Coils
Strong indicators of air that is trapped in a chiller system are bubbling or gurgling sounds in the pipes, coils, or around the pump areas. The sounds occur when air pockets move in the water flow, disrupting smooth circulation.
These noises can be better audible when starting the system or when the pumps are operating at low speed. This problem normally occurs after maintenance or water filling and indicates that there is still air in the system. It is a very good indication of the need to introduce a step-by-step cooling-system bleeding manual to clear any trapped air. When left unaddressed, such noises may persist and reduce overall system efficiency and stability.
Tools and Preparation Before Bleeding a Chiller Cooling System
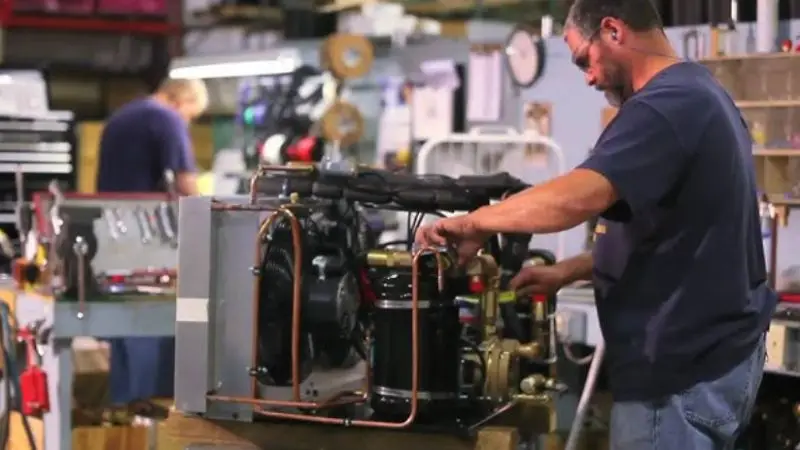
It is important to prepare a chiller cooling system before de-airing it. The cooling efficiency can be decreased, and more energy is used by air that is trapped in chilled water pipes, coils, or heat exchangers. It is safer and more effective to take time to prepare the system well to make the bleeding process effective.
Learning how to evacuate air through the parts of the cooling system begins with the acquisition of the appropriate equipment, safety protocols, and inspection of the system status. The correct preparation will aid in avoiding repeated air bubbles and stability in circulating chilled water throughout the system.
Follow Essential Safety Precautions Before Bleeding the System
The first consideration in working on a chiller cooling system should be safety. Always close the chiller before accessing any system components or opening any vent valves. The circulation pumps are to be switched off, and the system pressure must be stabilized.
During maintenance, technicians should wear safety gloves, protective eyewear, and appropriate work clothes. Under pressure, water may leak unpredictably when opening vent valves. Most of the maintenance teams are concerned with step-by-step air removal of the chiller cooling system at the expense of safety. Adhering to the correct safety measures can prevent injuries and damage to people and equipment, and make the air bleeding process as gentle as possible.
Gather the Equipment Needed for Air Removal
With the right equipment in place, the bleeding process becomes a lot easier. The simple tools necessary in most chiller systems are: adjustable wrenches, screwdrivers, pressure gauges, vent keys, and clean cloths. Technicians can also use portable pressure-testing tools in larger plants to monitor system performance during air removal.
In the study of the water system of bleeding air in an industrial chiller, most practitioners learn that the preparation matters a lot in determining the eventual outcome. Proper tools enable the effective release of trapped air and minimize the risk of leaks or operational disruptions. Having all the necessary equipment on hand also helps make the maintenance process less time-consuming.
Inspect the Expansion Tank and System Water Levels
Prior to starting air removal, check the expansion tank and ensure that the level of water is within the acceptable operating range. Reduced water levels may add more air into the piping system and make it harder to bleed.
This check is a significant aspect of the process of removing air in the HVAC cooling system in the shortest and safest way possible, since constant water levels contribute to pushing the trapped air to the vent points. When the system lacks water, air pockets may still form even after bleeding. Ensuring adequate water prior to commencing enhances the efficiency of the entire process.
Check Water Quality and System Condition
The quality of the circulating water may affect the system’s overall performance and lead to recurring air-related problems. Prior to bleeding the system, examine the water, which may have been contaminated, contain excessive sediment, or be corroded. Water quality may be poor, disrupting circulation and creating an environment where air can accumulate.
This action is closely connected to indicators of air trapped in the chiller cooling system and its solutions, since not all performance difficulties are caused by trapped air but by poor water conditions. A clean and well-maintained system improves heat transfer, water flow, and the elimination of air during the maintenance process.
Step-by-Step Process to Remove Air From a Chiller Cooling System
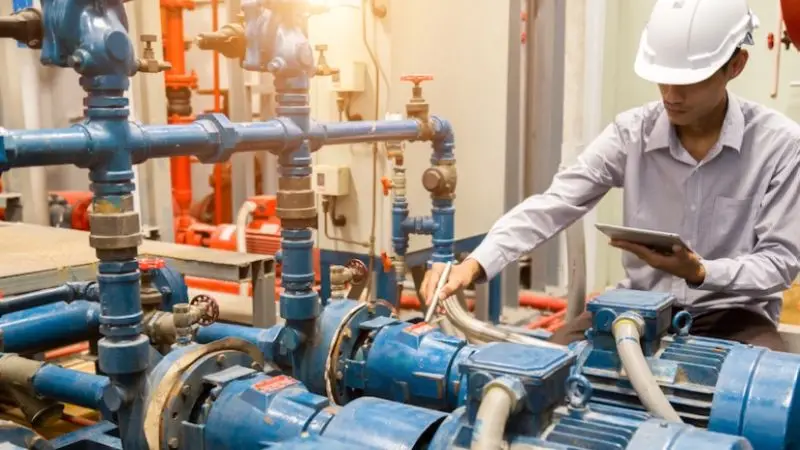
A chiller cooling system may have air trapped in it, which reduces efficiency and disturbs the flow and performance of the whole cooling system. Air pockets in HVAC systems tend to restrict the correct circulation of water in pipes, coils, and heat exchangers. That is why it is important to learn how to remove air from the cooling system in a chiller to ensure stable operation and greater energy efficiency.
Air removal should be carried out with special caution and in the proper order, unlike car systems, which do not need a pump, valves, or extensive piping networks.
Shut Down the Chiller and Ensure the System Is Safe
The chiller system should be turned off before commencing any work. This involves shutting down the compressor and circulation pumps to avoid pressure flow within the system. It is also hazardous to work on a running system and can lead to the wrong release of air.
Wait until the system pressure is stable before opening any valves. This is a necessary step in any step-by-step guide on cooling system bleeding, particularly with HVAC systems, where the levels of pressure have been higher than with automotive systems. Safety is used to make sure that trapped air can be removed without causing any harm to equipment or operators.
Identify Air Vent Points in the Chiller Piping System
Chiller systems usually have manual or automatic air vent valves installed at high points in the piping network. These are places where air would naturally gather due to the density difference between air and water.
It is important to find these vent points when studying how to remove air in the car cooling system after changing the coolant, but in this instance, for the HVAC systems. Air is likely to be trapped in higher pipe sections, coils, and heat exchangers; thus, venting points need to be strategically positioned to be removed effectively.
Check and Stabilize Water Level in the Expansion Tank
The expansion tank is essential for ensuring the right amount of water in a chiller system. Before bleeding the air, make sure the tank is fully filled with water so that no additional air is introduced into the system.
When the water level is low, this may exacerbate air entrapment and reduce circulation efficiency. This is a closely related step to how to get air out of the radiator hose, except in chiller systems, where it is applicable to the main supply and return lines. Even distribution of water maintains a smooth flow of fluid and expulsion of air.
Start the Circulation Pumps Slowly
When the system is prepared, turn on the circulation pumps at a low speed (where feasible). This enables water to move slowly through the system, pushing trapped air to vent points without turbulence.
Flowing slowly is significant since rapid pressure may entrap more air rather than eliminate it. This procedure is regularly employed to bleed air out of the cooling system without tools, particularly in HVAC systems where manual control is less efficient than an automated one.
Open Air Vent Valves to Release Trapped Air
Carefully open the air vent valves at high points in the system. You will find an escape of air at first, and then sometimes a mixture of air and water. This is an indication of the air pockets being trapped and removed.
This is an important step in an appropriate step-by-step bleeding guide of the cooling system since it literally removes air from the system. On large chiller systems with several vent points, it might be necessary to open each vent one at a time to clear the system completely.
Monitor Water Flow and Refill if Needed
With the release of air, there can be a slight decrease in water levels. It is important to monitor the expansion tank and refill it if necessary to maintain proper system balance.
A regular supply of water prevents the reintroduction of air into the system. Continuous monitoring is a critical measure to ensure that all air is removed, yet many users do not adequately consider this step when they ask how long it takes to bleed a cooling system in HVAC settings.
Confirm Stable Flow Without Air Bubbles
The last measure is to make sure that the water flow is steady and does not contain any air bubbles. When the flow of the discharge at vent points becomes regular, only water, then the system is said to be properly bled.
It means that the chiller is now functioning effectively with no entrapped air interference. It also corresponds with indications of air in the cooling system and its repair, because the elimination of bubbles will restore normal pressure and cooling efficiency within the system.
Alternative Methods to Remove Air From a Chiller Cooling System
@ryrybigboy Protect your investment! #waterchiller#laserengraver#laserengraving#chillervevor@vevor shop #spotlightfinds #tiktokshoplastchance #tiktokshopholidayhaul #tiktokshopnewyearnewaura#investment
♬ original sound – Ben Slater
Although conventional bleeding methods are effective in the majority of cases, certain chiller systems can be hard to remove using conventional methods since some air pockets can be stubborn. High places of piping, coils, or heat exchangers may have air trapped, which cannot be removed by normal venting. Water circulation can be enhanced, and the efficiency of the system can be reinstated by some other methods.
In case the trapped air remains as a source of flow constraints or performance problems, the following techniques can be used to ensure that the air removal process is completed and the overall system operation is enhanced.
Use System Circulation to Push Air Toward Vent Points
Controlled water circulation as a way of pushing air pockets to the specified vent areas is one of the effective ways of eliminating trapped air. Circulation pumps may be started at a regulated speed after opening the required air vents to promote a constant flow of water within the system.
Water is pumped through the pipes, and trapped air will slowly move to high areas, where it will be released by means of manual or automatic vents. Technicians who are learning how to remove air from the HVAC cooling system fast and safely usually use this technique since it assists in the removal of air in areas that are hard to reach directly. Circulation is monitored continuously to make sure that no air is left behind without creating pressure changes in the system.
Use the System Purging Technique
Another common technique for removing trapped air from chilled water networks involves purging, or air-bugging, the system. This is done by opening vent valves in a certain order and controlling the flow of water in the system.
Its aim is to push the entrained air to the specified discharge points until only water comes out of the vents. The method is especially helpful when we have to deal with very large piping networks or when commissioning a new system. To ensure that all air pockets are cleared in the process, many maintenance professionals have relied on this technique when using a step-by-step approach to remove air in a chiller cooling system, since it helps clear any air pockets that might have been missed during the normal bleeding process. Adequate purging enhances circulation and allows more uniform cooling capability.
Use Vacuum Filling Equipment When Available
One of the best techniques for preventing and eliminating trapped air in a chiller cooling system is vacuum filling. It involves specialized equipment that creates a vacuum in the piping network, and then water is added. With the filling of the system, the vacuum is filled with water, and, therefore, there are high probabilities that the air will not become trapped.
The use of this method in facilities tends to have a quicker commissioning phase and fewer air-related problems following maintenance. Technicians studying bleeding issues in chilled water systems in industries often consider vacuum filling, as it offers a reliable way to fill large, complex systems. It will require specific equipment, but the approach can help to save time and enhance long-term system performance by reducing the amount of air at the beginning.
Important Checks to Perform After Removing Air From the Chiller Cooling System
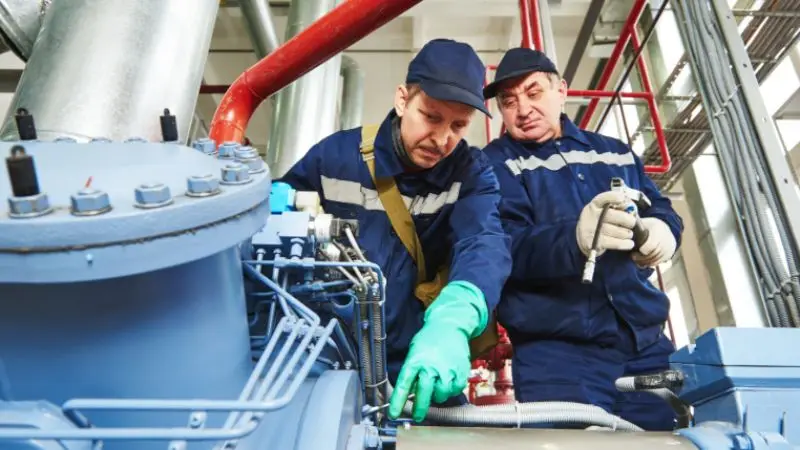
However, the work is not yet done after the air trapped has been removed. There are a couple of final checks to ensure the chiller system operates efficiently and without failures. These checks are used to ensure that all air has been removed and that the system can operate normally.
Delaying checking system conditions after bleeding can prevent re-emerging air pockets, unstable pressure, and diminished cooling efficiency. The following steps will help ensure the system runs smoothly.
Verify the Water Level and System Pressure After Bleeding
Once the air has been removed, examine the expansion tank and verify that the water level is within the recommended range. The system can occasionally release air, which lowers the water level, and more water is therefore added to ensure proper circulation.
Simultaneously, check pressure readings in the review system to be in balance. This is a necessary step in learning to remove air in the components of cooling systems since the correct level as well as pressure of water helps to prevent the formation of new air pockets. A balanced system facilitates the effective flow of chilled water and effective cooling.
Inspect the Entire Chiller System for Leaks and Loose Connections
The second thing is to inspect the system thoroughly to check the leaks around the vent valves, pipe joints, fittings, pumps, and heat exchangers. Even the slightest leak may enable air to get to the system and cause some recurring circulation issues.
This checkup is frequently ignored in the process of removing air from the chiller cooling system step-by-step procedures, yet it contributes greatly to the effectiveness of the system in the long term. Early leak detection and repair help maintain a stable pressure level and reduce the risk of air buildup in the piping system.
Monitor Chiller Performance and Confirm Stable Operating Conditions
After the system has come back online, observe its operation for some time to make sure that normal operation has been restored. Check temperature, pressure indicators, flow rates, and cooling output across the system.
This last check is a significant element of indications of air entrapment in chiller cooling systems and solutions, as it establishes that the trapped air is no longer influencing the circulation or heat exchange. The stabilization of readings and stable cooling performance suggest that the bleeding process was successful and the system functions as it should.
Wrap Up
The performance, pressure stability, and cooling efficiency can be greatly affected by air trapped in a chiller’s cooling system. Nevertheless, through appropriate bleeding techniques, safety measures, and maintenance practices, these problems can be overcome successfully. Regardless of the manual venting, circulation techniques, or vacuum filling, the idea is always to achieve a smooth-flowing chilled water. The leak repairs need to be taken care of regularly, and the system should not be allowed to take in air once more. With the step-by-step cooling system bleeding guide, you can ensure long-term system stability and minimize operational issues. Proper maintenance will ensure the chiller operates efficiently and delivers uniform cooling.
FAQs
What is the reason why air is introduced into a chiller cooling system?
Air normally comes in through improper filling, maintenance, leakages, or low system pressure. It may also be implemented at startup in case proper procedures are not observed.
What are the symptoms of trapped air in a chiller system?
The typical symptoms are a changing pressure, lack of cooling, gurgling noises, and uneven distribution of temperature throughout the system or zones of the HVAC.
How can air be removed easily in a chiller system?
The easiest way is by controlling venting using air release valves and ensuring there is proper water circulation and system pressure until the airflow establishes a steady flow.
Will the chiller be damaged by the air in the system?
Yes, entrapment of air may result in lower efficiency, higher pump loads, and incomplete cooling. In the long run, it can result in wear and shorter system life.
What is the frequency of checking a chiller system to see if there is a problem with air?
One should check the system when doing regular maintenance or after doing any repair, refilling, or shutdown to be sure that no air has entered.




