
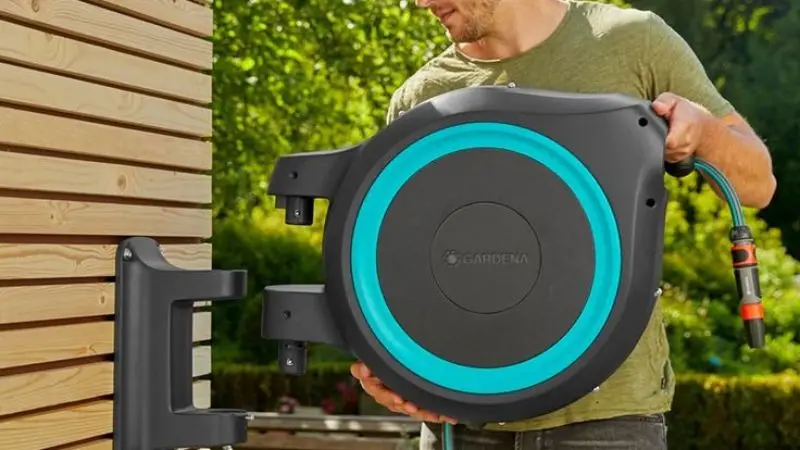
How can a hose reel be mounted on wood, stucco, or brick? The good news is that there are a few easy steps you can take to install a hose reel on any of these surfaces. Proper equipment and a steady hand are necessary if you want your garden hose holder to stay in place. Projects involving hose reel mounting don’t have to be too difficult. Simply gather your supplies, and let’s begin!
Tools and Materials You’ll Need
Before you start mounting your hose reel, gather the necessary tools and supplies. Having everything ready makes the job much easier and helps you avoid extra trips to the store. Let’s break down what you’ll need for a smooth installation.
Essential Tools for Mounting
You don’t need fancy equipment for this project. Most of these tools might already be in your toolbox:
- Power drill (with variable speed)
- Masonry drill bit (for brick or stucco)
- Standard drill bit (for wood)
- Screwdriver
- Level
- Pencil or marker
- Tape measure
- Mounting template (often included with your hose reel)
Mounting Materials
The right mounting hardware depends on your wall surface. Here’s a quick guide:
| Surface | Hardware Needed |
| Brick | Masonry anchors, masonry screws, treated board (for brick veneer) |
| Stucco | Masonry anchors, masonry screws, silicone caulk |
| Wood | Lag screws, washers, wood screws |
You want to use anchors for brick and stucco because they help hold the screws tight. For wood, lag screws work best. If you have brick veneer, add a treated board between the wall and the hose reel for extra support.
Safety Equipment to Prevent any Injury
Safety always comes first. Protect yourself with these items:
- Safety glasses 👓
- Work gloves 🧤
- Dust mask (especially when drilling into brick or stucco)
Now that you have your tools, hose reel mounting hardware, and safety gear, you’re ready to move on to prepping your wall!
Preparing Your Wall Surface
Examining Wood, Stucco, and Brick Walls
Scrutinise your wall before you pick up your drill. You want to locate your hose reel in a sturdy, secure place. Examine every wall as you stroll around your yard. Check the wood for soft spots, loose bricks, or cracks. Choose a different area if you notice any damage. Your hose reel won’t move for years if your fence is sturdy.
Consider the areas where you use your hose most frequently. Your hose reel mounting location should be accessible and near your water spigot. Avoid places where many people are walking. This makes watering your garden easier and keeps everyone safe.
Cleaning and Marking Mounting Points
Now that you picked your hose reel mounting spot, it’s time to get it ready. Wipe away dirt, dust, or spider webs with a brush or cloth. A clean surface helps your hardware grip better.
How to install a hose reel on a concrete wall? Grab your mounting template or the hose reel bracket. Hold it up to the wall where you want to install the reel. Use a pencil or marker to trace the holes. Make sure the bracket sits level. If you’re mounting on wood, use a stud finder to check for studs behind the wall. Mark these spots. Screwing into a stud gives your hose reel the best support.
You’re now ready to start drilling and mounting your hose reel!
Step-by-Step Hose Reel Mounting
Mounting on Brick
With the correct equipment, mounting a hose reel on a brick may seem complicated, but it is possible. Check your marks on the template first. Verify that everything is level and in alignment.
- Take out a masonry bit and your power drill. At every indicated location, drill a hole. Move steadily and slowly. The holes should be deep enough to accommodate your anchors.
- Dust every hole. You can blow it out or use a tiny brush.
- Place anchors for the masonry into the holes. Using a hammer, gently tap them in until they are flush with the brick.
- A treated board should be positioned between the wall and the hose reel bracket if you have brick veneer. This gives extra support and keeps the anchors from pulling out.
- Hold the hose reel bracket over the anchors. Line up the holes.
- Drive masonry screws through the bracket and into the anchors. Tighten them with a screwdriver.
- Give the bracket a gentle tug. It should feel solid and not wiggle.
Mounting on Stucco
How to mount a hose reel on siding? Stucco walls need a little extra care. The surface can crack if you rush, so take your time.
- Place your template or bracket on the wall. Double-check that it is level.
- Use a masonry bit to drill holes at each mark. Drill slowly to avoid chipping the stucco.
- Squeeze a small amount of silicone caulk into each hole. This helps seal out water and keeps the anchors tight.
- Insert masonry anchors into the holes. Tap them in gently until they are flush with the wall.
- Hold the hose reel bracket in place. Line up the holes with the anchors.
- Drive masonry screws through the bracket and into the anchors. Tighten them until snug, but do not overtighten.
- Wipe away any extra caulk that squeezes out.
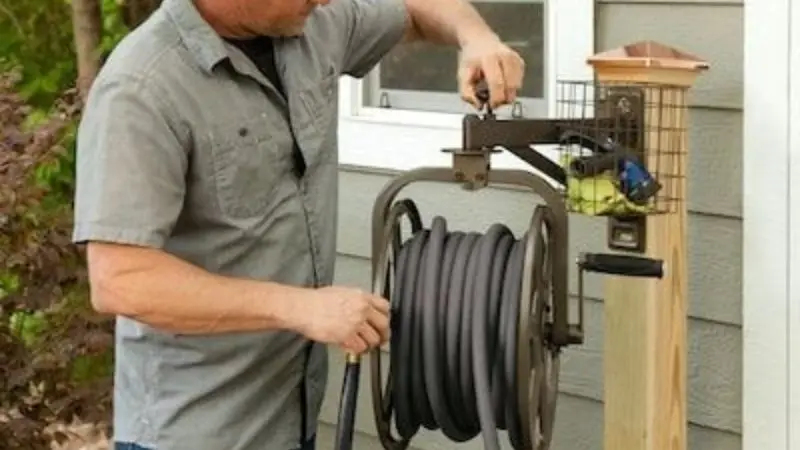
Mounting on Wood
Wood walls make hose reel mounting simple, especially if you find a stud. Studs give the strongest hold.
- Use a stud finder to locate a stud behind your chosen spot. Mark it with a pencil.
- Hold the mounting template or bracket against the wall. Make sure it is level.
- Pre-drill holes at each mark using a 1/8-inch drill bit. This keeps the wood from splitting.
- Place the hose reel bracket over the holes.
- Insert lag screws with washers through the bracket and into the wood. Tighten them with a socket wrench or screwdriver.
- Check that the bracket feels sturdy. If it moves, tighten the screws a bit more.
Testing and Adjusting Your Hose Reel
Ensuring the Reel is Level and Secure
You have chosen the hose reel and finished mounting it, but don’t walk away just yet! Now you need to check that everything sits level and feels sturdy. Grab your level and place it on top of the hose reel bracket. If the bubble sits in the centre, you did a great job. If not, loosen the screws a little and adjust the bracket until it lines up. Tighten the screws again.
Give the hose reel a gentle shake. Does it move or feel loose? If you notice any wobble, check your anchors or screws. Sometimes anchors in brick or stucco can slip. If this happens, remove the anchor and use a larger one. Be sure to hit a stud for wood. Did you miss the stud? Try again after moving the bracket.
Verifying Rotation and Retraction of Hoses
Now check the operation of your hose reel. Extricate the hose and allow it to retract. Without catching, the reel should spin smoothly. Look for twisted hoses or overly tight screws if it feels rigid. If necessary, loosen them slightly.
Turn the reel back and forth. It ought to spin without contacting the wall. To make room if it rubs, place a washer between the bracket and the wall.
Here are a few quick checks for long-term use:
- Look for water leaks around the mounting holes. Add silicone caulk if you see any.
- Wipe off dirt or water from the reel after each use.
- Check screws and anchors every few months. Tighten them if they feel loose.
Maintenance Tips for Long-Lasting Hose Reels
Keeping your hose reel in top shape doesn’t take much time, but it makes a big difference. If you want your hanging garden hose holder to last for years, just follow these simple tips.
Regular inspection of screws and anchors
You should check the screws and anchors every few months. Weather and daily use can loosen them. Grab a screwdriver and give each screw a quick twist. If you notice any wiggling, tighten things up. For brick or stucco, look at the anchors. If one feels loose, replace it with a new one. This keeps your hose reel safe and steady.
Cleaning the reel and hose to prevent wear
Dirt and grime can build up on your hose reel and hose. This can cause rust or make the reel hard to turn. Use a damp cloth to wipe down the reel and hose every few weeks. If you see any mud or sticky spots, rinse them off with water. Let everything dry before you rewind the hose. Clean parts work better and last longer.
- Remove leaves and cobwebs from around the reel.
- Check for any cracks or signs of rust.
- Spray a little lubricant on squeaking moving parts.
Seasonal adjustments for outdoor exposure
Weather changes can affect your hose reel. In winter, freezing water can damage the reel or hose. Before cold weather hits, drain the hose and store it inside if you can. Cover the reel with a waterproof cover to protect it from snow and rain. In summer, keep the reel out of direct sunlight when possible. The sun can make plastic parts brittle.
Conclusion
You now know how to mount a garden hose holder on brick, stucco, and wood. Just follow each step, check your work, and make sure your garden hose holder feels secure. Keep inspecting your garden hose holder each season to keep it strong. If you ever spot a loose screw or anchor, fix it right away.
Ready to get started? You can handle this project and enjoy a sturdy garden hose holder for years!
FAQ
Can I mount a hose reel without a drill?
You need a drill for brick and stucco. For wood, you might use self-tapping screws, but a drill makes the job easier and safer. Using the right tools helps your hose reel stay secure.
What if my wall is uneven or bumpy?
If your wall feels uneven, use washers or a treated board behind the bracket. This helps the hose reel sit flat and prevents wobbling. Always check that the bracket feels sturdy before hanging your hose.
What is the maximum weight that my hose reel can support?
The majority of wall-mounted hose reels can hold 25–100 feet of hose. Check your reel’s instructions for the exact limit. Your reel will support more weight if you mount it to a solid brick or stud and use strong anchors.
After drilling, do I have to seal the holes?
Indeed! Water is kept out of holes by caulking them with silicone. This keeps wood, stucco, or brick from getting damaged. Before installing screws or anchors, always apply a small amount of caulk.
Can my hose reel be moved later?
If necessary, you can move your hose reel. Use wood filler or exterior caulk to patch old holes. If desired, touch it up with paint after letting it dry. Always use fresh screws or anchors for the new spot.


