
You might wonder if extension cord repair is safe to do at home, especially when you notice cuts, frayed wires, or worn insulation. The truth is, some damage can be fixed safely if you know what to look for and follow the right process. Learning how to safely repair a cut extension cord starts with careful inspection, proper tools, and patience. Many people deal with damaged cords caused by daily use, storage issues, or accidents. This guide walks you through the best way to fix a frayed extension cord, explains when repairs make sense, and shows how to restore safety step by step without taking unnecessary risks.
- Is It Safe to Repair an Extension Cord at Home?
- Tools and Materials You’ll Need to Repair a Damaged Extension Cord
- How to Repair a Minor Nick or Exposed Wire in an Extension Cord
- How to Fix a Severed or Completely Cut Extension Cord
- How to Replace a Damaged Male or Female Plug
- How to Test a Repaired Extension Cord for Safety and Proper Function
Is It Safe to Repair an Extension Cord at Home?
Before attempting any extension cord repair, it is important to understand that safety always comes first. Not every damaged cord should be fixed, and not every repair is suitable for a home environment. Knowing when a repair is acceptable and when replacement is the smarter choice can prevent serious electrical hazards and long-term risks.
When You Should Repair vs. Replace an Extension Cord
Many people wonder whether fixing a damaged cord is worth the effort or if buying a new one is safer. In limited situations, how to safely repair a cut extension cord depends on the condition of the damage and the overall health of the cord.
OSHA rule permits repair when the cord has been completely repaired in a safe and acceptable manner. Temporary repairs, bare insulation, or deteriorated rubber covering are prohibited. Also, in case of a brittle, cracked, or otherwise worn-out outer jacket in various places, the cord had been insecure, even before the cracks began to show.
You may consider repair if:
- The harm is minimal, a little nick or a cut on one uncovered part.
- The wrapping of the remaining portion of the cord is fine and pliable.
- The plug and internal wires have not been destroyed.
The preferable option would be replacement in case the cord has general wear, the exposed copper section in a number of areas, or any form of overheating. In such instances, it becomes dangerous to repair the cord and poses a risk of electric shock and fire instead of minimizing it.
Common Types of Extension Cord Damage to Look For
A careful inspection is essential before deciding on the best way to fix a frayed extension cord or whether fixing it is safe at all. Many dangerous cords look harmless at first glance but hide serious internal damage.
Common warning signs include:
- Cuts, nicks, or fraying along the outer jacket
- Exposed copper wires or missing insulation
- Burn marks, melting, or discoloration
- Loose, bent, or cracked plug ends
Even minor damage can worsen over time, especially when used with high-power tools or appliances. Heat buildup inside a damaged cord can lead to electrical failure or fire. Always examine cords closely before plugging them in, and never assume a small defect is harmless.
Safety Precautions Before Starting Any Repair
There is no guessing in electricity. There are certain general safety regulations that you should be familiar with before attending a step-by-step extension cord repair guide, or you would risk getting injured.
It is always necessary to ensure that the cord is never left connected to any source of power before touching it. Always ensure that an exposed cord that is plugged in is never subjected to repair, regardless of how small the damage may be. Use the correct tools to repair damaged outlets. You should not use tape when attempting to fix the open wire or plug in defective plugs, since they are not durable and may cause severe accidents.
Remember the following safety principles:
- Never have loose wires or broken insulation in cords.
- Do not run any cords under carpets, doors, or walls.
- Do not plug two or more extension cords together.
- Do not rearrange grounded plugs or use unsuitable adapters.
Considering that the repair process will require a replacement of a plug, the knowledge of how to replace a broken extension cord plug properly is of the essence. In case of any difficulties, it is always best to change the cord or find a professional.
Tools and Materials You’ll Need to Repair a Damaged Extension Cord
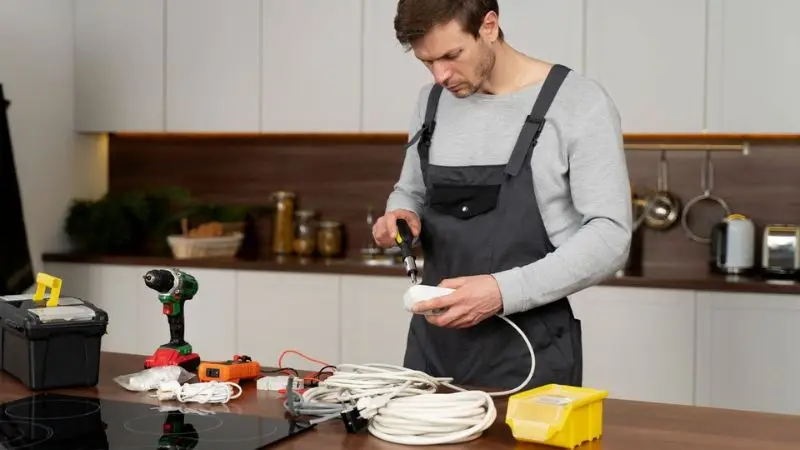
Before starting any extension cord repair, preparation is just as important as the repair itself. Using the right tools and protective gear reduces the risk of injury and helps ensure the cord is restored safely. When everything is ready and within reach, the repair process becomes smoother and far more reliable.
Essential Safety Gear for Extension Cord Repair
There is always some risk involved in working with the electrical cords, though the damage may appear to be minor. Proper safety equipment safeguards against accidental shocks, sharp edges of wire, and sudden moves of the cord when carrying out the repair.
You are supposed to be in a dry and bright place and not exposed to moisture. Eye protection will be used to guard against the insulation fragments or strands of wire, and insulated gloves will be used as additional protection when touching the exposed conductors. Mistakes are also prevented by keeping the working environment clean and uncluttered. The first step before starting the process of how to repair a cut extension cord safely is to verify that the extension cord is fully unplugged and no longer connected to any source of power.
Tools for Cutting, Stripping, and Reconnecting Wires
Having the correct tools allows you to make clean, controlled cuts and secure connections. Poor tools can damage wires further and weaken the repair, leading to future failures.
Basic tools typically include wire cutters to remove damaged sections, wire strippers to expose conductors without nicking them, and pliers to grip and twist wires securely. A screwdriver is often required when opening replacement plugs or tightening terminals. Some people also use a soldering iron for a more permanent connection, especially when following a step-by-step extension cord repair guide. Not every repair requires all tools, but having them available helps maintain consistency and safety.
Replacement Plugs and Insulation Materials
In others, the damage is usually done towards the end of the cord, and the safest solution is just to replace the plug. To know how to replace a broken extension cord plug, the right replacement parts and insulation materials are required.
Internal connections are generally secure, and screw-terminal replacement plugs are used. Heat-shrink tubing provides a high level of insulation to repaired areas and contributes to the future. Electrical tape can also be placed as an additional protective coating; however, it should not be relied upon. These materials will help ensure that the repair should last through a normal operating cycle and keep the cord in a safer working state again when used correctly.
How to Repair a Minor Nick or Exposed Wire in an Extension Cord
Minor insulation damage is one of the most common extension cord problems. When addressed correctly, small nicks can often be repaired safely. This section focuses on controlled repairs suitable only when the cord is otherwise in good condition.
Identifying the Damaged Section
Start with unplugging the cord and laying it in a flat position so that the full length can be seen. Examine closely where the insulation is cut, worn away, or missing. Bare copper, glittering points, or gravelly edges are normally signs of damage. You can also feel along the cord of your course to figure out parts that are difficult to see but are weak. When several damaged spots are observed, then two or more cords cannot be repaired in a safe manner any longer. Probably the most suitable thing to do in such instances is to replace the frayed extension cord rather than make the best of trying to repair it.
Using Electrical Tape the Right Way
Electrical tape can be effective for small insulation repairs when applied correctly. Start by making sure the damaged area is clean and completely dry. Begin wrapping the tape before the damaged spot and overlap each layer as you move across it. Continue past the damaged section to create a sealed barrier. The tape should sit snugly against the insulation without excessive stretching. This method works only for minor nicks and should never be used to repair exposed copper that is badly damaged or overheating. Careful wrapping improves durability and reduces risk.
Reinforcing the Repair with Heat-Shrink Tubing
To ensure further safeguarding, heat-shrink tubing offers a secure and more durable covering of the repaired fissures. When re-insulating cords, it is important to insert the tubing over the cord and only do the adjustments after the repair. When the tubing is placed over the affected area, controlled heat will cause it to shrink and cover the area in a protective layer. This reinforcement serves to prevent moisture intrusion and reduce tension at the point of repair. This technique, when done correctly, can greatly enhance the dependability of extension cord repair and extend the life of a cord without affecting the safety.
How to Fix a Severed or Completely Cut Extension Cord
A fully cut extension cord looks serious, but in some cases, it can be repaired safely if done correctly. This type of damage requires careful preparation, correct wire matching, and strong insulation. Following a proper process reduces risk and helps restore the cord to a safe working condition.
Preparing the Extension Cord Before Starting the Repair
Begin by disconnecting the extension cord and placing it flat on a dry surface. Look at the ends of the cut and cut away any frayed, burnt, or melted pieces with wire cutters. This is done to produce clean cut and straight ends before reassembling anything. When attended to, cut out the outer jacket on each side, about two inches, with a utility knife. This opens the internal wires without breaking them. A key initial step to the practice of repairing a cut extension cord safely is the proper preparation of the cord, where uneven or damaged wire ends will undermine the entire repair.
Stripping and Connecting the Internal Wires the Right Way
With the internal wires exposed, use wire strippers to remove about half an inch of insulation from each wire. Most cords contain three wires, typically black, white, and green or bare copper. Each wire must be connected to its matching color to avoid electrical faults. Twist the stripped ends tightly together so the connection is firm and compact. Some people choose to solder the joint for added strength, but a solid twist is usually sufficient for home repairs. Correct wire pairing is essential in any step-by-step extension cord repair guide, as mistakes here can cause shocks or overheating.
Installing a New Plug or Connector on a Cut Extension Cord
In case the cord is cut off towards the end or the plug is broken off, then the safest thing to do is to install a new connector. Unscrew the internal screws by opening the replacement plug housing. Connect the cord to the housing. Connect the black wire to the brass screw, the white wire to the silver screw, and the green wire to the grounding screw. Fix every screw in place to ensure that the wires do not move. Knowledge on how to replace a broken extension cord plug will make sure that the cord is grounded well and in its rightful balance.
Securing and Insulating the Repaired Section
Once the connections are complete, close the plug housing and secure it tightly. No copper wires should be visible outside the plug. To strengthen the repair, insulation should fully cover all exposed areas. Electrical tape may be wrapped neatly around the joint, followed by heat-shrink tubing for added protection. Apply heat evenly until the tubing contracts around the cord. Allow the repair to cool completely before use. Proper insulation is what makes extension cord repair safer and more durable over time.
How to Replace a Damaged Male or Female Plug
Plug damage is one of the most common reasons extension cords fail. Replacing a worn plug is often safer than repairing it, especially when the cord itself is still in good condition. Knowing when and how to replace a plug helps prevent overheating and electrical accidents.
Common Signs That an Extension Cord Plug Needs Replacement
Some broken plugs do not necessarily seem dangerous at the beginning, yet minor details can easily become life-threatening. Any loose connections and damaged prongs disrupt the flow of electricity and add heat to it. Good indications of replacement include cracks appearing, color changes due to heat, minority internal wires showing, or a lack of a grounding prong. Use of a plug that is loose in the outlet or that has a burning odor should not be used. Knowing these problems at a young age will guide you in deciding how you can best correct a frayed extension cord, which is to either fix the cord itself or change the plug.
Step-by-Step Instructions for Replacing the Plug
Begin by cutting off the old plug about one inch from the end of the cord. Strip away the outer jacket carefully to reveal the internal wires. Separate the wires and remove a small section of insulation from each one. Attach the green wire to the grounding screw, the white wire to the silver screw, and the black wire to the brass screw on the new plug. Tuck the wires neatly inside the housing and close it securely. Following this method ensures that replacing a broken extension cord plug is done safely and correctly.
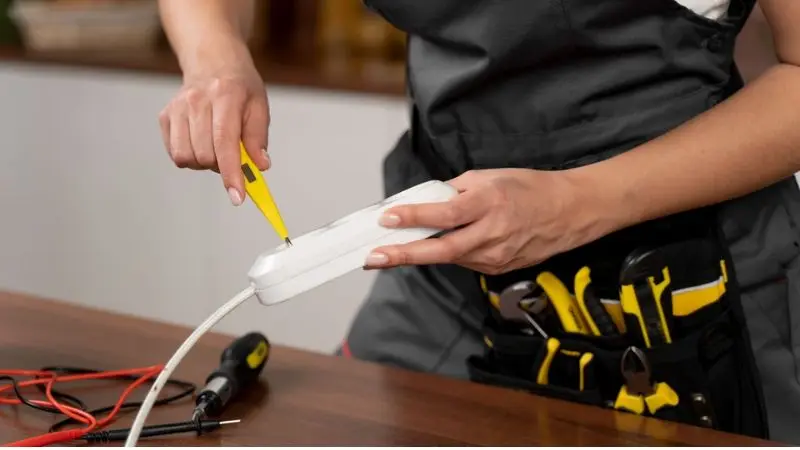
How to Test the New Plug to Ensure Electrical Safety
Once the replacement is done, it must be tested then normal use can take place. Insert the cord into an outlet and make sure that it is securely fitted. During the first use, observe the plug for sparks, heat, or uncharacteristic smells. When power is flowing, the cord is to be kept cool and stable. When something does not work correctly, turn it off and re-examine all connections. A tested repair will ascertain that your repair of the extension cord was successful and can be used on a daily basis.
How to Test a Repaired Extension Cord for Safety and Proper Function
After completing any extension cord repair, testing is a critical final step. Even a repair that looks clean on the outside may hide loose connections or insulation gaps. Proper testing helps confirm that electricity flows correctly and that the cord is safe for everyday use before connecting any devices.
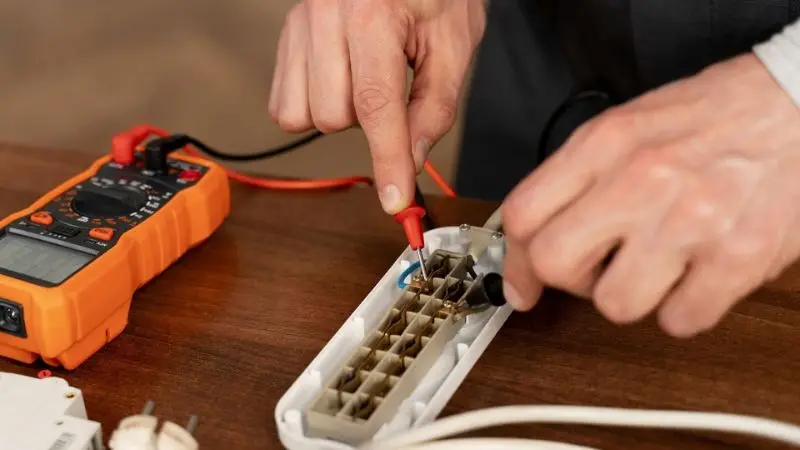
How to Check Electrical Continuity in a Repaired Extension Cord
Electrical continuity testing is one of the tests performed on the cord to ensure that the power can flow continuously between the two ends of the cord. With the help of a multimeter, this process is accurate and reliable. Adjust the multimeter to continuity mode and put one of the probes on a plug prong with the other on the corresponding slot at the other end. A steady reading or a beep is the sign of a good connection. Continue with each path of wire. The internal connection might be loose or disconnected in the case of no reading. This test is particularly relevant following the instructions on how to repair a cut extension cord safely because the internal wire connections are essential.
How to Perform a Simple Plug-In Test at Home
A simple plug-in test is used to check that the cord can be used for light-duty applications. Insert the fixed cord into a wall socket and plug a low-power appliance like a lamp or phone charger. Note the ability of the device to boot reliably. Following the unplugging, touch along the repaired section and plug to determine abnormal warmth or stiffness. The abnormality of any kind is an indication that the repair is not safe. This basic test helps to prove the effectiveness of the most appropriate solution to a damaged extension cord: it ensures the functionality of the procedure in its usual environment.
Warning Signs That a Repaired Extension Cord Is Still Unsafe
There may be some problems even after testing, when it is used on a regular basis. The early observation of these signs will help avoid accidents and damage to equipment. Symptoms of a risky repair include:
- Overheating of the cord or plug.
- Discoloration, burns, or melted insulation.
- Free loose plug connections or intermittent power.
- Smell of burning or irregular functioning.
In case any of these signs are observed, cease using the cord. It can be required to do this again, or replace the cord in the case of some failures, or implement an entire step-by-step extension cord repair instruction. Your extension cord repair will also be safe over time with careful monitoring.
Wrap Up
Knowing how to replace a broken extension cord plug helps reduce electrical risks at home. Proper tools, correct wire connections, and thorough testing are essential steps in any extension cord repair. However, not every cord should be fixed. If damage is severe or repeated, replacement is the safer option. Always take your time, follow a clear step-by-step extension cord repair guide, and prioritize safety over convenience.
FAQ
Do you know how to mend a melted cord?
No, never put your melted insulated cords back together. Replace the cord. Spots that are melted imply that the cord is not safe.
Should any duct tape be applied to extension cords?
Repair using electrical tape only. Wires are not insulated with duct tape. It can cause shocks or fires.
What should I do if my extension cord gets hot?
Check out of the cord immediately. Hot cords mean trouble. The repair may be in bad shape, or the cord may be overloaded.


