
You want a smooth wall, so you need the right drywall sanding tools. The best tool depends on your project size, skill, and budget. If you work on a small patch, a simple hand sander works fine. For bigger jobs, try an electric sander with strong dust management and a lightweight design. It saves you time, reduces effort, and helps create an even surface. You should look for features such as easy-to-change sandpaper, a comfortable grip, and a reliable motor. You can choose between manual and electric tools—each has its own perks. This guide shows you how to pick the best tools, use them correctly, and avoid common mistakes.
- The Importance of Choosing the Right Drywall Sanding Tools
- Complete Guide to Types of Drywall Sanding Tools
- Essential Features for Better Drywall Sanding Tools
- Drywall Sanding Techniques: Achieve a Smooth Surface
- Essential Tips for Effective and Safe Drywall Sanding
- Maintenance and Care of Drywall Sanding Tools
The Importance of Choosing the Right Drywall Sanding Tools
Selecting appropriate drywall sanding tools gives the work a professional appearance. It also makes the job easier. The proper tools avoid scratches, bumps, and uneven spots. This helps the paint and wallpaper adhere. They conserve time and effort, particularly where electric or dust-gathering sanders are involved. The Comfortable handles put strain on your hands and arms. Proper use of the tool will ensure high-quality results without additional errors or effort.
How the Right Sanding Tool Improves Your Finish
You want your walls to look smooth and professional. The right drywall sanding tools help you get that perfect finish. How to choose the best drywall sanding tools? If you use the wrong tool, you might leave scratches or uneven spots. Good sanding makes paint and wallpaper stick better. You also avoid bumps that show up after you finish the job. When you pick the right tool, you make your work easier, and your results look great. You should always test your sanding tool on a small area first. This helps you understand how it works and prevents significant errors.
Common Errors When Sanding Drywall
Many people rush through sanding. You might press too hard or use the wrong grit. These mistakes can damage your wall. Some skip cleaning the surface before sanding. Dust and debris can scratch the drywall. Others forget to change the sandpaper when it wears out. Worn sandpaper does not smooth the wall nicely.
Here are some mistakes to avoid:
- Using too much pressure
- Skipping surface cleaning
- Not changing the sandpaper often
- Using the wrong drywall sanding tools for the job
Save Time with Proper Sanding Tools
You save time by using the best drywall sanding tools. Electric sanders work fast on large areas. Manual sanders help you reach tight corners. Tools with dust collection keep your space cleaner. You spend less time cleaning up after you finish. Ergonomic handles make sanding easier on your hands and arms.
| Tool Type | Best For | Time Saved |
| Electric Sander | Large surfaces | High |
| Manual Sander | Small patches | Medium |
| Pole Sander | Ceilings, high walls | Medium |
Choosing the right tool means you work smarter, not harder. You get better results with less effort.
Complete Guide to Types of Drywall Sanding Tools
This blog teaches you the best sanding tool to use on a particular job. They provide manipulation capabilities and can be applied to small spatial regions. They conserve time on larger surfaces. These drywall sanding tools for beginners are designed to reach tight areas and finish the work. The right tools give you a faster, more professional, and cleaner result.
Manual Drywall Sanding Tools
You might start with manual sanding tools if you want control and simplicity. These tools work well for minor repairs or tight spaces. You can use a hand sander, sanding block, or sponge. Each tool helps you smooth out rough spots and edges. You just move your hand back and forth. Manual tools require no power, so that you can use them anywhere, are less expensive, and lighter. You can change the sandpaper easily. If you want to avoid noise and dust, these tools make a good choice.
Standard manual sanding tools:
- Sanding block
- Hand sander
- Sanding sponge
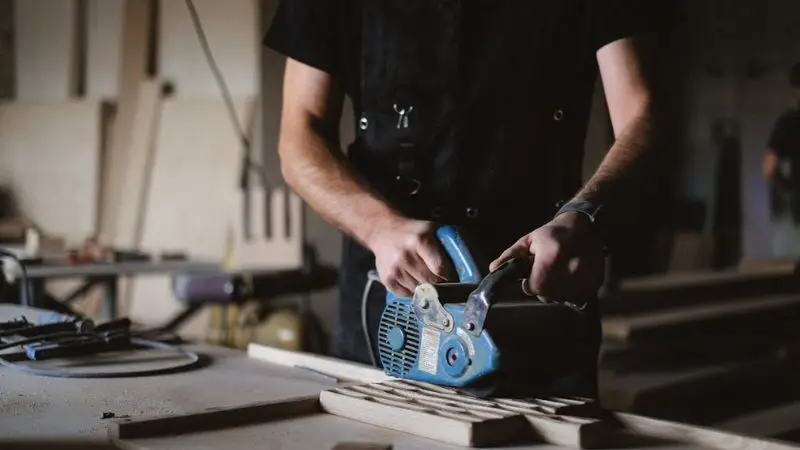
Power Drywall Sanding Tools
You might choose power sanding tools for bigger jobs. These sanding tools use electricity to spin or move the sandpaper fast. You finish sanding quicker and with less effort. Electric drywall sanders come in many shapes. Some have long handles for ceilings and high walls. Others are small for detailed work.
| Power Tool | Best Use | Special Feature |
| Orbital Sander | Flat surfaces | Smooth finish |
| Pole Sander | Ceilings, tall walls | Long reach |
| Detail Sander | Tight corners | Small size |
Power sanding tools often include dust-collection systems. Electric and manual drywall sanders keep your workspace cleaner. You also save time because the motor does most of the work.
Specialized Drywall Sanding Tools
You may need specialized sanding tools for unique tasks. These tools help you reach odd angles or sand around fixtures. Some have flexible heads or special shapes. Others use vacuum attachments to remove dust as you sand. You can mix and match these tools for your project. You also try different types to see what works best for you.
Examples of specialized drywall sanding tools:
- Corner sanders
- Sanding pads with vacuum ports
- Flexible sanding heads
Essential Features for Better Drywall Sanding Tools
The correct sanding tools yield easier, better results. They are durable as they are constructed to be strong. They avoid scratches and roughness when you use the appropriate sandpaper. They are relaxed and less fatigued in the prolonged working hours. They sweep dust to ensure your place is clean, smooth, and professional.
Durable and Safe Sanding Tool
You want drywall sanding tools that last. Look for tools made from durable materials such as metal or rigid plastic. If you pick a tool with a solid frame, it will not break easily. You should check the handle and moving parts. They should feel sturdy and not loose. The high-quality electric sander handles long hours of use without breaking or wearing down. They prevent scratches, bumps, or uneven areas on your wall. Its durability also ensures safety. A good drywall sanding tool for corners and edges can handle drops and heavy use. It protects you from accidents caused by a weak or unstable tool.
Sandpaper Grit Compatibility Guide
You must find the correct grit of sandpaper for your tool. Specific tools would only fit certain sizes or types. When you put in the wrong grip,t you may scratch your wall, or rough spots may be missed. They work primarily with standard grits such as 120 or 220. This helps prepare to paint walls. The feature allows users to select the appropriate sandpaper for various drywall tasks. This grit does not scratch the wall as it removes bumps. Never fail to check the package to see what fits.
Here’s a quick guide:
| Grit Number | Best For |
| 80-100 | Heavy sanding |
| 120-150 | General smoothing |
| 180-220 | Final finishing |
Switch grits as you move from rough to smooth work.
Ergonomic Design for Comfort
You will spend time holding your sanding tool, so comfort matters. You should look for soft grips and handles that fit your hand. Lightweight drywall sanding tools for beginners help you work longer without tiring. Its well-shaped handles fit naturally in your hands, and some handle shapes reduce wrist strain. You can control the sander more precisely, resulting in smoother and more even surfaces. Its ergonomic design also helps prevent fatigue and discomfort. Try holding the tool before you buy it if you can.
Effective Dust Collection Capabilities
Drywall sanding generates significant dust. You desire a machine that will contain dust. There are tools with built-in dust bags or vacuum ports. It shields your lungs and lowers dust levels on furniture. These characteristics will help you relax and keep your environment clean. If your work is indoors, dust collection is required. You should wash your dust bag/filter frequently. This aspect absorbs most of it before it diffuses into the room’s surrounding areas. This leaves your tool in good condition. Using drywall sanding tools with these features will make the job easier and yield better results.
Drywall Sanding Techniques: Achieve a Smooth Surface

A clean, dry wall should be taken as a starting point to allow the joint compound to settle. Circular motions can be used to mix edges. It is effective in working with straight lines on big flat surfaces. It is safe to use a pole sander to access high walls and ceilings. One must also work slowly and not in a hurry. Remove dust and address jagged edges. It produces a smooth, even surface ready for painting or wallpapering.
Preparing the Drywall Surface Properly
You want to start with a clean surface. You should remove any loose dust or debris with a dry cloth. You should check for bumps or ridges. If you see any, gently scrape them off. Make sure the joint compound is dry before you begin. If you rush this step, you might damage the wall. It is essential to let the joint compound dry completely before starting. You should also use a light to shine across the wall, as shadows can reveal areas that need extra sanding. How to choose the best drywall sanding tools? A clean, dry surface helps you achieve a smooth finish.
Circular vs. Linear Sanding Techniques
When sanding drywall, you can use two main sanding motions. Circular motions help you blend edges and hide seams. These motions work best for edges and seams, helping to blend them smoothly into the wall. Use linear, straight strokes for large, flat surfaces to keep them even. These linear motions work well for long, flat areas. If you use circles, you avoid sharp lines. If you use straight strokes, you keep the surface even. The circular sanding avoids sharp lines, while linear sanding ensures a level finish. Try both methods and see which works best for your wall.
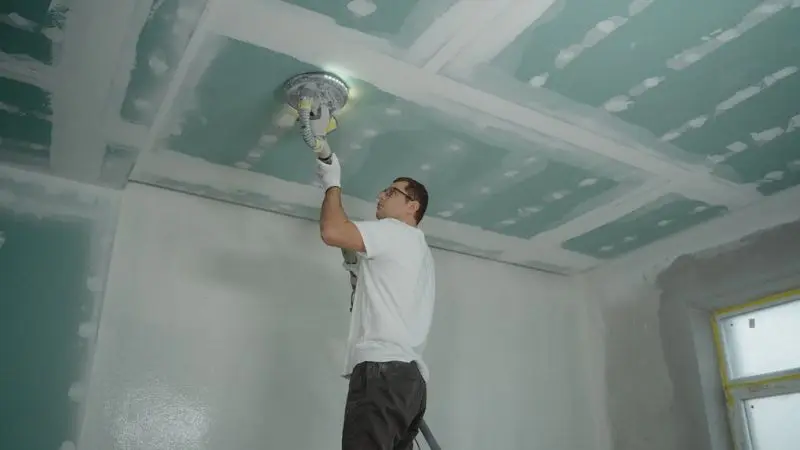
Using a Pole Sander Safely
A pole sander helps you reach tall spots without a ladder. Attach the sanding head and extend the pole. You move the sander in smooth, steady strokes, don’t press too hard. Let the tool do the work. If you use a pole sander, you save time and stay safe on the ground.
Here are some uses of a pole sander:
- Extend the pole to the correct length.
- Keep both hands on the handle.
- Sand in long, gentle motions.
Finishing Drywall for a Smooth Surface
After you finish sanding, wipe the wall with a damp cloth. This removes leftover dust, and you check your work by running your hand over the surface. If you notice rough spots, lightly sand them again and use drywall sanding tools for final touch-ups. You should also inspect the drywall sanding tool for corners and edges for any imperfections. Taking your time with these finishing steps helps achieve a clean, even surface. It ensures the wall is ready for painting or wallpaper and gives a professional, polished look. Look for a smooth, even finish before you paint or add wallpaper.
Essential Tips for Effective and Safe Drywall Sanding
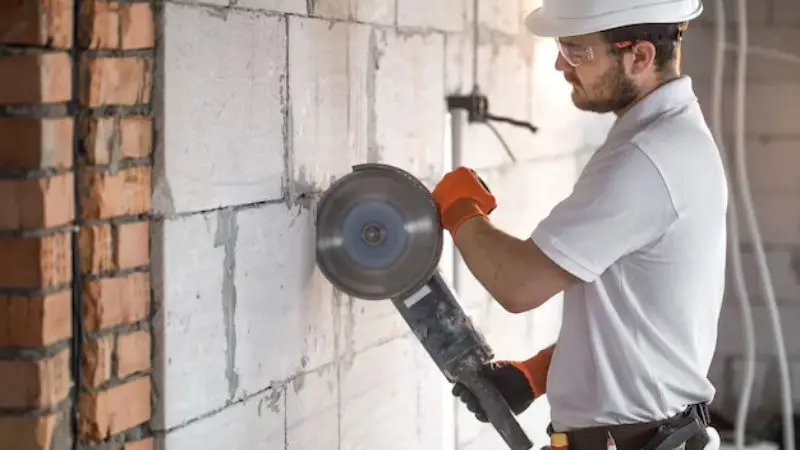
You are supposed to wear protective clothes to cover your eyes, lungs, and hands. Dust can be minimized using dust-control devices, plastic sheets, and frequent cleaning. It makes the area clean and simpler to work in. You are supposed to sand lightly and inspect the wall regularly. It helps prevent damage and roughness. You are supposed to change the sandpaper whenever it is worn out or dusty. It enables you to achieve a smooth, clean finish without posing a hazard.
Safety Gear for Drywall Sanding
You need to protect yourself when sanding drywall. Wearing proper safety gear is essential because the dust can get everywhere, even in your eyes and lungs. You should always wear safety glasses to keep dust out of your eyes. A dust mask or respirator helps you breathe easier. You also wear gloves to protect your hands from rough spots and sharp edges. Wearing a hat and old clothing also helps keep dust off your hair and skin. If you work overhead, a hat or cap keeps dust out of your hair. Drywall dust adheres to fabric and can be difficult to remove.
Tips for Minimizing Drywall Dust
A clean workspace helps you see your progress and keeps your home tidy. Minimizing dust during drywall sanding is essential for protecting your health. How to choose the best drywall sanding tools? You can use a sanding sponge or a pole sander. It also helps to lightly spray the wall with water to keep dust from flying. It is a good idea to wipe walls and tools with a damp cloth at the end.
You can cut down on mess with a few smart moves:
- Use sanding tools with built-in dust collection.
- Attach a shop vacuum to your sander if possible.
- Hang plastic sheets over doors and vents to keep dust in one room.
- Wipe surfaces with a damp cloth after sanding.
Tips to Avoid Over-Sanding
One can easily over sand and spoil the wall. You have no desire to drive the surface deep. Apply light pressure and frequent check-ups. If you notice paper on the drywall, stop immediately. When the joint compound is even with the wall, there is no need to continue sanding. Better sand a little and better be safe than sorry. By being patient and careful, you will get a cleaner finish. Excessive sanding may result in additional labour for you in the future.
| What to Watch For | What to Do |
| Paper showing | Stop sanding |
| Uneven spots | Sand lightly |
| Dust build-up | Clean as you go |
Knowing When to Replace Sandpaper
Fresh sandpaper works best. If your sandpaper feels slow or rough, it’s time to replace it. The worn sandpaper can scratch the wall or leave streaks. These drywall sanding tools for beginners provide a guide to replacing sandpaper. You should check your sandpaper every few minutes and replace it when it looks clogged or smooth. You should change the sandpaper when it stops smoothing the surface or becomes clogged with dust. It may also need to be replaced if it appears torn or worn. You can work faster and get a cleaner finish by replacing it at the right time. Keeping your drywall sanding tools in good shape helps you get a smooth finish every time.
Maintenance and Care of Drywall Sanding Tools
To maintain them, wipe down your tools after each use to remove dust and dirt. To prevent damage, keep them in a dry, neat place. Worn sandpaper, pads, and filters should be changed frequently. It simplifies sanding and delivers a smooth, clean finish. It will save you time, money, and the trouble of maintaining tools in good condition.
Cleaning and Sanding Tools After Each Use
You want your drywall sanding tools to last. After you finish sanding, grab a soft brush or cloth. You should wipe away dust from every part of the tool. If you use a power sander, unplug it first and check the vents and the dust bag. For manual tools, rinse sponges and blocks with water. Let them dry before you put them away.
Before you start, use this checklist:
- Choose the right sanding tool for your job
- Wear safety gear
- Use fresh sandpaper
- Clean up dust as you go
- Store tools in a dry place
Storing Tools to Extend Lifespan
You can keep your drywall sanding tools for corners and edges working longer with clever storage. Find a dry spot in your garage or workshop. Hang sanders on hooks or store them in a toolbox, and keep sandpaper in a sealed bag to prevent moisture from entering. If you have electric sanders, wrap the cords neatly. Store everything off the floor to avoid damage from water or dirt.
Here’s a quick checklist for storage:
- Dry location
- Tools off the ground
- Sandpaper in sealed bags
- Cords wrapped up
Replacing Parts and Sandpaper Regularly
You want smooth walls, so picking the right drywall sanding tools makes a big difference. You need fresh parts for the best results. You should check your sanding pads and sandpaper before each job. If you see tears or worn spots, replace them.
- Power sanders might need new filters or brushes after heavy use.
- Manual tools can wear down, too.
You should replace handles or heads if they crack. Electric vs. manual drywall sanders: keeping everything in good shape helps you achieve a smooth finish every time. Don’t wait until your tool breaks. Regular maintenance saves you time and money.
Wrap Up
Using the right drywall sanding tools will make the job easier and ensure a smooth finish. Manual tools are applicable; they are effective where precision is required. On larger walls, you can apply electric sanders to save on time. It helps align the sandpaper grit and sanding style with the job. Dust-control tools should be used to keep the area clean. You need to keep your tools clean and in good condition. You should have the worn parts replaced. Periodic checks will help you identify additional ready-to-paint walls. It is safer and quicker to sand than to produce better results.
FAQs
What grit sandpaper do you use to sand the walls?
You would like to begin with 120 -grit on rough points. Switch to 180-220 grit for finishing. Always check your wall. When scratches are noticed, then apply a finer grit.
Is it possible to do drywall without messing up?
Sanding tools with dust collection would help reduce dust. Plug your vacuum into your sander. Use plastic sheets to put the dust in a single area.
What is the frequency of how often to change sandpaper when sanding drywall?
Replace the sandpaper when it becomes clogged or no longer smooths the wall. New sandpaper is faster and provides a better finish. Test it every few minutes while working on your project.
Which one is better, a manual drywall sander or an electric one?
Manual sanders are suitable for small projects and narrow areas. Electric sanders are time-saving on large surfaces. Select the tool based on your project’s size and complexity.
Should you wear a mask when sanding drywall?
Yes, a dust mask or respirator. Drywall dust may irritate the lungs. Safety goggles and gloves will also help ensure your safety during working hours.


