
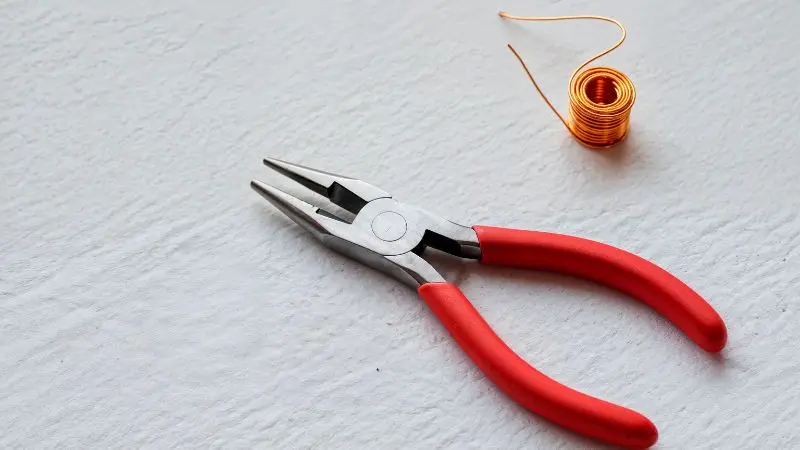
A do-it-yourself wire-stripping tool can be made at home. No expensive equipment is required. Gather a few items you already own, and you’re set to go.
- Anyone can construct this DIY tool.
- For your next do-it-yourself project, consider creating your own homemade wire stripper.
Materials for DIY Wire Stripping Tool
Assemble a few items before beginning to construct your do-it-yourself wire-stripping tool. Most of these things are already in your home. No welding or specialized equipment is required. Simple materials can be used to create this project.
Household Items
Here’s what you’ll want to collect:
- A small block of wood (about the size of your hand)
- A sharp razor blade or utility knife blade
- A drill chuck or a small piece of metal tubing
- A couple of screws or nails
- A screwdriver or hammer
How to strip wire without a wire stripper? You can use the wood as the base. The razor blade will do the cutting. The drill chuck or metal tubing helps guide the wire. Screws or nails hold everything together. If you don’t have a drill chuck, don’t worry. You can use any small round object that fits the wire.
Optional Upgrades
Want to make your homemade wire stripper even better? Try these upgrades:
- Use a metal base instead of wood for more durability.
- Add a small clamp to steady the wire.
- Replace the razor blade with a stronger utility blade for thicker wires.
- Attach a handle for easier grip.
These upgrades can make your tool last longer and work faster. You can always start simple and add upgrades later as you need them.
How to Build a Homemade Wire Stripper
Building your own homemade wire stripper is easier than you might think. You only need to follow three main steps. First, you make a slot for the wire. Next, you mount the cutting blade. Last, you clamp everything together. Let’s walk through each step so you can build a DIY wire-stripping tool that works for you.
Slot Construction
Start with your block of wood. This will be the base for your homemade tool. Use a drill to make a straight hole or slot through the wood. The hole should be big enough for the wire you want to strip. If you use a drill chuck or a piece of metal tubing, you can guide the drill to keep the hole straight.
- Pick a drill bit that matches the size of your wire.
- Drill slowly to avoid splitting the wood.
- If you want to strip wires of different sizes, make multiple slots with a drill of varying sizes.
Blade Mounting
The cutting blade must now be added. After creating a slot, place the utility or razor blade across it. To cut through the insulation of the wire without severing the wire itself, the blade should be angled.
- To secure the blade in place, use screws or nails.
- Verify that the edge of the blade and the slot match.
- A tiny space should be left between the wood and the blade. As a result, the wire can pass beneath the blade.
Use a stronger cutting blade if you wish to remove thicker wires. You can also adjust the blade angle for a cleaner cut.
Clamping and Assembly
You are almost done! Now you need to clamp everything together. Use screws to attach the metal tubing or drill chuck to the wood. This will help guide the wire straight into the slot and under the blade. If you have a small clamp, use it to hold the wire steady while you pull it through.
- Tighten all screws so nothing moves when you use the wire stripper.
- Test the tool by pulling a wire through the slot. The cutting blade should cleanly slice the insulation.
- Adjust the blade or slot if the wire does not strip easily.
Now you have a homemade wire stripper that you built yourself. You can use it for your next diy project or for recycling copper wire. Try making minor changes to improve your homemade tool as you go.
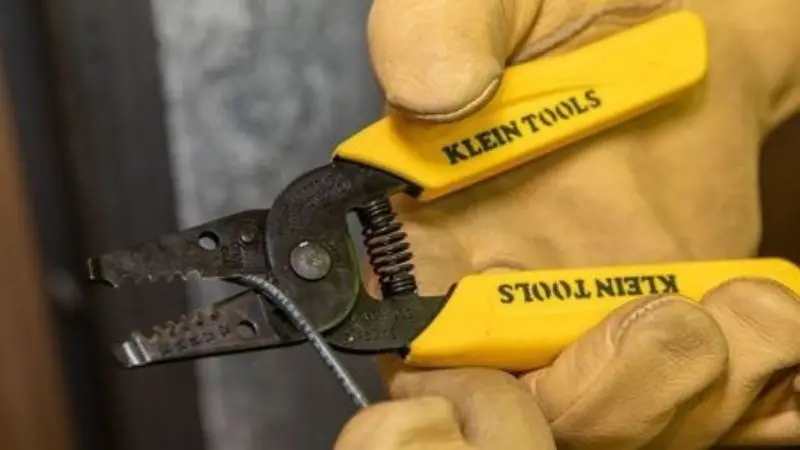
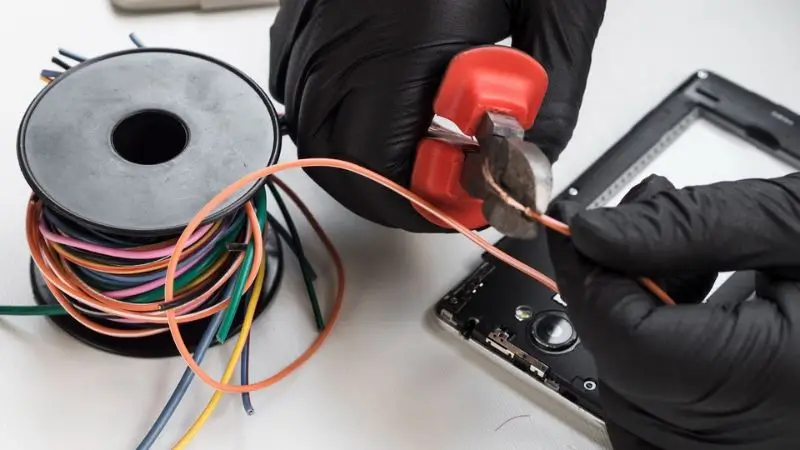
Copper Wire Stripping Tips
Drill Sizes for Wire Gauges
How to strip copper wire for recycling? Choosing the right drill size makes copper wire stripping much easier. If you use a hole that is too big, the insulation will not come off cleanly. If the hole is too small, you might damage the wire. Here is a simple table to help you match drill bits to standard wire gauges:
| Wire Gauge | Drill Bit Size (inches) |
| 10 AWG | 3/16″ |
| 12 AWG | 5/32″ |
| 14 AWG | 1/8″ |
| 16 AWG | 7/64″ |
Test your drill bit with a scrap piece of wire first. You want the wire to slide through the slot with minimal resistance. This helps the blade cut the insulation without touching the copper.
Safety Procedures
If you adhere to a few basic guidelines, stripping copper wire can be done safely. Keep your fingers away from the blade at all times. To protect your hands, put on gloves. To prevent your do-it-yourself wire-stripping tool from slipping, work on a level, stable surface. When handling sharp objects, never hurry.
Copper wire stripping saves money and allows you to recycle old wires. With the right setup, stripping wires can be done more quickly and safely. Additionally, reusing copper rather than discarding it helps the environment.
Conclusion
You just learned how to build a DIY wire-stripping tool with stuff you already have. This homemade tool saves you money and makes your projects easier. Give this diy idea a try. Share your results or tips in the comments. Your experience can help others who want to strip wire at home.
FAQ
Can I use wires of different sizes with this tool?
Indeed! For varying wire sizes, additional slots can be drilled. To determine which slot fits the best, test each one using scrap wire.
What happens if I’m without a razor blade?
A sharp utility knife blade can be used in its place. As you remove the wire, just make sure it fits securely and remains in place.
Is it safe for children to use?
An adult should always assist children. It’s a sharp blade. For your own safety, you should wear gloves and exercise caution.


