Have you given any thought to installing a corner wall-mounted fan in your home? You will have no trouble completing this project on your own if you have the right tools and a little patience. Many homeowners have found that installing a corner wall-mounted fan can help make rooms cooler and more pleasant. Keep in mind that safety is of the utmost importance, so always follow directions and use the appropriate equipment. You may have some anxiety at first, but you will quickly realize that installing a corner wall-mounted fan is much simpler than you had anticipated.
In this article, we will discuss how to securely and correctly install a corner wall mount fan in your home. You’ll learn the tools you need, step-by-step installation, safety considerations, and strategies to improve airflow and comfort in any area.
Tools and Materials Needed to Install a Corner Wall Mount Fan
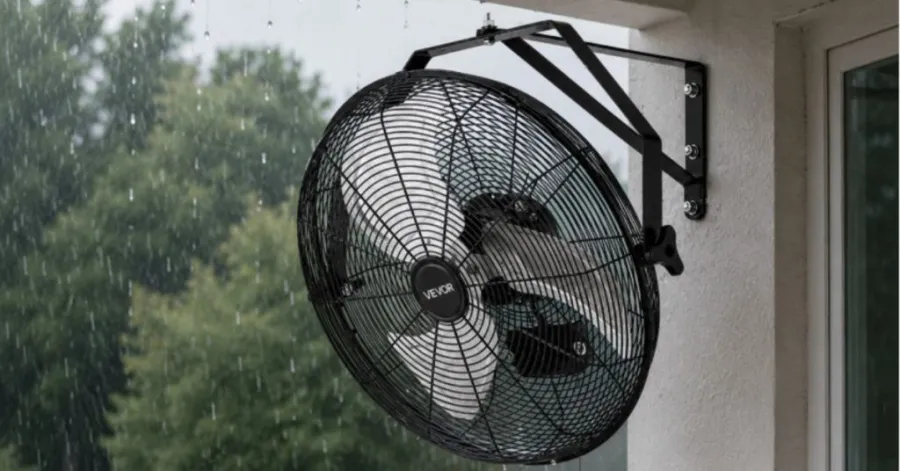
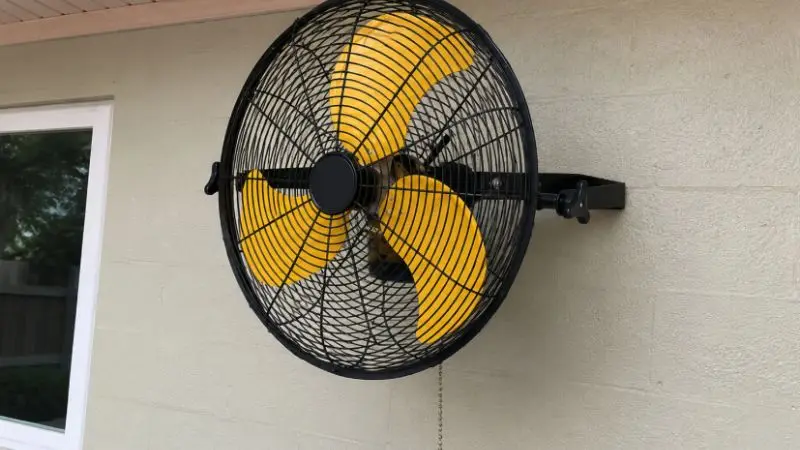
@thrivingcountry Check out this Vevor Fan! What an amazing addition to our outdoor space! Keeping us cool in a crazy hot summer! #summer #heat #fan #outdoors #stayingcool #vevor #thrivingcountry
♬ original sound – Thriving Country
Before installing your best corner wall mount fan, make sure you have all the necessary equipment and parts. If you get everything ready ahead of time, the job will be easier, and you will save last-minute trips to the store. Let’s go over the stuff that you will need.
Essential Tools Checklist
Quiet corner wall mount fan are easy to install and do not require any special or expensive equipment. There are various tools needed, and they are prevalent in the household toolkits and are straightforward to operate. The installation is faster and easier with the mounting hardware, a Phillips-head screwdriver, a flathead screwdriver, and a power drill. Mark the correct area for installation with a tape measure and pencil or marker. A level ensures the fan is mounted level for great operation and looks. Use a stud finder to identify sturdy spots in the wall to install the fan. The strength is sufficient to hold the wall-mount fan tightly.
Tip: If you don’t have a stud finder, you can tap the wall and listen for a solid sound. That usually means you found a stud.
Required Mounting Hardware
Use the right tools to mount your best wall mount fan for small rooms safely and keep it working. Fan kits could include hardware such as a bracket and screws for wall mounting. This holds the fan in place. For safety reasons, link nuts are normally included to join the fan to an electrical source. The fan mounts to the wall with wall anchors so the hardware doesn’t slide off the drywall. When installing, if your kit does not come with wall anchors, you can get them at your local hardware store.
Safety Equipment to Have on Hand
Safety matters when installing a wall-mounted fan. You should protect yourself and your home. Grab these items before you begin:
- Safety goggles
- Work gloves
- Dust mask (if drilling into drywall)
- Voltage tester
Now that you have all the tools and components you need to install your corner wall fan for garage, you have no reason to worry about the process. If you make preparations before the process begins, you will be able to work faster and more safely than you otherwise would.
Note: Always use a voltage tester to check for live wires before you touch anything electrical.
Choosing the Best Location for Your Corner Wall Mount Fan
Factors to Consider Before Installation
You want your fan to appear good and function effectively. The first step is to determine the size of your area. Bigger rooms need bigger or more fans. For tiny rooms, one fan is sufficient. Choose a spot not directly in front of a door or window. Ensure that the wall can support the fan’s weight. If you notice wires or pipes behind the wall, find a different spot. Also consider where you spend most of the time in the room. Position the best corner wall mount fan to blow cool air on you.
Tip: Try to avoid placing the fan near curtains or furniture. These can block airflow and reduce the fan’s effectiveness.
Ideal Mounting Height for Maximum Airflow
So the height of the mount is important for ventilation. Most oscillating corner wall mount fan function well when mounted 7 to 8 feet from the floor. The height is so the fan can push air throughout the room without striking anything. If you have a high ceiling, you can hang the fan a little higher as long as you can reach the controls. You want the fan to move air around the room, not just at your feet or your head.
Here’s a quick guide:
| Ceiling Height | Recommended Fan Height |
| 8 feet | 7 feet |
| 10 feet | 8 feet |
| 12 feet | 9 feet |
Avoiding Common Placement Mistakes
While it is tempting to position the quiet corner wall mount fan wherever, some locations present complications; don’t put the fan too close to the ceiling. This limits airflow and makes the fan loud. Avoid places with a lot of debris. If you put the fan behind a door, it won’t cool the room effectively. Follow the manufacturer’s directions on where to place it.
How to Install a Corner Wall Mount Fan in Your Home
Step 1: Turn Off Power and Prepare the Area
First and foremost, make sure you are safe. Locate the breaker box in your home and proceed to cut off the power to the room. Checking the wires for live voltage can be done with a voltage tester. Free the space in the corner where you intend to install your corner wall fan for garage of any furniture or other items. Place a drop cloth to capture dust.
Step 2: Mark the Mounting Points on the Wall
Remove the mounting bracket from your best wall mount fan for small rooms kit. Set it in the corner where you wish to place your corner fan. Mark the screw locations using a pencil. Ensure the bracket is flush. This can be done with a level tool.
Step 3: Drill Pilot Holes and Insert Wall Anchors
Get your power drill. Drill small pilot holes in the places you marked. If you strike a stud, you don’t need the wall anchors. If not, set wall anchors into the holes. This step secures your corner wall-mount fan.
Step 4: Secure the Mounting Bracket
Now remove the screws from your equipment. Align the bracket with the holes. Screw the screws with a screwdriver. The bracket must not wobble. A robust corner fan mount keeps your fan secure.
Step 5: Attach the Corner Wall Mount Fan
Lift your best corner wall mount fan and attach it to the bracket by latching it. Some wall-mounted fans require extra screws. Check the instructions that come with your model. Look at the fan and make sure it is sturdy before you let it go.
Step 6: Connect Electrical Wiring (If Required)
Match the wires by color if wiring is required for your oscillating corner wall mount fan. Mix them and cover with wire nuts. If in doubt, consult an electrician. Your home’s main concern is safety.
Step 7: Test the Fan and Adjust the Angle
Switch the power back on. Switch it on and watch your fan spin. Point it to the wind blowing on your preferred place. Your corner wall fan for warehouse should cool off your home immediately.
Tip: If you hear rattling, check the screws and bracket. Tighten them if needed.
Safety Tips for Installing a Corner Wall Mount Fan
Electrical Safety Precautions
When you’re working with electricity, you want to be safe.” Always turn off the power at the breaker before touching any wires. Use a voltage tester to make sure the wires aren’t live. Don’t miss this step! If you are not trained in wiring, get a qualified electrician. Avoid getting water on the bench. Do not handle with wet hands or electricity.
Ensuring a Secure Wall Mount
When you install your fan on a sturdy wall, it will be safe and long-lasting. Ensure that the weight of your quiet corner wall mount fan is within the range your wall can support. Look for a website that is a decent stud finder. High-duty wall anchors should be used when mounting the fan on drywall. Make sure all the screws are snug until the bracket is secure. 4. Perform a light vibration test on the bracket a little bit. Not only will a sturdy mount keep the fan from sagging, but it will also ensure steady airflow.
Preventing Vibration and Noise Issues
You want your fan to be quiet. Vibration can cause noise and restrict ventilation. Be sure the fan is lying flat against the wall. If you hear rattling, check and tighten the screws. Sometimes a little rubber washer between the bracket and the wall helps. Clean fan blades. Dust can cause the fan to wobble and can restrict airflow.
Common Corner Wall Mount Fan Installation Mistakes to Avoid
It is essential to avoid repeating the same mistakes to reduce the likelihood of issues during the installation of a best wall mount fan for small rooms. One probable consequence of these issues is that your fan may operate less effectively, which could put your safety at risk. You should be aware of and steer clear of the following concerns.
Mounting the Fan Too Low
If your fan is too close to the floor, it won’t do a good job of circulating air in the room. You may also come upon it. See directions for height suggestions. Most corner wall fan for warehouse are most effective when mounted at least 7 feet above the floor. This allows for good airflow and keeps everyone safe.
Using Incorrect Wall Anchors
Not all walls are built the same. Drywall anchors, brick anchors, and wood anchors. Using a wall-mounted fan that is not the right type can cause it to topple. Make sure you always secure it to your wall. Heavy-duty anchors are great for drywall. Masonry anchors are for brick or concrete.
Ignoring Manufacturer Instructions
Although you might be tempted to skip the manual, each fan is a little different. The instructions will walk you through assembling your corner wall fan for garage correctly. In addition, they will inform you about certain components or actions. You might be missing out on something essential if you fail to notice these.
Note: Keep the manual nearby. Check off each step as you go.
Improper Wiring Connections
Wiring it wrong can cause your oscillating corner wall mount fan to stop working or perhaps start a fire. Always match wire colors. Always use wire nuts.If you are unsure, seek the assistance of an electrician. Don’t twist uninsulated wires together. Steer clear of these errors to boost your wall-mounted fan’s efficiency and extend its lifespan. You will also increase the safety and comfort of your house.
Conclusion
You now know how to install a corner wall mount fan in your house. Following each step of the process, using the right tools, and always putting safety first at every stage of the job will enable you to complete the installation with 100% confidence. Good fans are well-fitting and can enhance airflow, add comfort, and help cool your living area. • Before using the unit, check the electrical connections and mounting hardware. If you have any doubts about the electrical wiring, wall support, or any other aspect of the installation, consult a professional. Taking the correct steps will ensure a safe installation and functioning for many years to come.
FAQ
How long does it take to install a corner wall-mount fan?
Most people finish in about one hour. If you have all your tools ready, you might finish even faster. Take your time and double-check each step.
Can I install a wall-mount fan on drywall?
Yes, you can. Use heavy-duty wall anchors for drywall. These anchors help keep your fan secure and prevent it from falling.
Do I need an electrician to wire my fan?
If your fan plugs into an outlet, you can do it yourself. For hardwired fans, call an electrician if you feel unsure. Safety comes first.
What should I do if my fan wobbles or makes noise?
Check the screws and bracket. Tighten them if needed. Clean the fan blades. Sometimes, a small rubber washer helps reduce noise.


