
If you don’t utilize the free space in your backyard, what are you waiting for? You can make your outdoor space more enjoyable by creating different settings. A DIY outdoor bar is one of them. If you don’t know where to start, we are here to help. In this blog, we have provided everything you need to know to make a DIY outdoor bar setting. If you have a tight budget, you can simply follow the basic structure, shelves, cabinets, and seating. But if you can afford we also give some luxury ideas you can add. Let’s set up an ideal small space for hosting family get-togethers and parties with friends.
Outdoor Bar Plan & Preparation
Choose Location
Plan the perfect spot in your yard for a backyard bar. Always choose a location with the right amount of sunlight in winter and shade in summer. There should also be enough space to accommodate large gatherings. Never forget to attach the space to your kitchen or outdoor grilling spot. This will help you host BBQ parties at a single location. It should also be covered to protect it from the weather extremities.
Decide Size & Style
Next, you have to decide the size of your bar. For this, it’s simply your choice: if you love hosting dinners, your space should be large enough to accommodate many people. But you can choose accordingly if you want a small space only to enjoy drinks outside. You have to complete the proper paperwork to specify the lengths and widths you want.
Sketch Your Outdoor Bar Plan
Now, grab a pencil and paper. Draw a simple sketch of your outdoor bar plan. You do not need to be an artist. Just make a basic drawing that shows the shape and size. Mark the locations for the countertop, shelves, and footrest. This sketch helps you see your idea before you start building. It also makes shopping for materials easier.
Tools & Materials for DIY Outdoor Bar
Before you start building your diy outdoor bar, you need the right tools and materials. You don’t have to buy expensive equipment. Most patio bar plans use basic items you might already have at home. Let’s break down what you’ll need.
Essential Tools List
Grab these tools for your diy project:
- Tape measure
- Hammer
- Cordless drill
- Screwdriver set
- Saw (hand saw or circular saw)
- Level
- Safety goggles
- Sandpaper
You can find these tools at most hardware stores. If you don’t own some, ask a friend or check if your local store rents them. These tools work for almost any diy outdoor bar, so you’ll use them again for future diy projects.
Budget Tips
You don’t need a big budget for your diy outdoor bar. Buy in bulk if you plan to build more than one bar. Compare prices at different stores. Sometimes, patio bar plans are better suited to recycled materials. You can even ask neighbors if they have extra supplies. Building a diy outdoor bar is fun and affordable. With the right tools and materials, you’ll follow your patio bar plans with confidence. Get ready to move on to the next step!
Step-by-Step Guide on How to Build a DIY Outdoor Bar
Step 1 – Building the Outdoor Bar Frame
Let’s start personalizing a bar. First of all, you need a wide piece of lumber for the frame. Take measurements and mark the cutting point. You can use an electric saw to cut. But if you don’t have you can simply use a manual saw. Safely do the cutting process. After cutting, the next step is to join the parts with screws and a drill. This step is very important as you are joining the mainframe.
Step 2 – Installing the Bar Countertop
Now, the next step is to install the countertop. You can use plywood or any other flat wood to place on the frame. Keep in mind how neatly you sand and smooth the edges, you will get the best results. Use large screws while fixing the countertop to the frame. The countertop surface should be smooth to give a neat appearance. It should be spacious to accommodate the drinks. It should also be firmly attached. If there is any step you are not sure that you can do, you can simply hire a professional for that part. It will save you from future expenses.
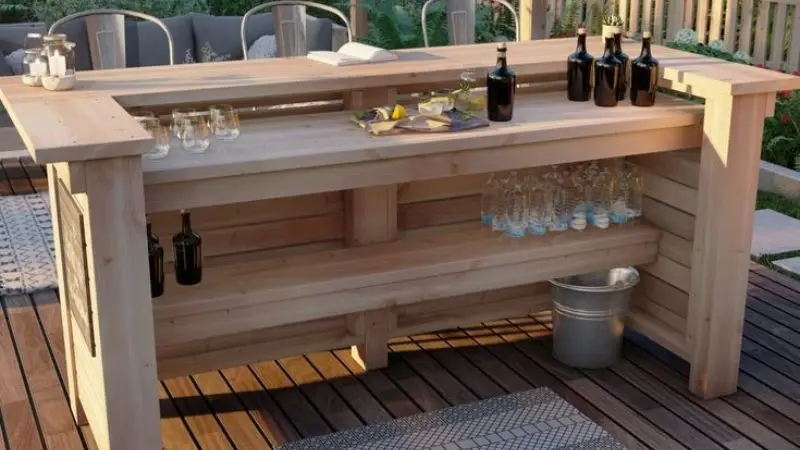
Step 3 – Adding Shelves, Storage, and Footrests
Now, you need to set up the surface for your drinks. For this, choose a material to use for the shelves. Don’t forget the brackets under the shelves to give extra support. You can also add footrests on the bottom. So, everyone can sit comfortably. The main step is the storage cabinets. These should be sturdy well installed. As they protect all your bar essentials during extreme outside weather.
Step 4 – Finishing and Sealing Your Outdoor Bar
Now, it’s time to level up the game and personalize your space. You can add all luxuries. Paint the bar top, cabinets, and even the canopy. After applyingpaint just apply the outdoor sealant. This will help you paint to save from the outdoor elements.
DIY Outdoor Bar Design Ideas and Inspiration
Small DIY Outdoor Bar Ideas for Limited Spaces
You do not need a big backyard to enjoy a cool outdoor bar. You can fit a bar into a small patio or balcony. Try these ideas:
- Use a fold-down wall bar. You can fold it up when you need space.
- Build a narrow bar along a fence or wall. Add a few stools for a cozy spot.
- Try a rolling cart as a mini bar. Move it around as you like.
Budget-Friendly DIY Outdoor Bar Ideas
You can build a stylish bar without spending much money. Here are some ways to save:
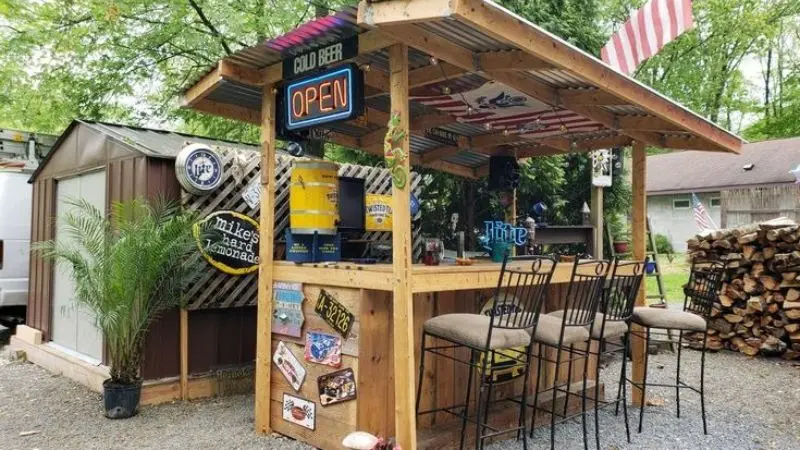
- Use old pallets for your bar frame. Sand and paint them for a fresh look.
- Repurpose an old table or dresser. Add a countertop and some shelves.
- Shop at thrift stores for stools and decor.
Luxury DIY Outdoor Bar Ideas
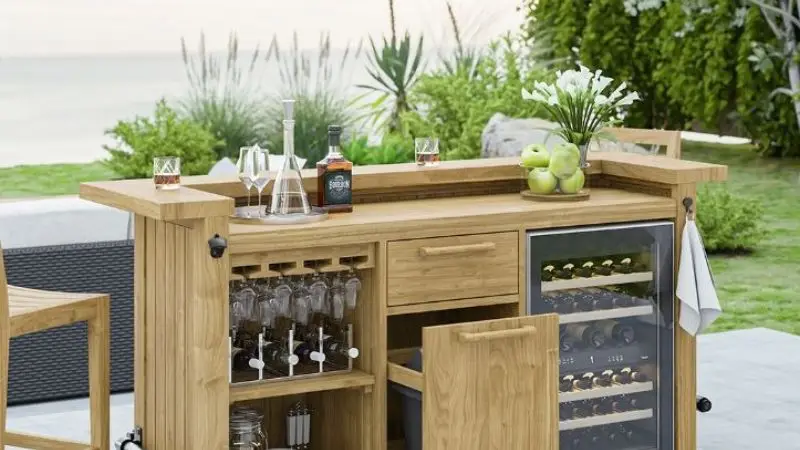
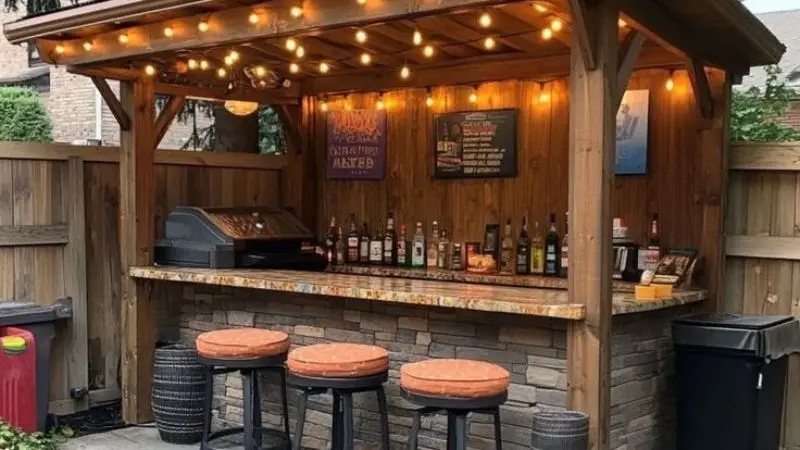
Want to impress your friends? You can add a touch of luxury to your outdoor bar. These are not compulsory; do them only if your budget allows. You can install tile on the countertop to achieve a sleek finish. You can install a mini-fridge to keep wine cold. Fairy lights and other colourful lighting options are great for creating an enjoyable spot for night parties.
Conclusion
You did it! You learned how to plan, build, and finish your own diy outdoor bar. Now you can relax and enjoy your new space with friends and family. Besides a fixed foundation, you can change the decorations for different seasons. You can also design themed parties by changing a few settings. It is a great way to enjoy the outdoor weather in all seasons. You can plan night parties here by just installing fairy lights.
FAQ
How long does it take to build a DIY outdoor bar?
You can complete your outdoor bar over the weekend if you have all your tools and materials ready. Take your time and enjoy the process. Invite a friend to help for faster results.
What type of wood should I use for my outdoor bar?
Choose pressure-treated lumber or cedar. These woods handle weather well and last longer outside. Avoid untreated wood because it can rot or warp quickly.
Can I build a bar if I have no woodworking experience?
Yes, you can! This patio bar tutorial breaks down each step. You only need basic tools and patience. Start simple and learn as you go.
How do I protect my outdoor bar from rain and sun?
Apply an outdoor sealant after you finish building. Reapply every year for best results. Cover your bar with a tarp or use a patio umbrella for extra protection.
What features can I add to make my bar unique?
Add shelves, glass hooks, or LED lighting. Paint your bar in bright colors or add a chalkboard for drink menus. Make it your own with fun details.


