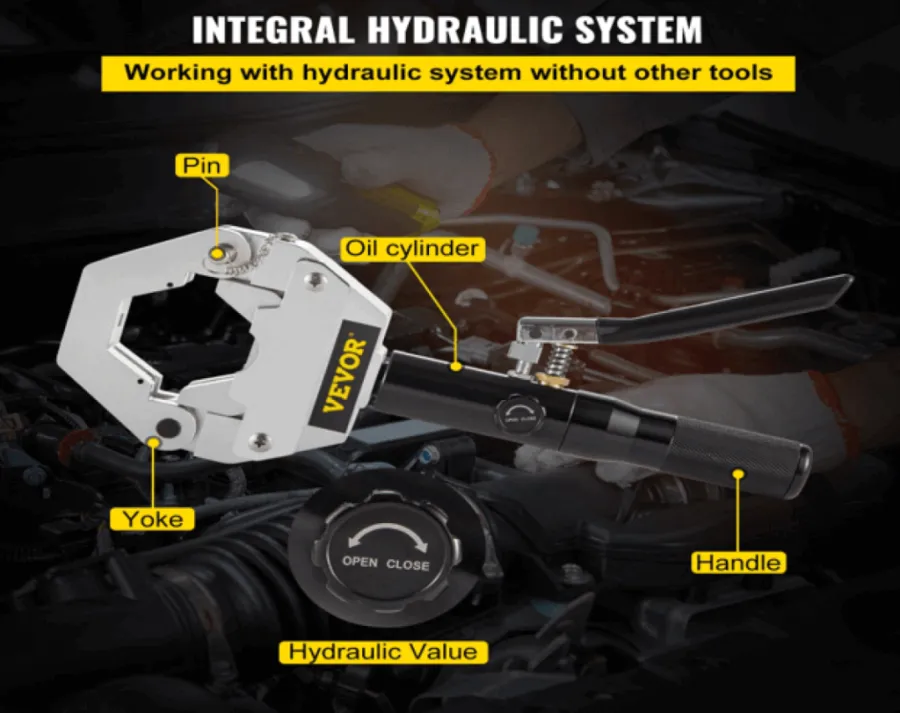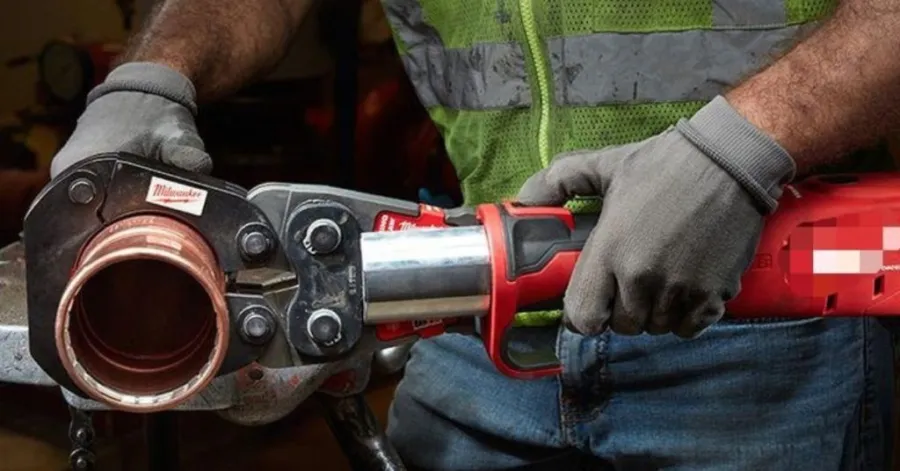
The use of a copper press-fit tool enables you to create connections between copper pipes in a short time. The copper press-fit tool is designed to apply pressure to the pipe fittings, ensuring tight seals. All you need to do is position the fitting and press the handle of the copper press fit tool to create a connection.
Table of Contents
List of Tools and Materials Required
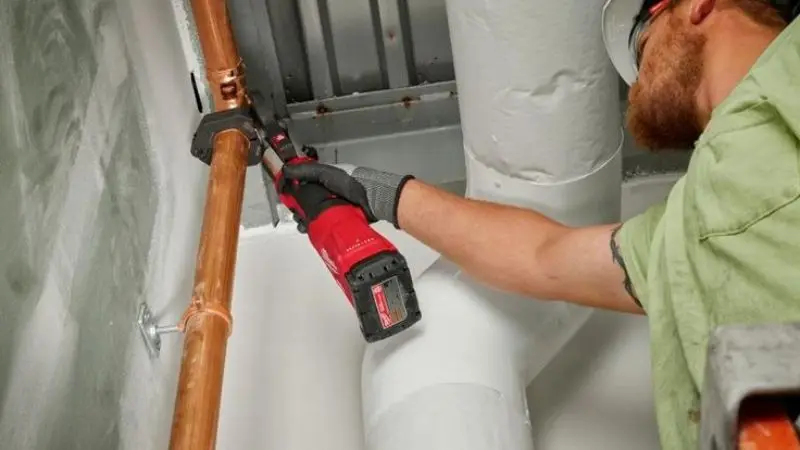
To successfully join copper press fittings, you should have all the necessary tools and materials before you start working. Here is a list of things you need:
Copper Press Fit Tool
To connect copper press fittings, you should have a copper press-fit tool kit. It is a tool that exerts pressure on the press fittings to create seals. Make sure that you get a tool with the same diameter as your copper press fittings.
Copper Pipe
The first type of pipe to use when joining copper press fittings is copper pipe. Make sure to choose the appropriate pipe diameter. It should be clean and not damaged.
Press Fittings
Press fittings are used for connecting copper pipes. There are various kinds of copper press-fit manual tools available, for instance, elbows, tees, and couplings. Use only press fittings suitable for your pipe diameter. Using copper press fittings makes the work easier and quicker.
Pipe Cutter
A pipe cutter is needed to cut the copper pipe to the required length. A smooth cut is crucial for a proper installation of a copper press fitting. Do not use a hacksaw, as it may damage the edges of your press fittings.
Recommended For Your Project
Deburring Tool
The second instrument needed after cutting is a deburring tool. Deburring is essential for smooth edges, which are required for installing copper press fittings.
Measuring Tape and Marker
The third tool you will require is a measuring tape and a marker. Measurement is necessary to ensure the proper installation of copper press fittings. The insertion depth needs to be marked.
Safety Glasses and Gloves
Put on your safety goggles and gloves before using copper press fittings, as these fittings can cause injury during cutting and pressing. It is best to wear safety gear at all times when working with copper press fittings.
How to Use a Copper Press Fit Tool Step by Step
Step 1: Measure and Mark the Pipe
First, measure the required length of the copper pipe. For accurate measurement, take help from a measuring tape. Then mark the pipe according to your requirements with a marker.
Step 2: Cut the Copper Pipe
Take your pipe cutter and place it on the mark. Rotate the cutter around the pipe until it cuts through. You want a straight, clean cut for a good copper press fitting connection.
Step 3: Deburr the Pipe
After cutting, the sharp edges or burrs would be visible. Deburr both sides of the pipe. Clean the pipe using a clean cloth. Clean pipes ensure that the copper press-fit tool makes a secure connection.
Step 4: Mark the Insertion Point
Find the depth mark on the press fitting or measure the depth with a depth gauge. The marking will allow you to insert the pipe into the fitting without any problems.
Step 5: Insert the Press Fitting
Insert the pipe into the cordless copper press-fit tool until you reach the mark you made. Ensure the pipe fits properly to avoid an incorrect connection when pressing.
Step 6: Position the Press Tool Correctly
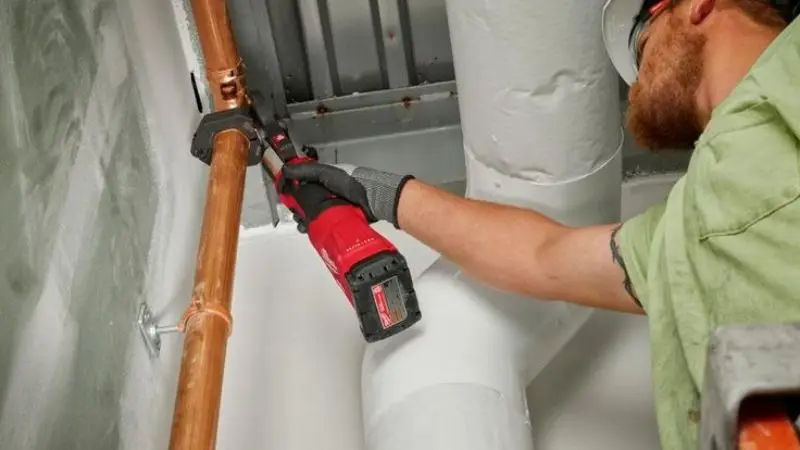
Place the jaws of the press tool such that they encompass the fitting. Ensure the jaws are aligned with the press points of the copper press fitting. While learning to use a crimping tool, remember to follow the directions in the press tool’s manual.
Step 7: Press the Fitting
Press the handles of the press tool until you hear a clicking sound or see the jaws close. In other words, the copper press-fit tool will press the fitting firmly on the pipe.
Step 8: Check the Joint
Ensure that the copper press fitting is installed correctly and that the pipe is not moving. If you are learning to work with crimping tools, then ensure that the connections are well crimped. Now you know how to install copper press fittings using a copper press-fit tool and a press tool.
Mistakes to Avoid While Using a Copper Press Fit Tool
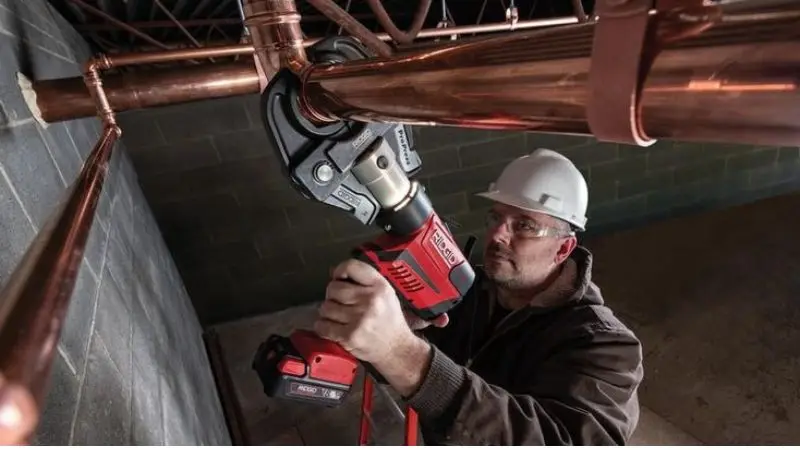
If you use a copper press-fit tool, you must ensure that each connection is secure and will not leak in the future. There are some common mistakes made by novice users of copper press-fit tools that can cause trouble later. They are as follows:
Not Deburring the Pipe
If you skip deburring, sharp edges or burrs can damage the press fitting. Burrs also stop the fitting from sealing tightly. Always use a deburring tool after cutting the pipe. Smooth the inside and outside edges. This step helps you get a perfect seal every time.
Using the Wrong Press Jaw
Press tools come with different jaws for different pipe sizes. If you use the wrong jaw, the fitting will not seal correctly. Always check the size marking on both the jaw and the fitting. Match them before you press.
- 1/2-inch pipe needs a 1/2-inch jaw.
- 3/4-inch pipe needs a 3/4-inch jaw.
Misalignment of the Tool
Failure to align the press tool with the fitting’s press points will result in weak joints. Ensure that the jaws are perfectly aligned with the fitting. The battery-powered copper press tool should be leveled to avoid tilting while pressing.
Pressing an Unseated Fitting
Sometimes the pipe fails to seat properly on the fitting. Pressing too early without pushing the pipe to the required depth results in poor connections. Always ensure that you push the pipe to the required depth before pressing.
Neglecting the Final Inspection
After you are done pressing, it is important to conduct an inspection to ensure there are no gaps or misaligned fittings, among other issues. This will protect you from potential leakage in the future.
Conclusion
A leak-proof connection can be made using easy procedures such as measuring, cutting, deburring, marking, inserting, pressing, and inspecting. These procedures are important for making a leak-proof connection. The best copper press fit tool will make the process easier and safer for you.
FAQ
What is the difference between the copper press fit tool and the copper pipe crimping tool?
The copper press-fit tool is used to connect copper pipes with press fittings. The copper pipe crimping tool is similar to the copper press-fit tool but may have different fittings for installation.
Can I install copper press fittings without special training?
Yes, you can install copper press fittings without special training. You need to perform each step carefully. You need to read the instructions on how to use a press tool and to perform the installation process on the test tube.
How can I determine whether press fittings are installed correctly?
When the installation process is completed, check the copper press fitting for a firm grip. You need to detect any gaps or movement in the fitting. A firm fitting will not move.
What should I do if I make a mistake while installing the fitting?
If you made a mistake while installing the fitting, you need to cut off the part that’s wrong. You need to prepare a new pipe and fitting. Then you need to perform all the steps as you would with a crimping tool.