
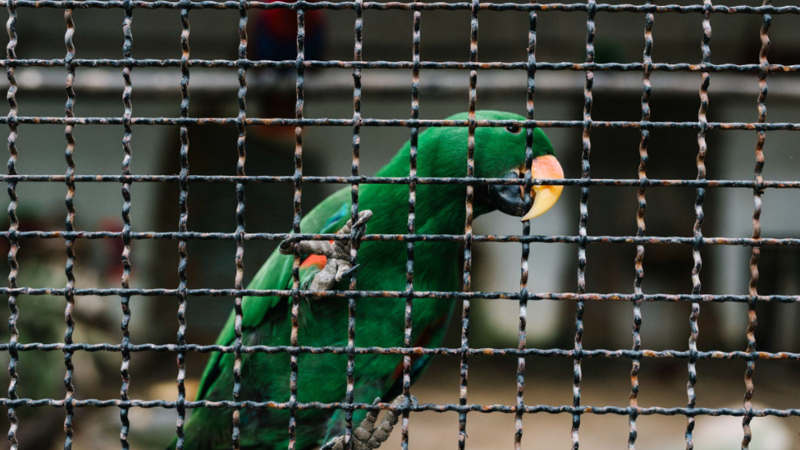
Keeping your bird’s cage clean isn’t just about keeping things tidy—it’s essential for your bird’s health and happiness. A dirty cage can quickly become a breeding ground for harmful bacteria, causing stress and illness to your feathered friend. Regular cleaning helps prevent these problems and creates a safe, comfortable space where your bird can thrive.
Knowing how to clean your bird’s cage the right way makes the job easier and more effective. If you want simple, practical tips to keep your bird’s home fresh and healthy, this blog will guide you every step of the way.
Essential Supplies for Cleaning a Bird Cage
Cleaning your bird’s cage doesn’t have to be hard, but having the right supplies makes everything easier. When you use the right tools and safe products, you can clean faster and keep your bird’s home healthy. Let’s start by looking at the bird cage cleaning tips you’ll need before stepping into the cleaning process.
Must-Have Cleaning Tools
Before you start, gather the tools you’ll need to make the job easier. Here’s a list of essentials:
- Scrub Brush or Sponge: A sturdy scrub brush helps you remove stuck-on dirt and grime from the cage bars and base. Choose one with soft bristles to avoid scratching the cage.
- Gloves: Protect your hands from bacteria and cleaning products by wearing gloves. Disposable gloves work well for quick cleanups.
- Trash Bags: Use these to collect old bedding, waste, and debris. Having a trash bag nearby keeps the process tidy.
- Vacuum or Dustpan: A handheld vacuum or dustpan is great for picking up loose feathers and spilt food around the cage.
- Bucket: Fill a bucket with warm water for rinsing and washing. It’s easier than running back and forth to the sink.
These tools are simple but effective. They’ll save you time and effort while ensuring your bird’s cage is spotless.
Safe and Effective Cleaning Products
Choosing the right cleaning products is just as important as the tools. Birds are sensitive to chemicals, so you’ll want to stick to safe options that won’t harm your feathered friend.
- Bird-Safe Cage Cleaner: Many pet stores sell cleaners specifically designed for bird cages. These products are non-toxic and gentle, making them ideal for regular use.
- White Vinegar: If you prefer a natural option, white vinegar is a great choice. Mix it with water to create a safe cleaning solution that cuts through dirt and disinfects.
- Unscented Dish Soap: For cleaning accessories like food bowls and toys, unscented dish soap works well. Avoid soaps with strong fragrances, as they can irritate your bird.
- Disinfectant Spray: After washing the cage, use a bird-safe disinfectant spray to kill bacteria and germs. Always check the label to ensure it’s safe for pets.
By using safe and effective products, you’ll keep your bird’s cage clean without compromising their health.
Step-by-Step Guide to Cleaning a Bird Cage
Cleaning a bird cage might seem like a big task, but breaking it down into simple steps makes it manageable. Follow this guide to ensure your bird’s home stays fresh, safe, and welcoming.
Step 1: Remove Your Bird and Accessories
Start by carefully moving your bird to a safe temporary space, such as a travel cage or a quiet, enclosed room. This keeps your bird protected and calm while you clean the cage. Once your bird is settled, remove all the accessories from the cage, including food and water dishes, perches, toys, and any other items.
Taking everything out makes it easier to clean both the cage and accessories thoroughly. This step is important to ensure you can reach all areas of the cage and to keep your bird safe during the cleaning process.
Step 2: Dispose of Old Bedding and Waste
After you’ve safely moved your bird and removed the accessories, the next step is to clear out all the old bedding and waste from the cage. Carefully take out the cage liner or bedding and dispose of it. Use a trash bag to collect any droppings, feathers, and leftover food from the bottom of the cage to keep the area clean and organized.
If your cage has a pull-out tray, slide it out completely and empty all the waste inside. Removing all this debris is important because it prepares the cage for a thorough cleaning and helps get rid of unpleasant odors and harmful bacteria that can build up over time.
Step 3: Wash the Cage with Safe Cleaning Solutions
Now you can focus on cleaning the cage itself. Use a bird-safe disinfectant or mix white vinegar with warm water for a natural cleaning solution. Spray the solution on all parts of the cage—bars, base, and corners—and let it sit for a few minutes to loosen dirt and grime.
After soaking, use a sponge or soft brush to scrub the surfaces thoroughly, paying special attention to any stubborn spots. Avoid harsh chemicals and bleach because they can leave harmful residues that may harm your bird. Cleaning well ensures your cage is fresh and safe.
Step 4: Clean and Sanitize Accessories
While the bird cage is drying, clean all the accessories you removed earlier. Wash food and water dishes using unscented dish soap and rinse them thoroughly to remove any soap residue. Perches and toys can hold germs, so scrub them with a non-toxic disinfectant to keep bacteria under control.
Check each item for signs of wear or damage, and replace anything that looks unsafe or broken. Keeping accessories clean is just as important as cleaning the cage because your bird interacts with them daily, and they can harbor dirt and germs.
Step 5: Rinse and Dry Thoroughly
Once you finish scrubbing the cage and accessories, rinse everything well with clean water. Make sure there’s no leftover cleaning solution or soap because any residue could be harmful to your bird. After rinsing, dry all parts thoroughly with a towel or let them air dry completely in a safe spot.
Proper drying helps prevent mold and bacteria growth, which can be dangerous for your bird’s health. Don’t rush this step—making sure everything is completely dry will help keep your bird’s home safe and comfortable.
Step 6: Reassemble the Cage and Return Your Bird
After the cage and accessories are clean and dry, it’s time to put everything back. Place fresh bedding or a new liner on the bottom of the cage. Arrange perches, toys, and food and water dishes in their usual spots to keep your bird comfortable and familiar with its environment.
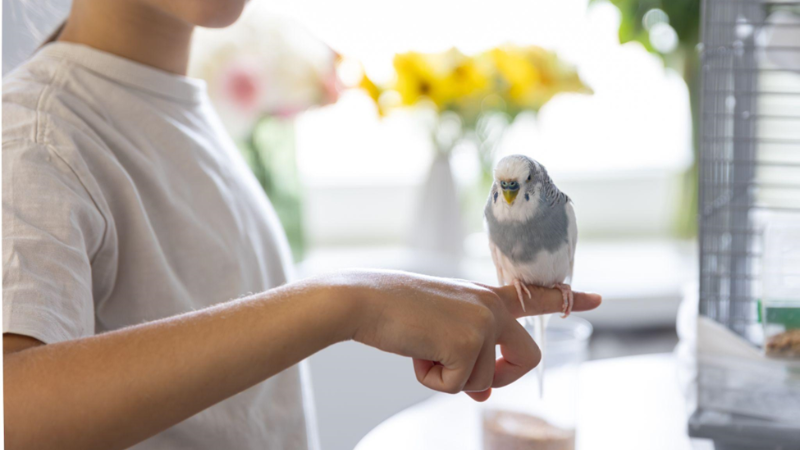
Finally, gently return your bird to its freshly cleaned home. Your bird will likely be curious and happy to explore the clean space. Regular cleaning keeps your bird healthy and prevents illness, making your feathered friend’s life much better.
Tips to Maintain a Clean Bird Cage
Keeping your bird’s cage clean is an ongoing task, but with a good routine and simple habits, it becomes much easier. Regular maintenance not only saves time but also keeps your feathered friend healthy and happy. Let’s look at some easy ways to keep your bird’s home fresh day after day.
Establish a Daily and Weekly Cleaning Routine
The best way to keep your bird’s cage clean is by setting up a regular cleaning schedule. Every day, quickly remove droppings, spilt food, and loose feathers. This daily spot cleaning prevents dirt and odors from building up.
Then, once a week, take time for a deeper clean where you wash the cage, sanitize toys and dishes, and replace the bedding or liners. Sticking to this simple routine helps keep your bird’s environment safe, comfortable, and smelling fresh. Consistency makes a huge difference in cage hygiene.
Use Cage Liners for Easy Cleanup
Cage liners are an easy way to make cleaning faster and less messy. These liners sit at the bottom of the cage and catch droppings, feathers, and food debris. When it’s time to clean, just remove the dirty liner and replace it with a fresh one. This saves you from scrubbing the cage bottom every day.
Choose liners made from bird-safe, unscented materials to avoid harming your pet. Using liners is a small change that can save a lot of effort and keep the cage neat between deeper cleanings. They also make daily maintenance quicker, helping you provide a clean and comfortable home for your bird every day.
Spot Clean to Prevent Build-Up
Instead of waiting for messes to pile up, try spot cleaning often. Wipe down any soiled areas with a damp cloth or use gentle, non-toxic disinfectants to sanitize places where your bird spends the most time, like perches and feeding dishes.
This quick cleanup helps stop dirt and grime from becoming tough to remove later. By dealing with spills and droppings as they happen, you make your regular cleanings easier and keep the cage more inviting. Your bird will enjoy living in a cleaner, healthier space every day.
Wrap Up:
Keeping your bird’s cage clean is essential for their health and happiness. Having the proper items, safe products, and a simple system makes cleaning much simpler and less stressful. Doing daily spot cleaning, plus weekly in-depth cleans, and using cage liners saves you time and keeps your bird’s cage fresh-smelling.
If you know how to clean a rusty bird cage properly, your pet bird will avoid getting sick and will have better living conditions. Taking these easy steps will help your bird live well and help you keep your house clean. Don’t forget that cleanliness is essential for your birds’ happiness.
FAQ
How regularly should I give my bird a clean environment?
Daily, spray the area with glass cleaner and clean the entire display each week. Regular upkeep keeps your bird safe and clean and makes sure no dangerous bacteria grow.
Can regular sanitizers be used in the cage?
Don’t use household cleaners. Chemicals inside chemicals can be dangerous to your bird. Use products or solutions that birds aren’t likely to harm, such as diluted white vinegar.
After you clean the cage, how should I dry it?
Clean the glass either with a clean cloth or by letting it dry fully on its own. Wait for all the cage pieces to dry out before putting the cage back together.


