
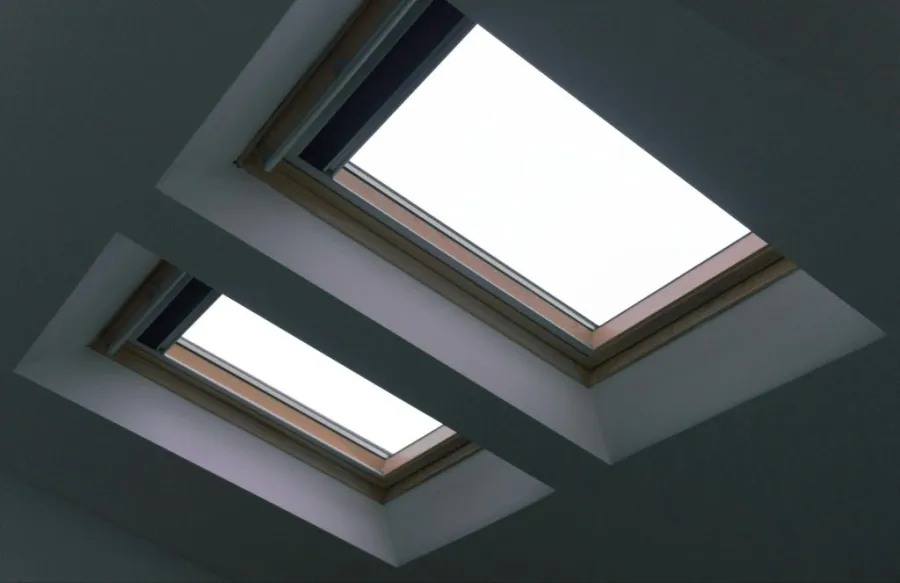
Trockene, dunkle und trostlose Räume können für ihre Bewohner unangenehm und ungemütlich sein. Eine kostengünstige und oft sehr wirksame Lösung gegen dieses Gefühl ist ein Dachfenster. So erhalten Sie unbegrenzt natürliches Licht, ohne zusätzliche Fenster oder Verkabelung zu benötigen – es wirkt wie eine Öffnung im Dach.
Der Einbau eines Dachfensters ist etwas schwieriger, als es zunächst scheinen mag, aber mit der richtigen Vorbereitung ist es ganz einfach. richtige WerkzeugeMit dieser Anleitung erleben Sie keine Überraschungen, denn sie führt Sie Schritt für Schritt durch den Prozess. Ich verwende hier das Bild eines befreundeten Handwerkers als Vergleich, aber im Grunde ist es genau das, was nötig ist, um Sie von der Anschaffung eines Dachfensters zu überzeugen.
Bevor Sie beginnen: Planung und Vorbereitung
Vor dem Einbau eines Dachfensters dürfen keine Werkzeuge zur Hand sein. Sie werden mit Insektenbefall zu kämpfen haben, und das Licht, das Sie ursprünglich zur Behebung baulicher Mängel einsetzen wollten, wird ungleichmäßig und schlecht verteilt sein.
Wählen Sie den richtigen Standort
Der Himmel ist die Grenze – im wahrsten Sinne des Wortes. Befindet sich im Weg ein Dach, das den Einbau des Dachfensters verhindert? Falls der Platz ausreicht, empfiehlt es sich, das Dachfenster zwischen zwei vorhandenen Dachsparren zu platzieren; bauliche Veränderungen sind kaum nötig.
Wenn Sie dort oben ein Dachfenster einbauen möchten und das einzige Hindernis ein tragendes Bauteil ist, müssen Sie einen Sturz und zusätzliche Sparren einbauen, um die Öffnung neu zu verkleiden. Das ist zwar mehr Arbeit, aber es lohnt sich absolut.
Die Ausrichtung des Raumes ist bei der Planung des Einbaus eines Dachfensters ebenfalls wichtig. Bei einem nach Süden oder Westen ausgerichteten Dachfenster ist im Sommer mit starker Hitze zu rechnen. Ein nach Norden oder Osten ausgerichtetes Dachfenster hingegen lässt viel diffuses Licht herein, das die Sommerhitze nicht wahrnimmt.
Wählen Sie Ihren Dachfenstertyp
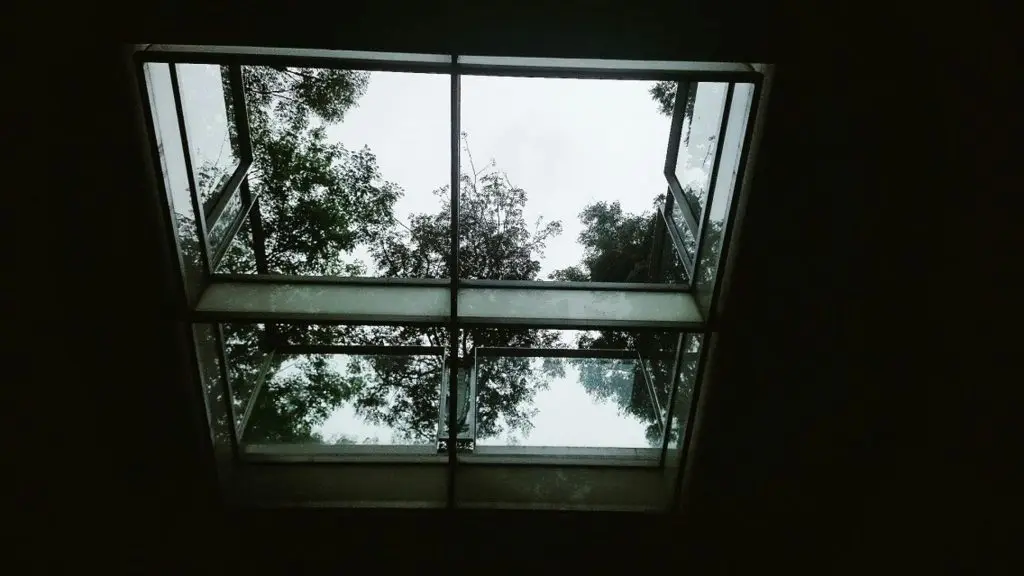
Es gibt zwei Hauptarten von Dachfenstern:
- Feststehende Dachfenster: Versiegelte Einheiten, die Licht hereinlassen, sich aber nicht öffnen lassen. Geringere Kosten, einfachere Installation und keine Wartungsarbeiten an Öffnungsmechanismen.
- Lüftungsdachfenster: Lassen sich manuell oder elektrisch öffnen, um die Luftzirkulation zu gewährleisten. Ideal für Küchen, Badezimmer oder jeden Raum, in dem sich Feuchtigkeit oder Wärme staut.
Für die meisten DIY-InstallationenEin fest installiertes Oberlicht ist der praktische Ausgangspunkt.
Sammeln Sie Ihre Werkzeuge und Materialien
Beginnen Sie erst mit dem Zuschneiden, wenn alles vor Ort ist. Sie benötigen:
- Kreissäge und Säbelsäge
- Kreideschnur und Maßband
- Brecheisen und Hammer
- Dachnägel und Schrauben
- Selbstklebende wasserdichte Membran (Eis- und Wasserschutz)
- Stufenblech, Schwellenblech, Sattelblech und Gegenblech
- Dachzement
- Trockenbau- und Ausbaumaterialien für den Innenausbau des Schachts
Ein Werkzeug, das bei solchen Arbeiten unverzichtbar ist: ein hochwertiger Schlagschrauber-Steckschlüsselsatz. Ob Sie Schrauben durch die Montageflansche des Dachfensters treiben, Befestigungselemente im Dachstuhl festziehen oder in engen Dachwinkeln mit Bauteilen arbeiten – Sie benötigen ein sauberes und schnelles Drehmoment.
An Kraft-Steckschlüsselsatz Dieses Set deckt alle gängigen Befestigungsgrößen für Dachfenster ab. Die 6-Punkt-Geometrie sorgt für einen sicheren Halt der Sechskantschrauben und minimiert das Risiko des Abrundens unter Last. Alle Teile sind übersichtlich in einem Koffer verstaut – ein entscheidender Vorteil, wenn man auf dem Dach arbeitet und nicht lange nach der passenden Nuss suchen möchte.
Phase 1: Die Öffnung ausschneiden
Dies ist der Punkt, an dem es kein Zurück mehr gibt, also messen Sie zweimal, bevor Sie die Säge herausholen.
Markieren und Schneiden der Innendecke
Beginnen Sie von innen. Bestimmen Sie die gewünschte Position des Dachfensters an der Decke und markieren Sie die vier Ecken. Schlagen Sie Nägel durch jede Ecke, damit Sie die Positionen von der Dachseite aus erkennen können.
Bevor Sie irgendetwas durchtrennen, überprüfen Sie mit einem Balkensucher die Position der Dachsparren und suchen Sie nach Leitungen für Wasserleitungen, Elektrik oder Heizung/Klimaanlage, die sich möglicherweise oberhalb der Decke befinden. Räumen Sie den Bereich frei und schützen Sie Ihre Wohnräume vor Bauschutt.
Sobald dies bestätigt ist, schneiden Sie entlang der markierten Kontur mit einer Stich- oder Kreissäge.
Durch die Dachterrasse schneiden
Verbinden Sie vom Dach aus Ihre Nagelmarkierungen mit einer Schlagschnur, um die genaue Schnittlinie festzulegen. Schneiden Sie die Öffnung sorgfältig mit einer Kreissäge aus, die auf die Tiefe Ihrer Dachschalung eingestellt ist. Achten Sie auf saubere und rechtwinklige Schnittkanten – ein unsauberer Schnitt führt später zu Passproblemen, die sich nur schwer beheben lassen.
Entfernen Sie die Dachschindeln rundum (üblicherweise 6 cm auf allen Seiten), um die Dachschalung für die Dachanschlüsse freizulegen. Verwenden Sie ein Brecheisen, um die Schindeln vorsichtig anzuheben, ohne sie zu beschädigen.
Phase 2: Rahmenbau und Abdichtung
Rahmen Sie die grobe Öffnung
Verläuft Ihr Schnitt parallel zu zwei Sparren, fügen Sie einfach die Stürze oben und unten an der Öffnung hinzu, um den Kasten zu schließen. Schneiden Sie einen Sparren durch, müssen Sie einen doppelten Sturz einbauen und die Last mit zusätzlichen Sparren ableiten. Beachten Sie die örtlichen Bauvorschriften, da in vielen Fällen eine Genehmigung für Änderungen an der Tragkonstruktion erforderlich ist.
Die wasserdichte Membran aufbringen
Das ist unerlässlich. Bevor Sie lernen, wie man ein Dachfenster auf einem Flachdach installiert, sollten Sie eine selbstklebende wasserdichte Membran (Eis- und Wasserschutzbahn) um den gesamten Umfang der Öffnung anbringen.
- Beginnen Sie die Installation unten und arbeiten Sie sich die Membran hinauf nach oben, bis Sie schließlich ganz oben sind; so muss jede Schicht das Wasser überraschenderweise bergab ableiten.
- Normalerweise drückt man die Membran ganz nach oben, sodass oben ein kleiner Spalt bleibt.
- Das mag im Zusammenhang mit der Membran kontraintuitiv erscheinen, aber genau diese Lücke wird Ihre erste und größte Verteidigungslinie gegen Ihr Deck sein.
Phase 3: Einsetzen und Befestigen des Dachfensters
Positionieren Sie die Dachfenstereinheit
Für diesen Schritt werden mindestens zwei Personen benötigt – eine auf dem Dach und eine im Inneren. Heben Sie das Dachfenster von außen in die Öffnung und zentrieren Sie es sorgfältig mithilfe der Führungskerben des Herstellers. Achten Sie darauf, dass es bündig und waagerecht sitzt, bevor Sie etwas befestigen.
Sobald die Flansche ausgerichtet sind, werden sie mithilfe der vorgebohrten Befestigungslöcher durch Nägel oder Schrauben in die Dachschalung geschraubt. Hier kommt Ihr Steckschlüsselsatz wieder zum Einsatz.
A 1/2-Zoll-Antriebs-Schlagschrauber-Steckschlüsselsatz Geeignet für die schwereren Befestigungselemente, die bei der Montage von Dachkonstruktionen anfallen. Dank der Konstruktion aus CR-V-Legierungsstahl und der gut lesbaren Größenmarkierungen müssen Sie nicht mehr mühsam die Beschriftung der Steckschlüssel entziffern, während Sie auf einem Schrägdach knien.
Installieren Sie das Flash-System
Die korrekte Einfassung ist entscheidend für die Kosten einer Dachfensterinstallation. Die Installation sollte in dieser Reihenfolge erfolgen:
- Die Fensterbankabdeckung (unten) sitzt über den unteren Dachschindeln und umschließt die Basis des Dachfensterrahmens.
- Die Stufenbleche (seitlich) werden schichtweise mit den Schindeln verflochten, während man sich an beiden Seiten nach oben vorarbeitet. Jedes L-förmige Stück überlappt das darunterliegende.
- Die Gegenblechabdeckung wird über die Stufenblechabdeckung geschoben und mit Dachzement gegen den Dachfensterrahmen abgedichtet.
- Die Sattelabdeckung (oben) deckt die dem Dachfenster zugewandte Seite ab und leitet das Wasser darum herum. Tragen Sie Dachzement entlang aller Kanten auf.
Arbeiten Sie von unten nach oben und achten Sie darauf, dass sich die Bahnen bergab immer überlappen. Tragen Sie an jeder Fuge großzügig Dachzement auf. Nehmen Sie sich Zeit, denn eine zehnminütige Abkürzung kann drei Monate später zu Flecken an der Decke führen.
Phase 4: Innenausbau
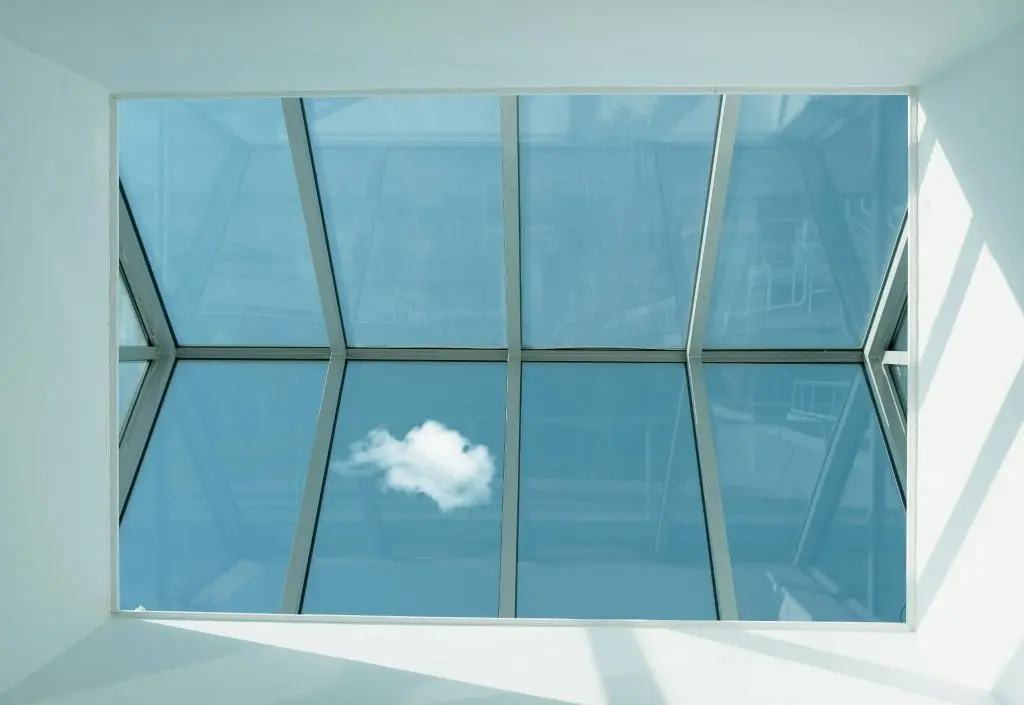
Sobald die Dacharbeiten abgeschlossen sind, besteht die letzte Phase im Bau des Lichtschachts. Dieser verbindet die Öffnung im Dach mit der entsprechenden Öffnung in der Decke. Üblicherweise wird hierfür ein Rahmen aus Kanthölzern (2x4 Zoll) verwendet.
Anschließend wird die Konstruktion isoliert (um Kondensation zu vermeiden). Sobald der Kasten fertiggestellt ist, wird er mit Gipskartonplatten verkleidet und die Oberfläche farblich an den Raum angepasst.
Sie können den Winkel des Lichtstrahls wählen. Abgewinkelte Strahler (die an der Decke breiter als am Dach sind) verteilen das Licht tendenziell weiter im Raum. Gerade Strahler sind am einfachsten. Jede Strahlerart eignet sich in der Regel je nach Raumaufteilung und gewünschter Lichtwirkung.
Sobald der Kasten mit Gipskartonplatten verkleidet ist, folgen die üblichen Trockenbauarbeiten wie Verspachteln, Glätten, Grundieren und Streichen. Zum Schluss wird eine Deckenleiste um die obere Schachtöffnung angebracht.
Häufig gestellte Fragen
Benötige ich eine Genehmigung für den Einbau eines Dachfensters?
In den meisten Regionen ja, insbesondere wenn Sie die Dachkonstruktion verändern. Erkundigen Sie sich vor Beginn der Arbeiten bei Ihrem örtlichen Bauamt. Das Genehmigungsverfahren stellt außerdem sicher, dass die Arbeiten geprüft werden, was Sie beim Wiederverkauf absichert.
Kann ich ein Dachfenster auf einem Flachdach oder einem Dach mit geringer Neigung einbauen?
Ja, aber es benötigt ein auf dem Dachrand montiertes Oberlicht anstelle eines auf der Dachfläche montierten. Auf dem Dachrand montierte Oberlichter sitzen auf einem erhöhten Rahmen oberhalb der Dachfläche, wodurch der Wasserablauf bei geringen Dachneigungen zuverlässiger geregelt wird.
Wie kann ich verhindern, dass mein Dachfenster undicht wird?
Eine fachgerechte Abdichtung hält das Wasser fern. Die darunterliegende Membranschicht dient als zusätzliche Sicherung. Neunzig Prozent aller Dachfensterundichtigkeiten lassen sich auf Mängel bei der Abdichtung zurückführen.
Welche Größe sollte das Dachfenster haben?
Als Faustregel gilt, dass Dachfenster etwa 5–15 % der Bodenfläche des Raumes bedecken sollten. Größere Dachfenster in Südlage können im Sommer zu Überhitzung führen.
Welche Werkzeuge benötige ich unbedingt für diese Arbeit?
Mindestens erforderlich: Kreissäge, Stichsäge, Brecheisen, Schlagschnur, Maßband, Hammer und ein zuverlässiger Steckschlüsselsatz. Für die Befestigungsarbeiten im gesamten Werk: VEVORs Schlagschrauber-Steckschlüsselsatz Dieses Set bietet alles Notwendige in kompakter, übersichtlicher Form und lässt sich leicht auf eine Leiter tragen. Die 6-Kant-Stecknuss greift die Befestigungselemente sicher, was besonders wichtig ist, wenn Sie in beengten Verhältnissen hohe Drehmomente anwenden müssen.
Wie lange dauert der Einbau eines Dachfensters?
Erfahrene Heimwerker sollten für die Dacharbeiten einen ganzen Tag und für den Innenausbau einen weiteren halben Tag einplanen. Anfänger sollten ein ganzes Wochenende einplanen.
Fazit
Der Einbau eines Dachfensters, sei es durch den Dachboden oder auf anderem Wege, ist ein einzigartiges Heimwerkerprojekt, das die Atmosphäre eines Raumes komplett verändern kann – und das ganz ohne Betriebskosten. Fachgerecht ausgeführt, sorgt es über Jahrzehnte für mehr Licht im Haus und steigert dessen Wert erheblich.
Um ein Dachfenster zu gestalten, auf das Sie stolz sein können, planen Sie sorgfältig und nutzen Sie für jeden Arbeitsschritt alle verfügbaren Werkzeuge. Der Unterschied zwischen einem Dachfenster, das den Wert Ihrer Immobilie steigert, und einem, das dauerhaft unansehnlich ist, liegt im Aufwand, den Sie investieren.




